223km
15 days, 14 nights
The Northern Territory
June – July 2026
Grade 3 – 5 walk
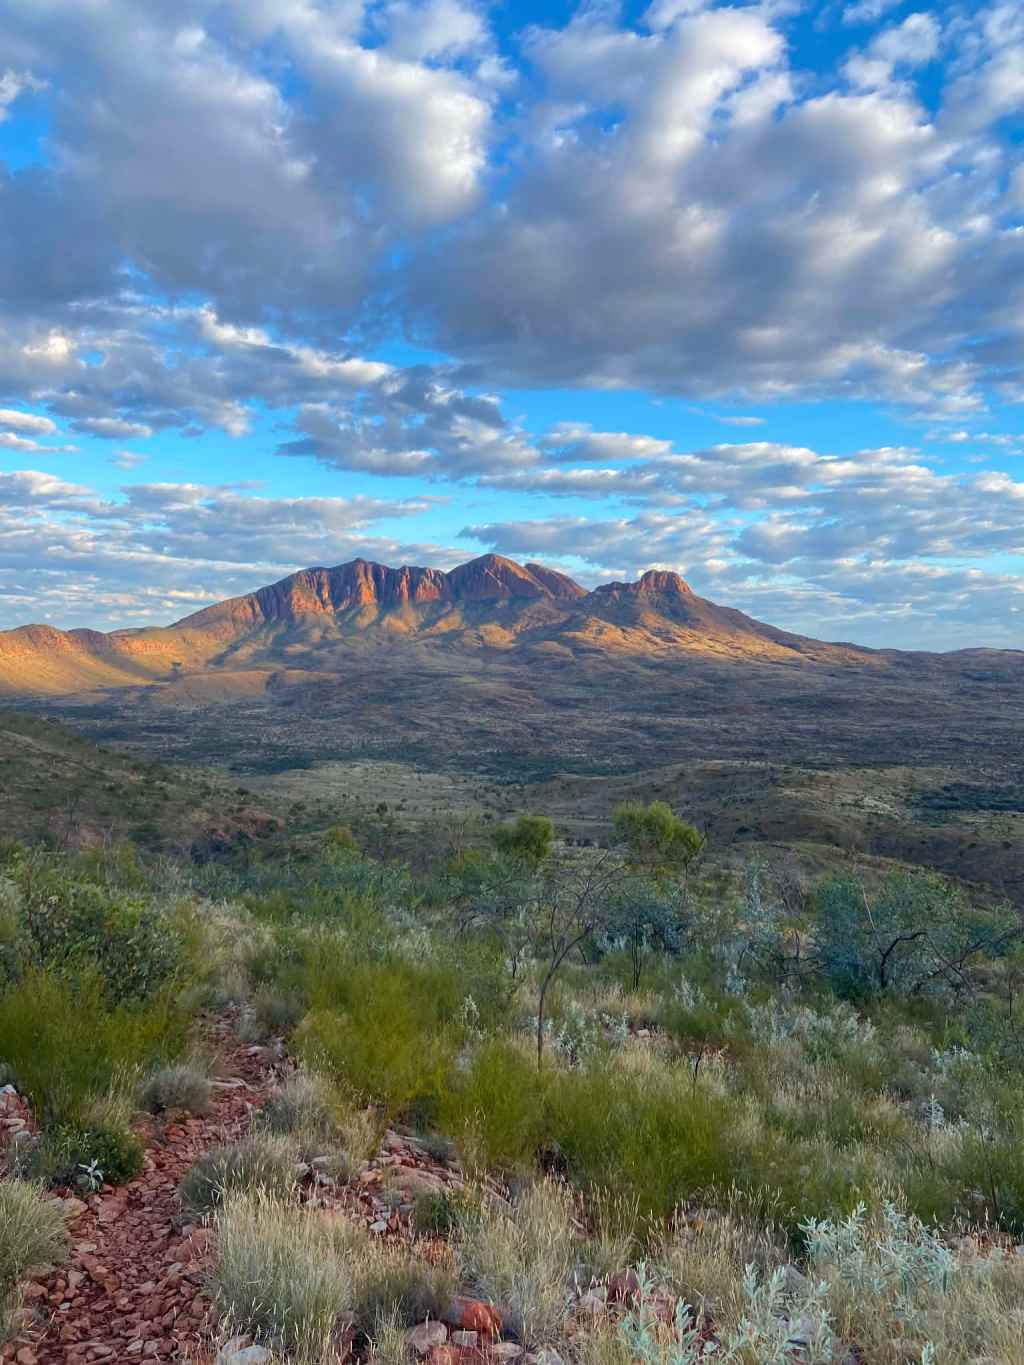
Stretching from Telegraph Station to Mt Sonder, the Larapinta Trail traverses 223km across the vast expanse of the West MacDonnell National Park. The Larapinta walks through the heart of Australia featuring a range of terrain from rocky outcrops and splintered ranges, to the great chasms of the infamous gorges. Known by traditional custodians as Tjoritja (pronounced Choor-it-ja), the West MacDonnell National Park’s stunning mountain views come at the expense of long rocky climbs, and this trek should not be underestimated.
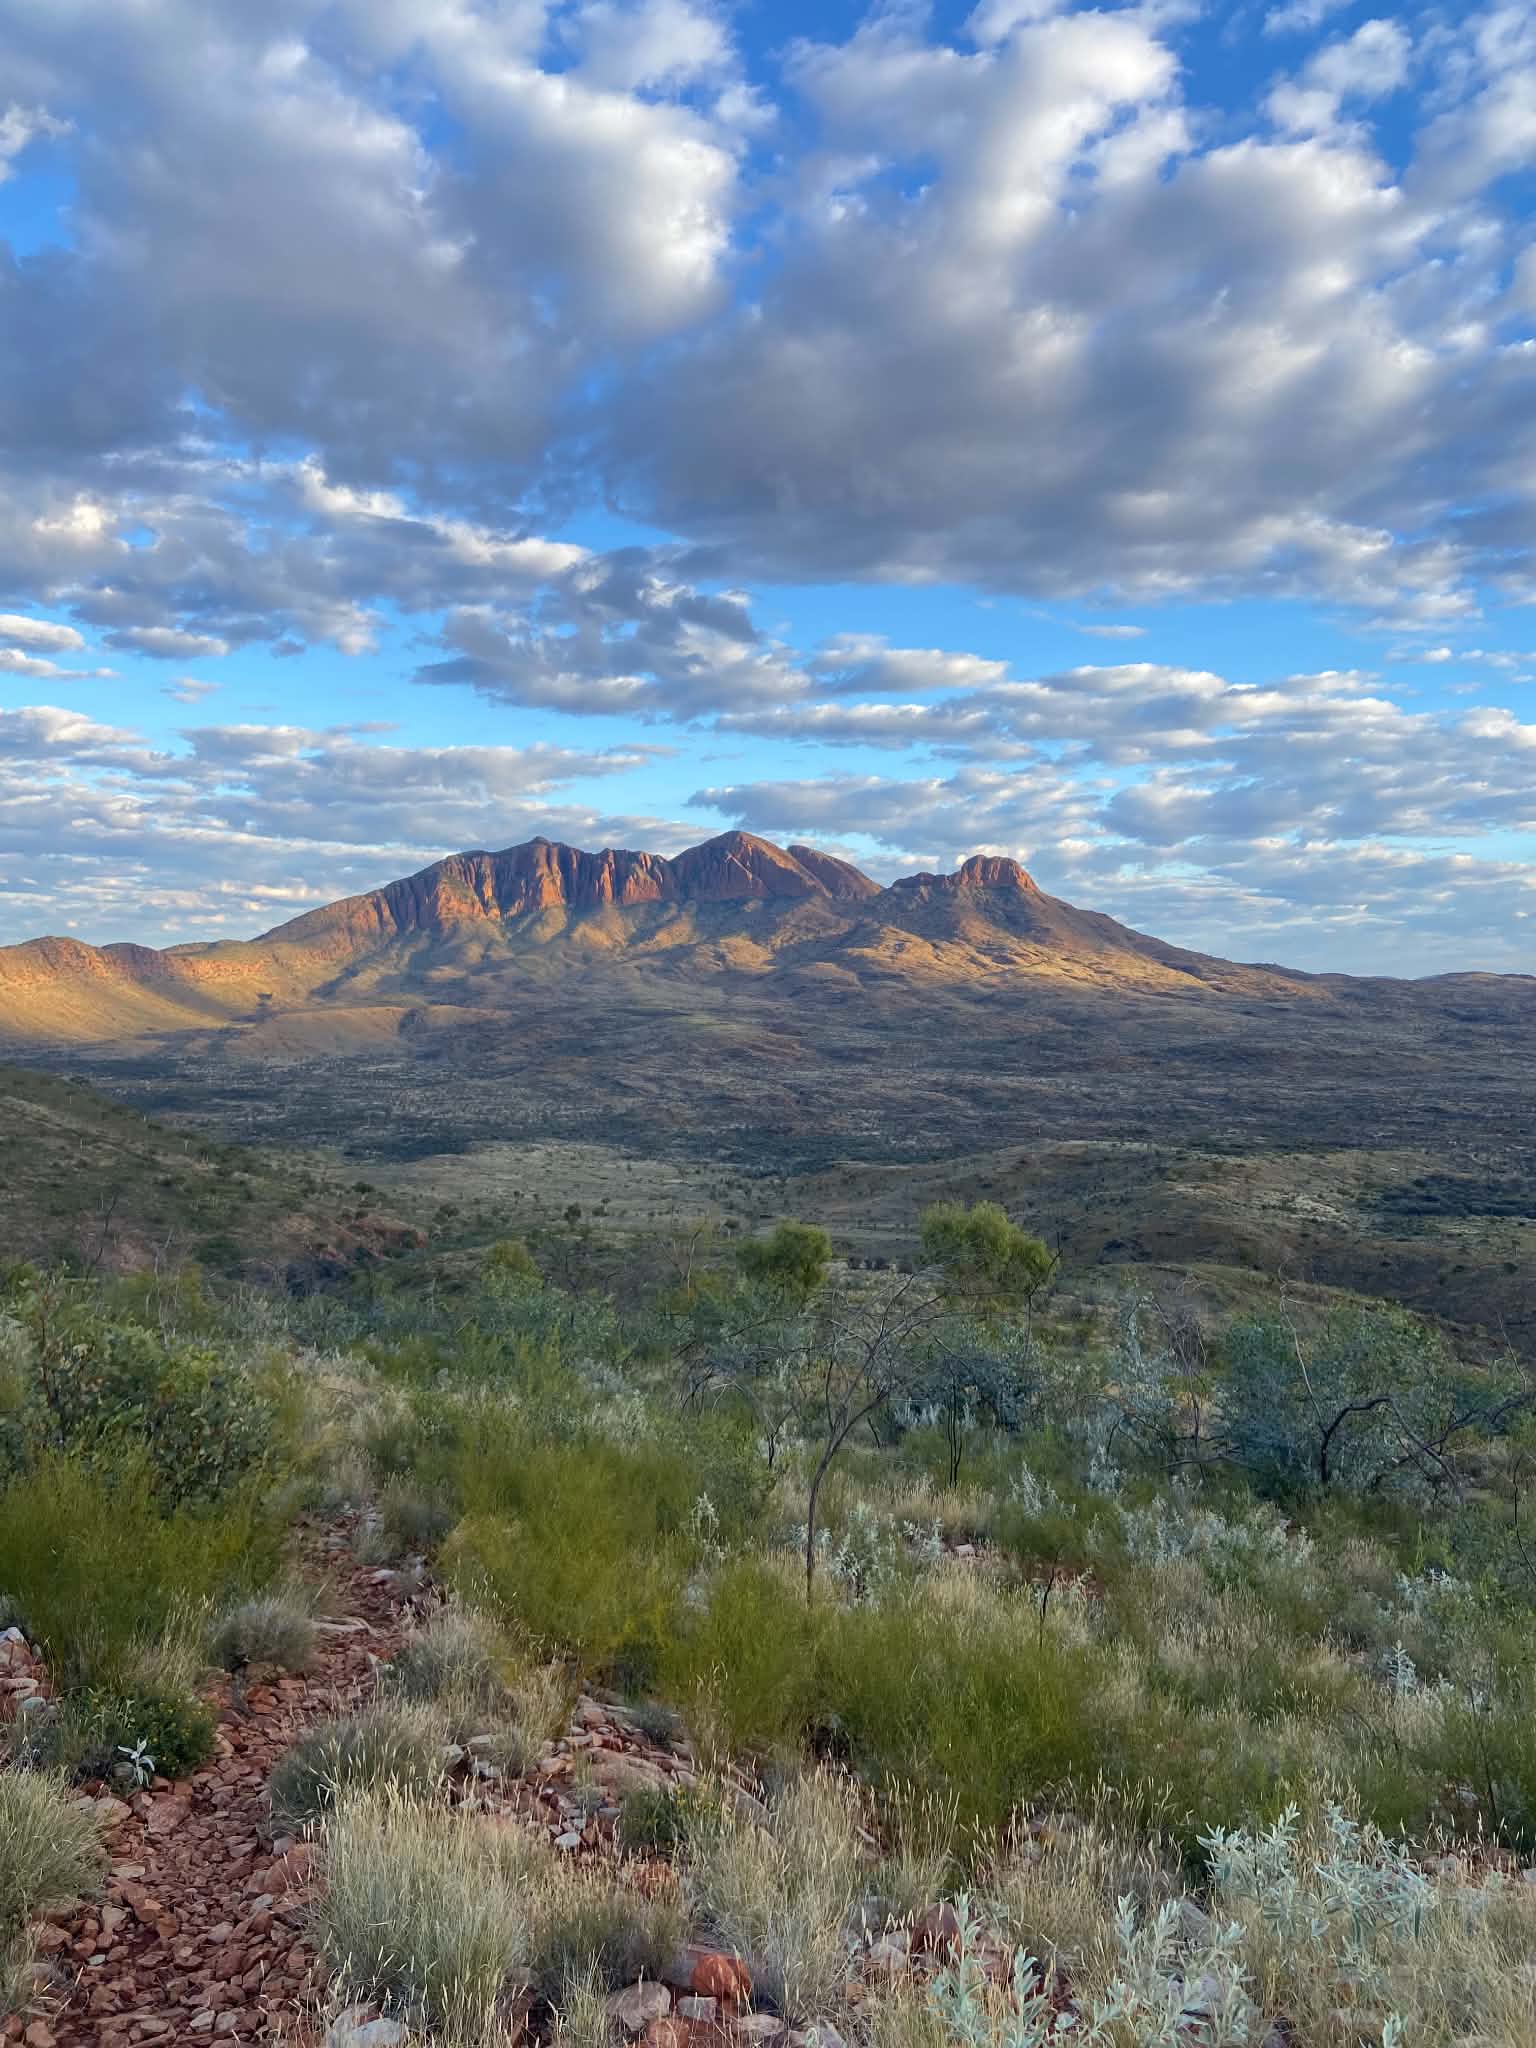
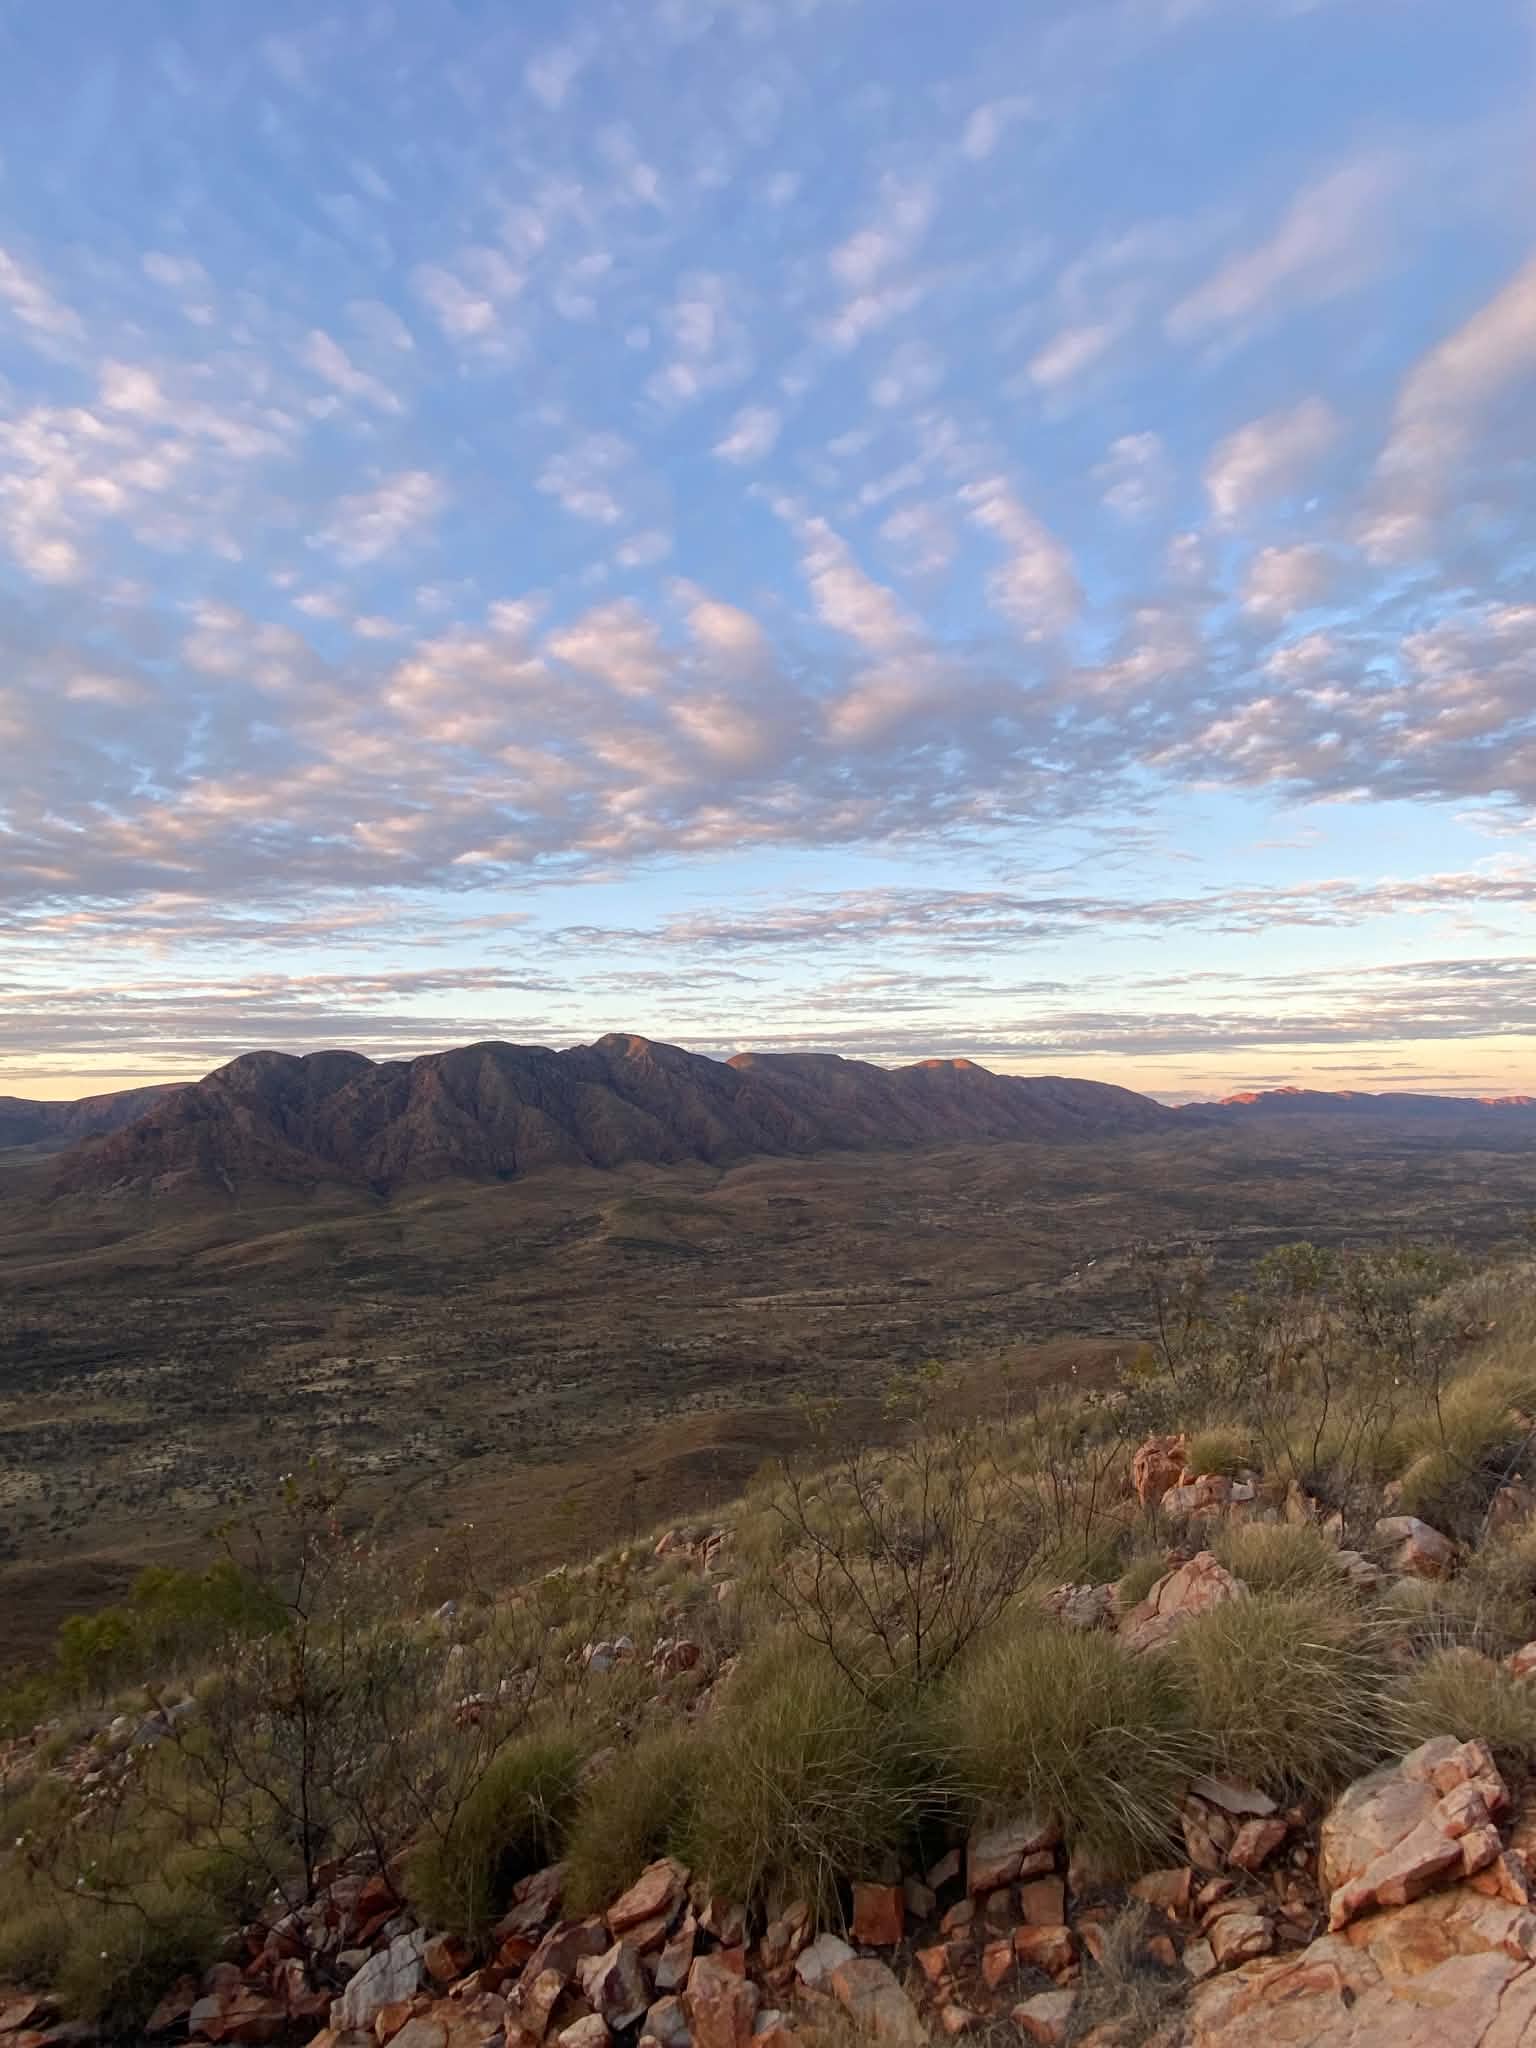
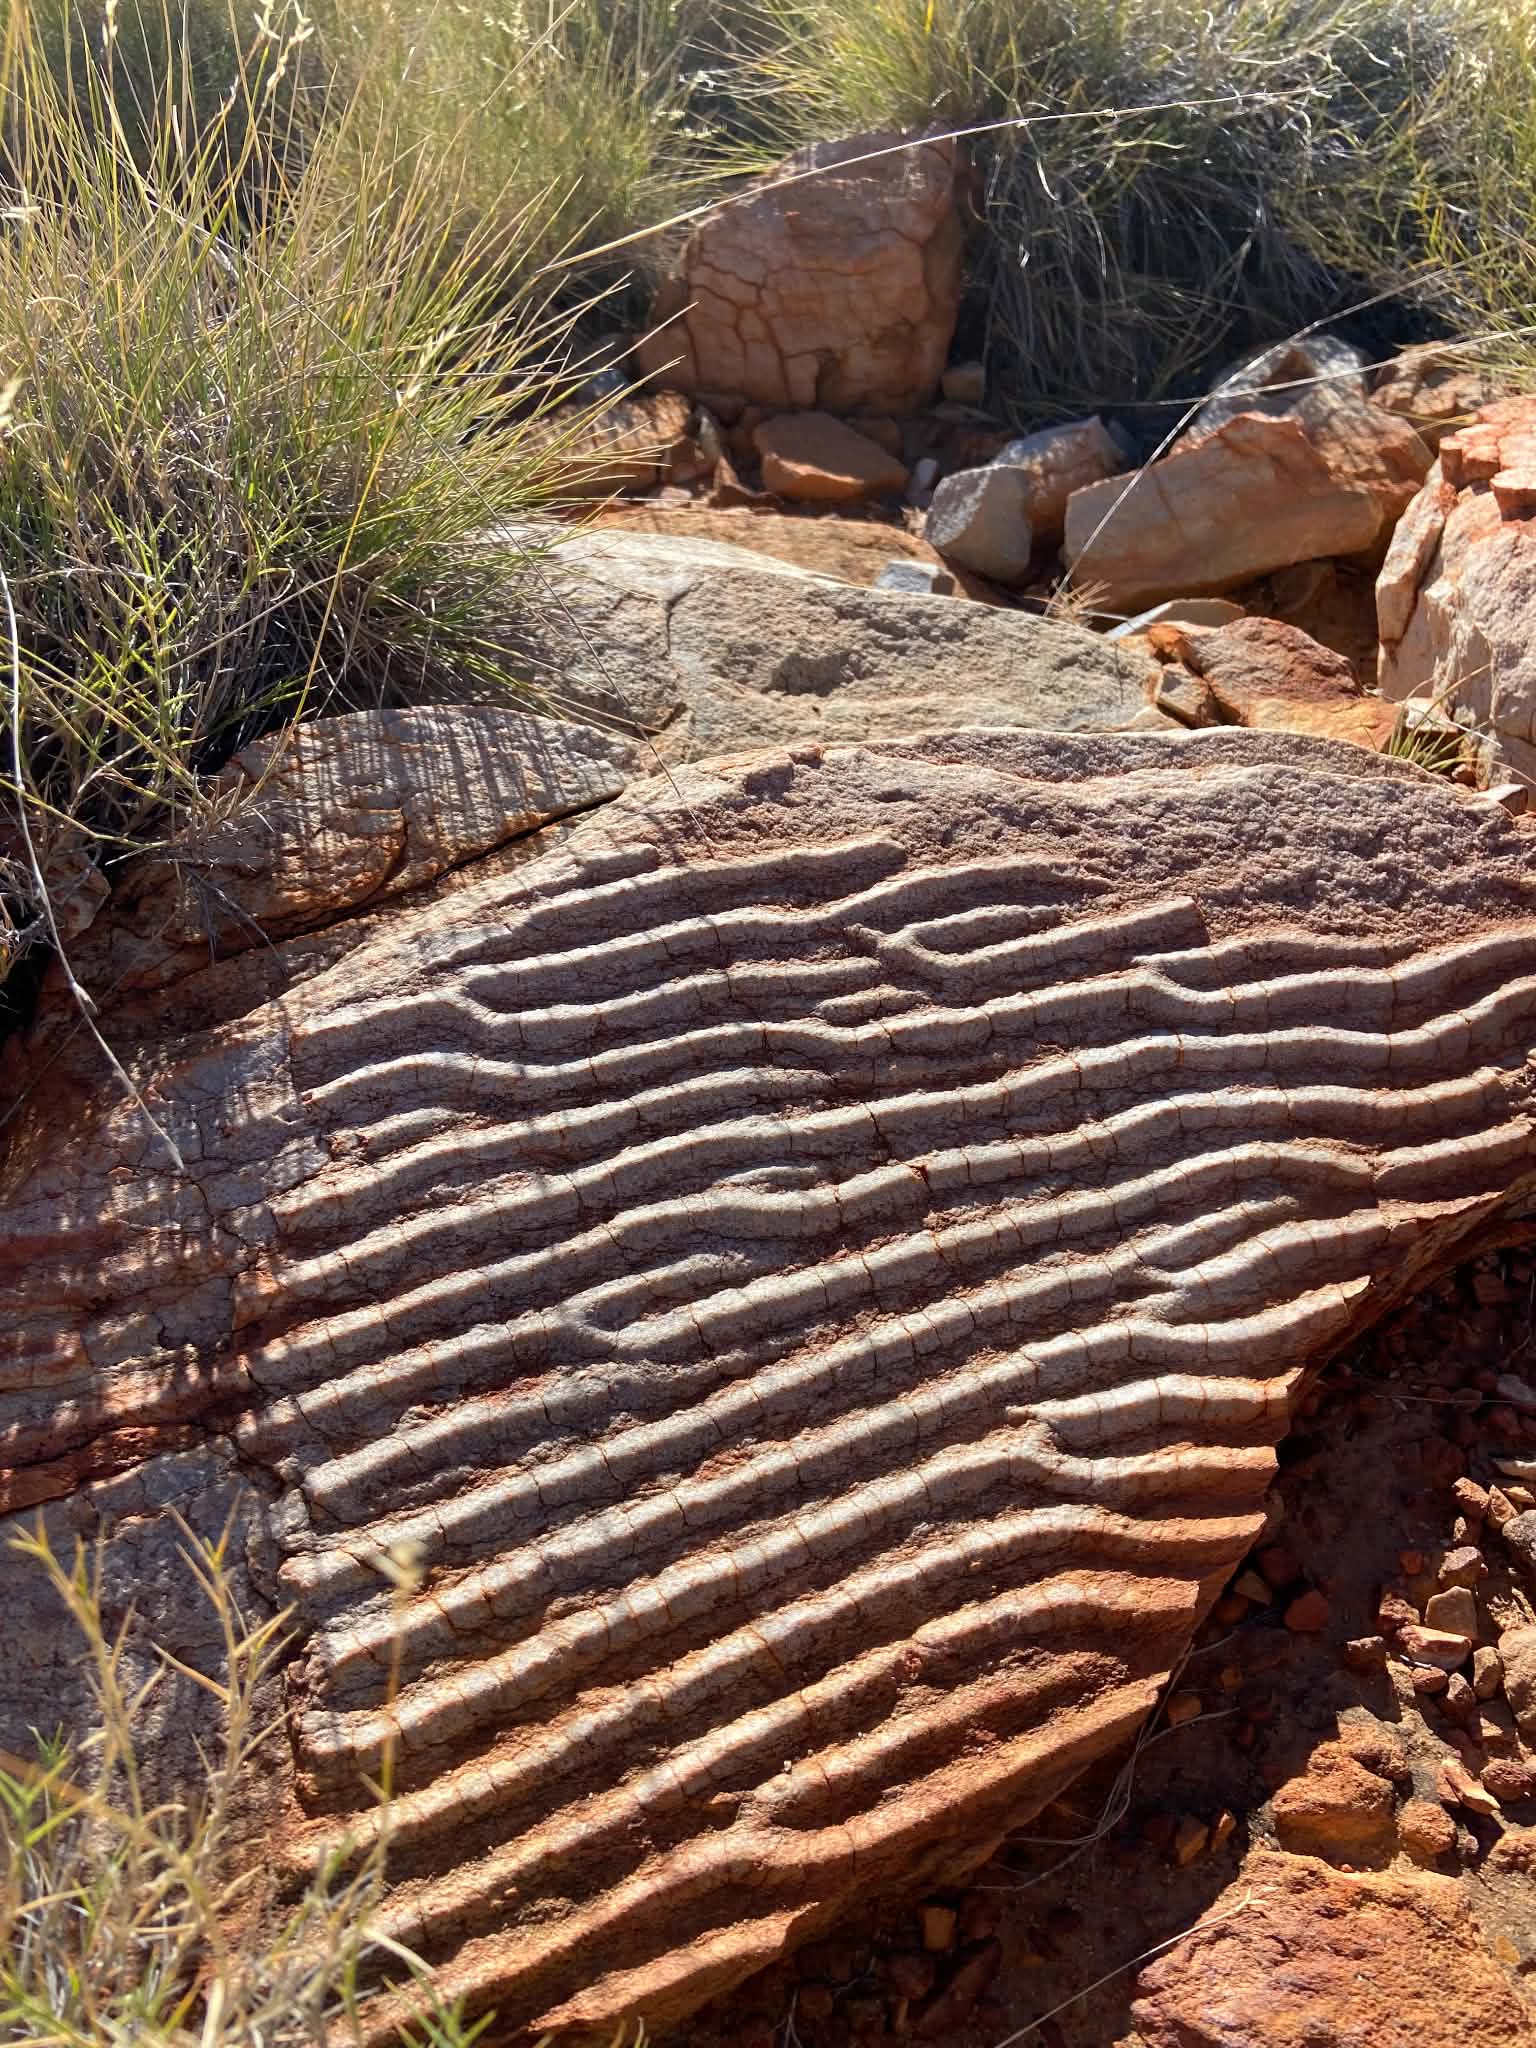
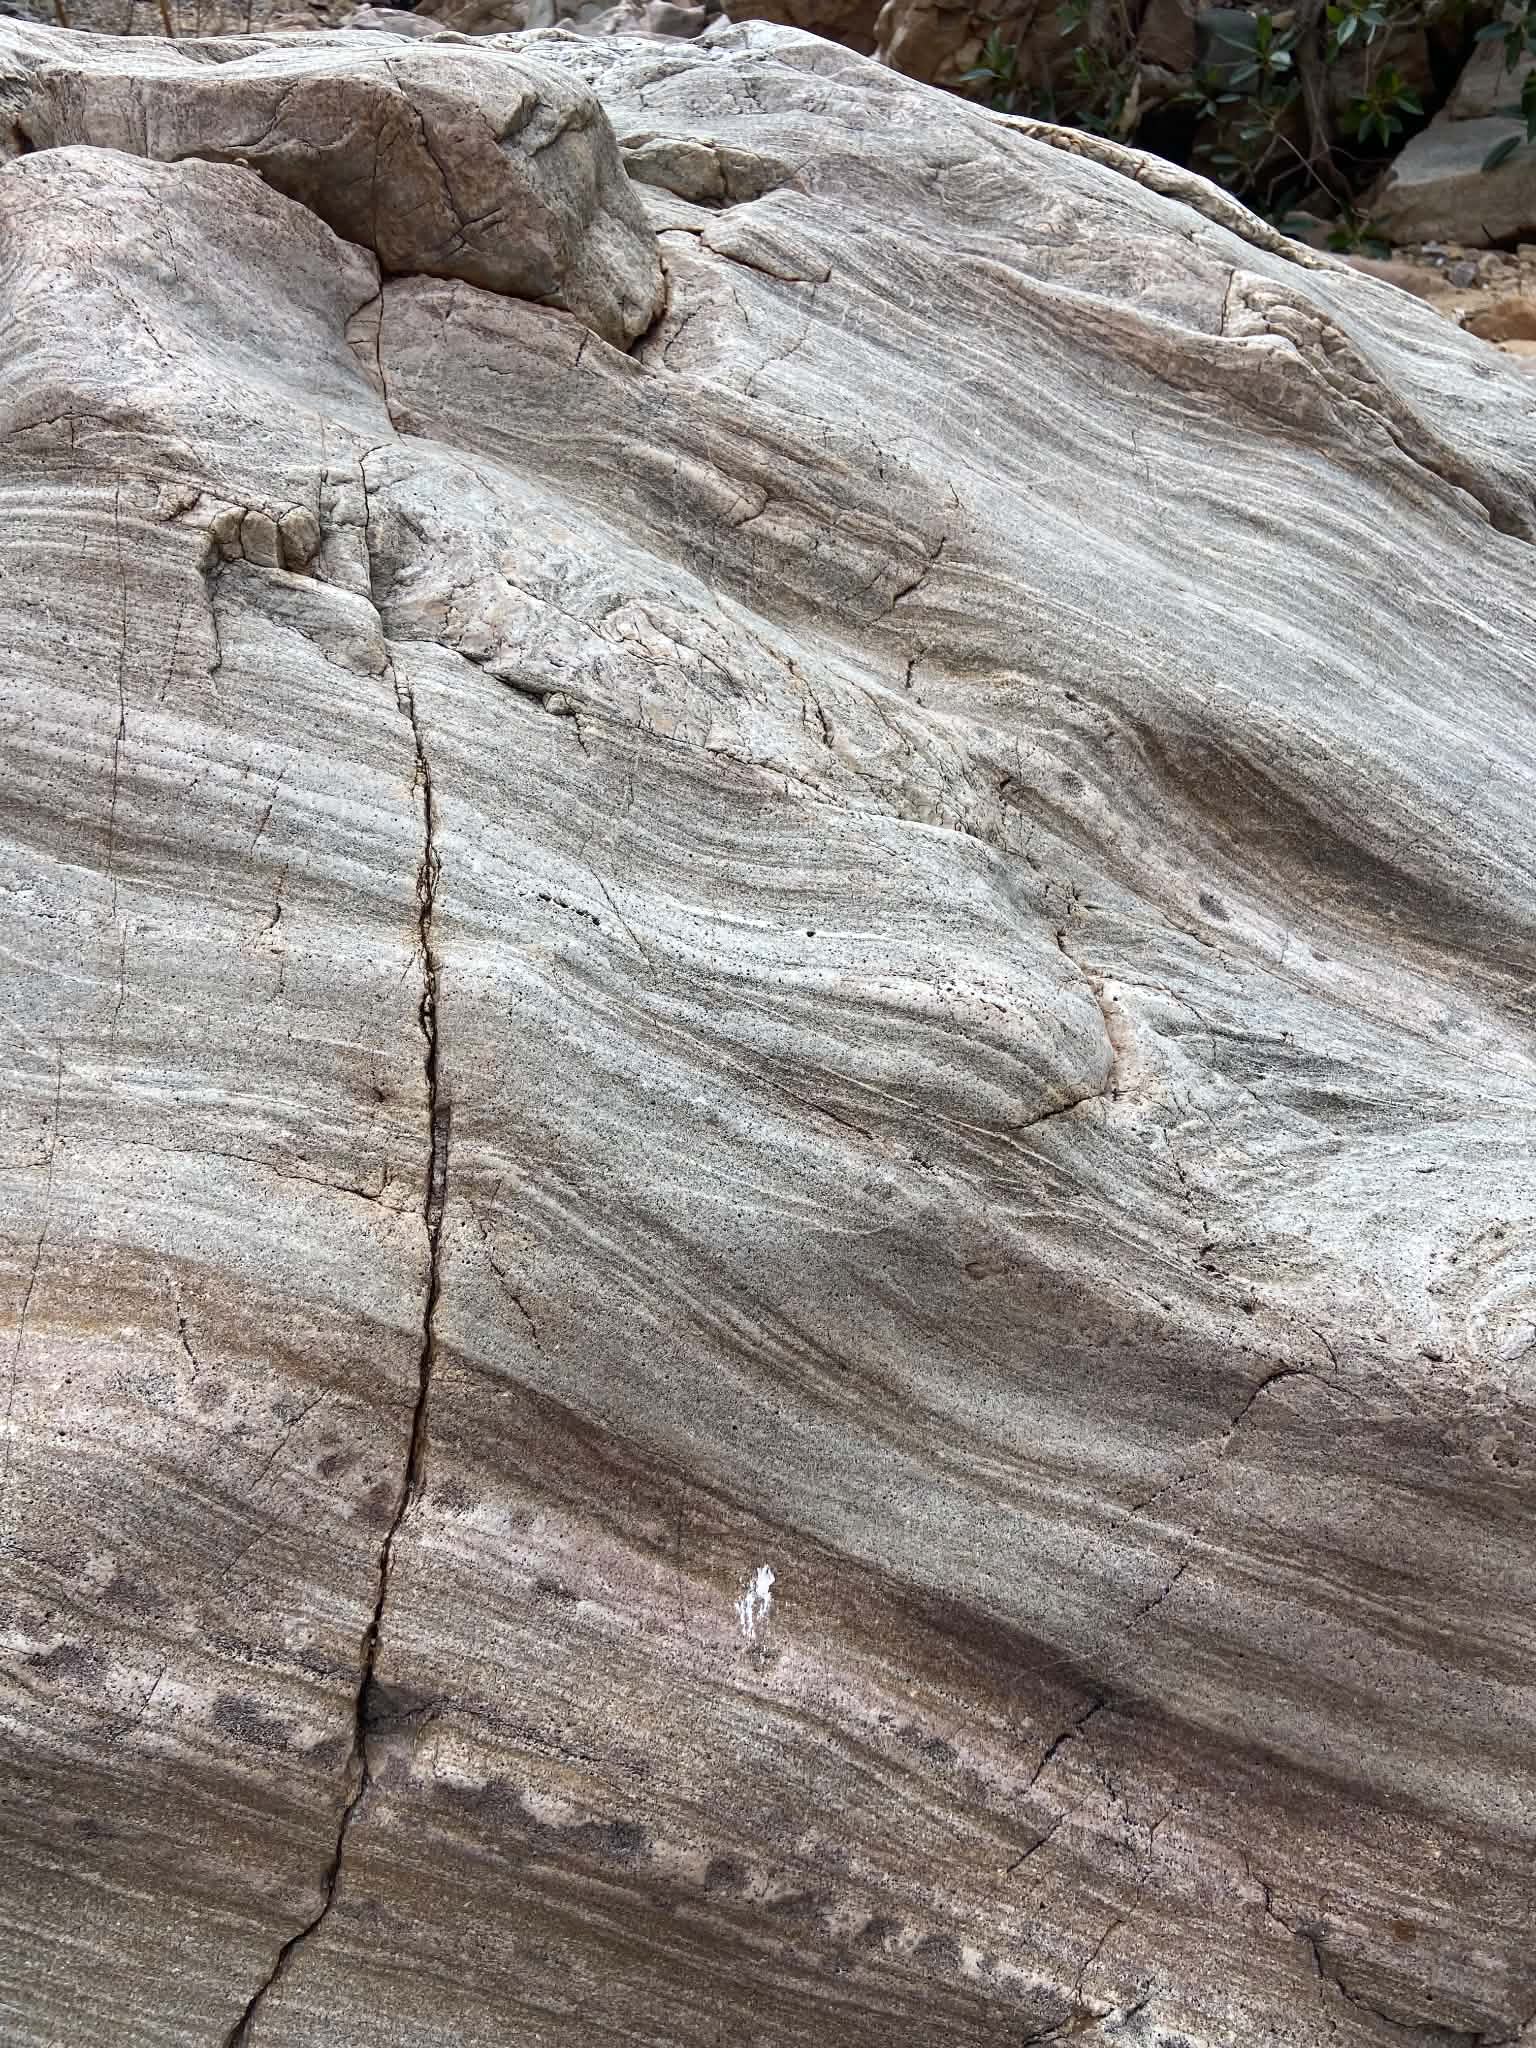
In this ancient country you will find yourself swept up in rusted dirt and stacked mountains from time immemorial. Formed 450-300 million years ago in the Alice Springs Orogeny, the West MacDonnell Ranges is a product of the immense faulting of plates and gradual erosion (Red Centre Northern Territory, 2026). The range now stands at 400-500m high, but is thought to have eroded from an original height of over 4,500m (Red Centre Northern Territory, 2026). Before this, the landscape was a shallow ocean floor and the Larapinta Trail gifts clues of its past in prehistoric fossils and ocean waves smoothly carved into rock (Larapinta Trail Walk, 2026).
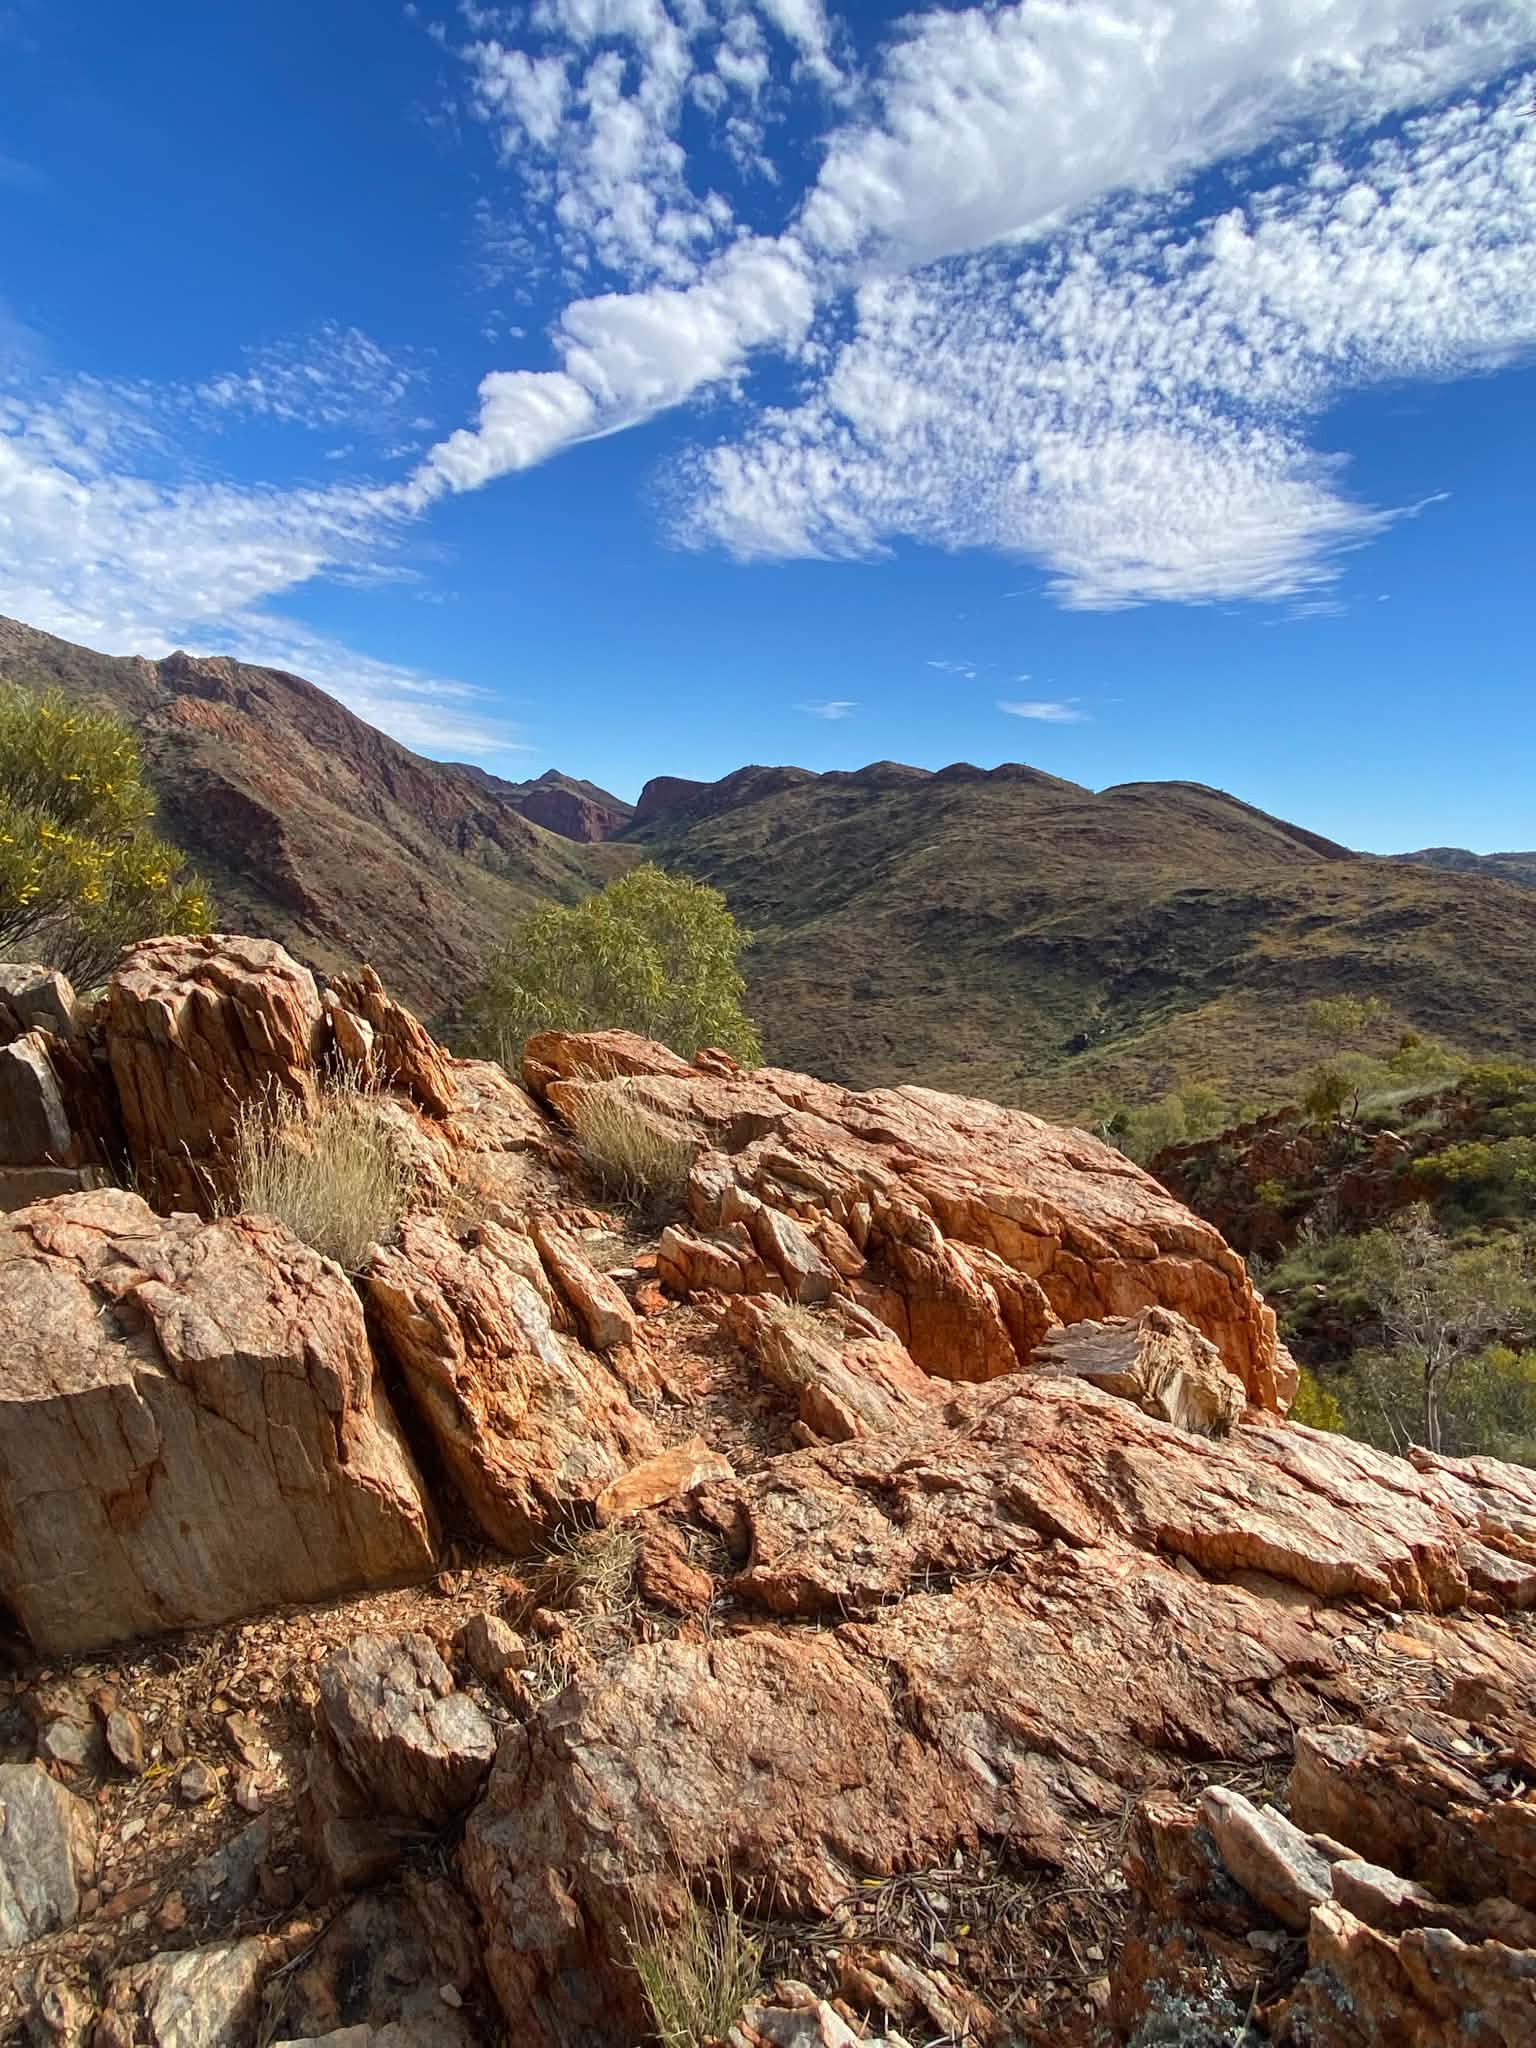
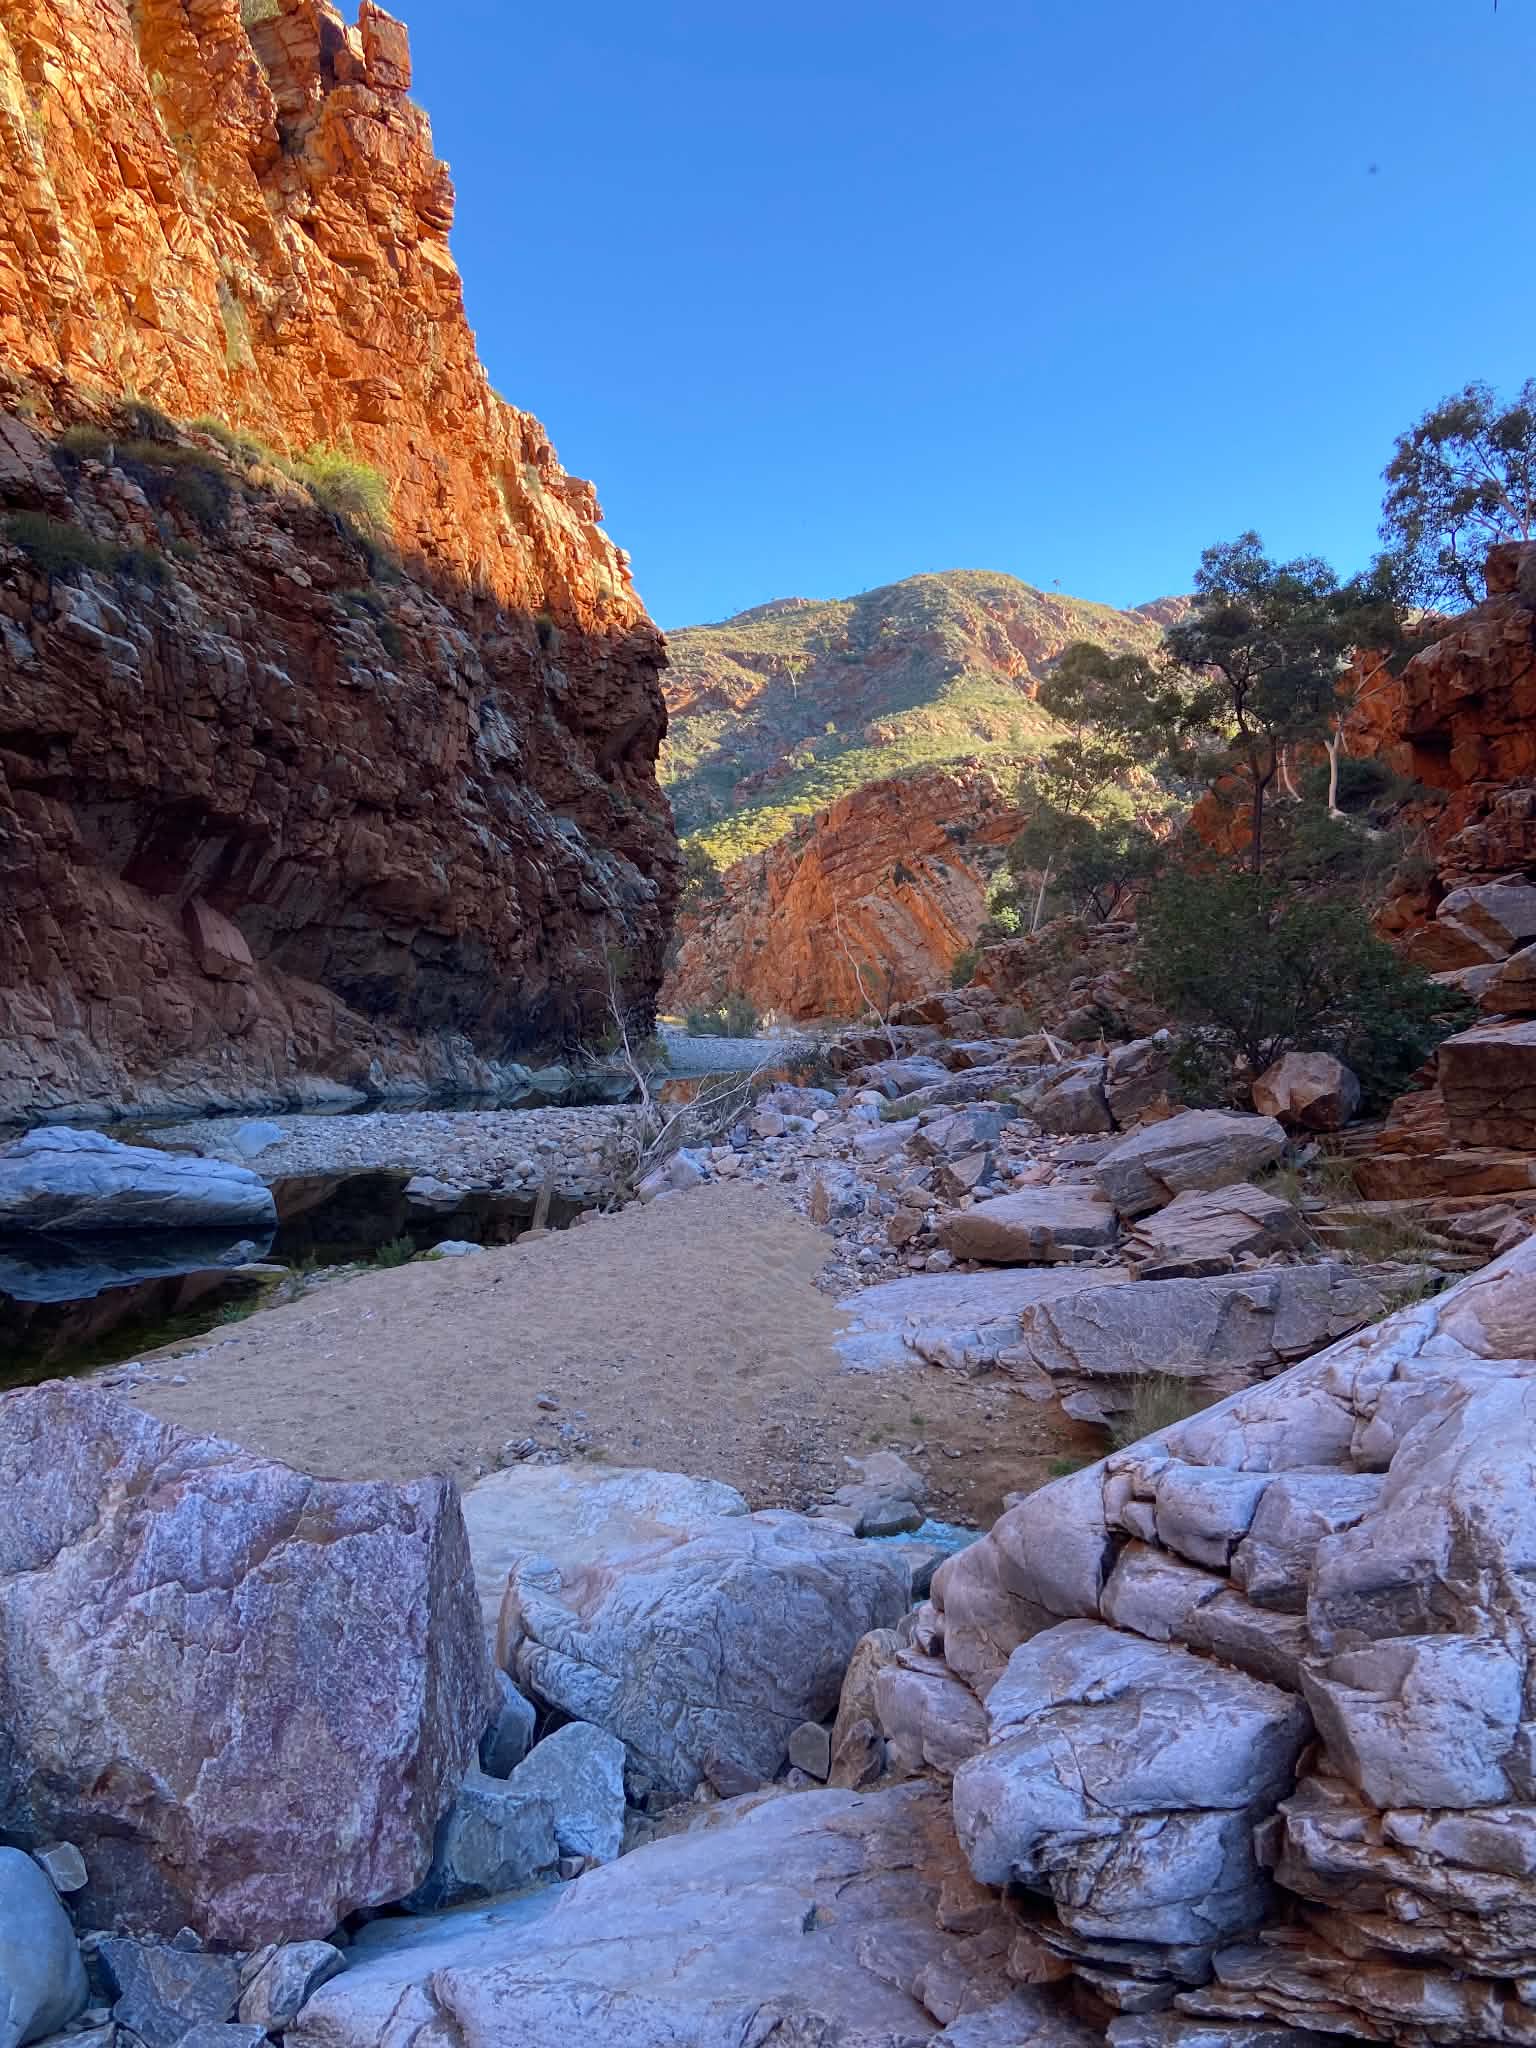
These lands have long been home to the Arrernte people (pronounced Ah-runda), dating 40,000 years and is one of the longest continuing cultures in the world. The Larapinta Trail traverses lands which have been cared for and preserved by the Arrernte people through oral history and Dreaming stories passed through generations. There are ceremonial, spiritual and sacred sites along the trail, and it’s a true privilege to experience this country.
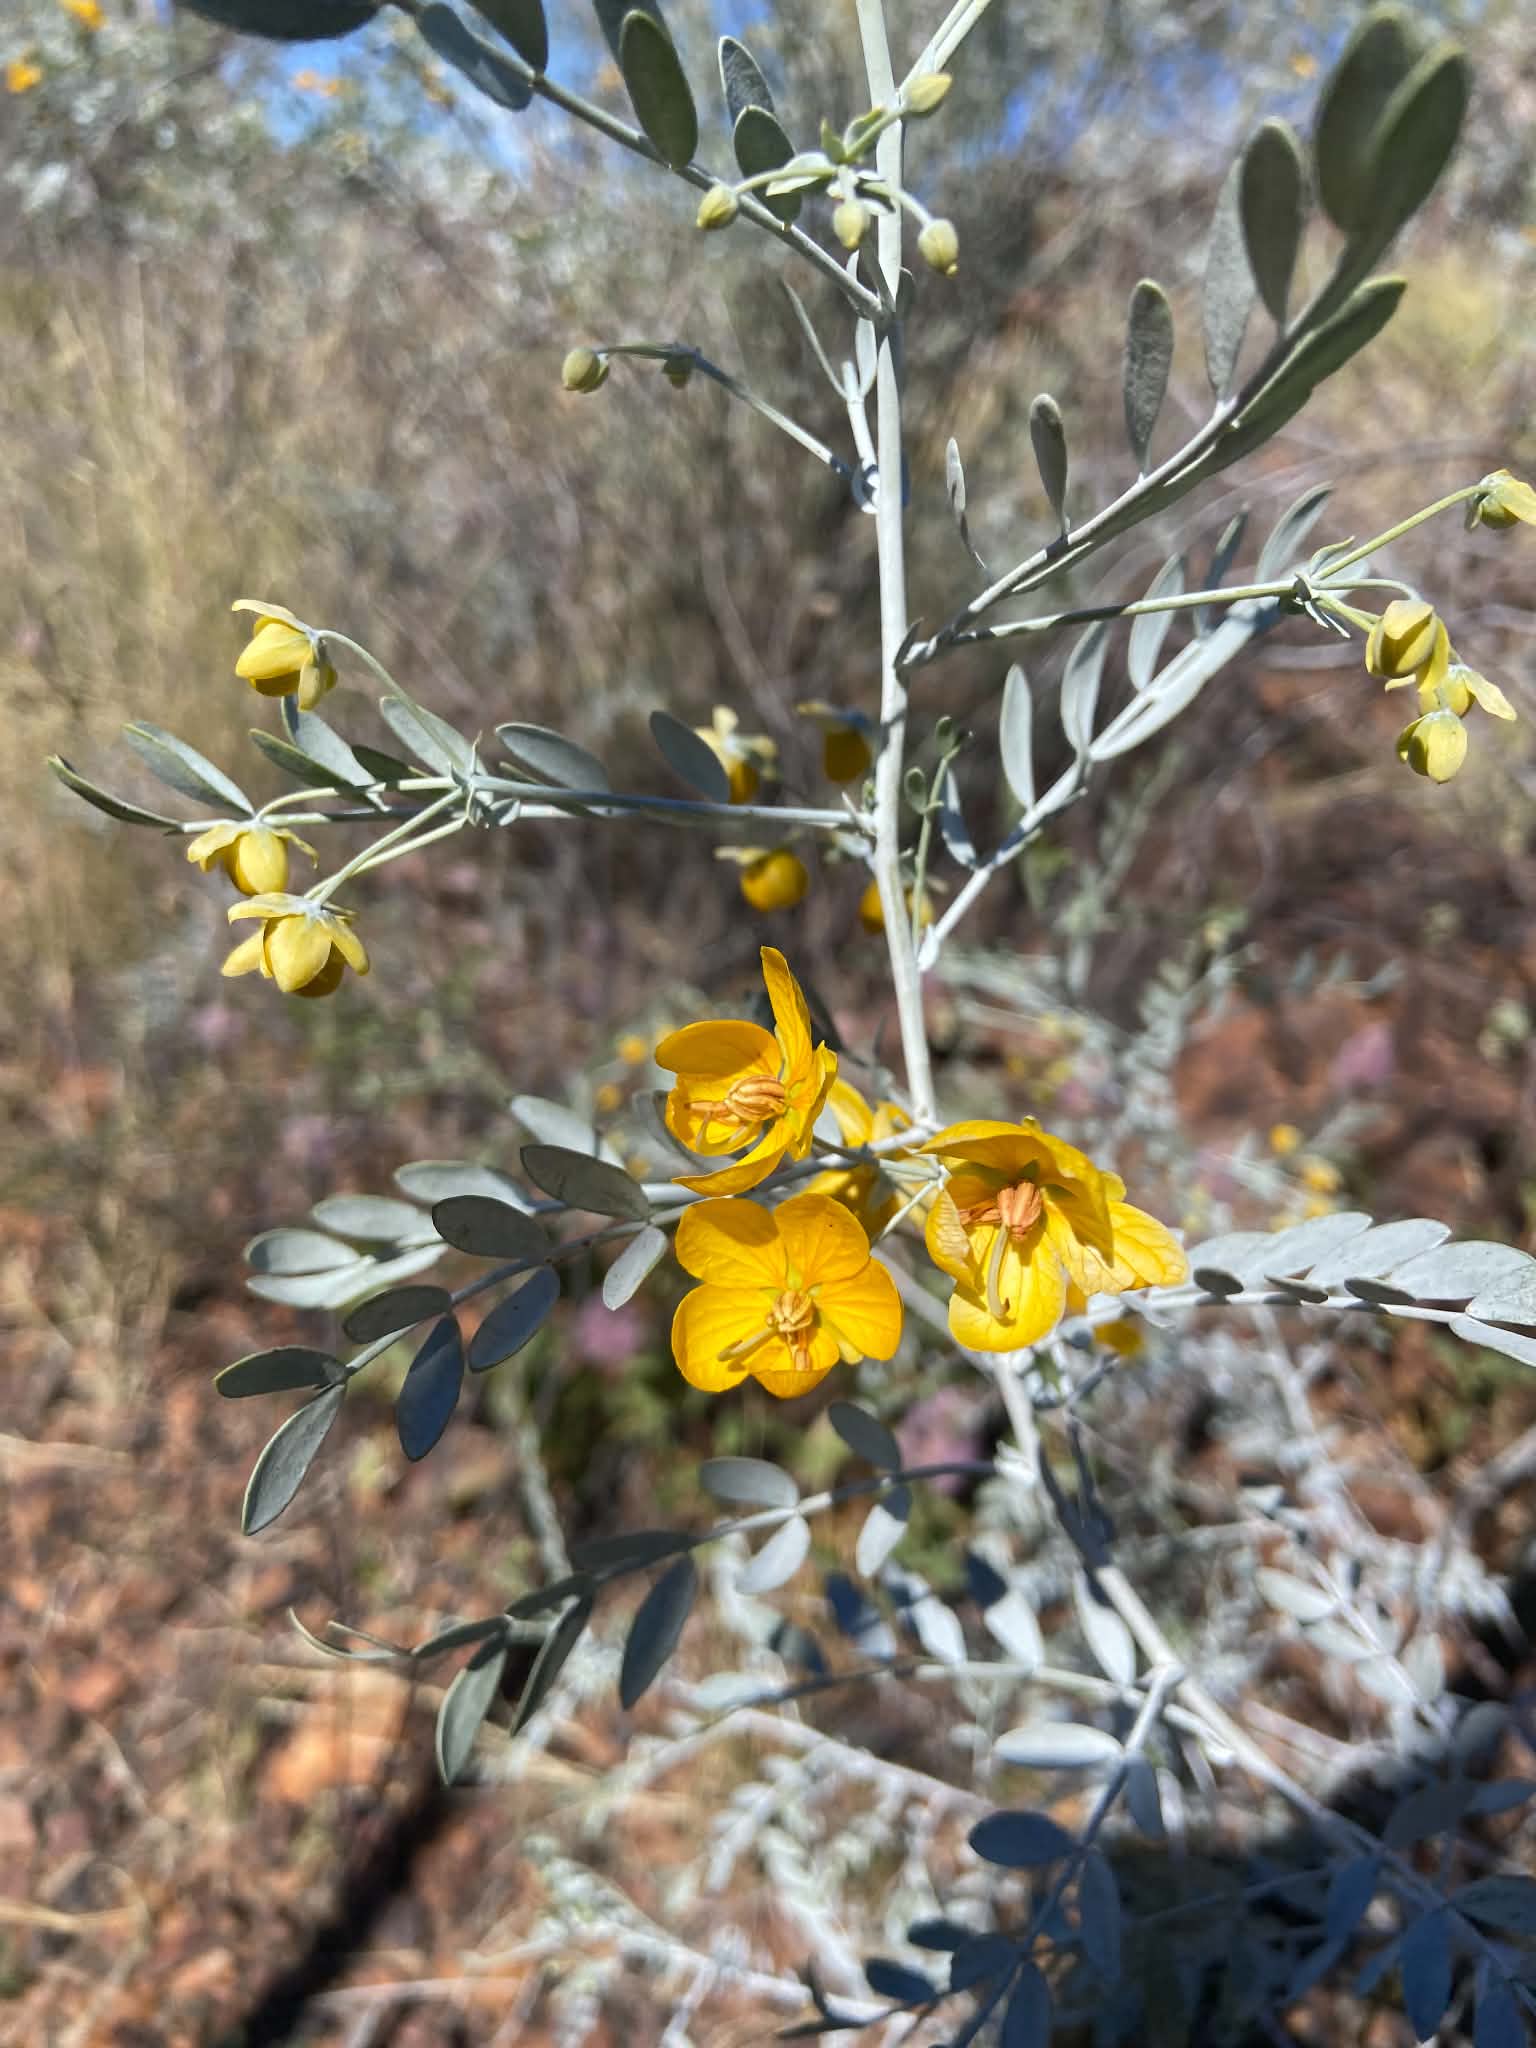
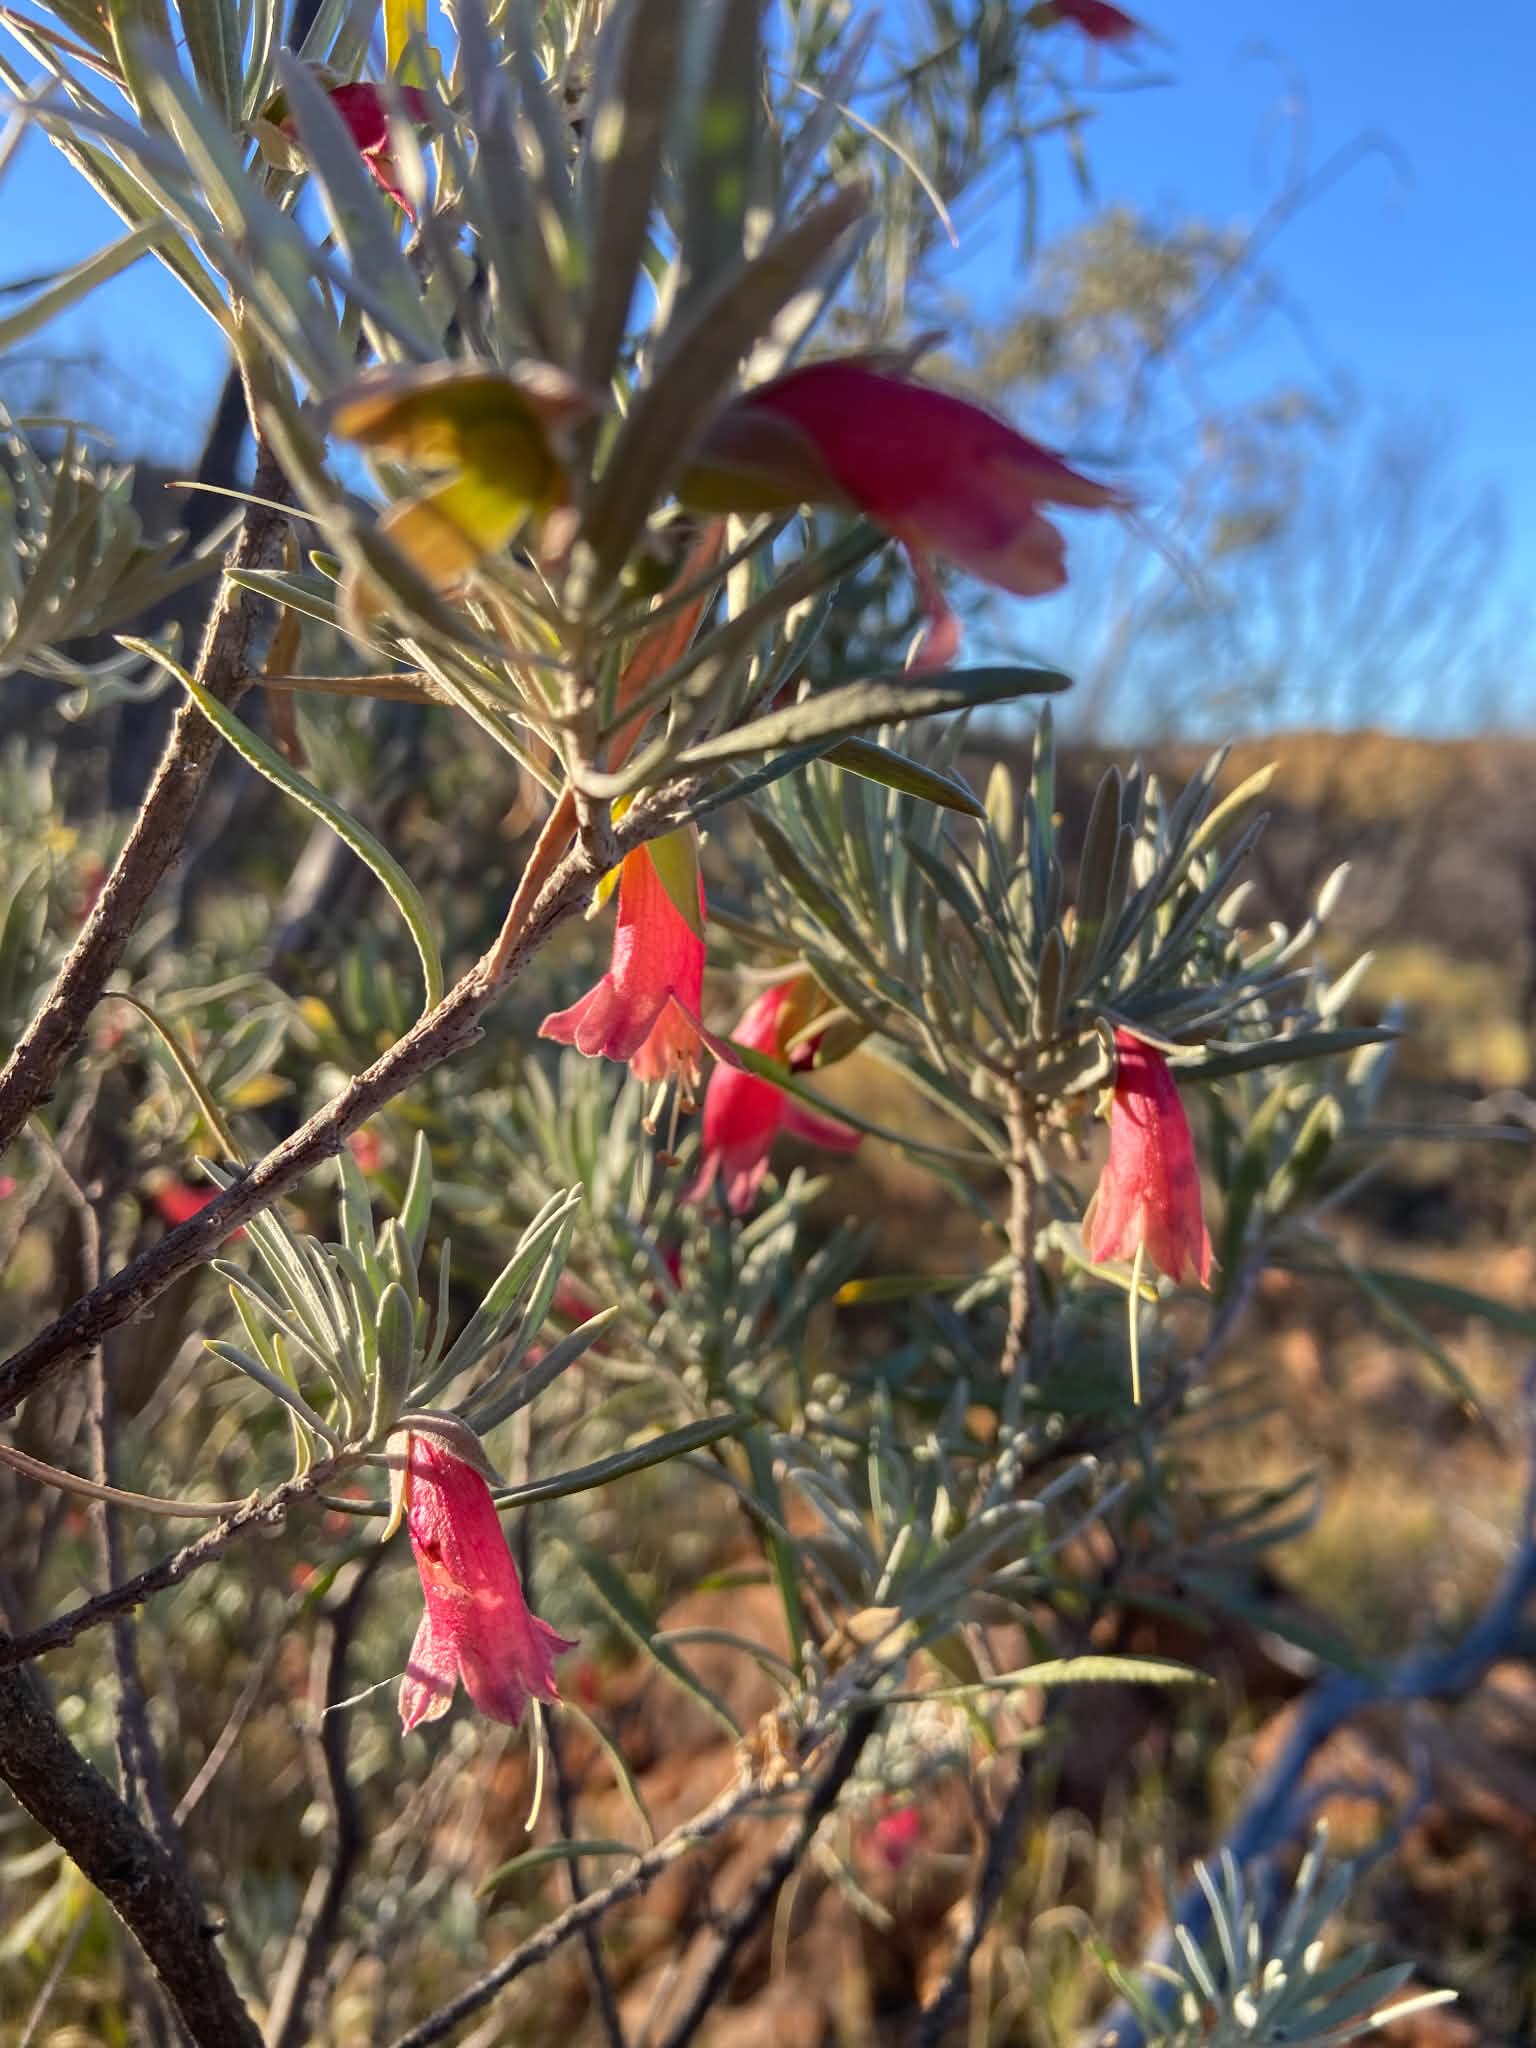
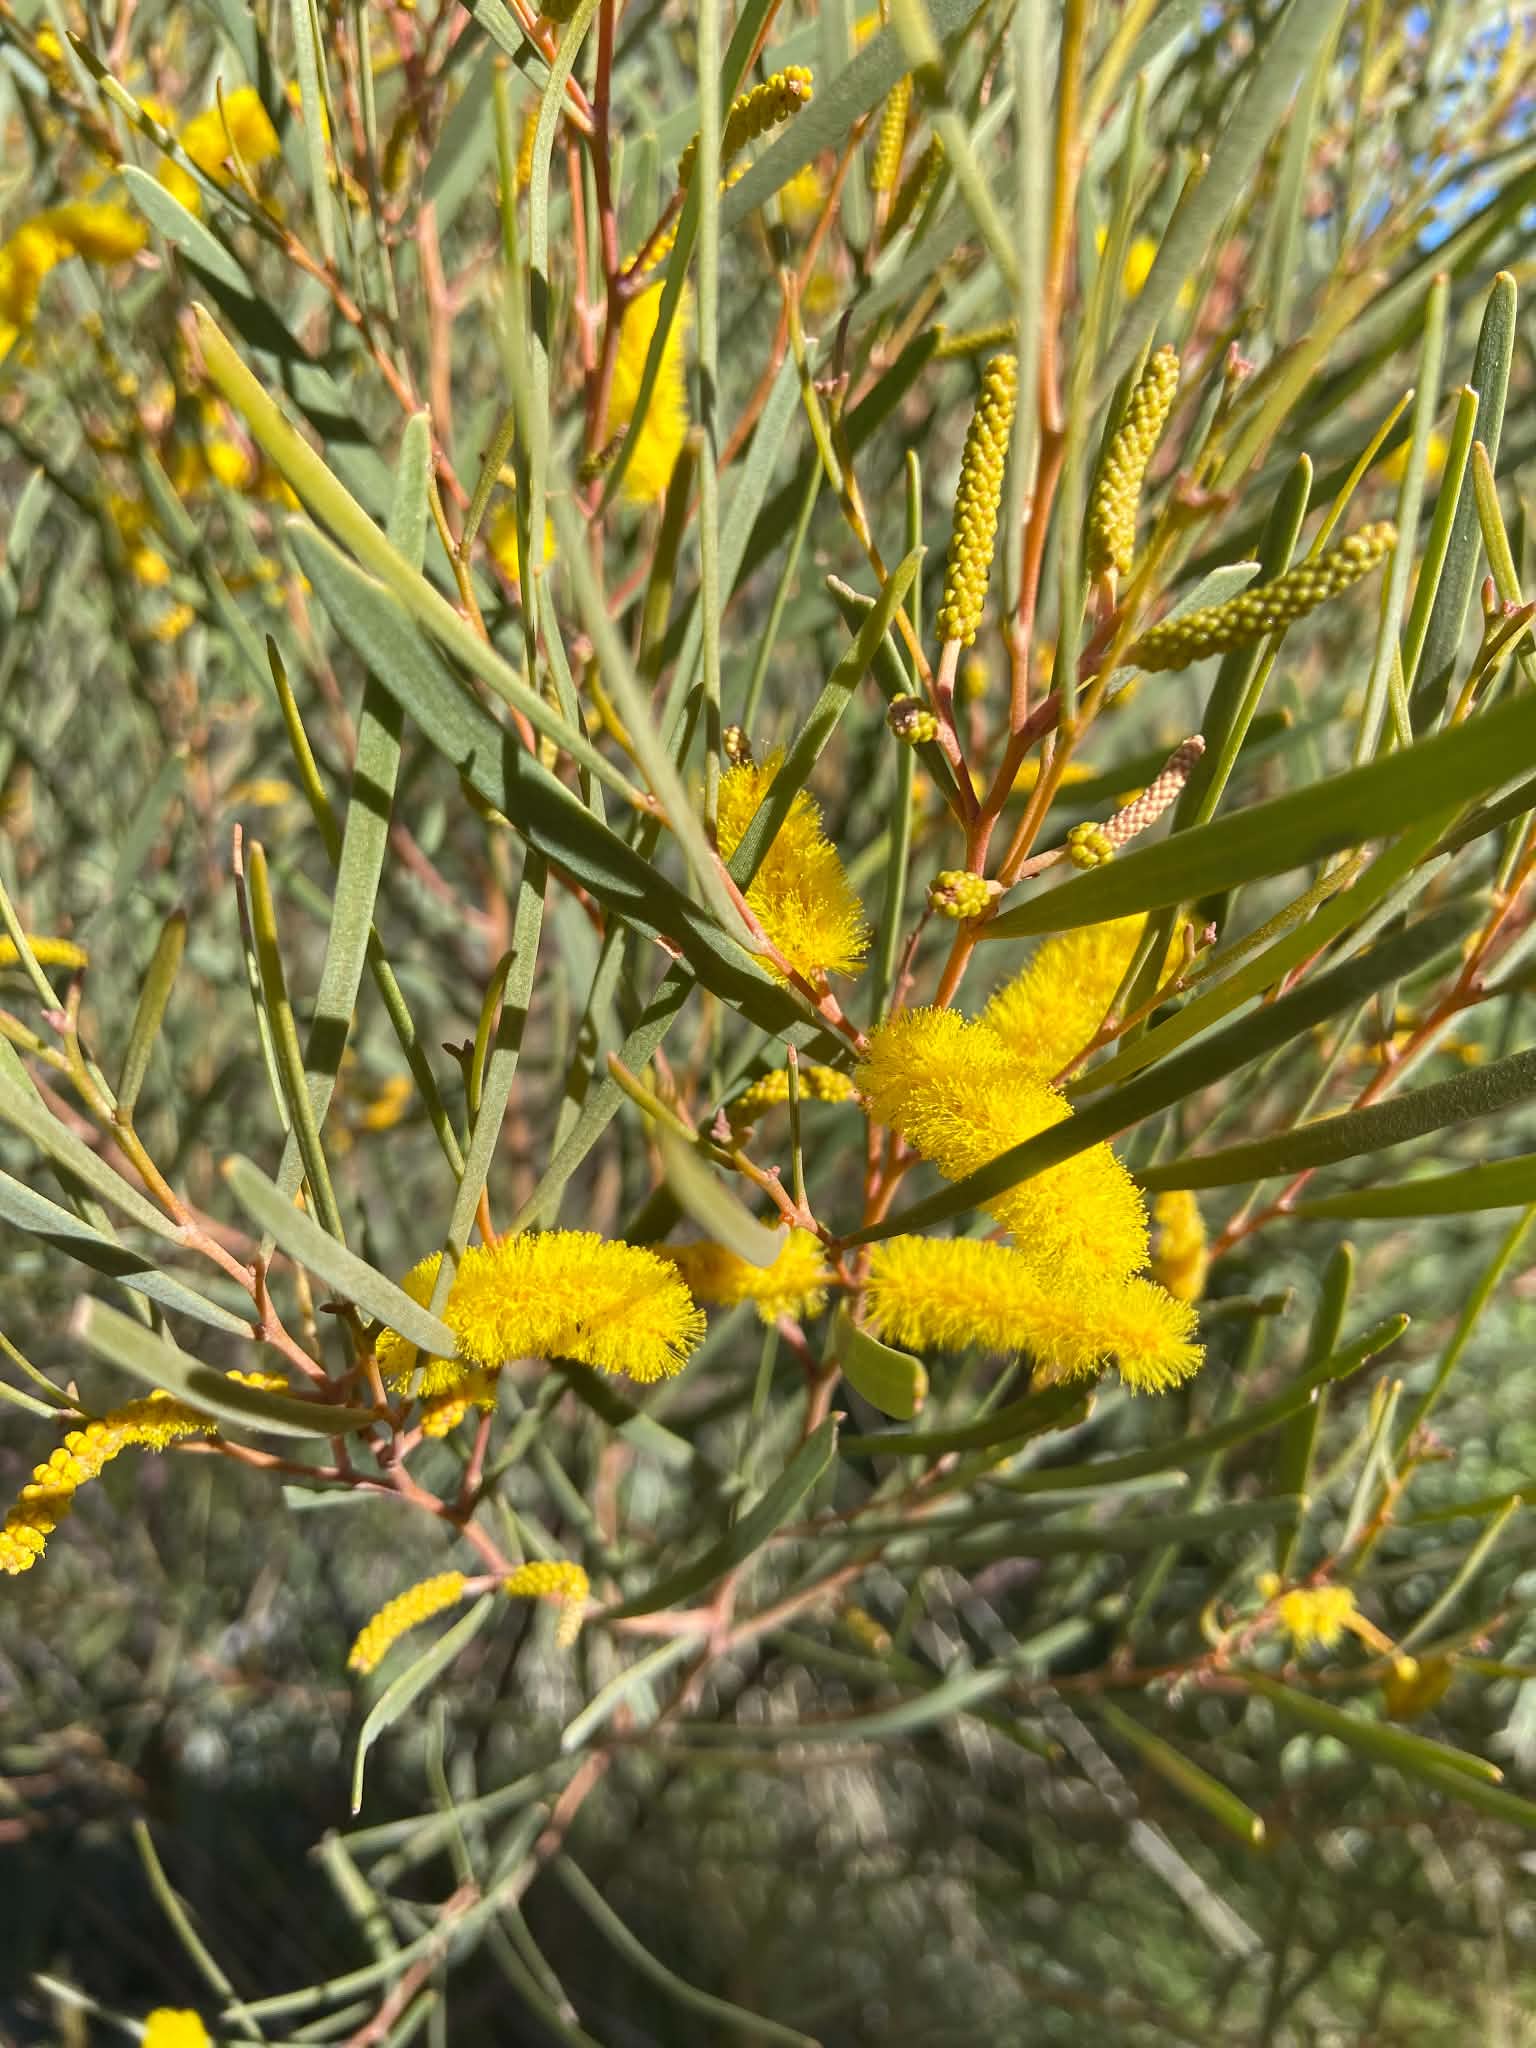
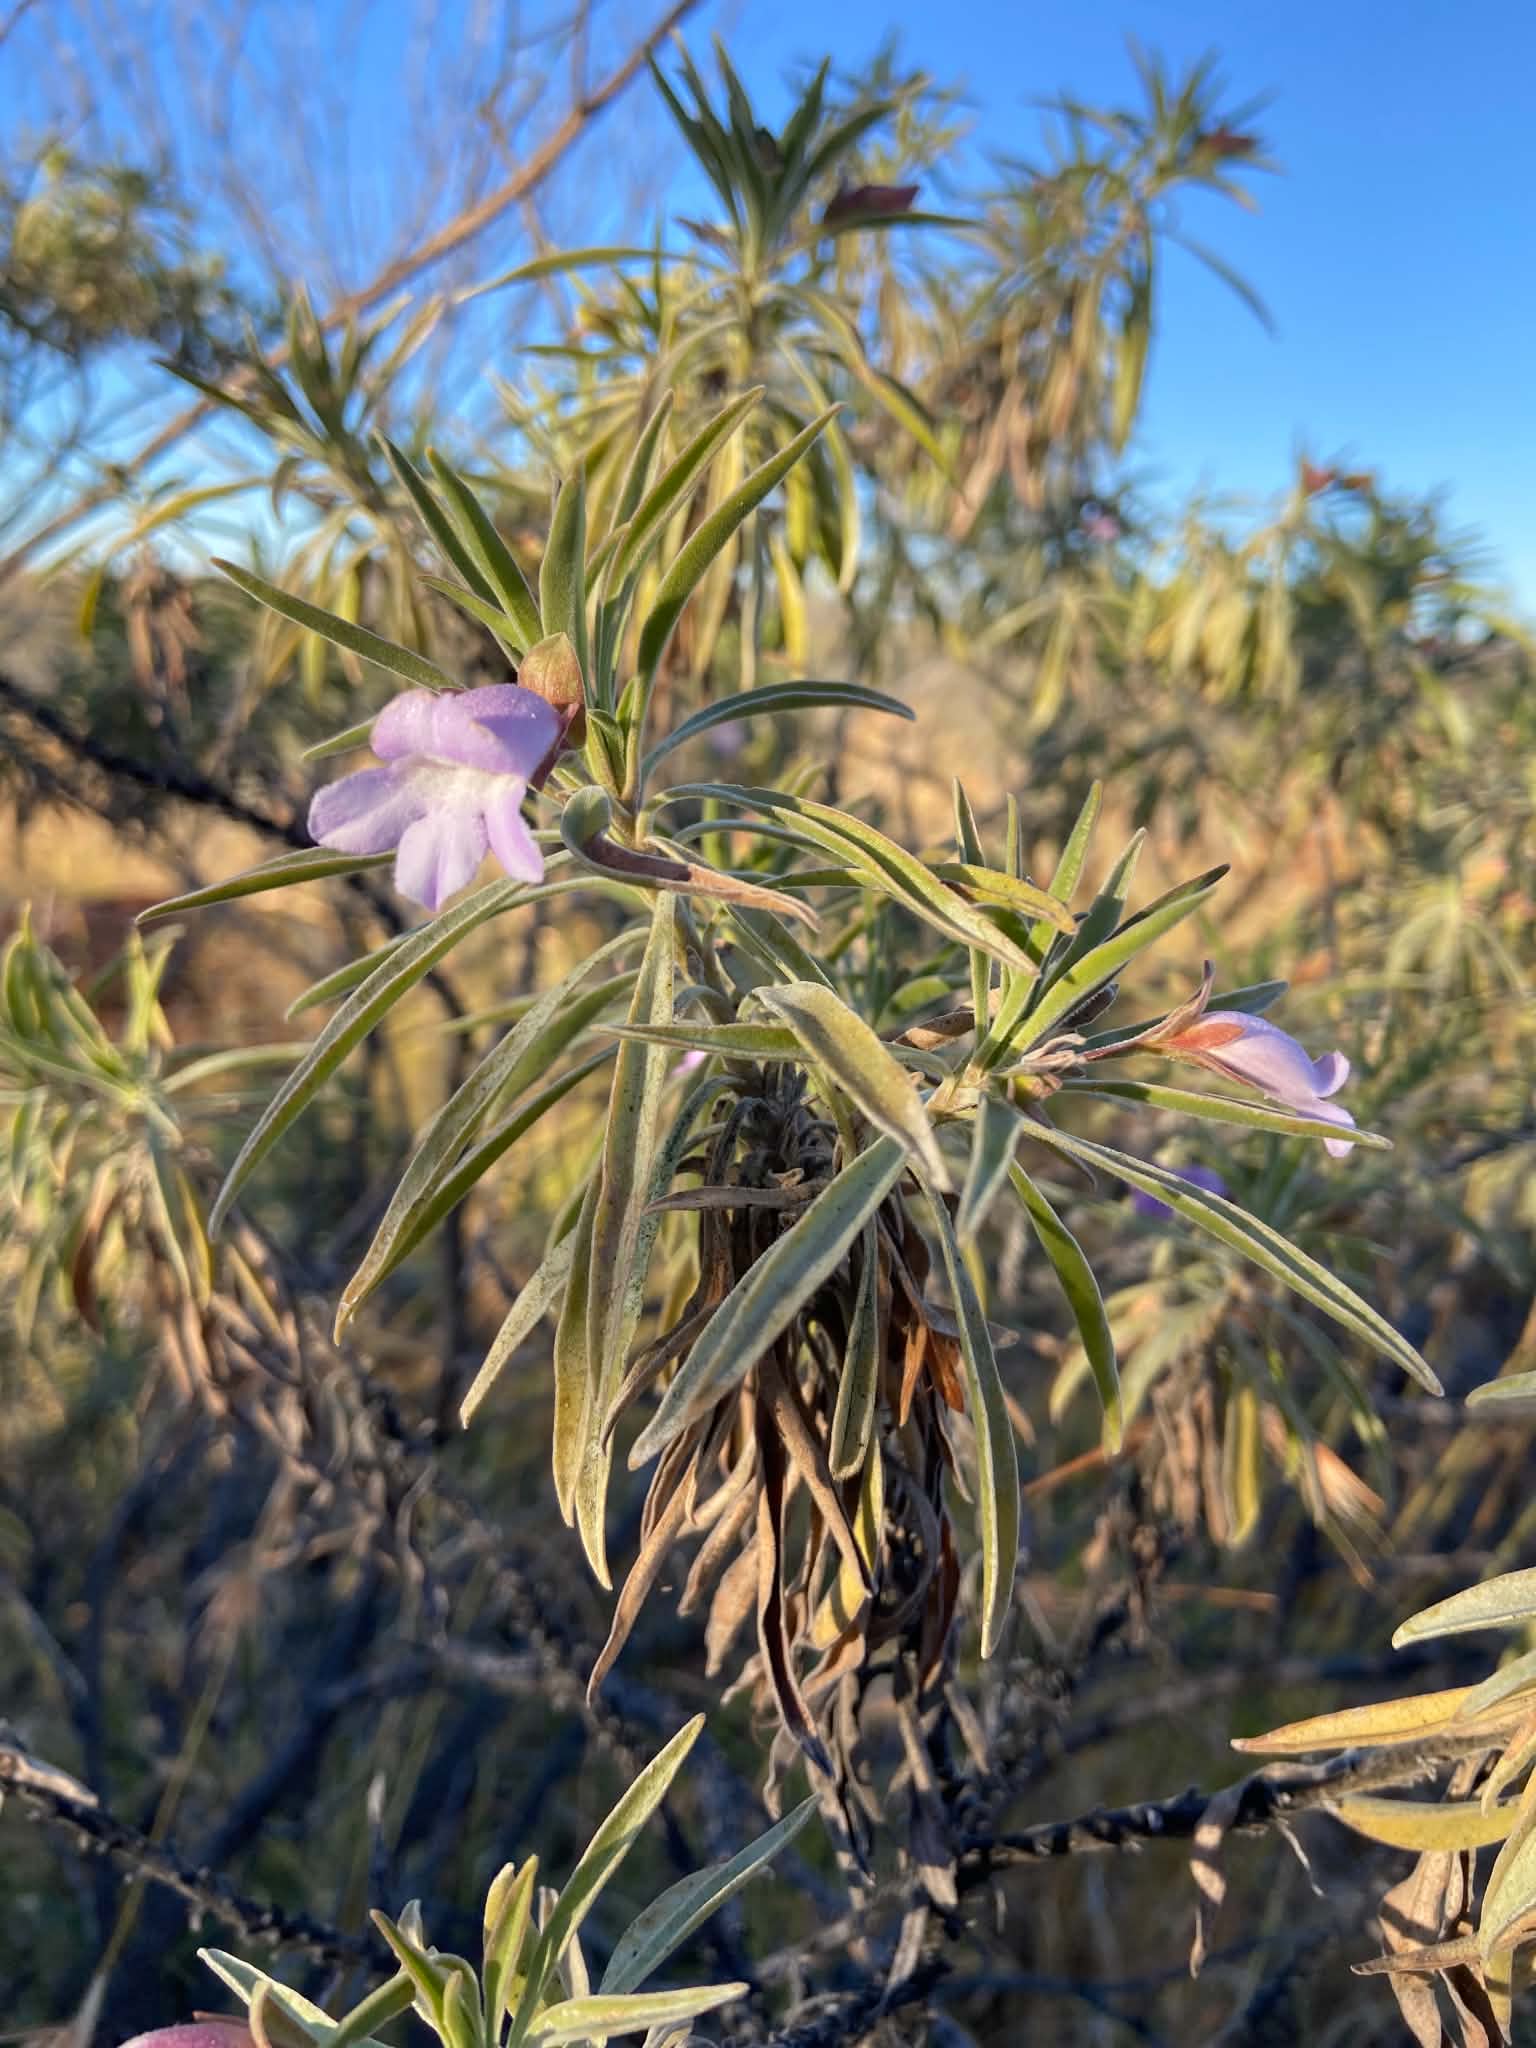
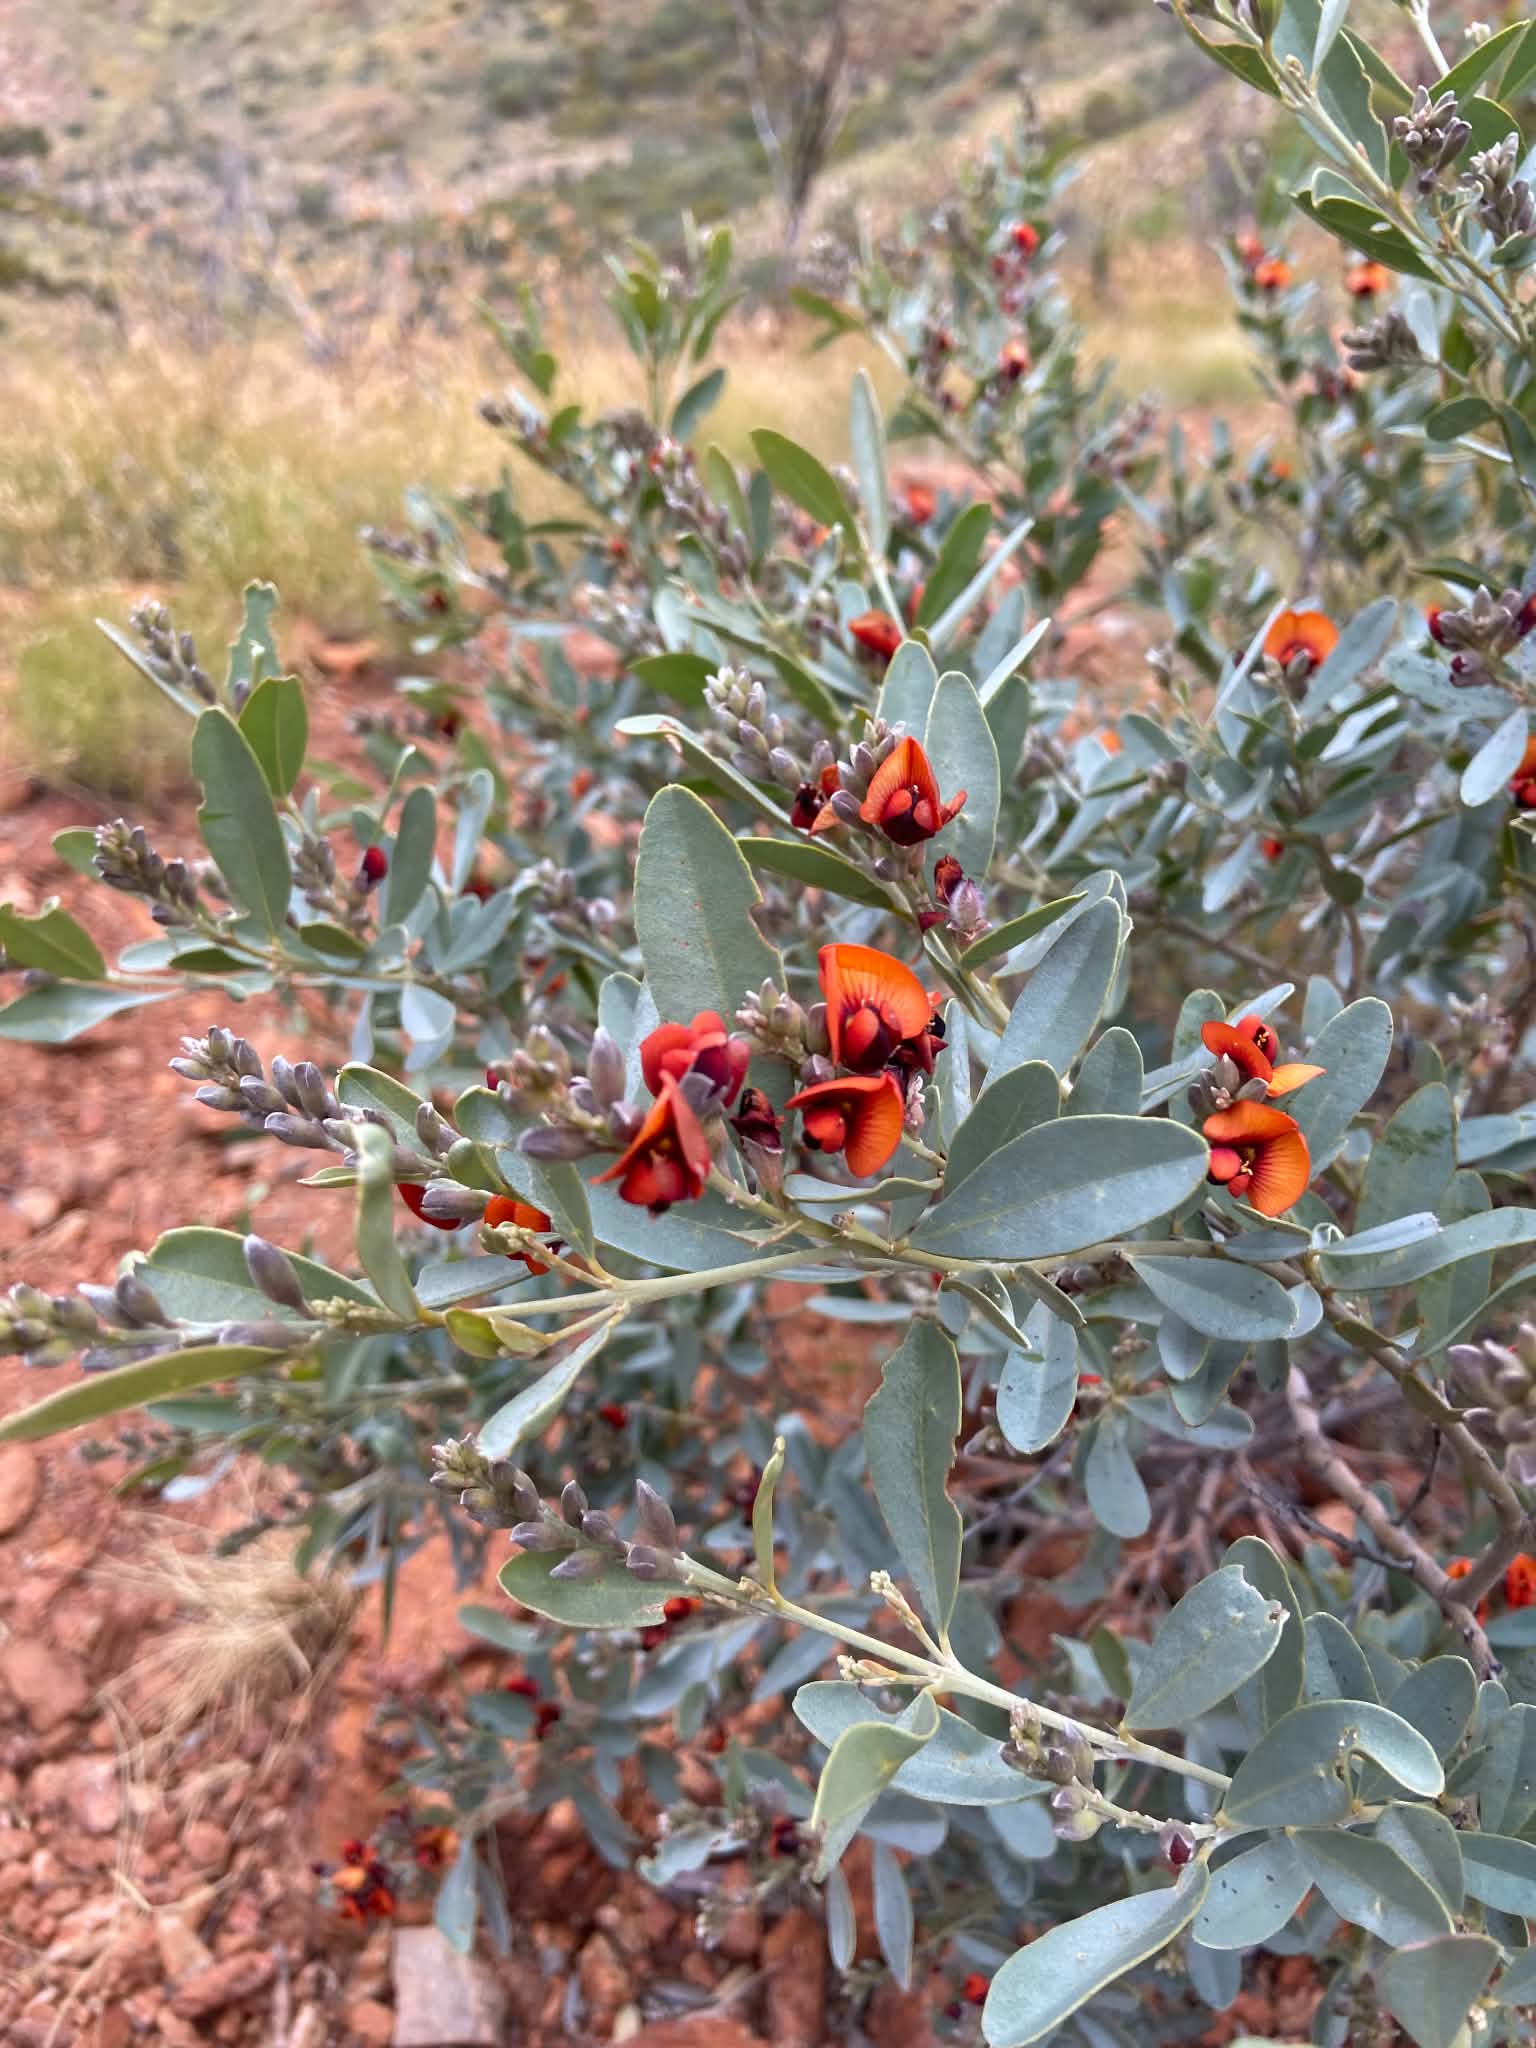
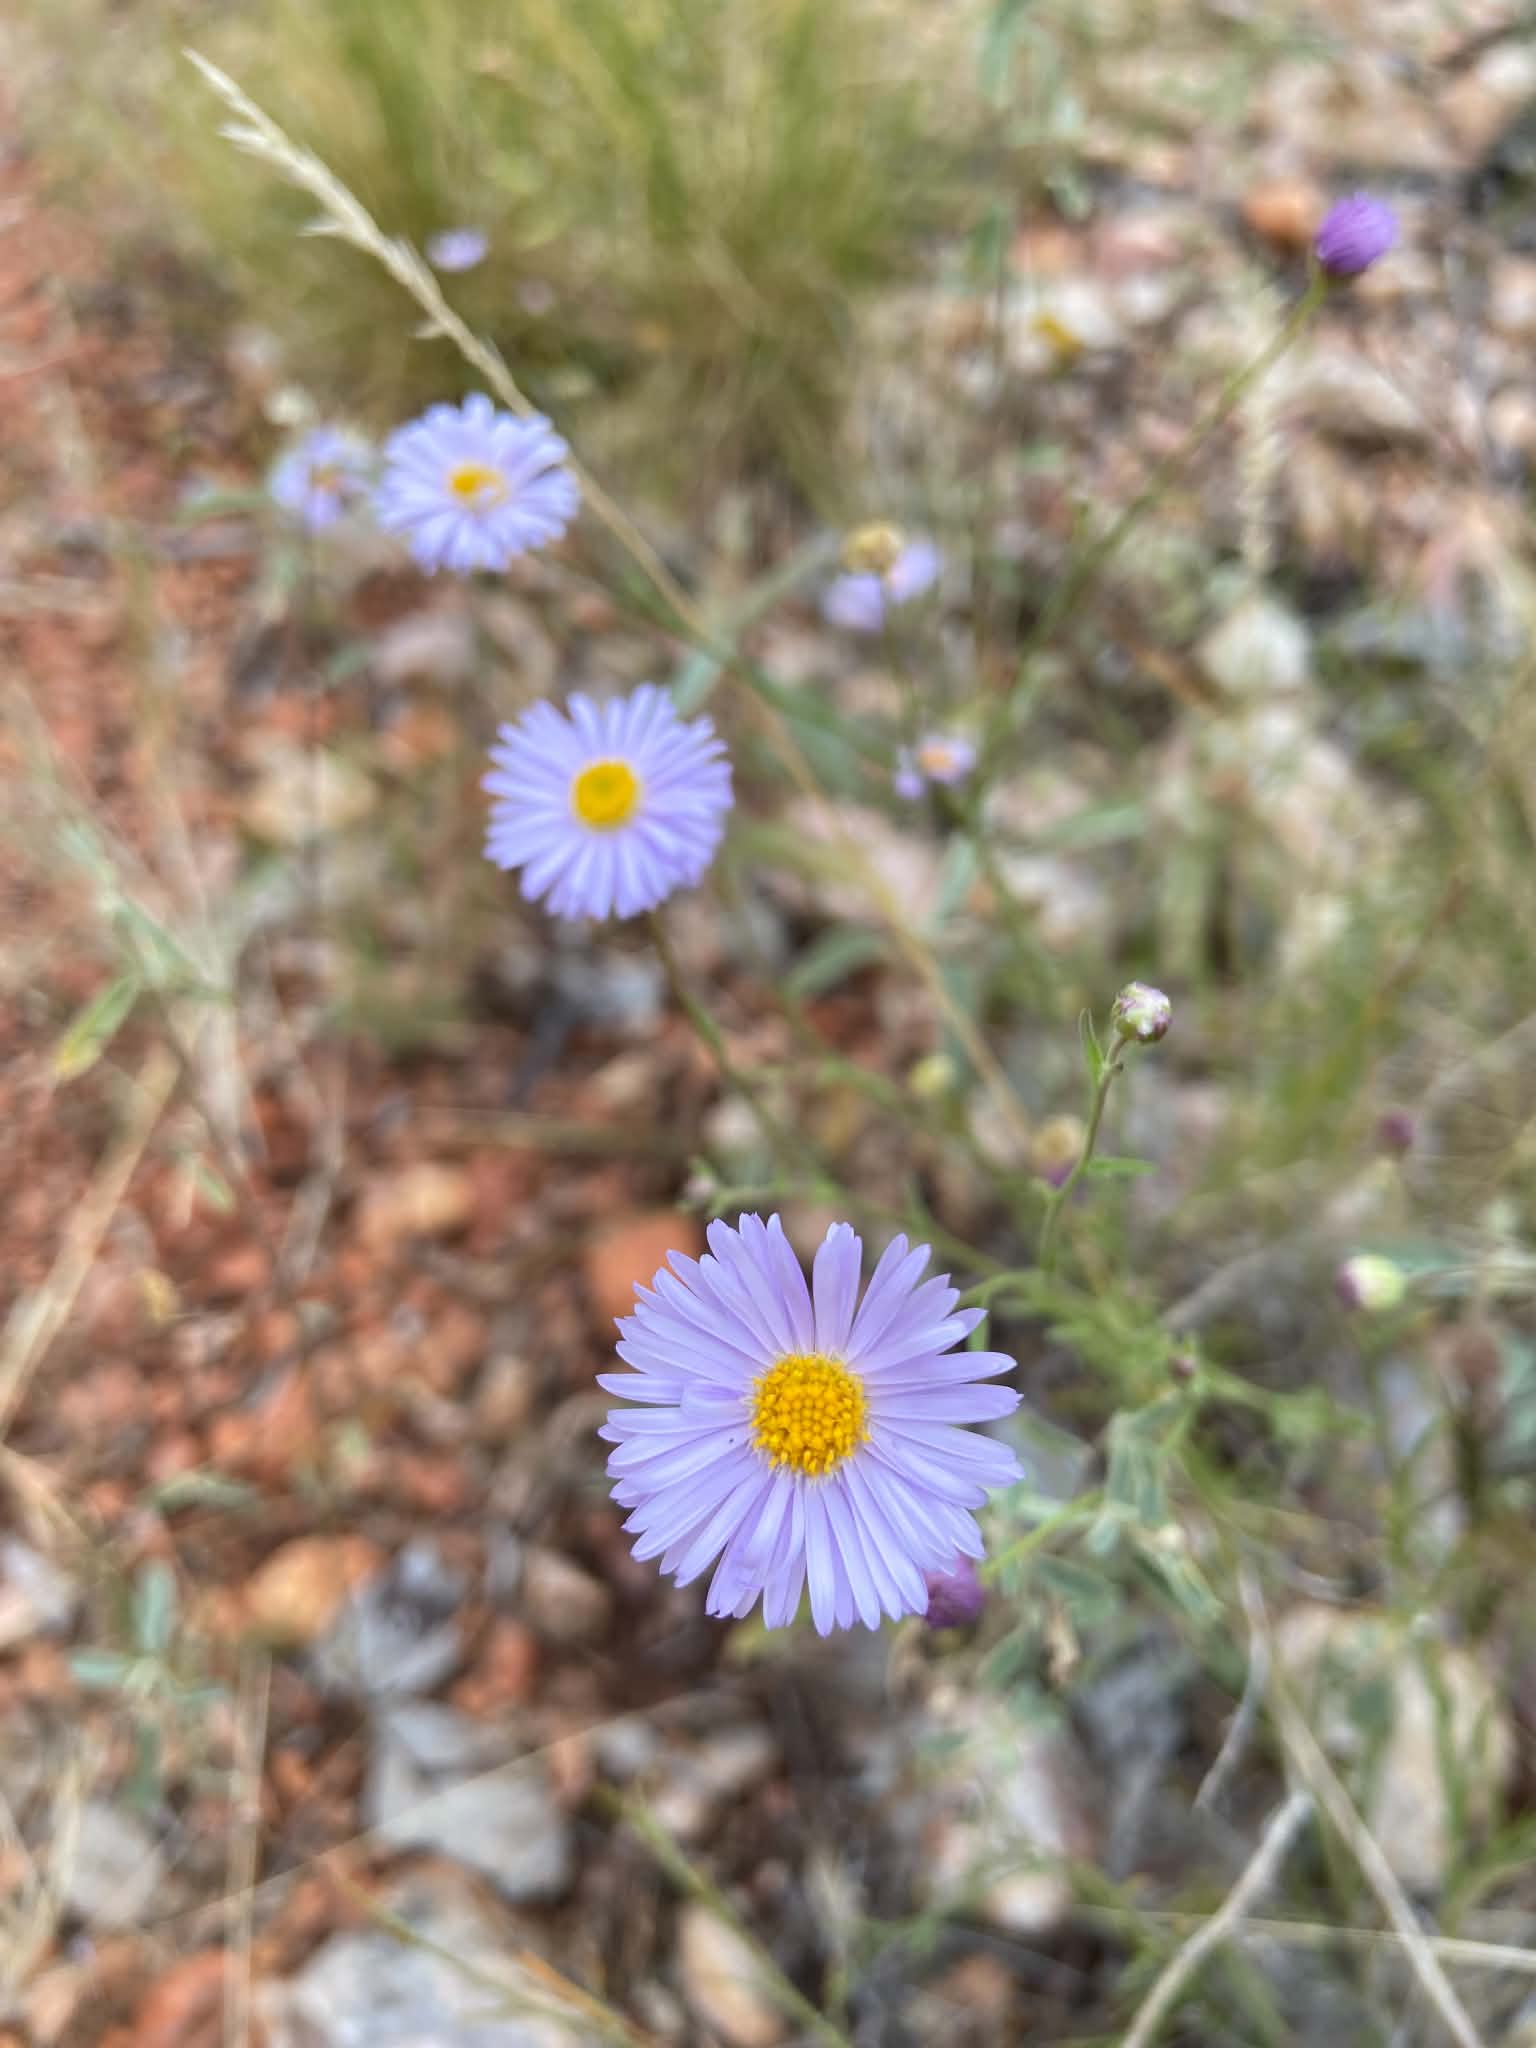
Despite the harsh conditions, this trail is home to a stunning array of flora and fauna. With wildflowers galore, the landscape is an endless array of colour, movement and an incredible range of birdsong to accompany your travels. As one of the most popular walks in Australia, the Larapinta is Australia’s answer to the Camino with plenty of opportunities to connect and share with others along the trail.
What’s Ahead:
Click the links to jump ahead:
- Lay of the Land
- Route
- Getting to & from the Trail
- Food Drops & Supplies
- Navigation
- Conditions & Terrain
- Safety
- Packing List
- Campsites
- Day 0: Alice Springs
- Day 1: Telegraph Stations to Simpsons Gap (Section 1)
- Day 2: Simpsons Gap to Jacy Creek (Section 2)
- Day 3: Jay Creek to Standley Chasm (Section 3)
- Day 4: Standley Chasm to Birthday Junction (Section 4)
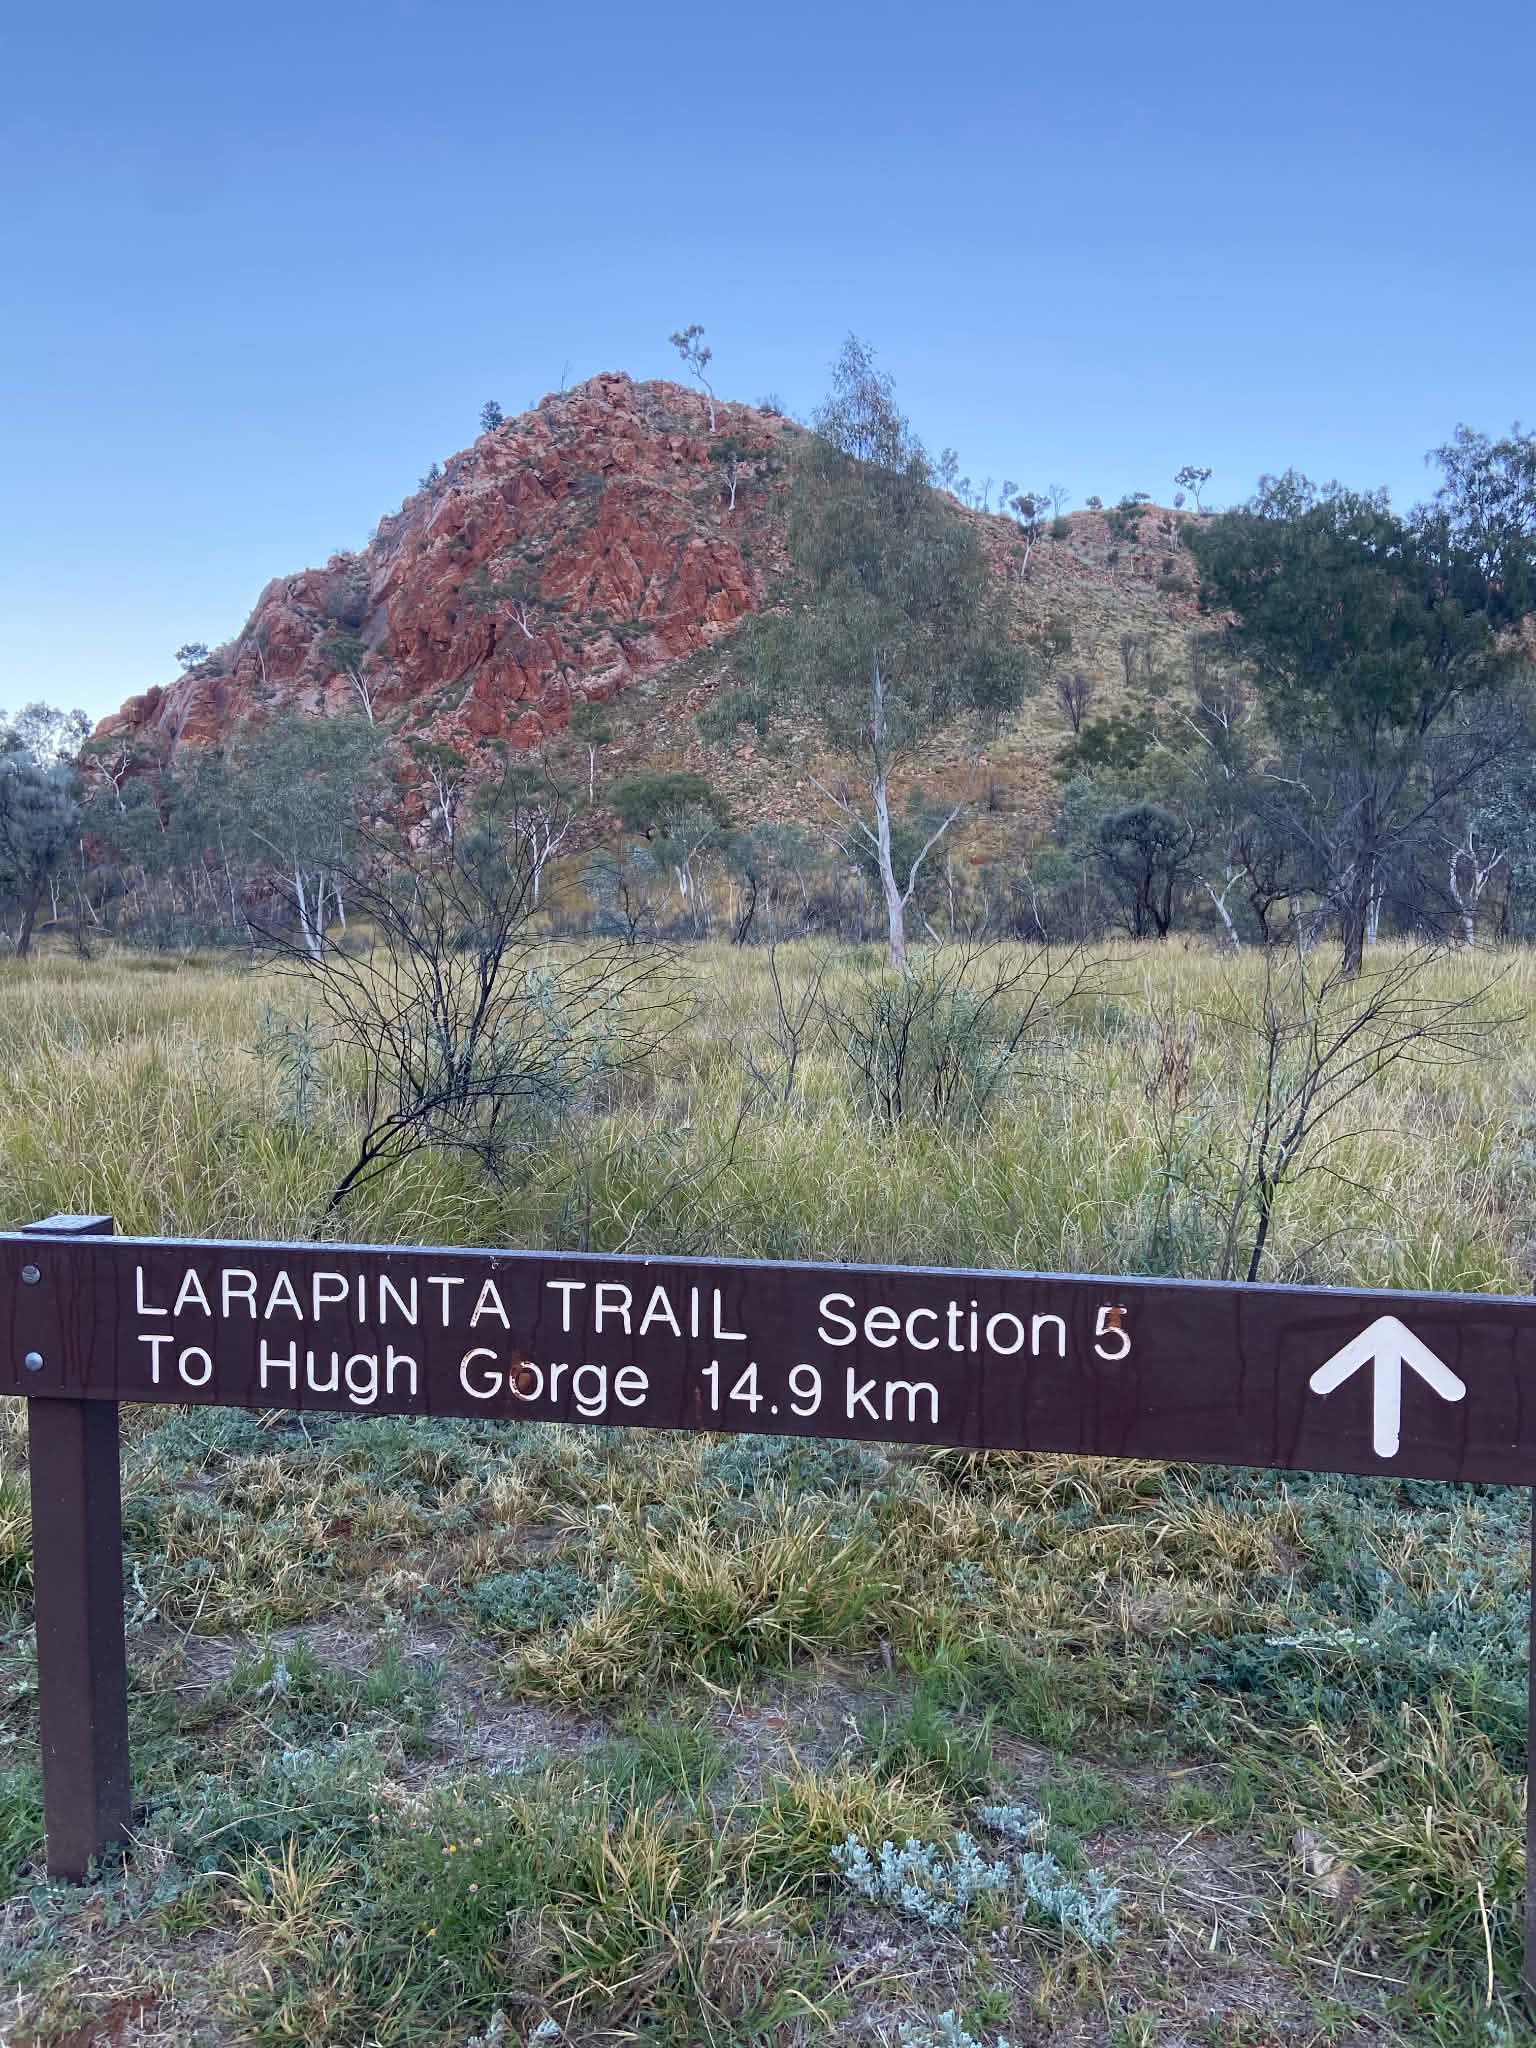
- Day 5: Birthday Junction to Hugh Gorge (Section 5)
- Day 6: Hugh Gorge to Rocky Gully (Section 6)
- Day 7: Rocky Gully to Ellery Creek North (Section 6)
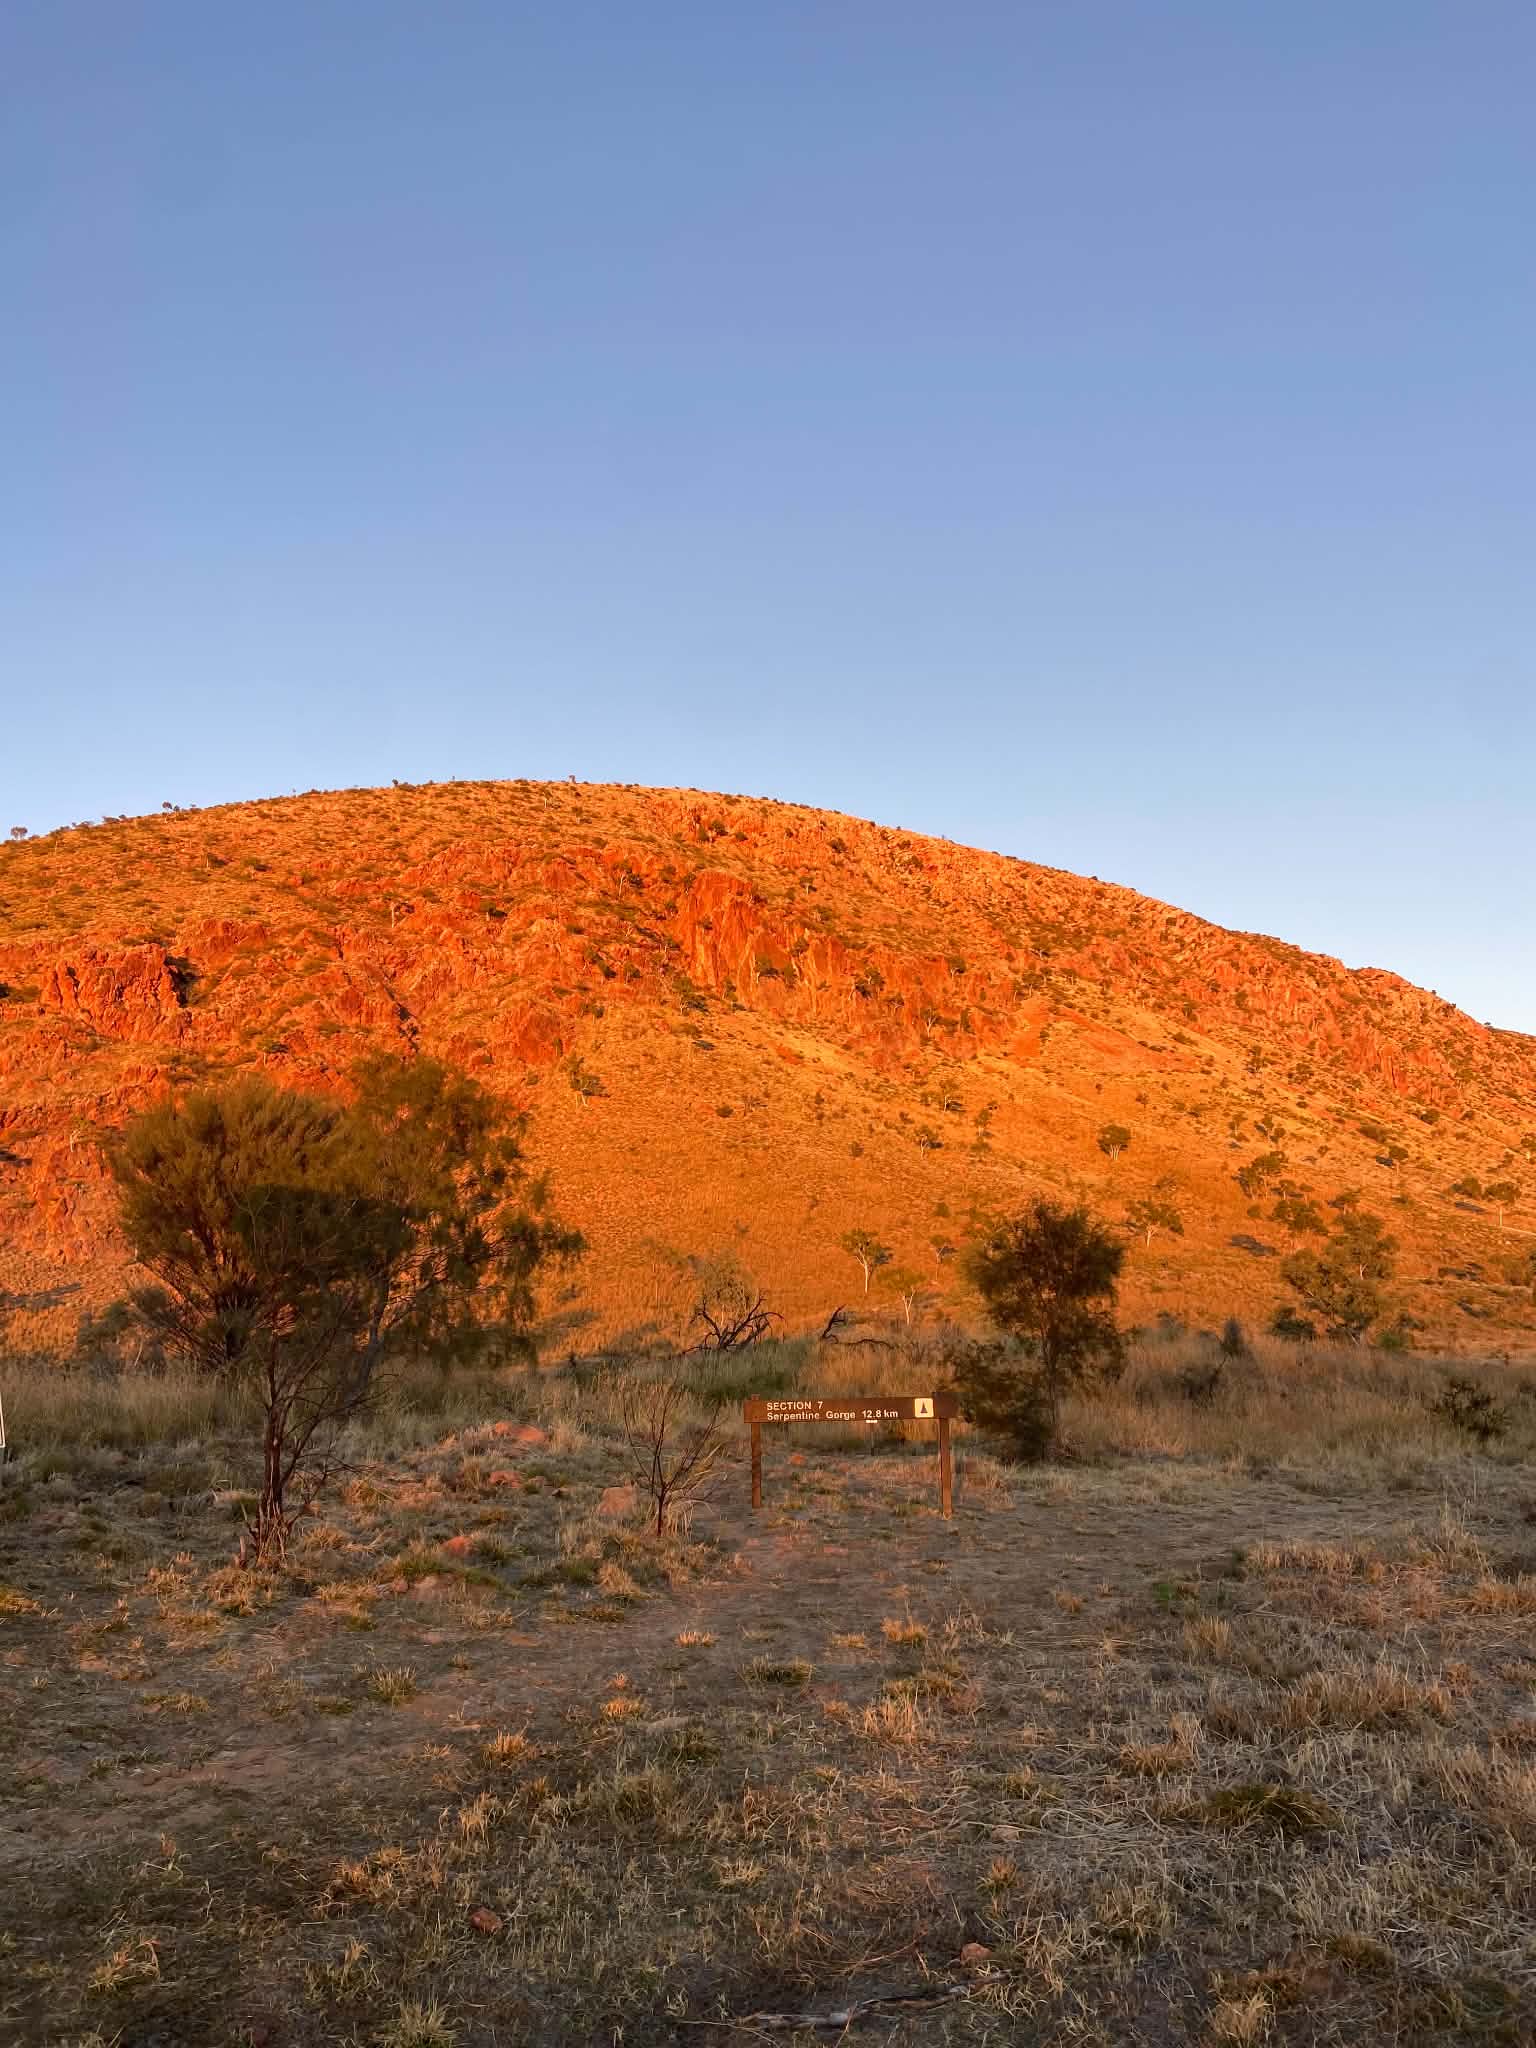
- Day 8: Ellery Creek North to Serpentine Camp (Section 7)
- Day 9: Serpentine Camp rest day
- Day 10: Serpentine Camp to Serpentine Chalet Dam (Section 8)
- Day 11: Serpentine Chalet Dam to Hermit’s Hideaway (Section 9)
- Day 12: Hermit’s Hideaway to Ormiston Gorge (Section 9)
- Day 13: Ormiston Gorge to Hilltop Lookout (Section 10, 11)
- Day 14: Hilltop Lookout to Redbank Gorge (Section 11)
- Day 15: Mt Sonder return (Section 12)
- Reflections: Peaks & Pits
- Grit Step Ratings
Lay of the Land
The Larapinta trail is comprised of 12 sections of track linking to create the 221km trek, with additional side-trips available for those with extra time and energy. The walk can be done in either an East to West (E2W) or West to East (W2E) direction. The walk seems to be a different experience depending on the direction of travel, and we met several people who were back to do the Larapinta a second time but in the opposite direction.
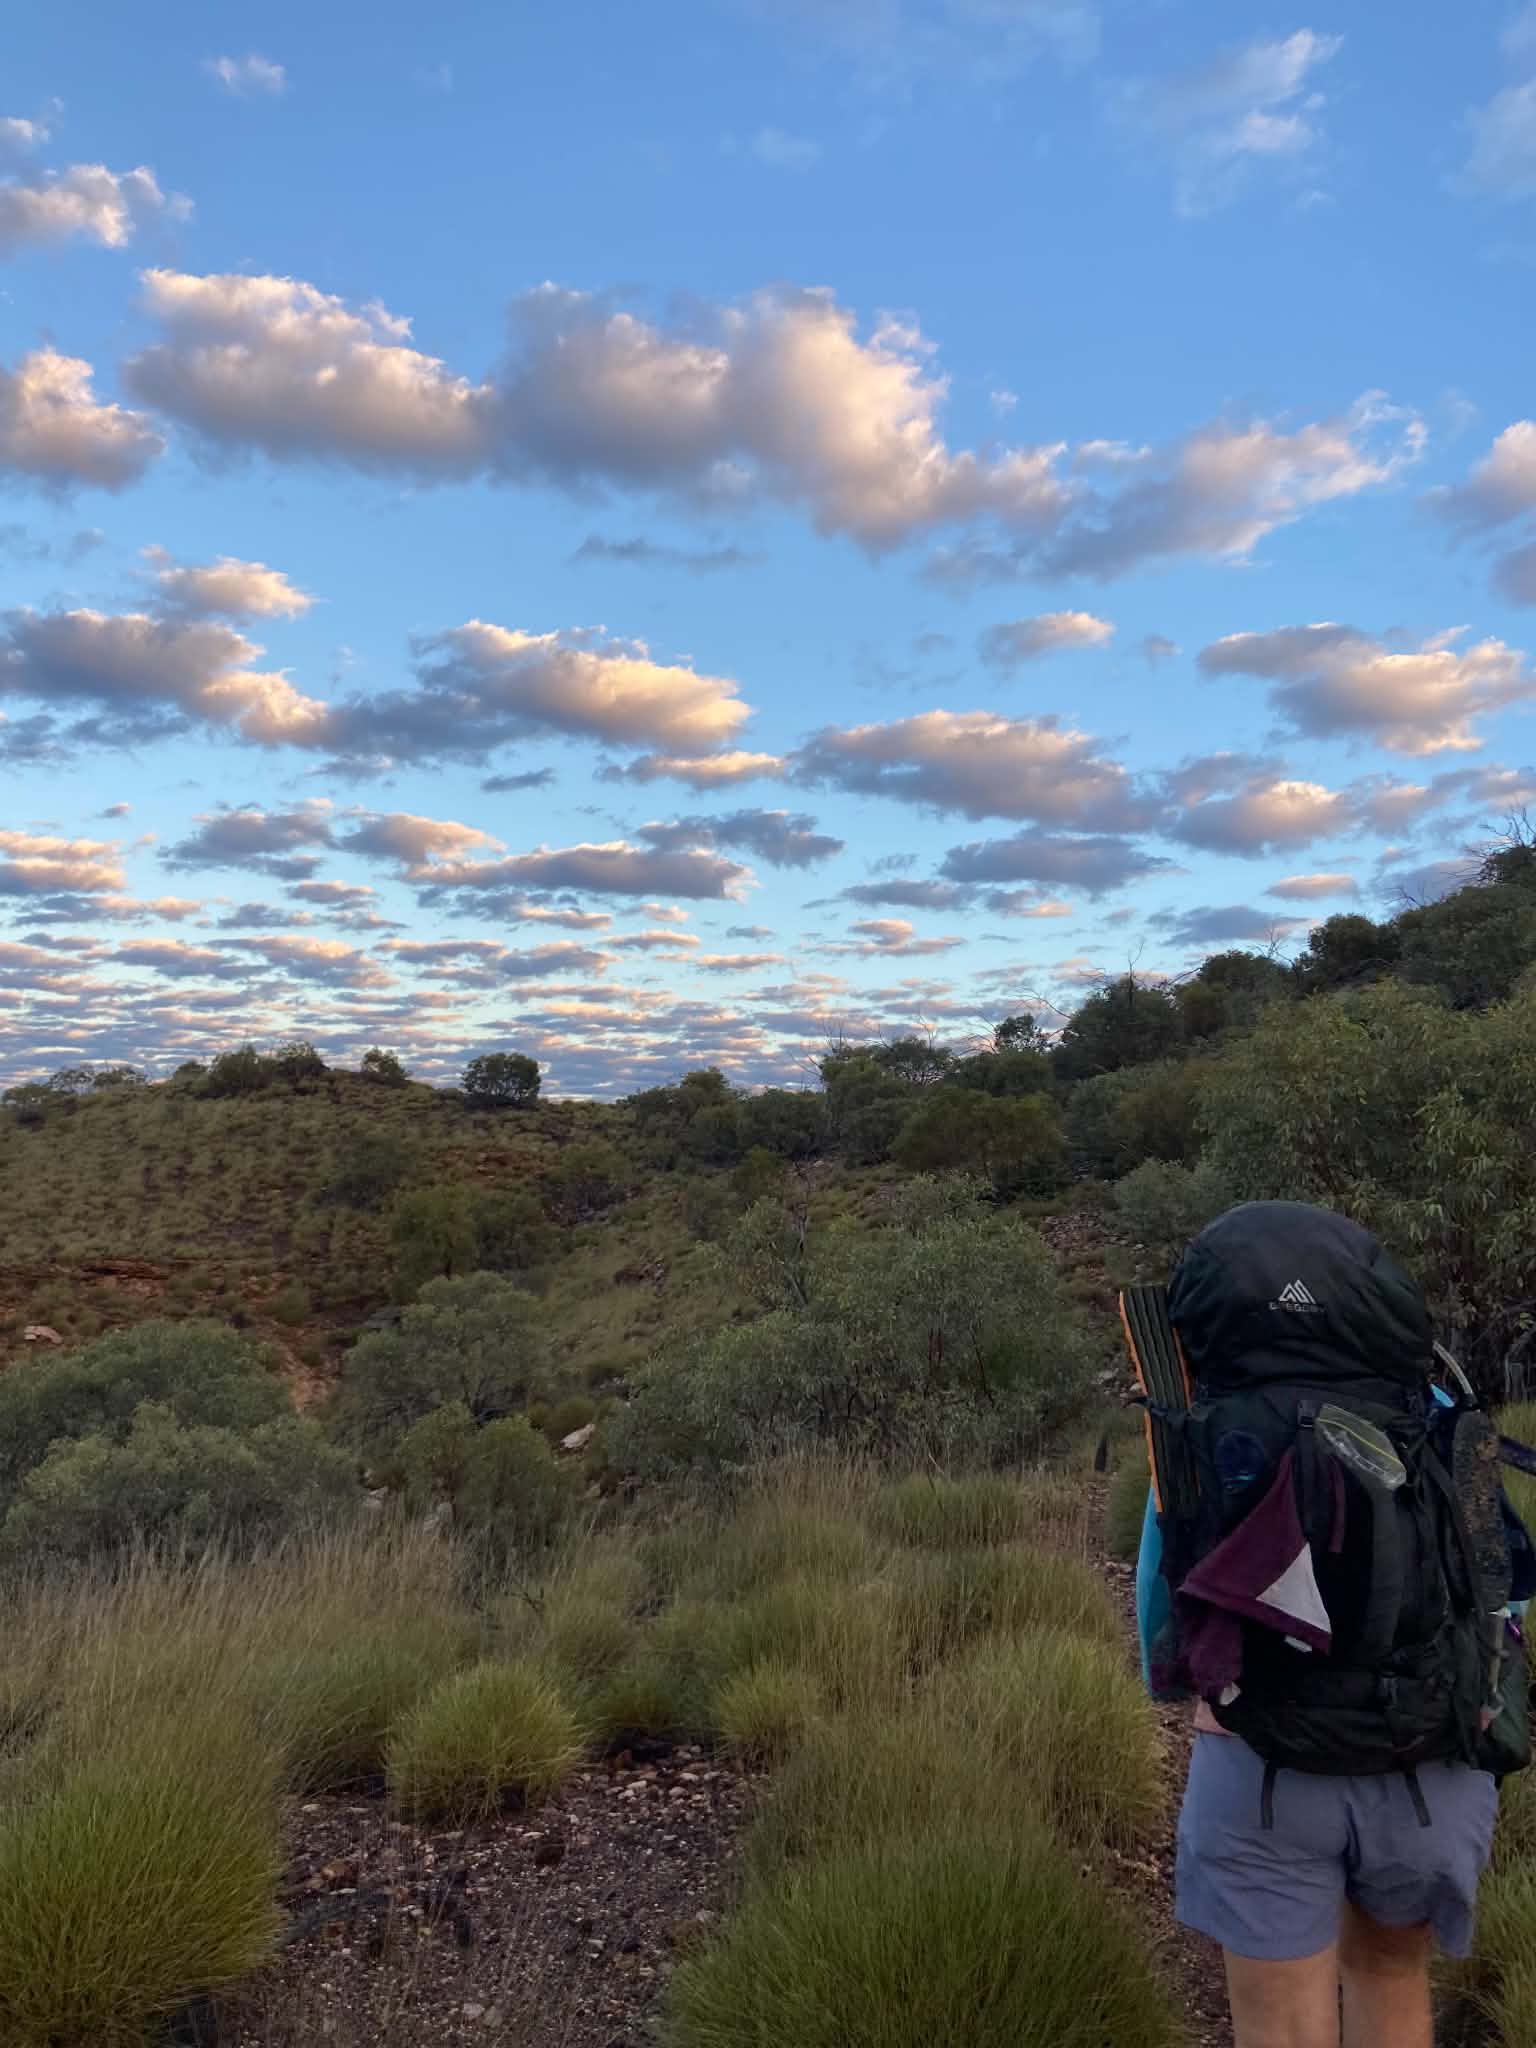
We walked East to West, opting to finish at Redbank Gorge. This meant that we were walking towards the ominous Mt Sonder for our last few days, which created an incredible backdrop and the summit was our final challenge. We often got a long stretch of morning to walk in relative protection, but the afternoon was definitely hot was we walked towards the sun. Climbing Mt Sonder for sunrise on our last day felt like the perfect culmination of an epic walk, and I can’t imagine doing it the other direction.
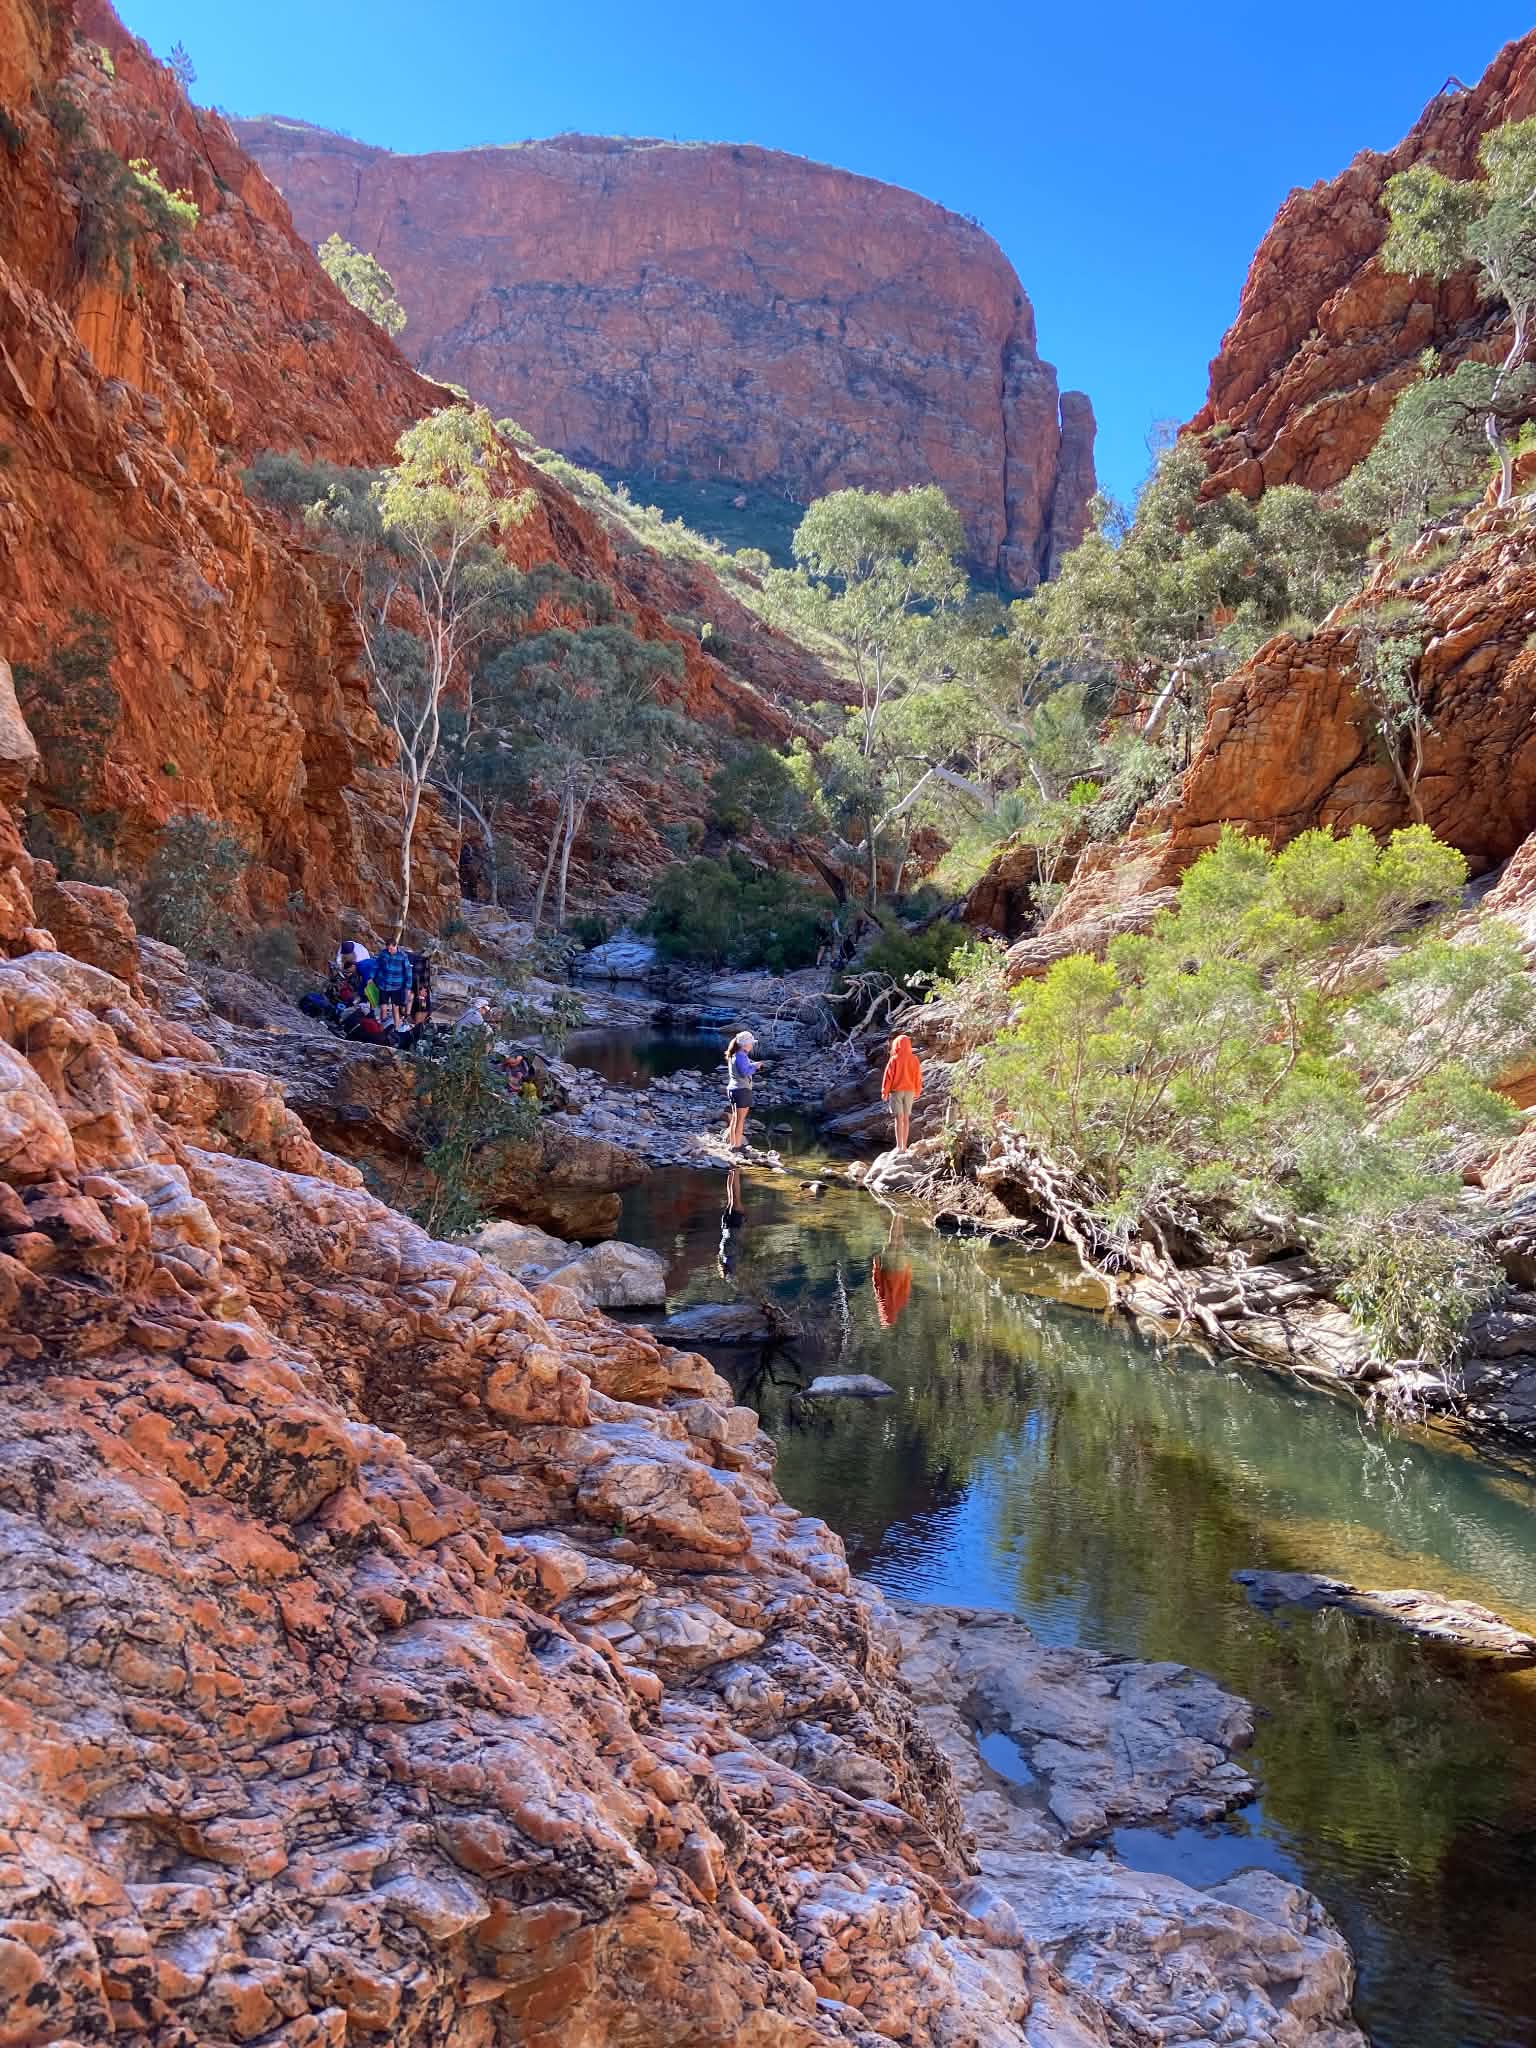
Advocates of the West to East route like it for the flexibility, as you will be walking out to Alice Springs and don’t have to pre-arrange transport. This means you’re less set to days and hopefully have a bit more wiggle room if you need extra time. It also means you summit Mt Sonder on day one, which could be a nice warm-up and inspiring start to the trip.
The walk is typically done in 12+ days, but all depends on the walking group. There are several road-accessible points along the trail, so it’s easy enough to exit or leap frog a section if desired/needed.
Given its length, the Larapinta is well-resourced with food drops. There are several companies that provide this service (details below). When planning your route, you may want to consider how many days worth of food you plan to carry. The table below breaks down each section:
| Section | Route | Official Walking Grade | Distance | Food Drop | Road Access |
| 1 | Telegraph Station to Simpsons Gap | 4 – Moderate to Difficult | 24km | Simpsons Gap | |
| 2 | Simpsons Gap to Jay Creek | 4 – Moderate to Difficult | 25km | ||
| 3 | Jay Creek to Standley Chasm | 4 – Moderate to Difficult | 13.6km | Standley Chasm | Standley Chasm |
| 4 | Standley Chasm to Birthday Junction | 5 – Difficult | 18km | Birthday Waterhole | |
| 5 | Birthday Junction to Hugh Gorge | 5 – Difficult | 15.3km | Hugh Gorge | |
| 6 | Hugh Gorge to Ellery Creek North | 4 – Moderate to Difficult | 29.1km | Alternative: Walk to Ellery Creek South/Big Hole | Alternative: Walk to Ellery Creek South/Big Hole which has public road access |
| 7 | Ellery Creek North to Serpentine Camp | 4 – Moderate to Difficult | 12km | Serpentine Camp | Serpentine Gorge |
| 8 | Serpentine Camp to Serpentine Chalet Dam | 4 – Moderate to Difficult | 13.8km | Serpentine Chalet Dam | |
| 9 | Serpentine Chalet Dam to Ormiston Gorge | 5 – Difficult | 29.2km | Ormiston Gorge | Ormiston Gorge |
| 10 | Ormiston Gorge to Finke River | 3 – Moderate | 8.9km | ||
| 11 | Finke River to Redbank Gorge | 4 – Moderate to Difficult | 25.8km | Redbank Gorge | |
| 12 | Mt Sonder return | 4 – Moderate to Difficult | 15.8km | Redbank Gorge |
Route
This is a pretty intense walk and we’d suggest giving yourself a spare day to either use for rest or split up two longer days. We loved our itinerary and we felt we captured a nice mix of high camps and gorge camps – the main consideration is that not all of these campsites have water.
Here is a copy of our itinerary:
| Day | Route | Section | Expected Distance |
| Day 1 | Telegraph Station to Simpsons Gap | 1 | 23.8km |
| Day 2 | Simpsons Gap to Jay Creek | 2 | 24.8km |
| Day 3 | Jay Creek to Standley Chasm | 3 | 13.6km |
| Day 4 | Standley Chasm to Birthday Junction | 4 | 18km |
| Day 5 | Birthday Junction to Hugh Gorge | 5 | 15.3km |
| Day 6 | Hugh Gorge to Rocky Gully | 6 | 15.3km |
| Day 7 | Rocky Gully to Ellery Creek North | 6 | 13.8km |
| Day 8 | Ellery Creek North to Serpentine Camp | 7 | 12km |
| Day 9 | Serpentine Camp rest day | N/A | N/A |
| Day 10 | Serpentine Camp to Serpentine Chalet Dam | 8 | 13.8km |
| Day 11 | Serpentine Chalet Dam to Hermit’s Hideaway | 9 | 16.4km |
| Day 12 | Hermit’s Hideaway to Ormiston Gorge | 9 | 12.2km |
| Day 13 | Ormiston Gorge to Hilltop Lookout | 10, 11 | 18.8km |
| Day 14 | Hilltop Lookout to Redbank Gorge | 11 | 15km |
| Day 15 | Mt Sonder return | 12 | 15.8km |
Getting to & from the Trail
Telegraph Station / Alice Springs End:
The official start/end point of the walk is Telegraph Station which is approx 3km out of Alice Springs. It’s a short taxi from Alice Springs, or you can easily walk this section if you feel like adding a few more kilometers. There is sealed road access, but I think it would be inadvisable to leave the car there for 2 weeks.
Redbank Gorge End:
Redbank Gorge is about 150km from Alice Springs. There is road access to Redbank Gorge and there is a carpark, but again would not advise leaving cars there. There are a few companies that offer transfers from Redbank Gorge to your accommodation in Alice. We used Larapinta Express which was great to deal with and you can purchase the transfer as part of a deal with the food drops. They offer transfers to and from a number of access points along the trail.
There are a few other trail transfer services we looked at:
Section Access:
Lots of walkers opt to do sections of the walk rather than doing the full 12 sections. The Larapinta is a bit unique in the sense that you can chop and choose which parts of the walk you do, and there are lots of options to walk out early if needed and either get a transfer or hitch-hike (see the table with road access points here).
Food Drops & Supplies:
There are a couple of camp stores in Alice Springs to choose from. We ordered our gas online at Lone Dingo before heading to Alice. We highly recommend pre-ordering your gas!! We dropped our leftovers back to Lone Dingo before heading home, and were told that Alice Springs had officially run out of gas canisters!
Several services offer food drops (see below), and you may be able to get a bundle deal for the food drops and transfer. If you want to organise your own food drops, helpful information is available here.
The food boxes are typically dropped at your accommodation the day before the trip, and you’ll need to fill the boxes and leave them at your accommodation for collection. You can then opt to have the boxes returned to your accommodation after the trip but this costs more money (if you want to be able to put dirty clothes, rubbish, unused food in the box rather than carry it).
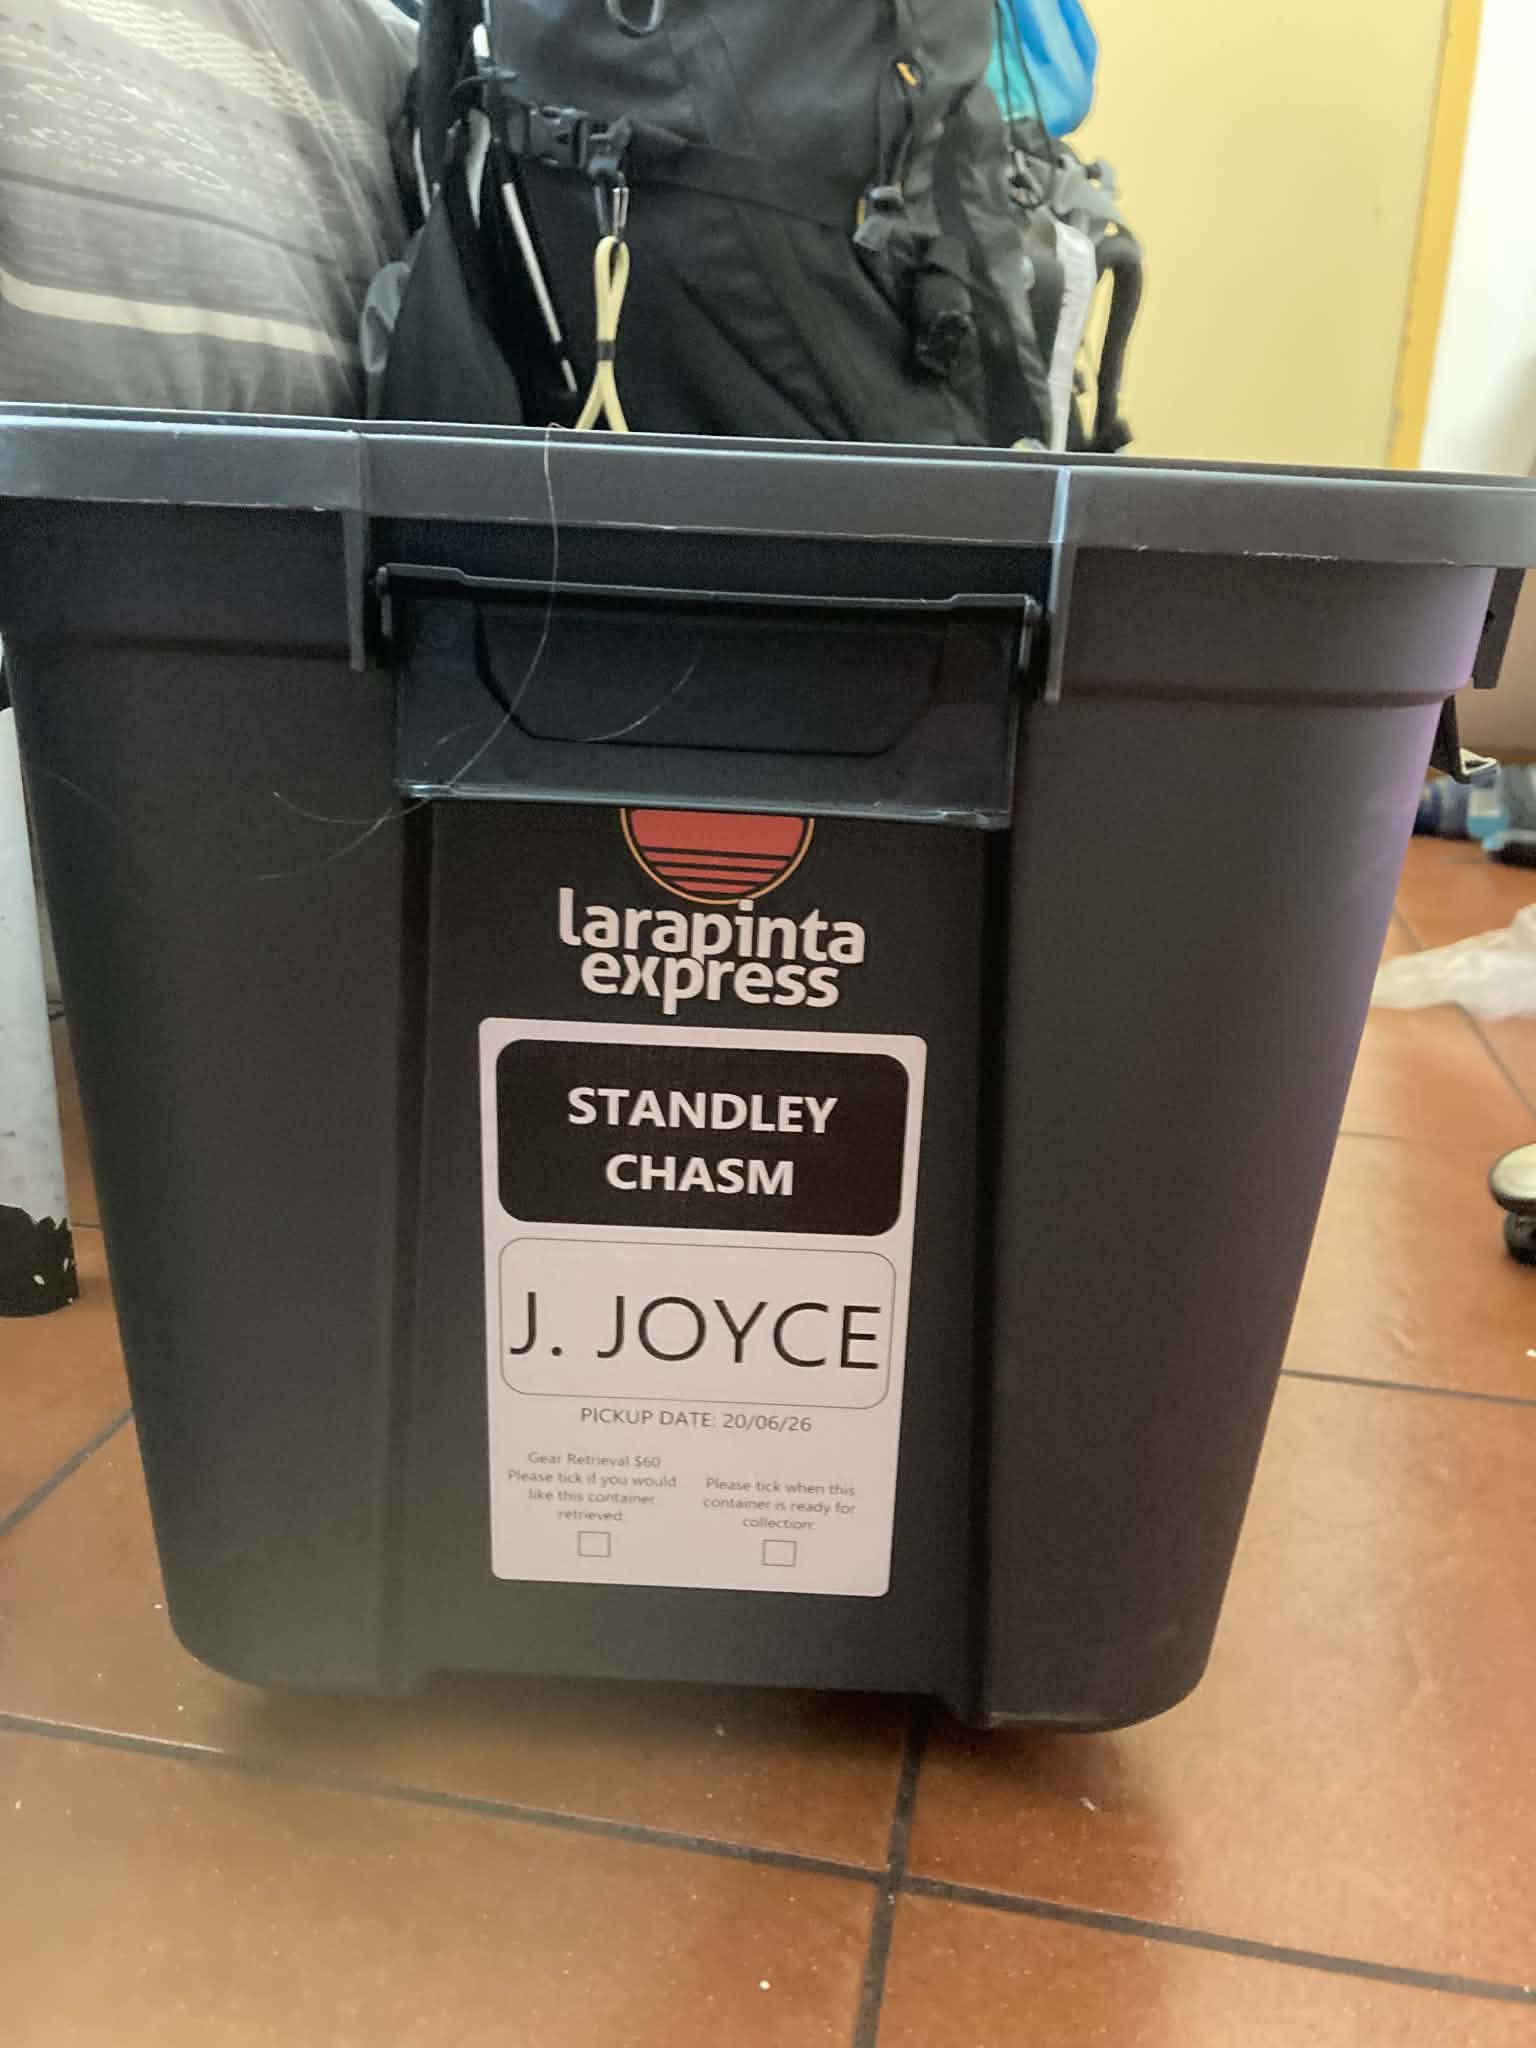
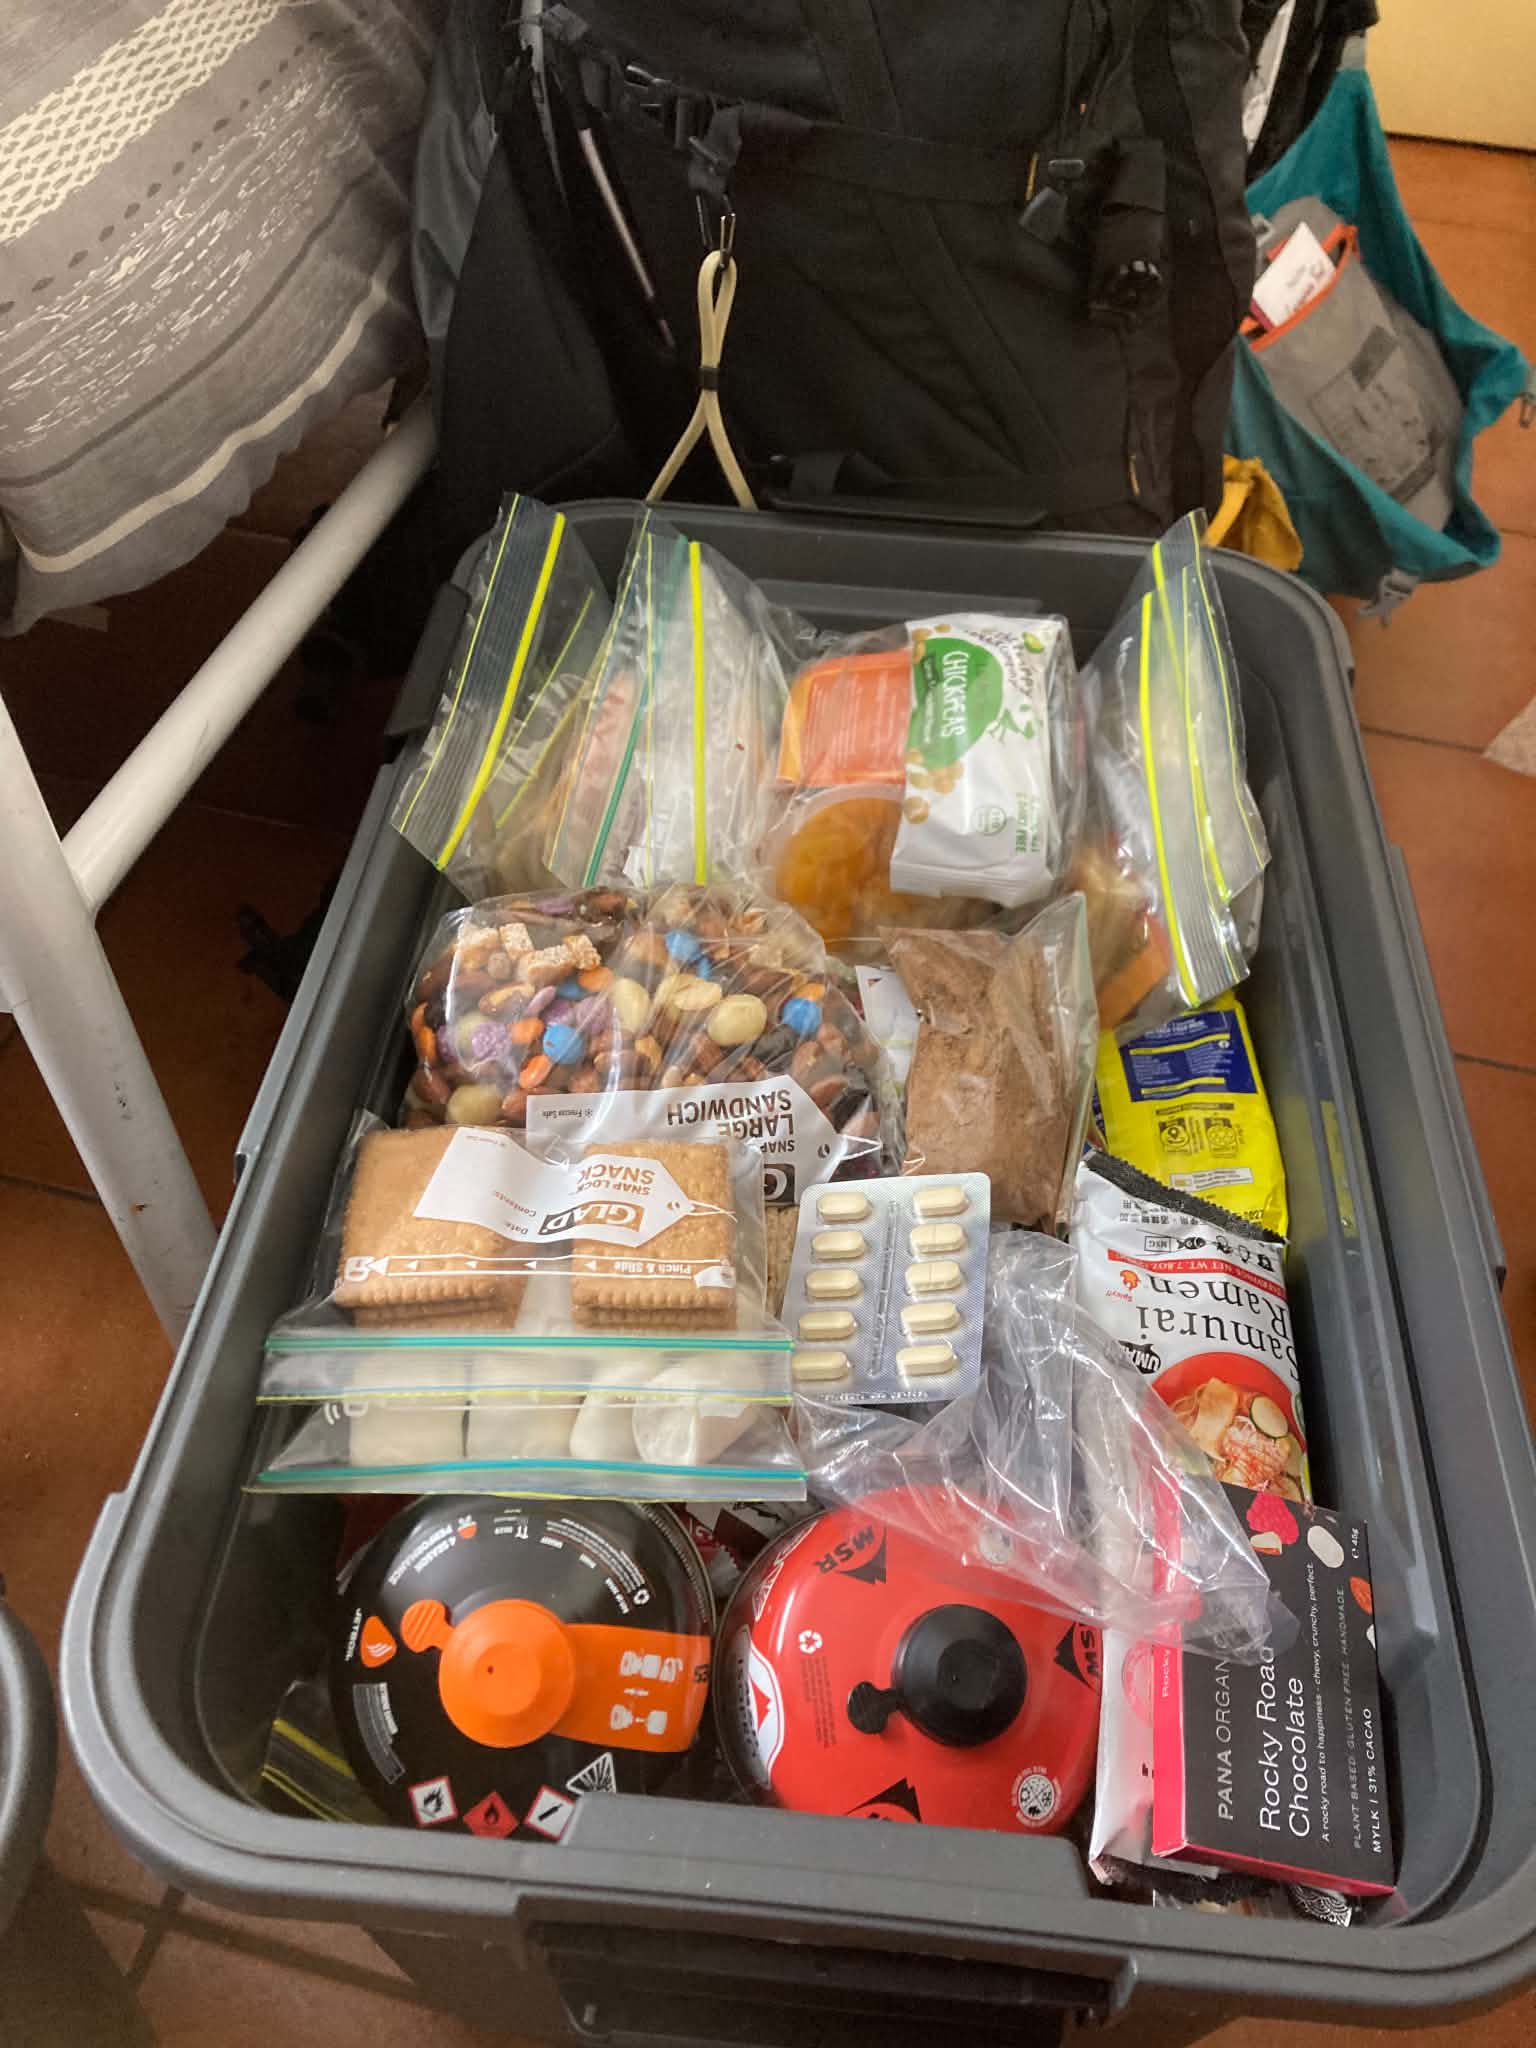
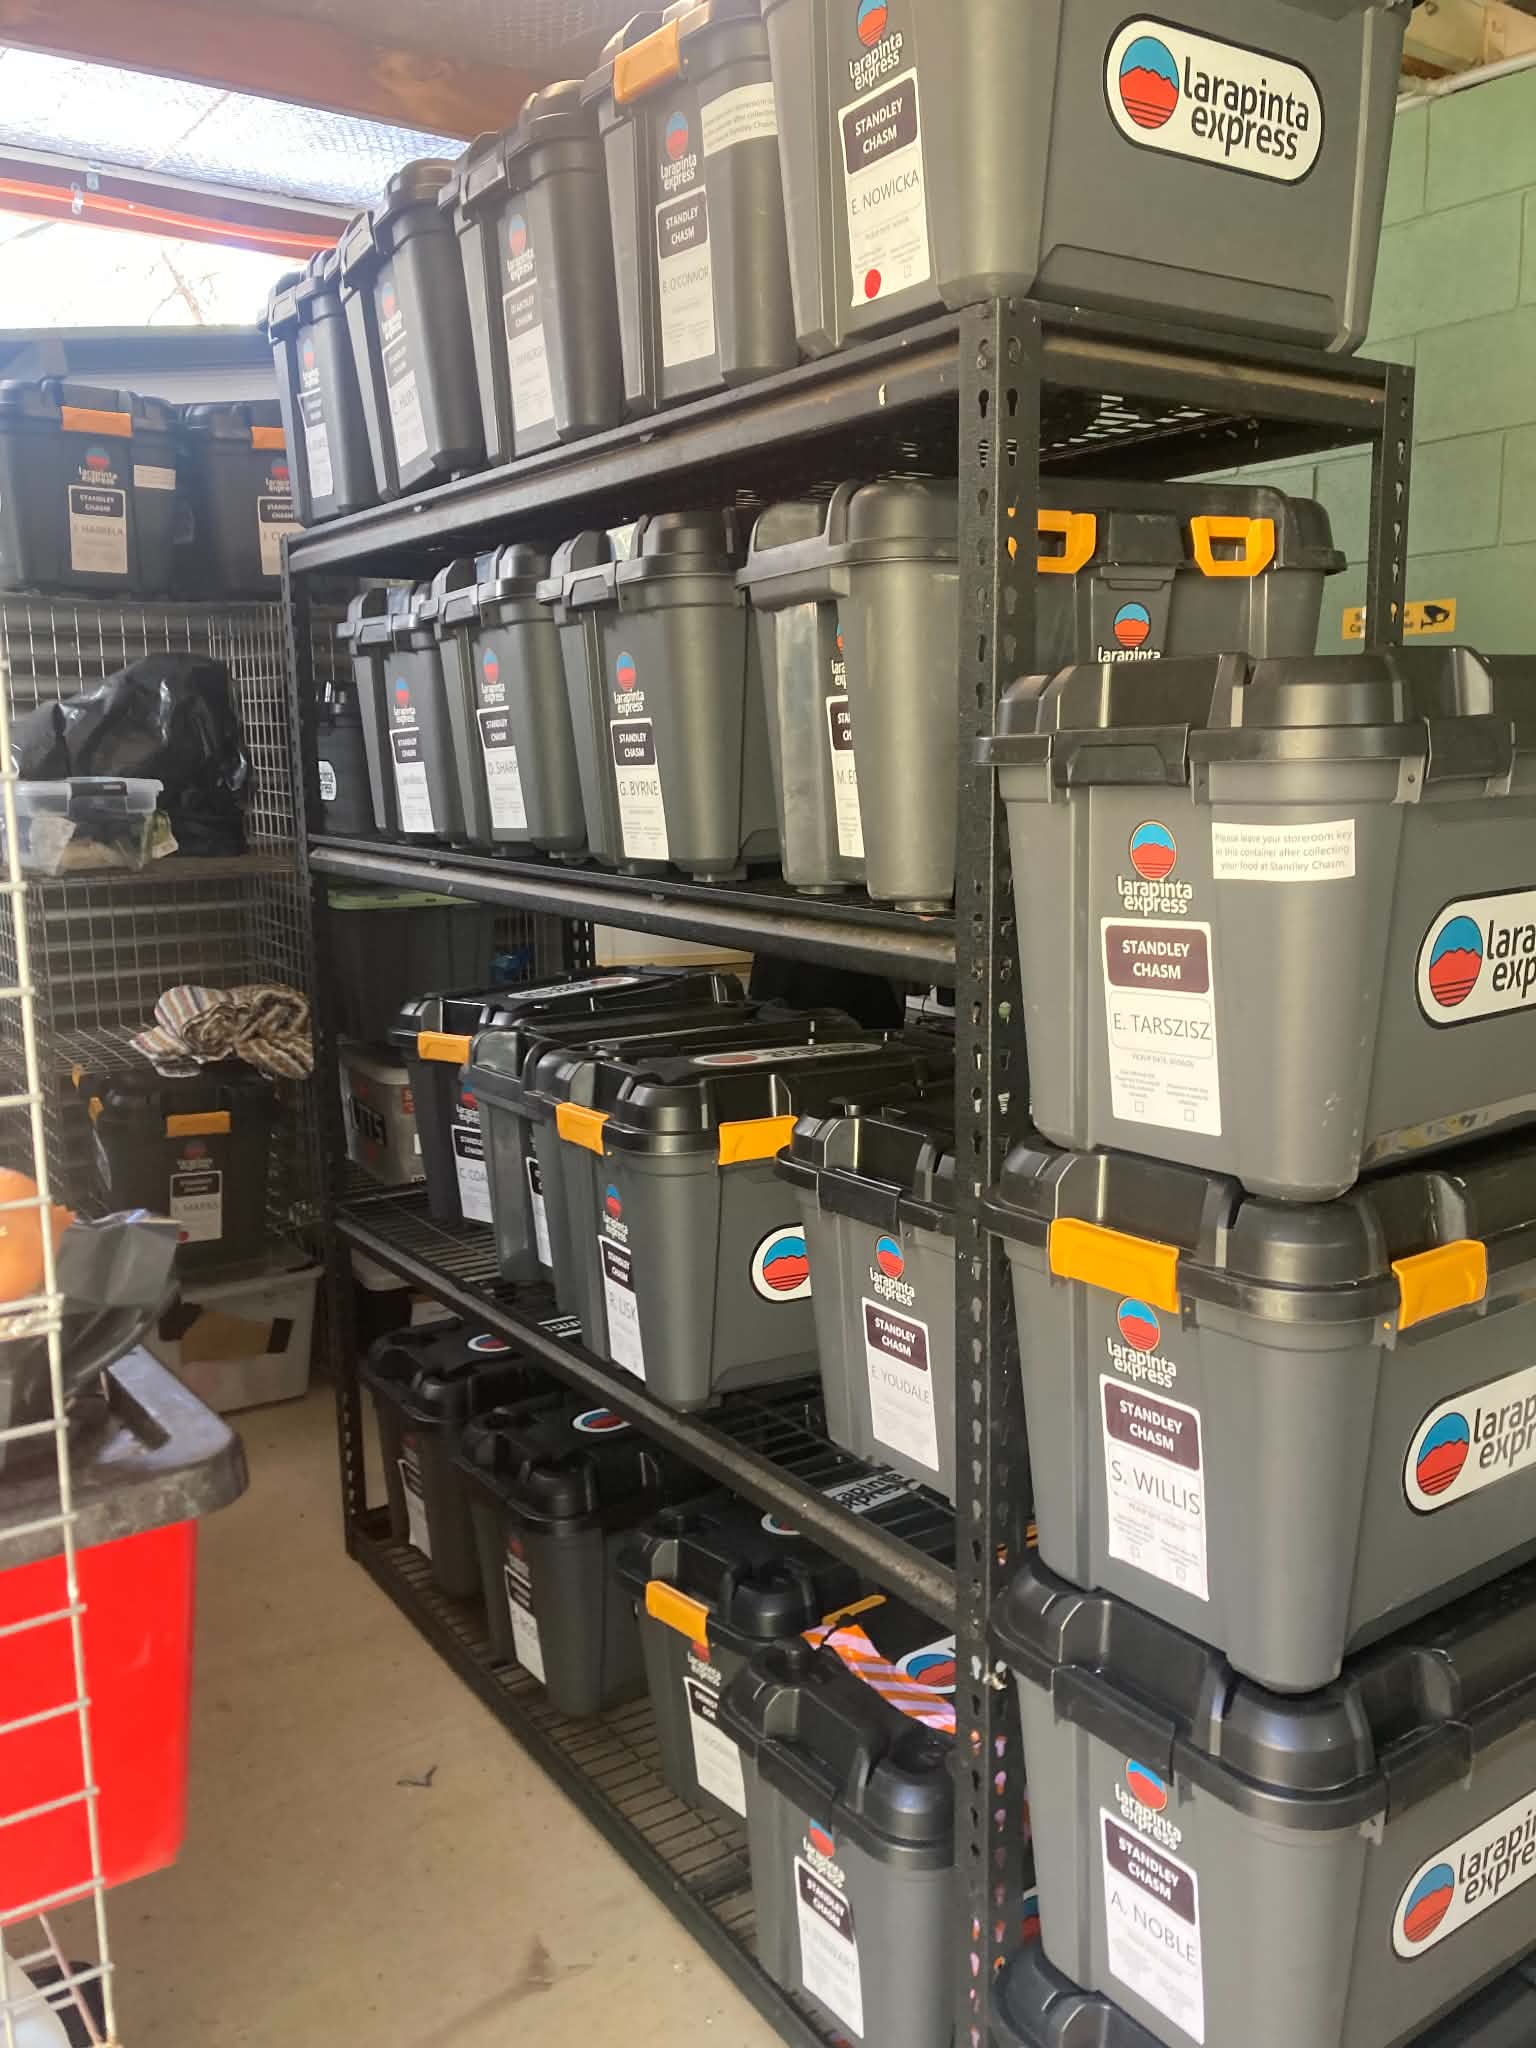
The food boxes we received from Larapinta Express were a decent size and easily fit dinners and snacks for 4 people.
The food drops are both a godsend and a challenge. They make it a little too tempting to add extra snacks which you inevitably have to carry or convince some stranger to take from you. On the other hand, the food drops meant that we could could get by with less dehydrated food and fresh food lasted surprisingly well in the boxes!
We suggest keeping a copy of your meal plan in the boxes. This helps with organising and remembering how you planned to use the food in each box. This won’t be such an issue if you mainly eat packaged meals, but if you’re cooking meals with different ingredients it quickly becomes confusing.
Navigation
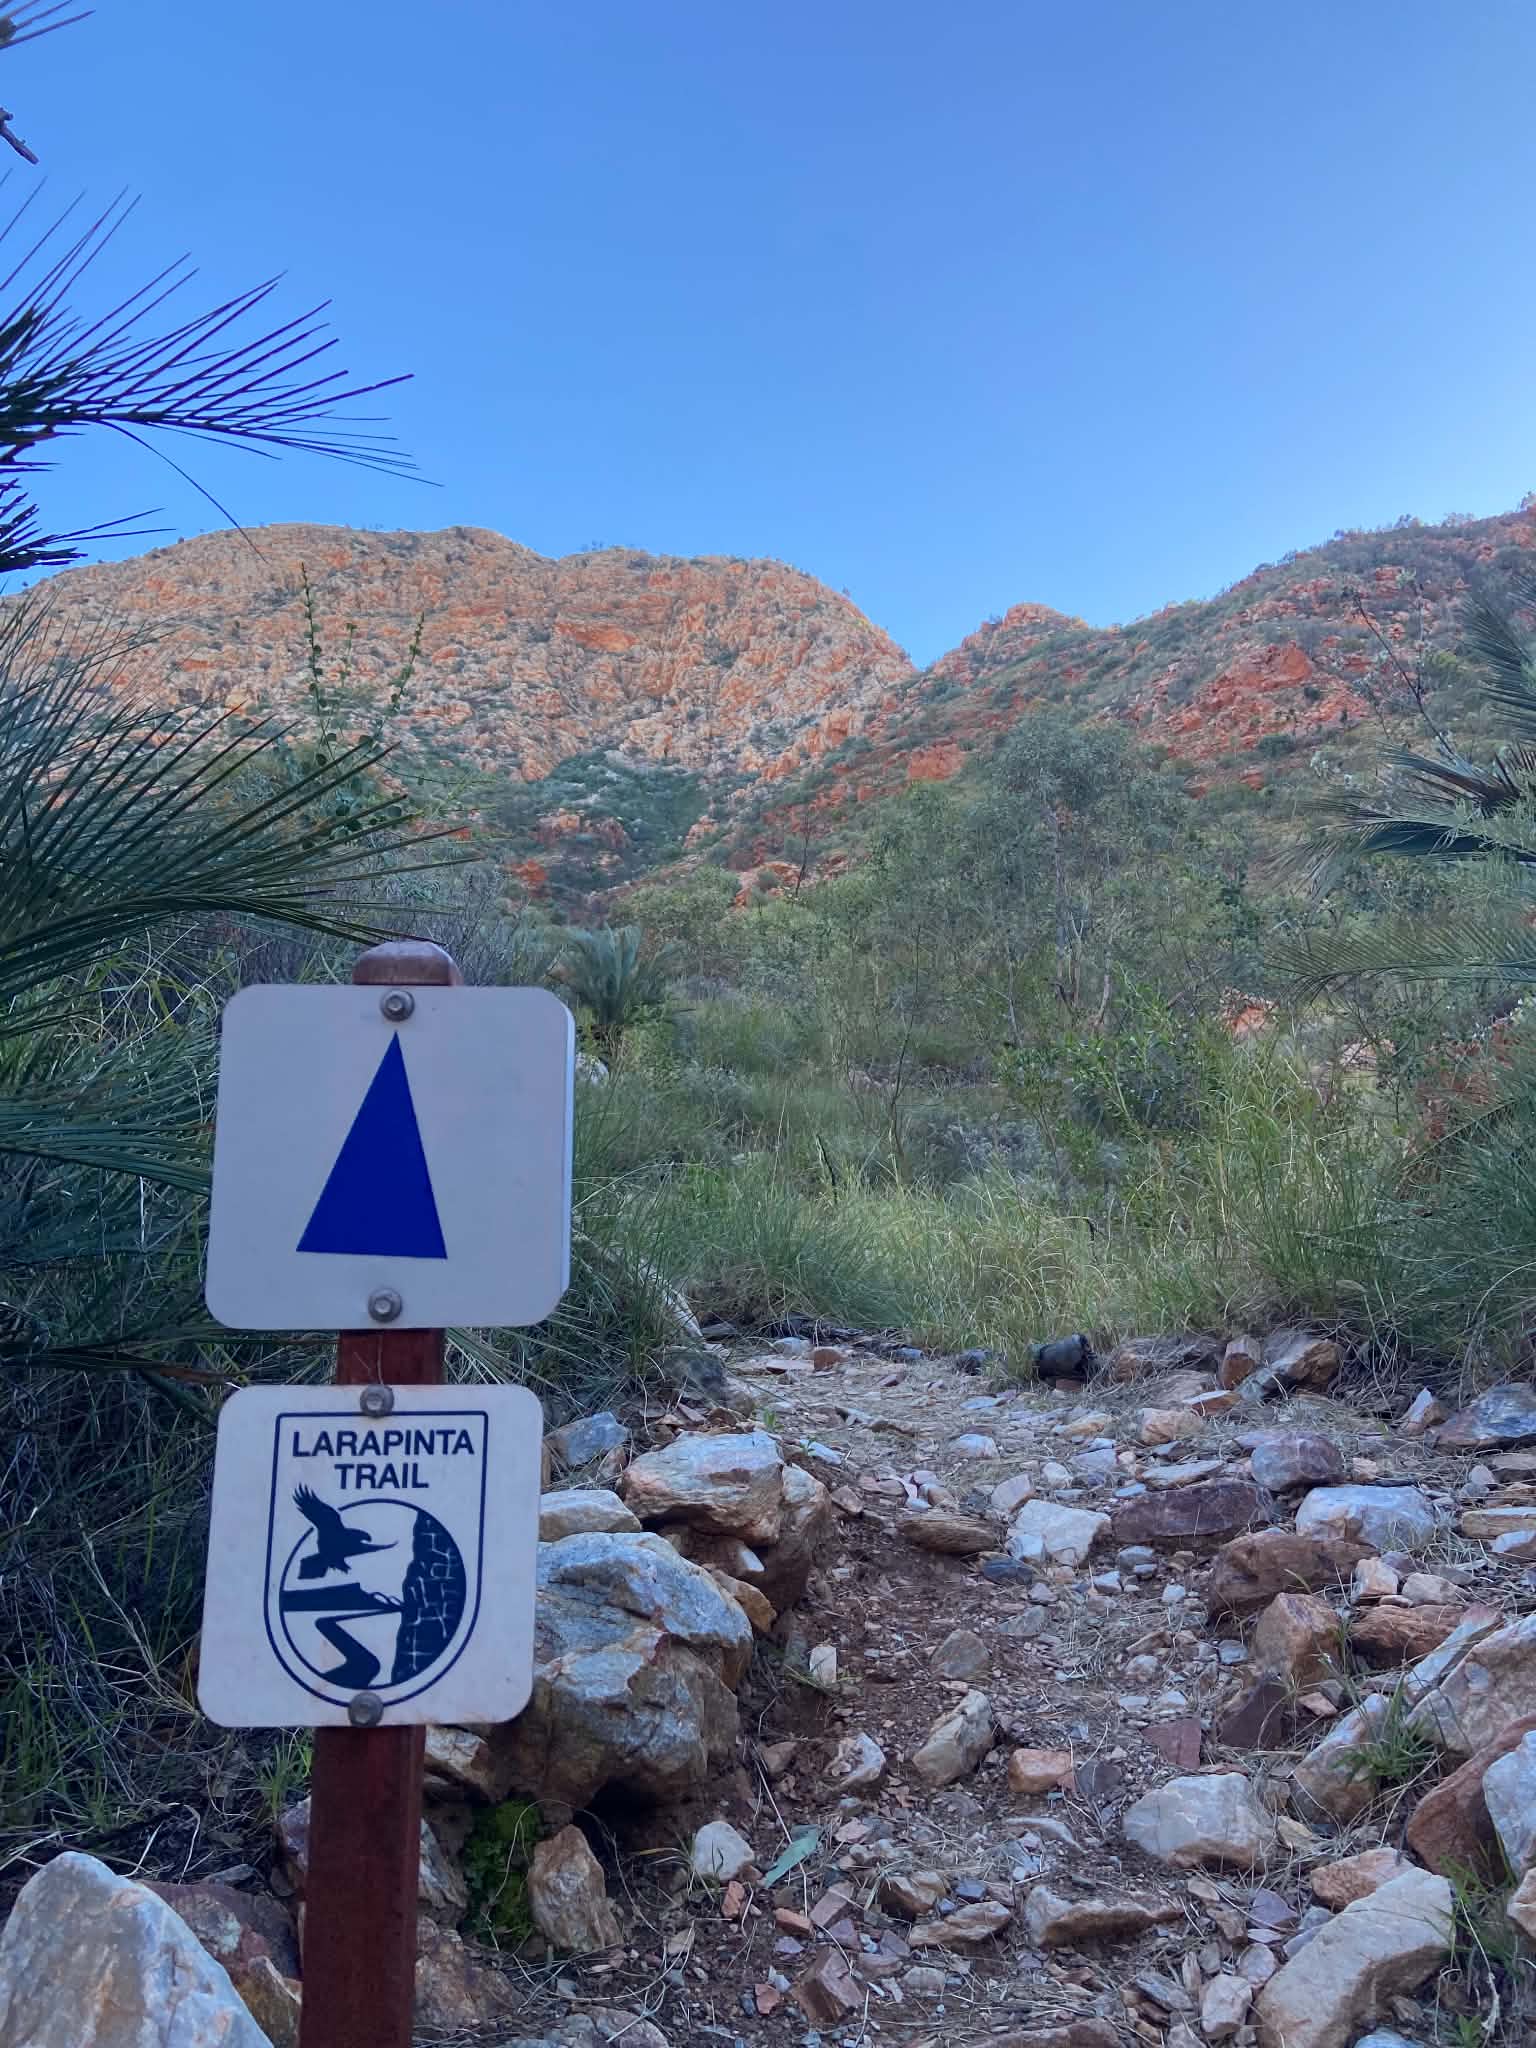
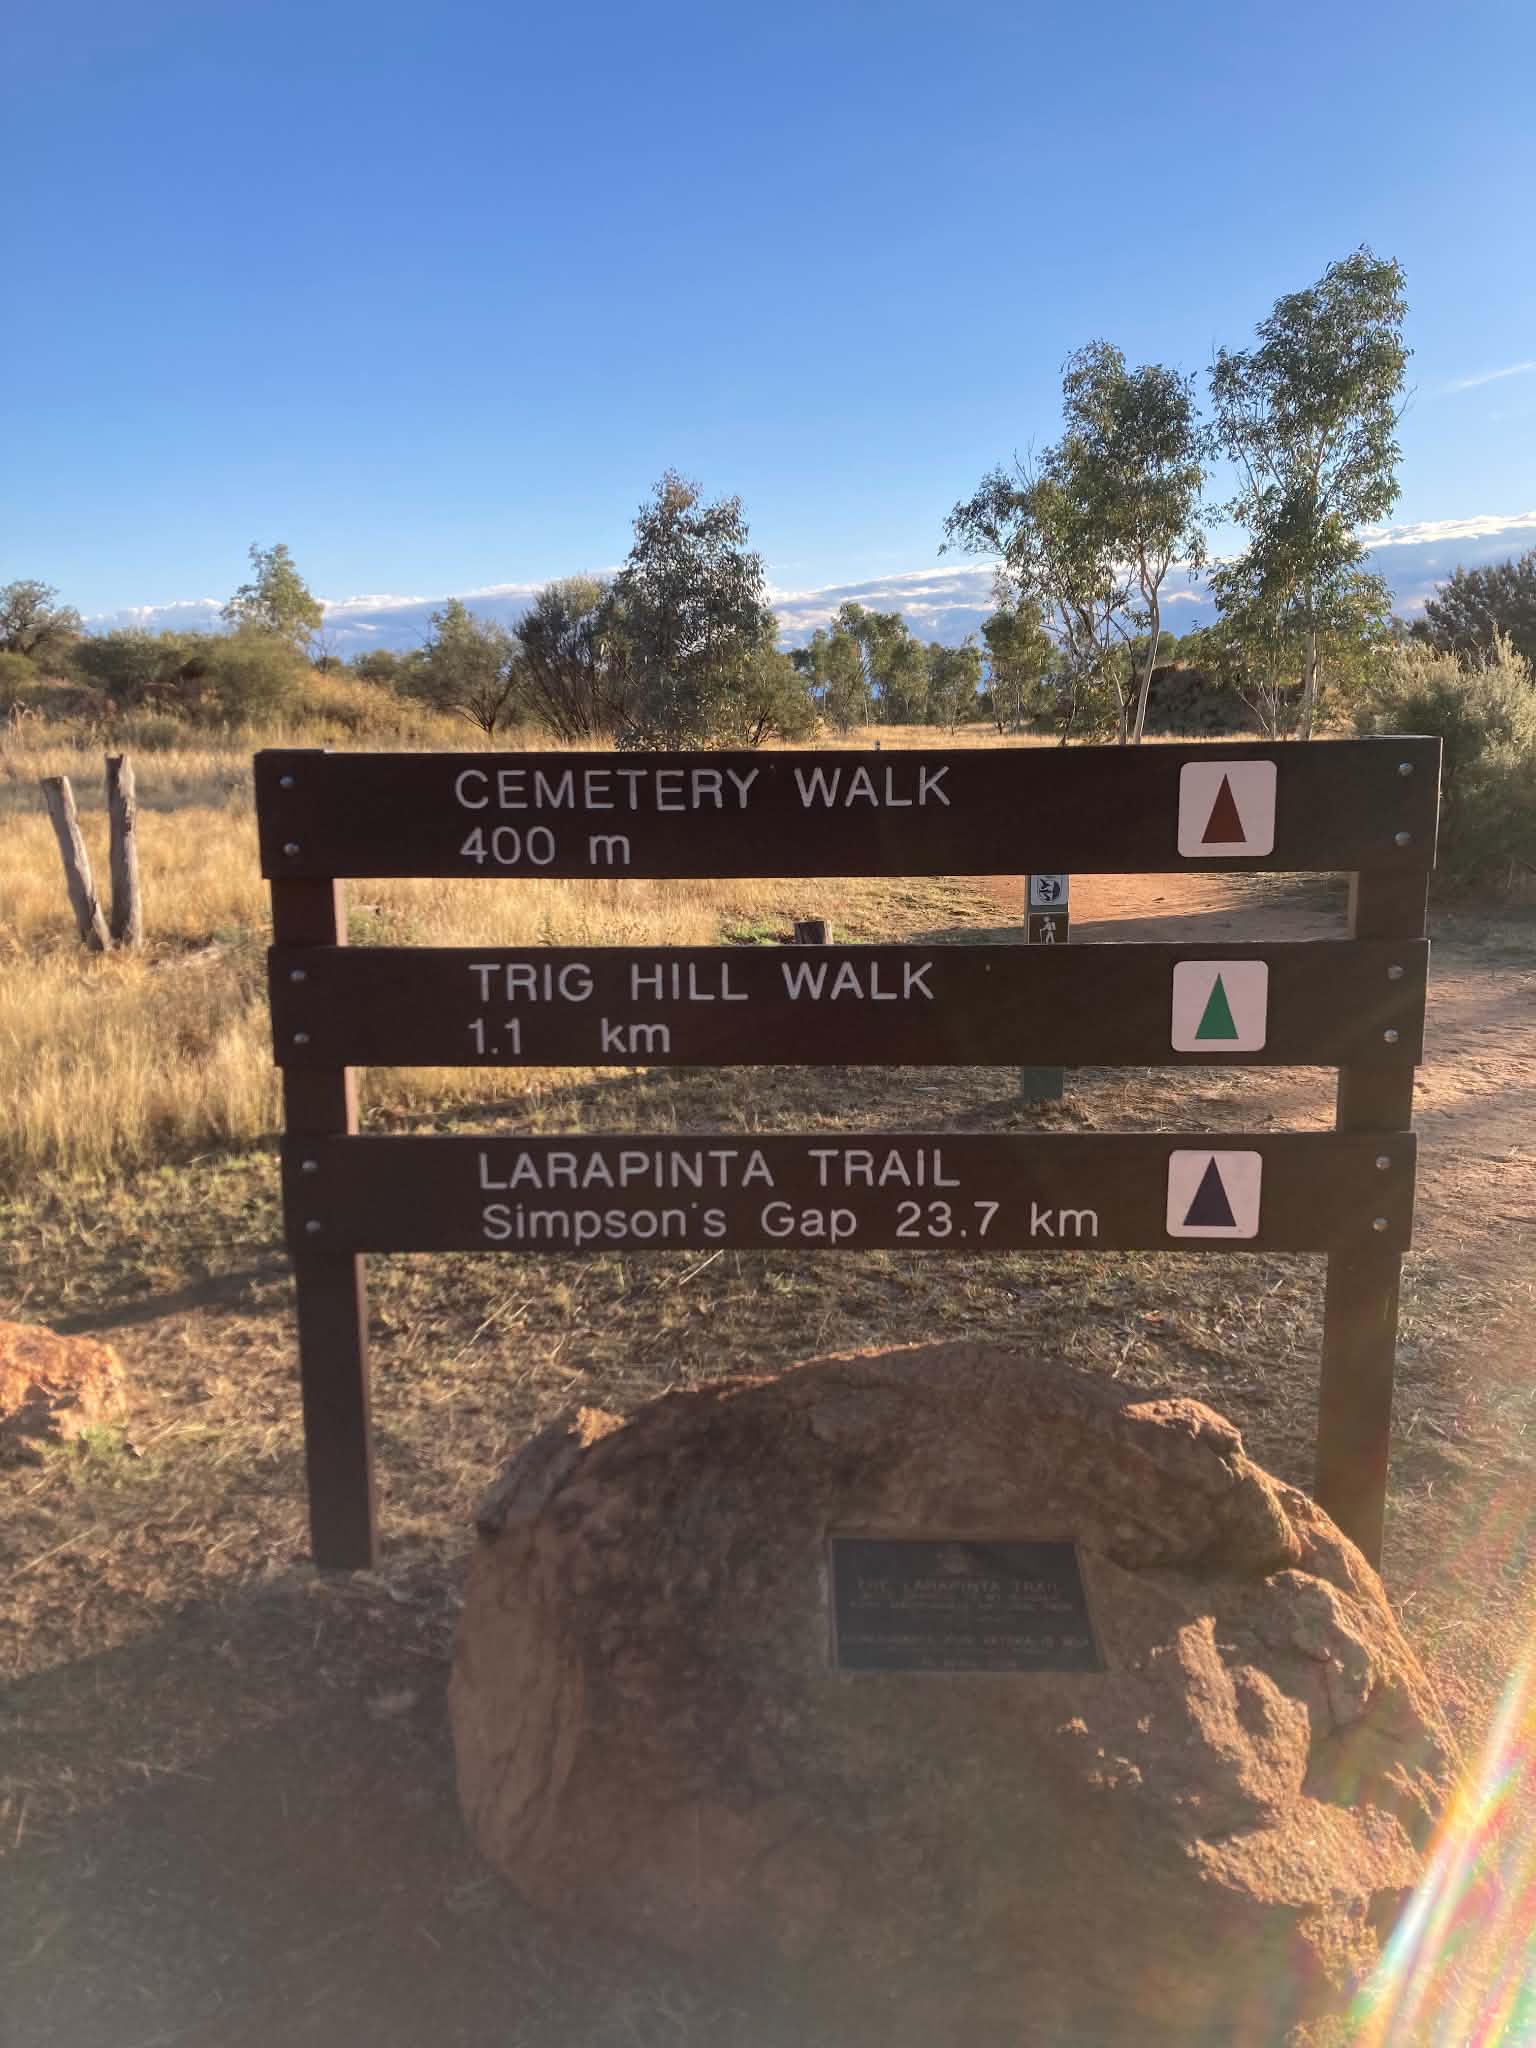
The Larapinta trail is mostly easy navigation with a relatively clear path and blue arrows to keep you on track. I would still recommend having a map and compass if needed, as there were a few sections where arrows were few and far between where we got lost momentarily.
If you’re looking for a guidebook, Monica and John Chapman have a Larapinta guide. The guide provides detailed information on section by section, and also provide maps with information on camps, water and road access. This was helpful to have when plans needed to change as we could easily locate access points.
There is also a tonne of information on the Larapinta Trail website.
Conditions & Terrain
Weather
We did this walk in late June to early July. Like a true desert, it’s hot in the day and cold at night. Temperatures were low 20s during the day, and getting down to zero overnight (including ice at Ellery Creek North).
There are long stretches of walk that are very exposed and you will need proper sun protection, and make plans to start walking early. We had one major thunderstorm which turned into a drizzly day, but overall the chance of rain at this time of year is generally low. Make sure you check the weather the days before heading out so you know how much wet weather gear to take. The mountainous sections are very exposed and experience high winds and cold temperatures, so you’ll need to take gear for both extremes.
Trail
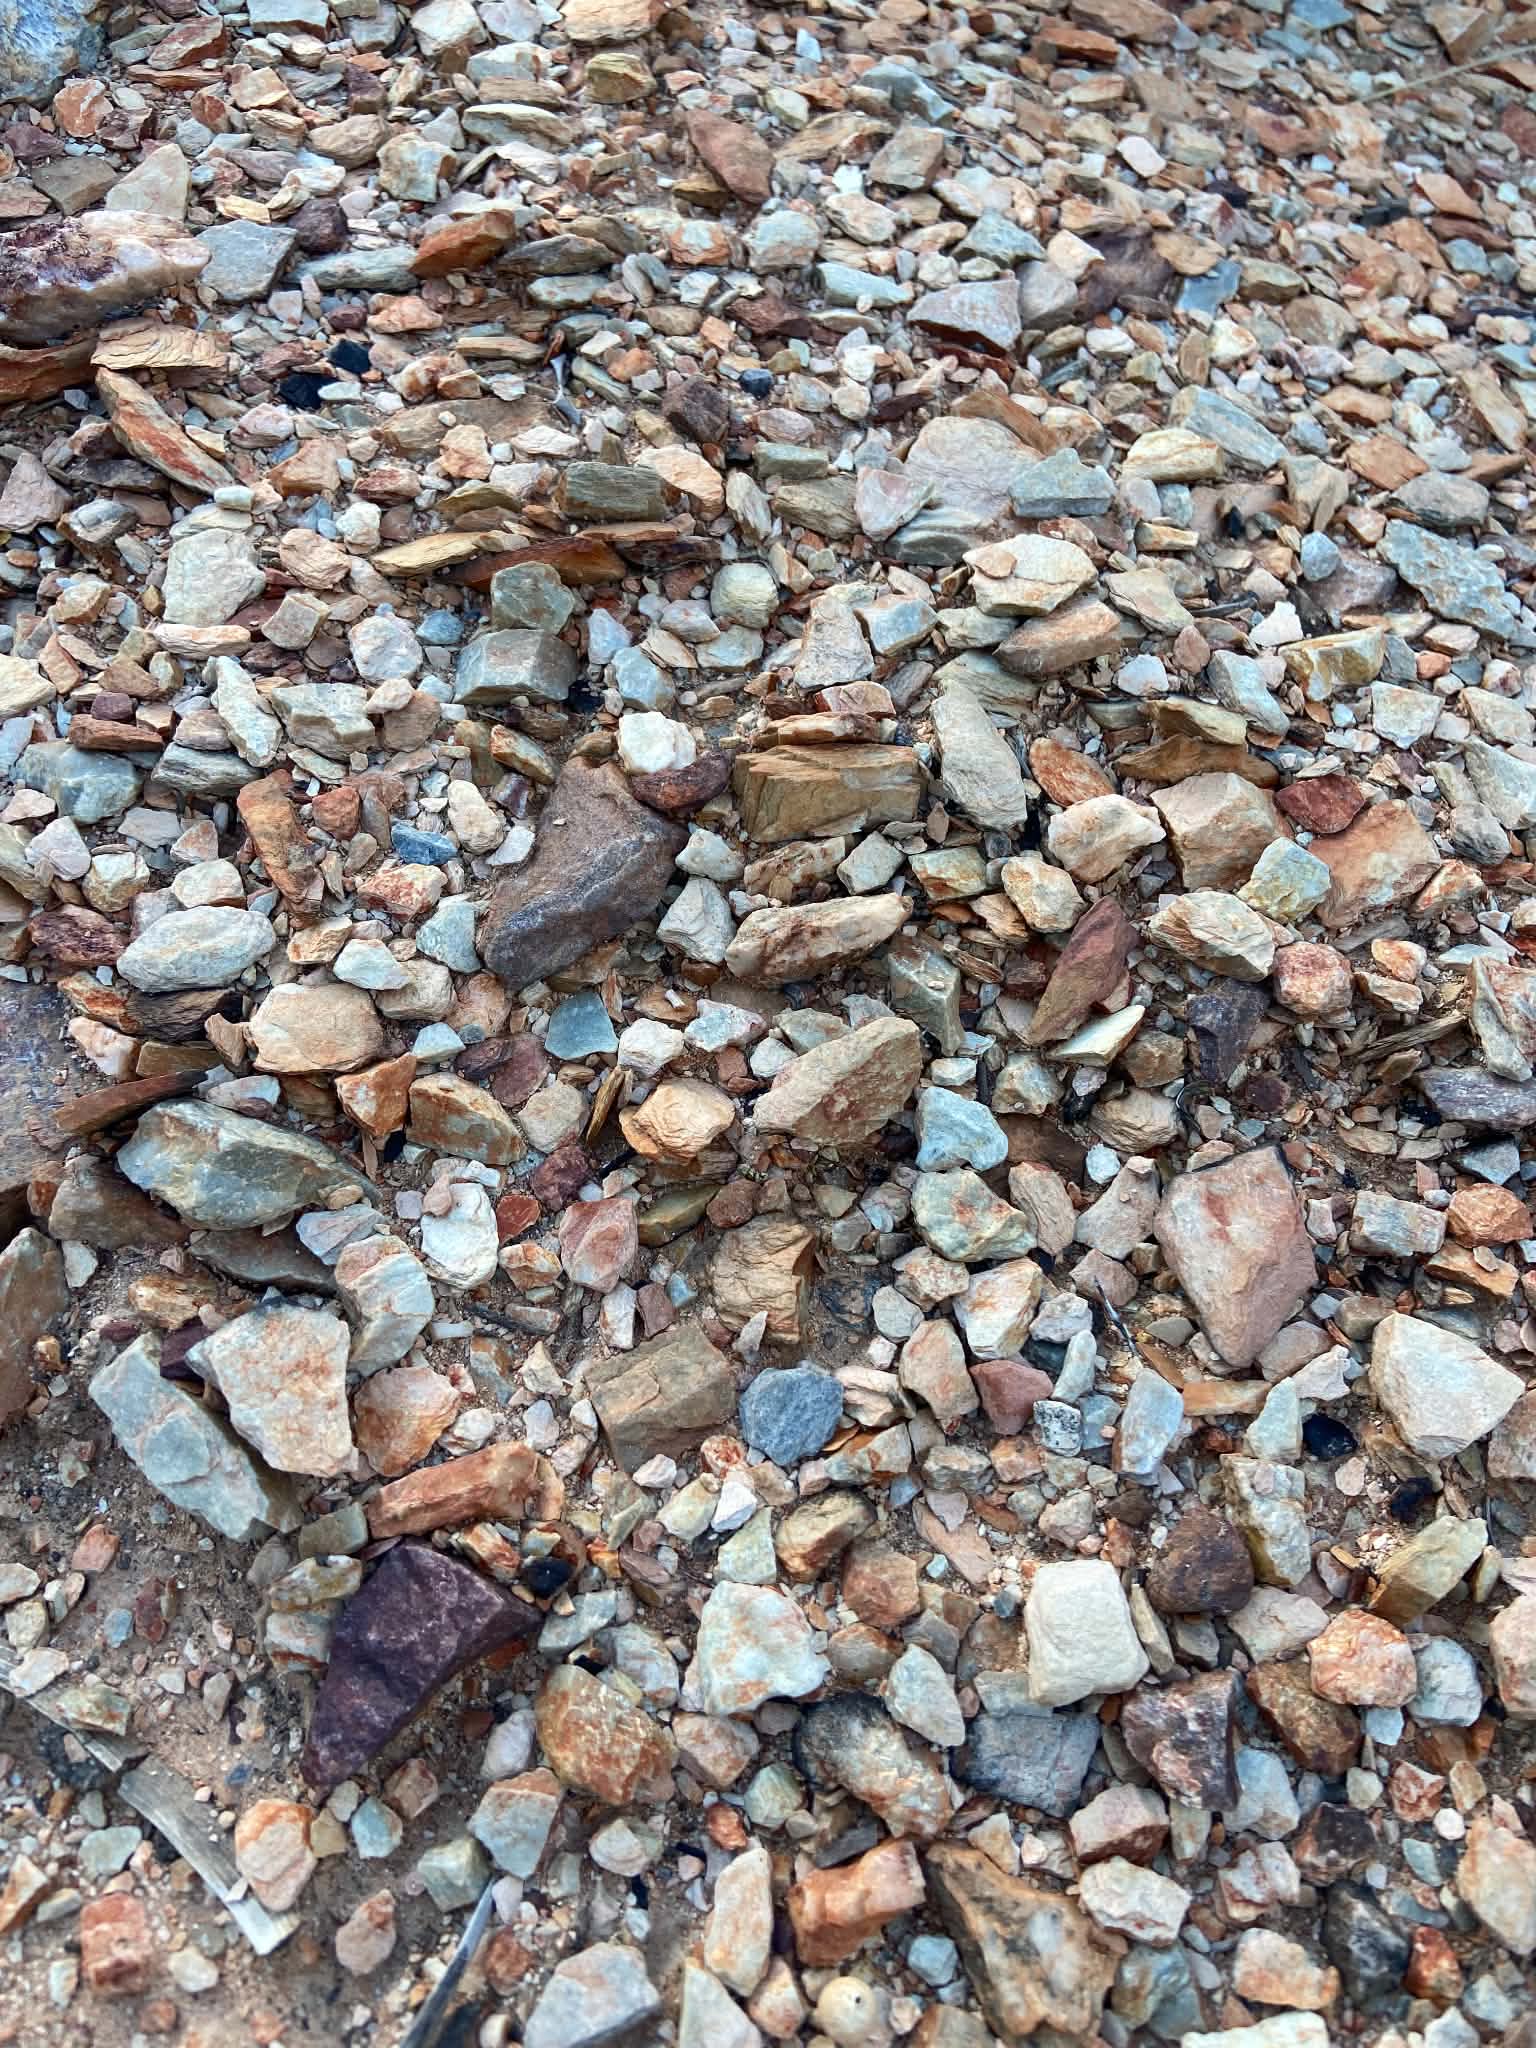
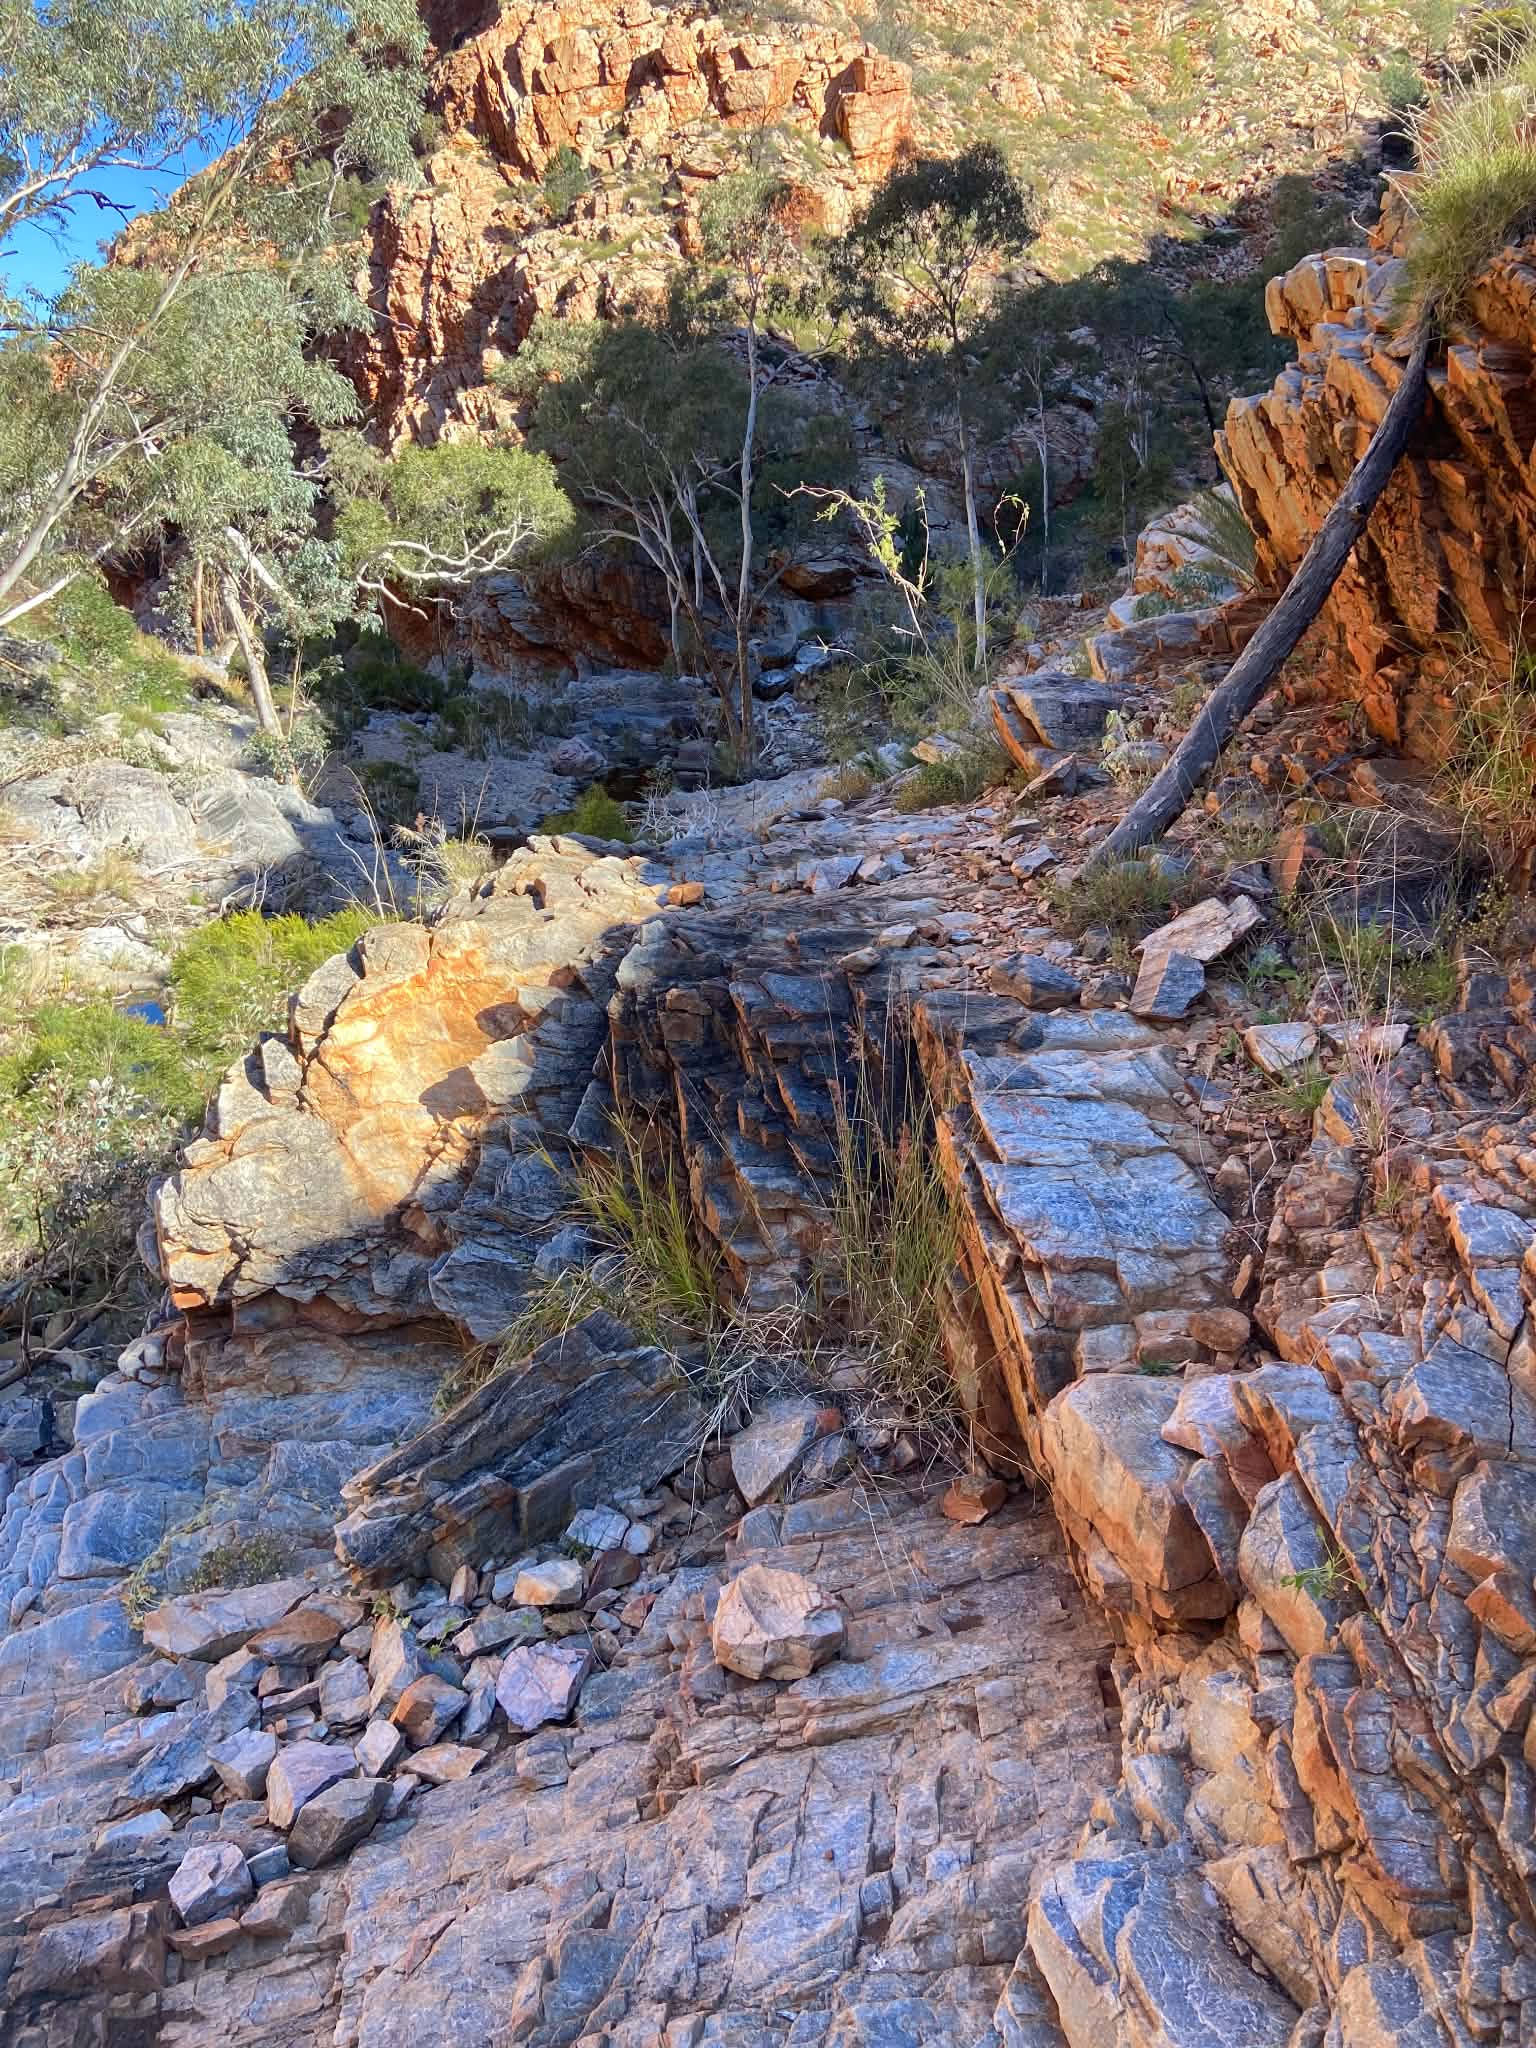
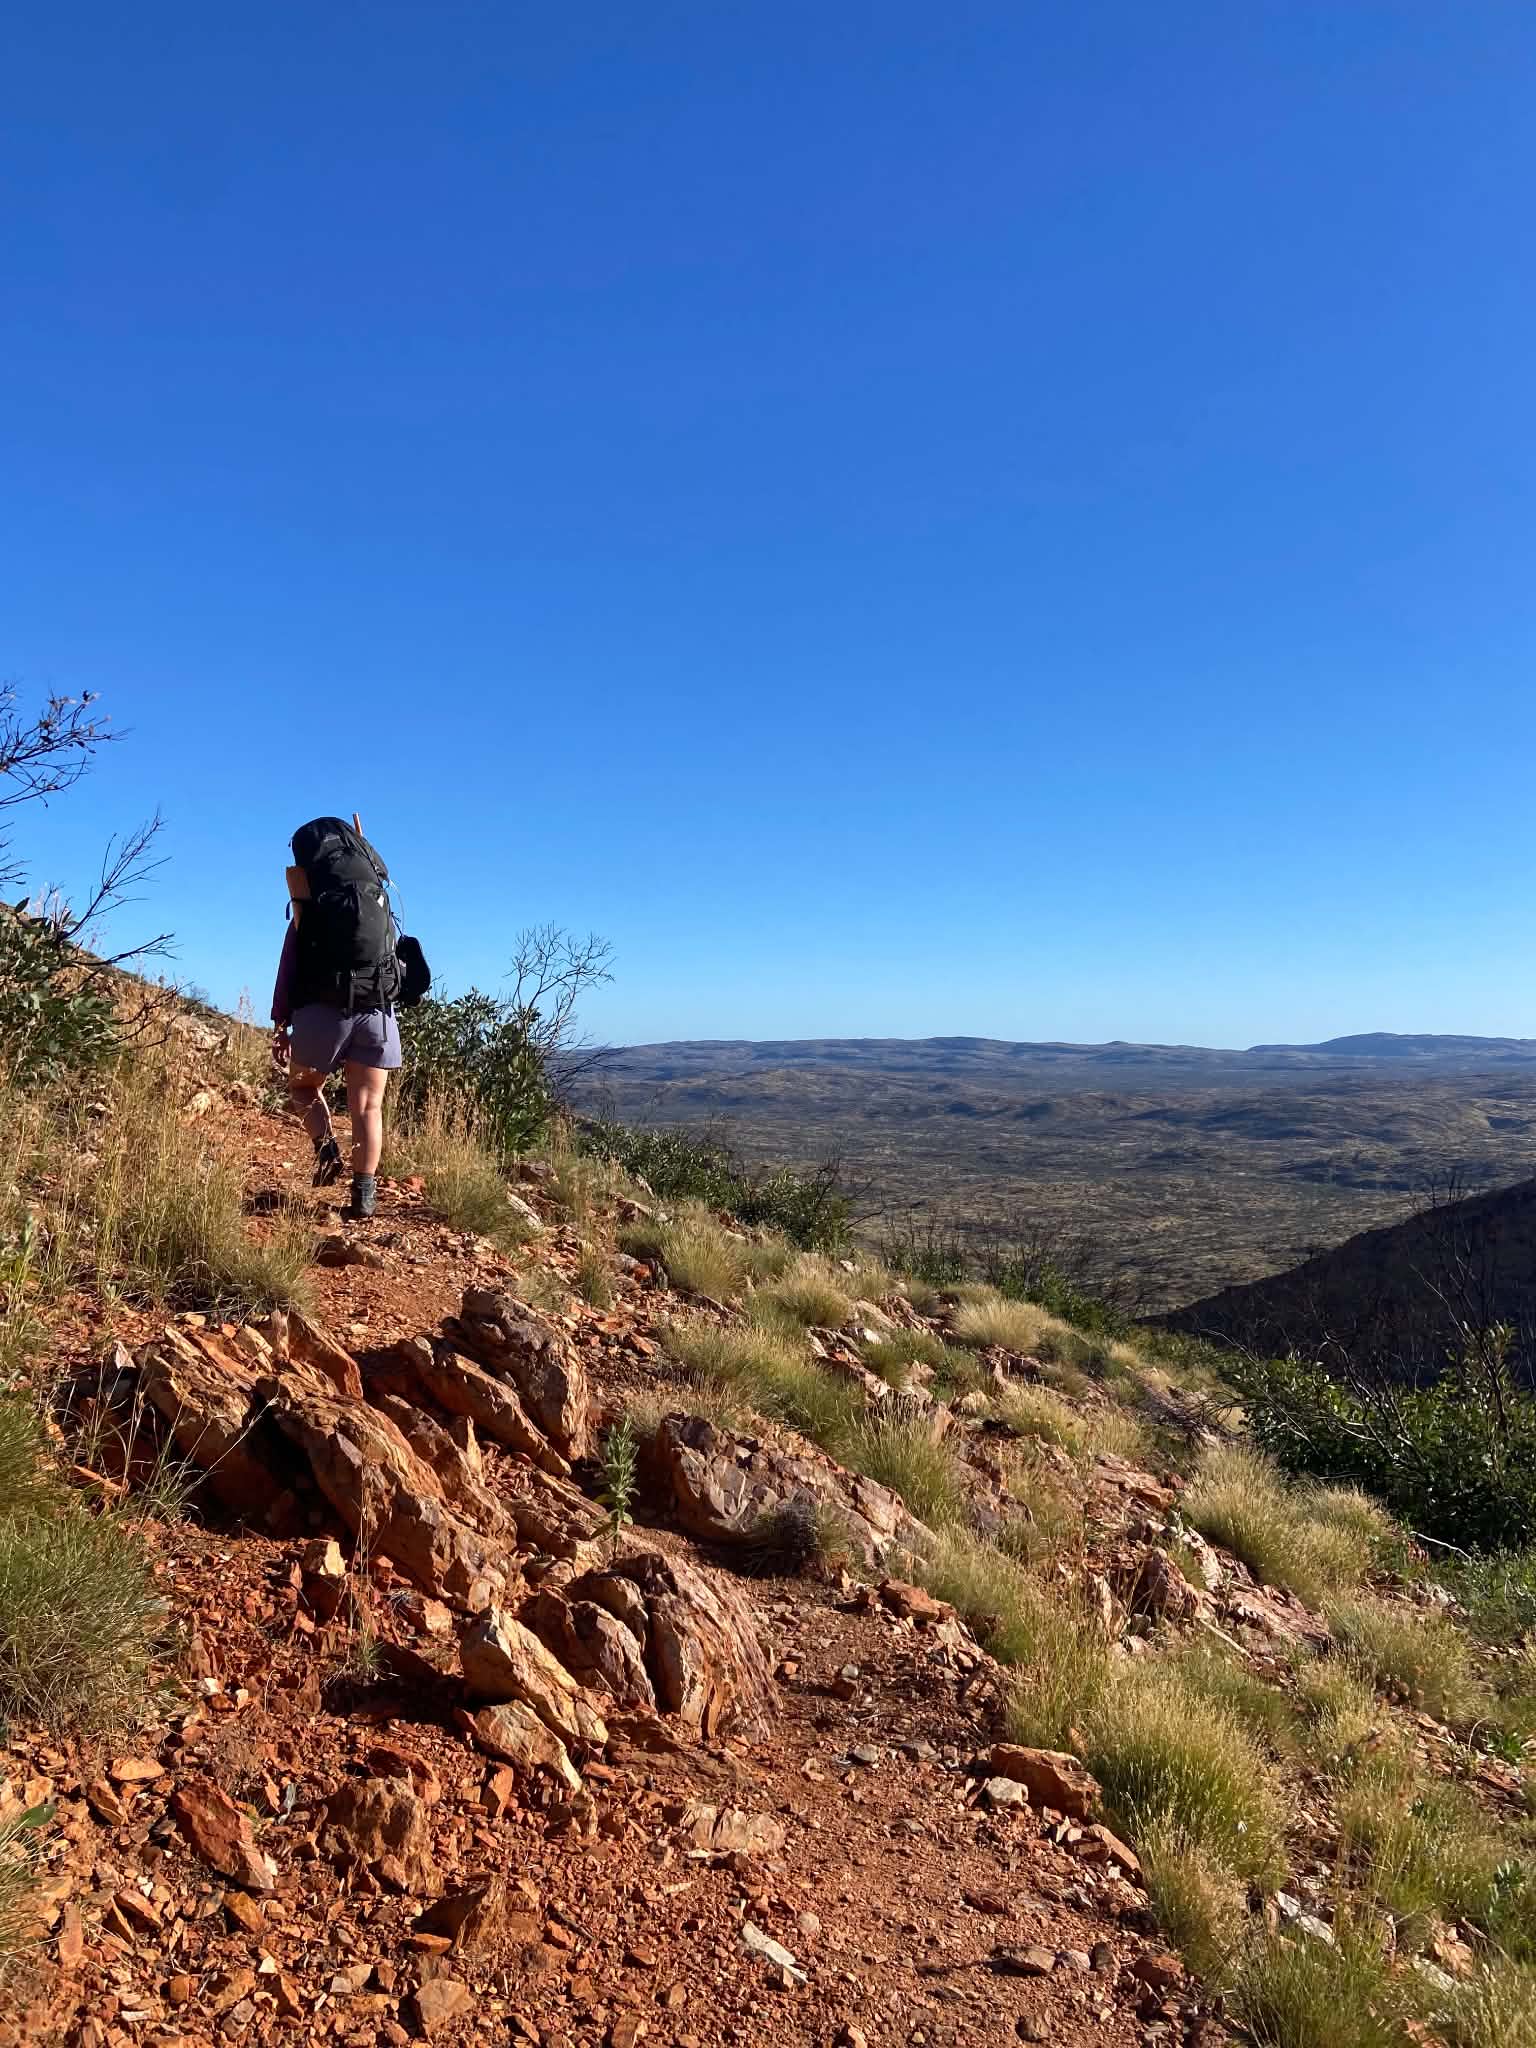
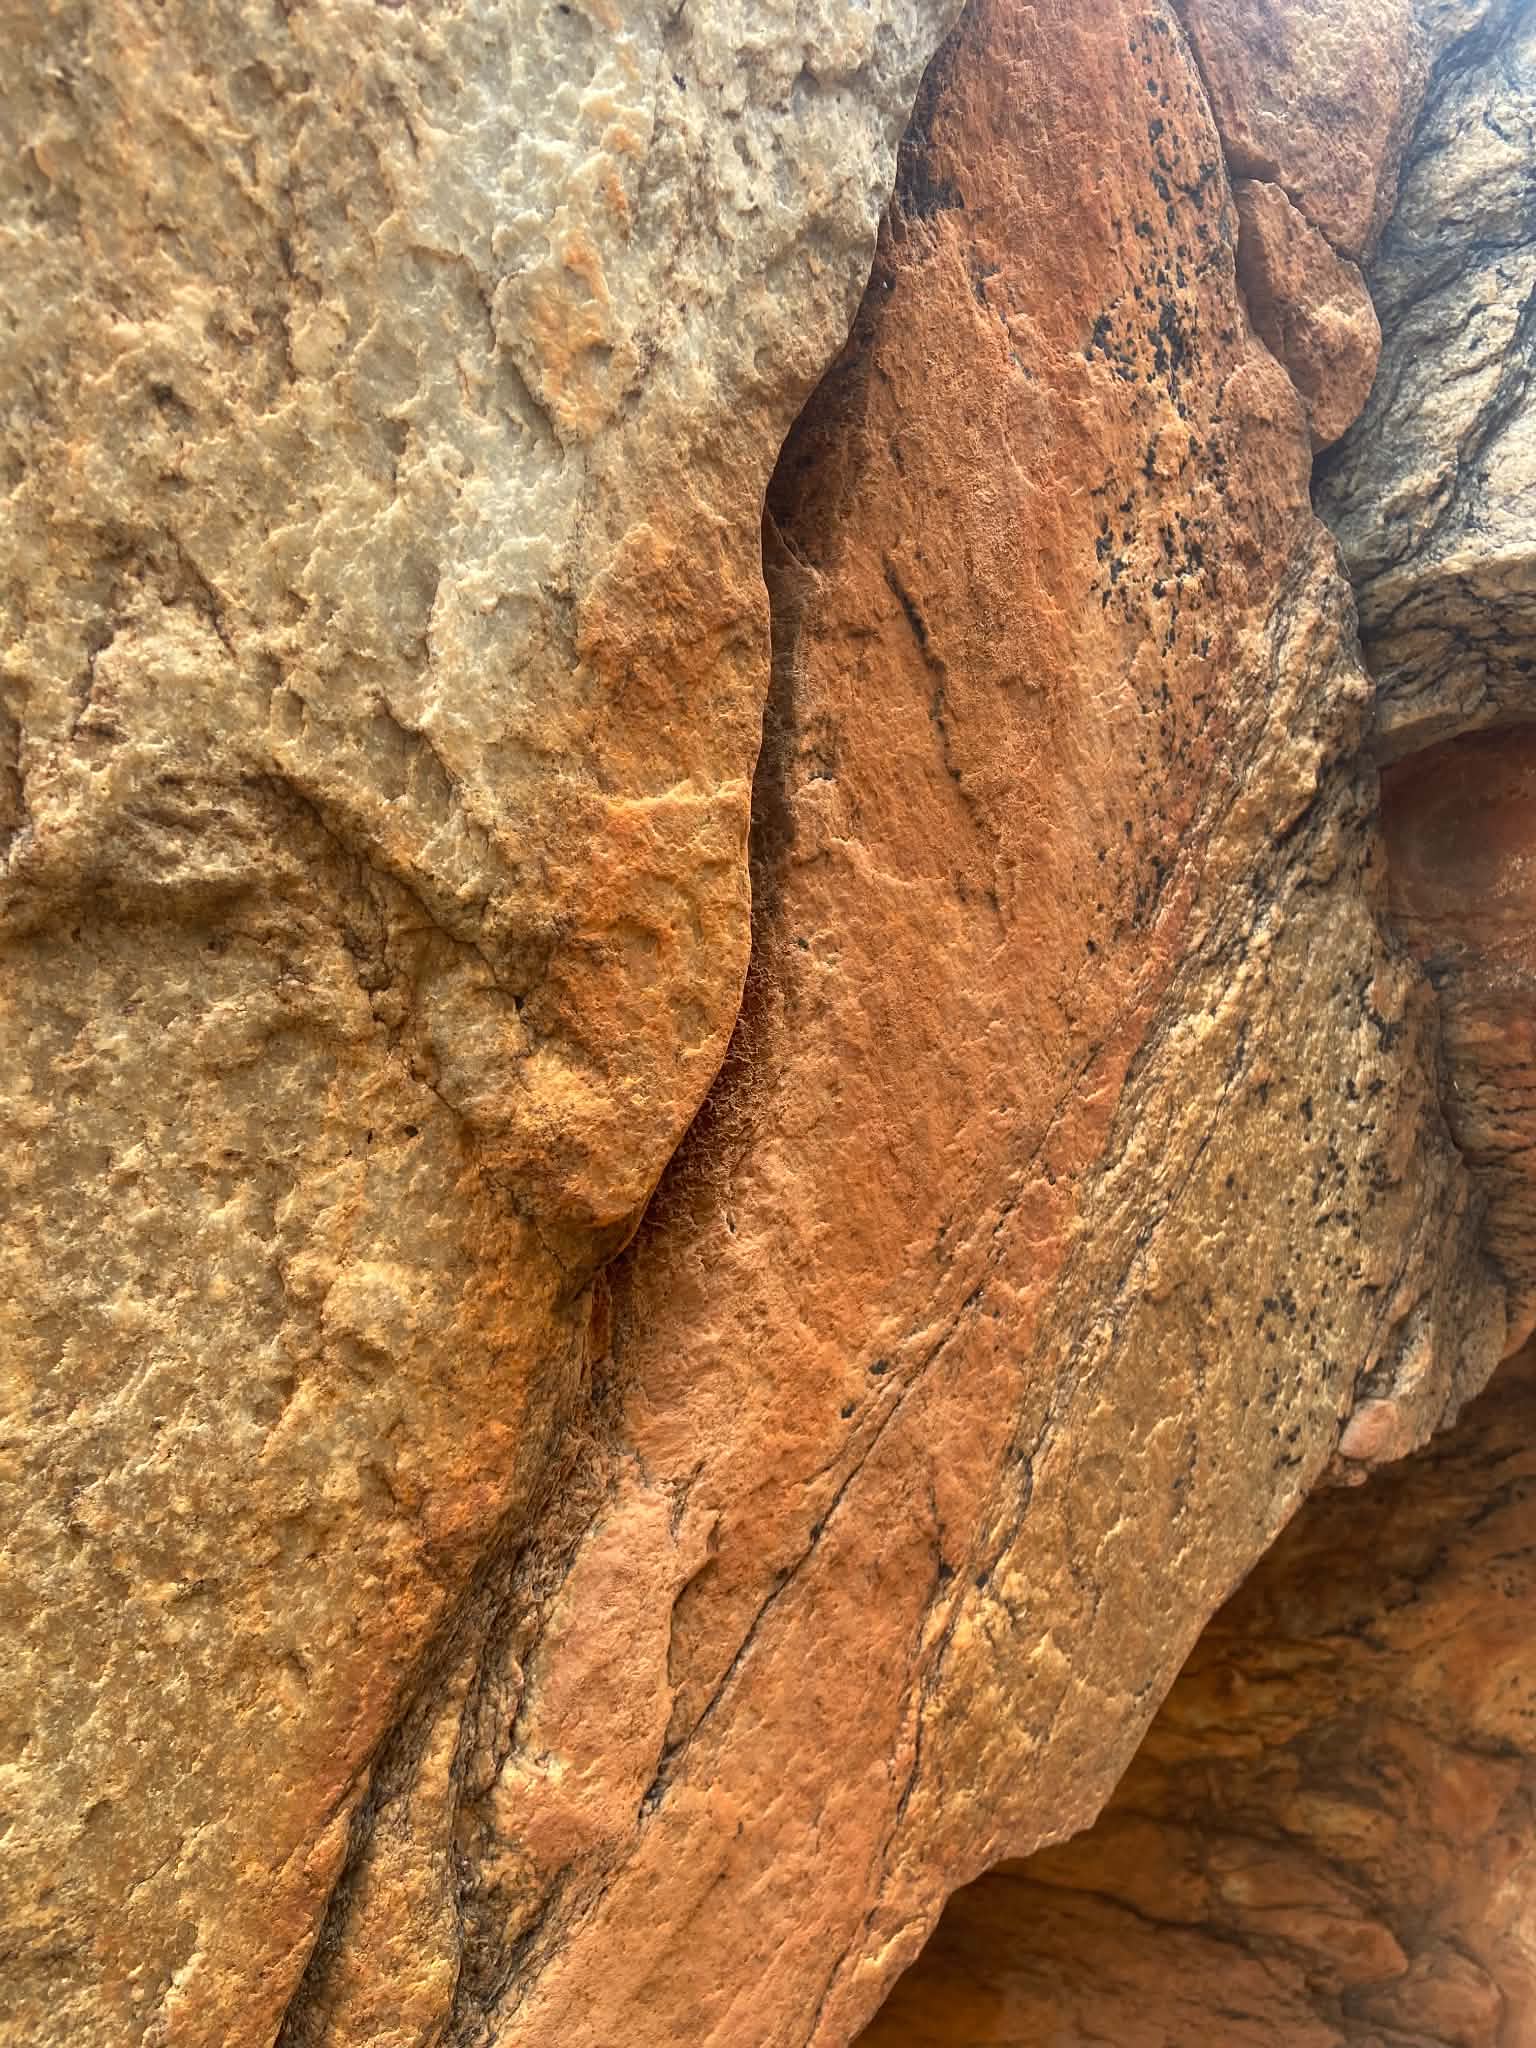
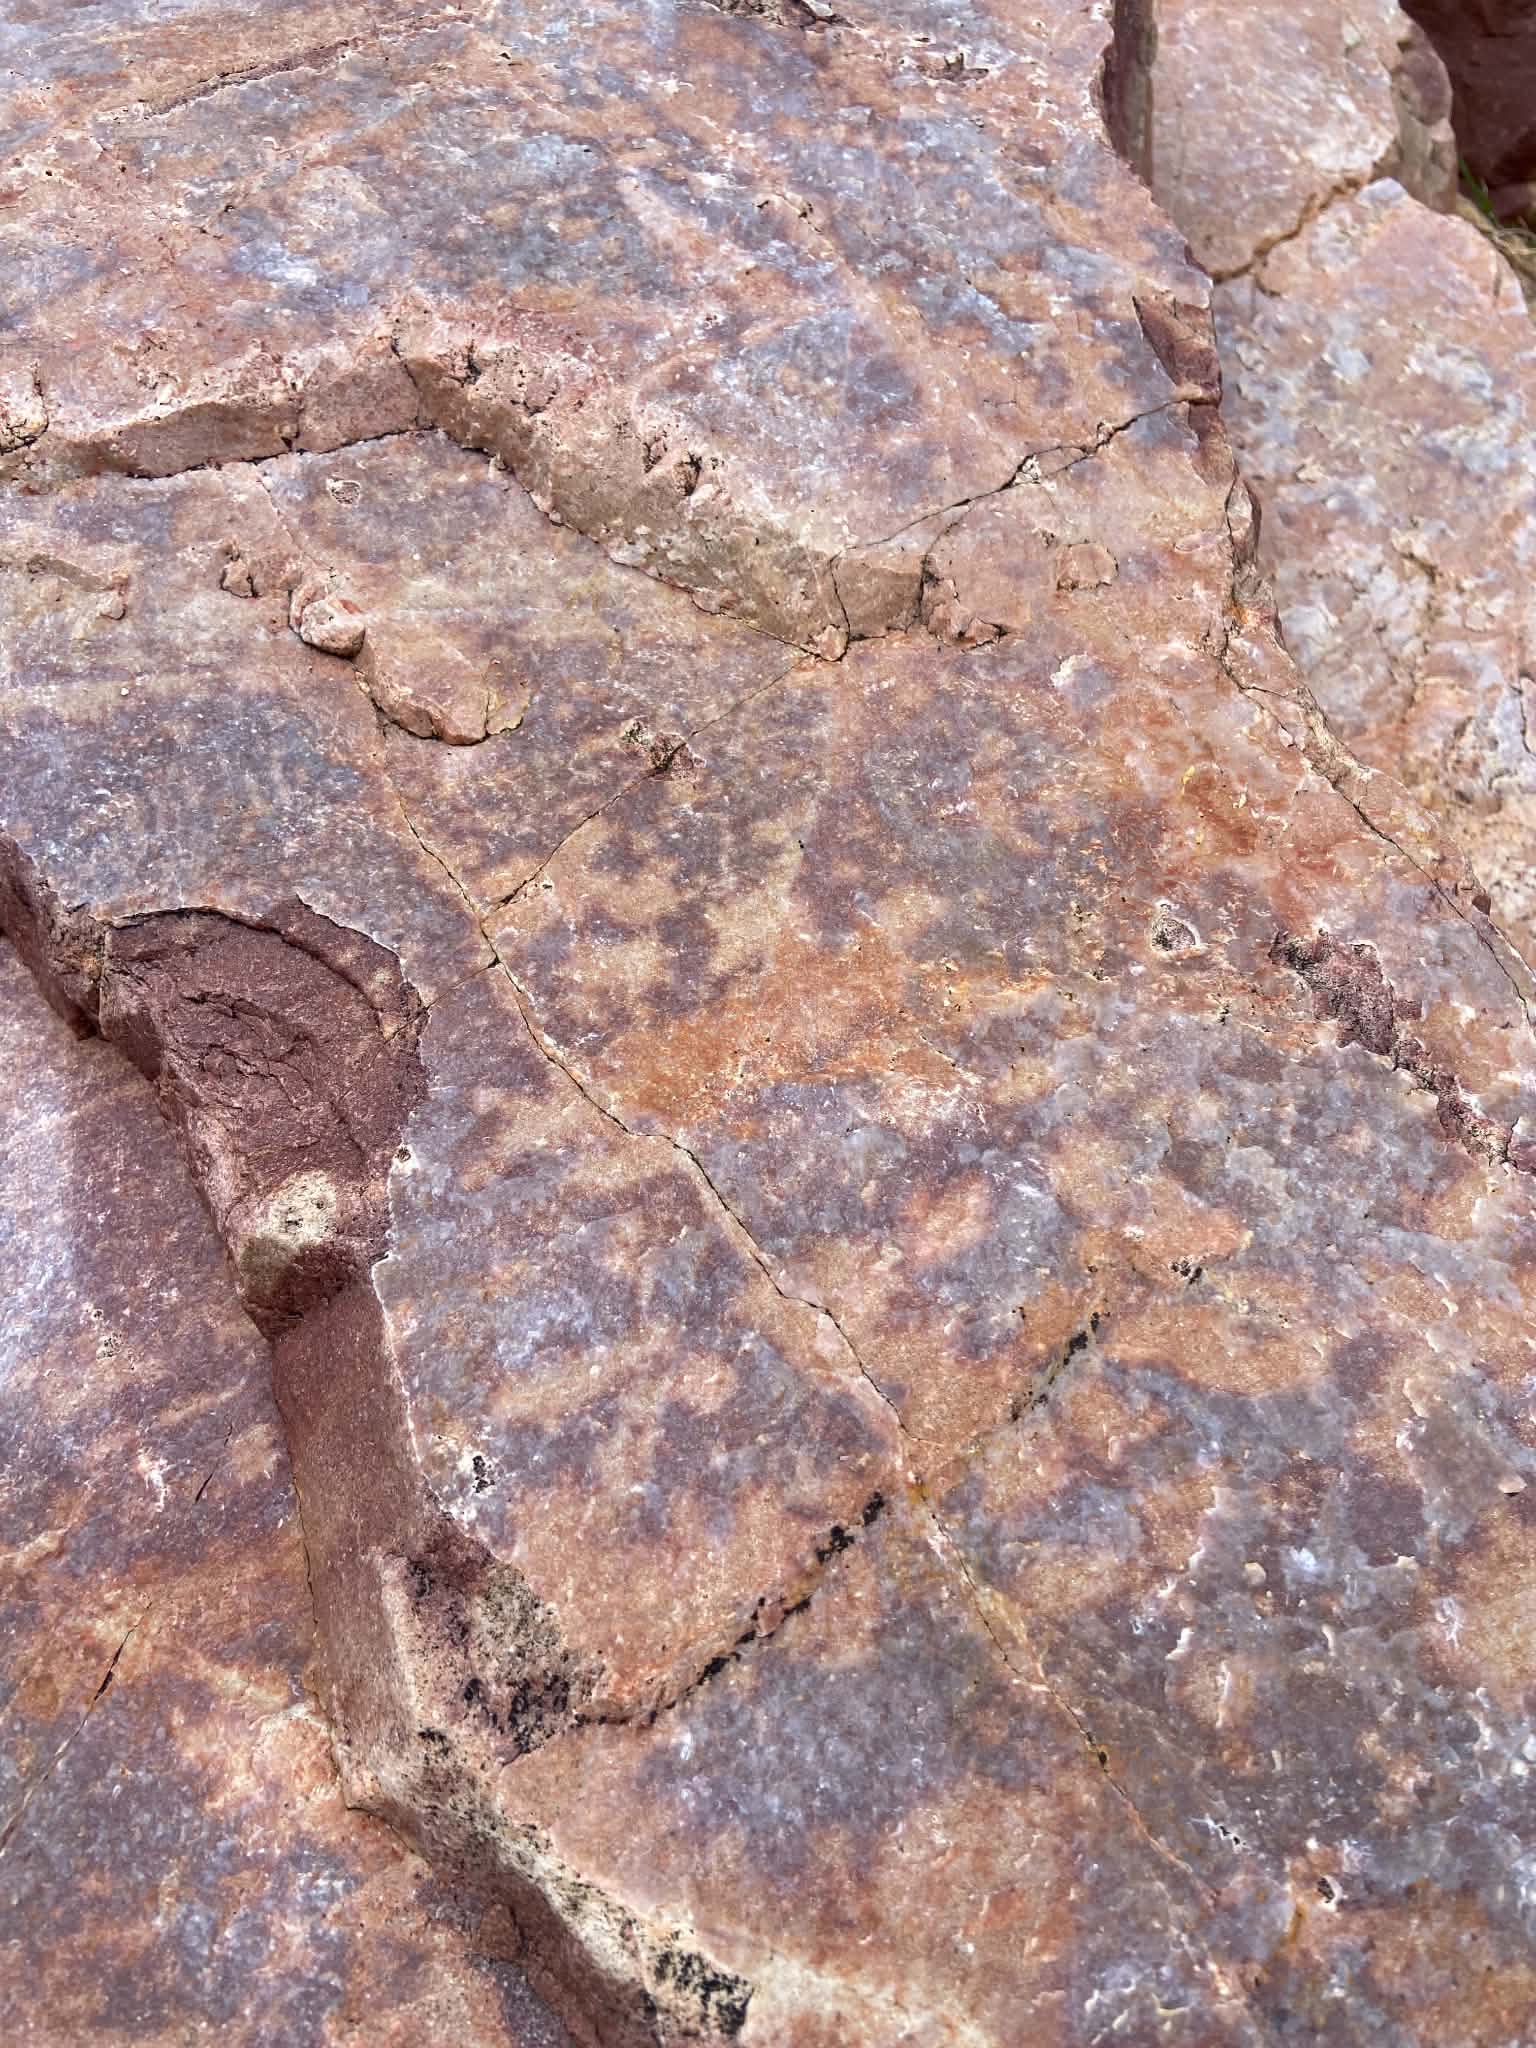
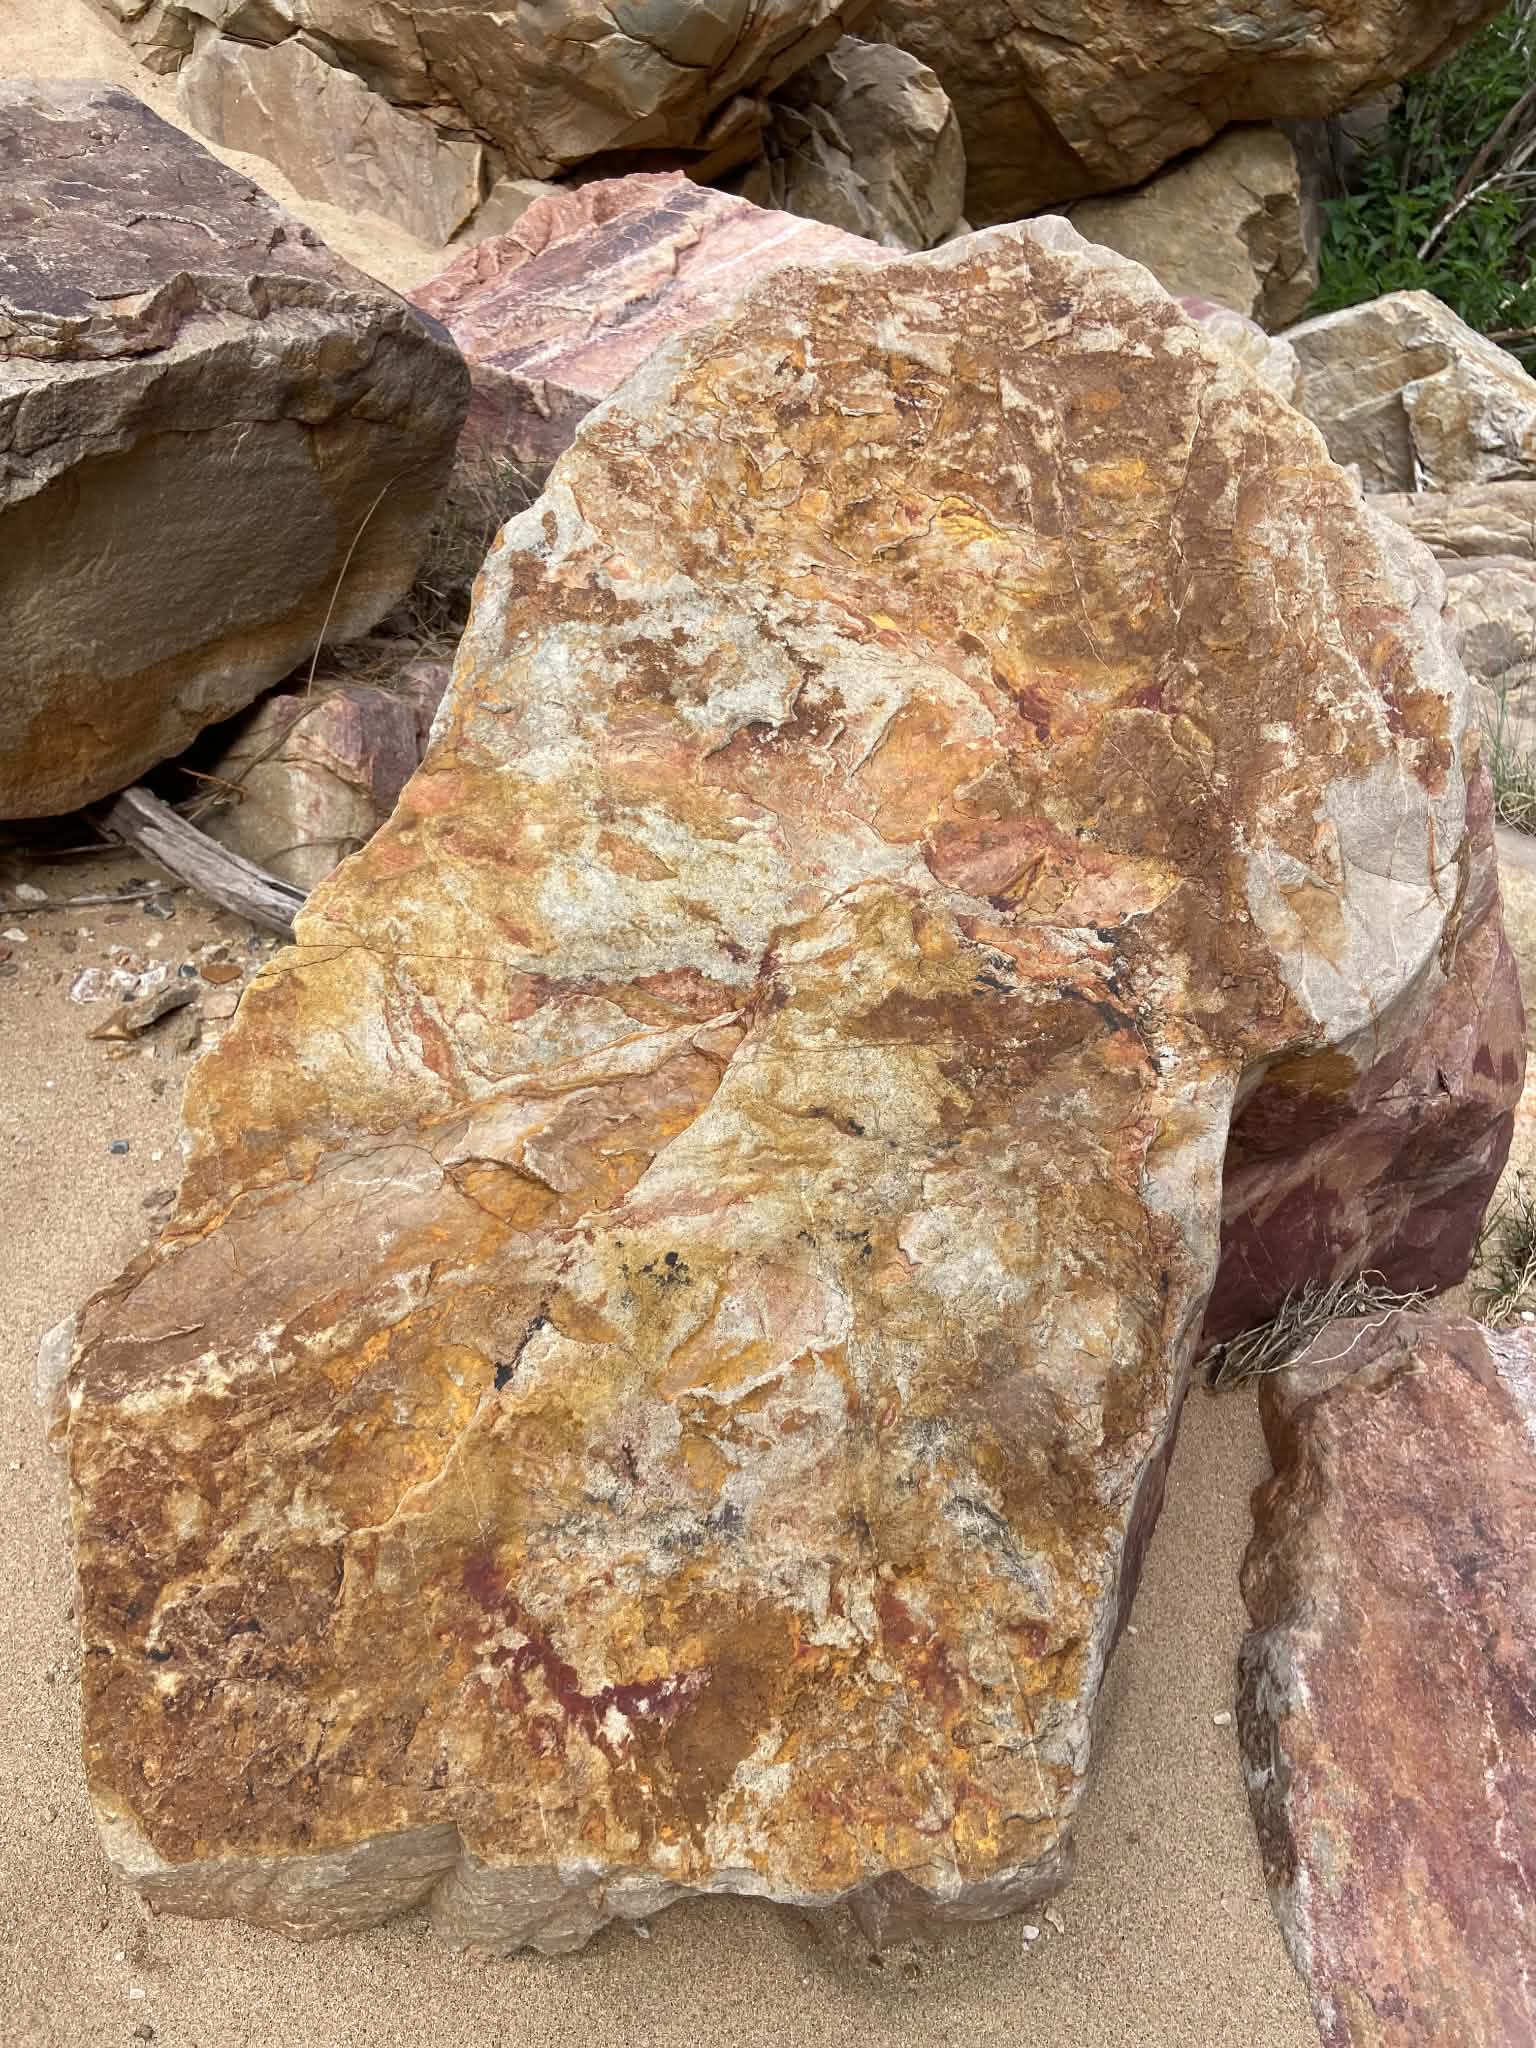
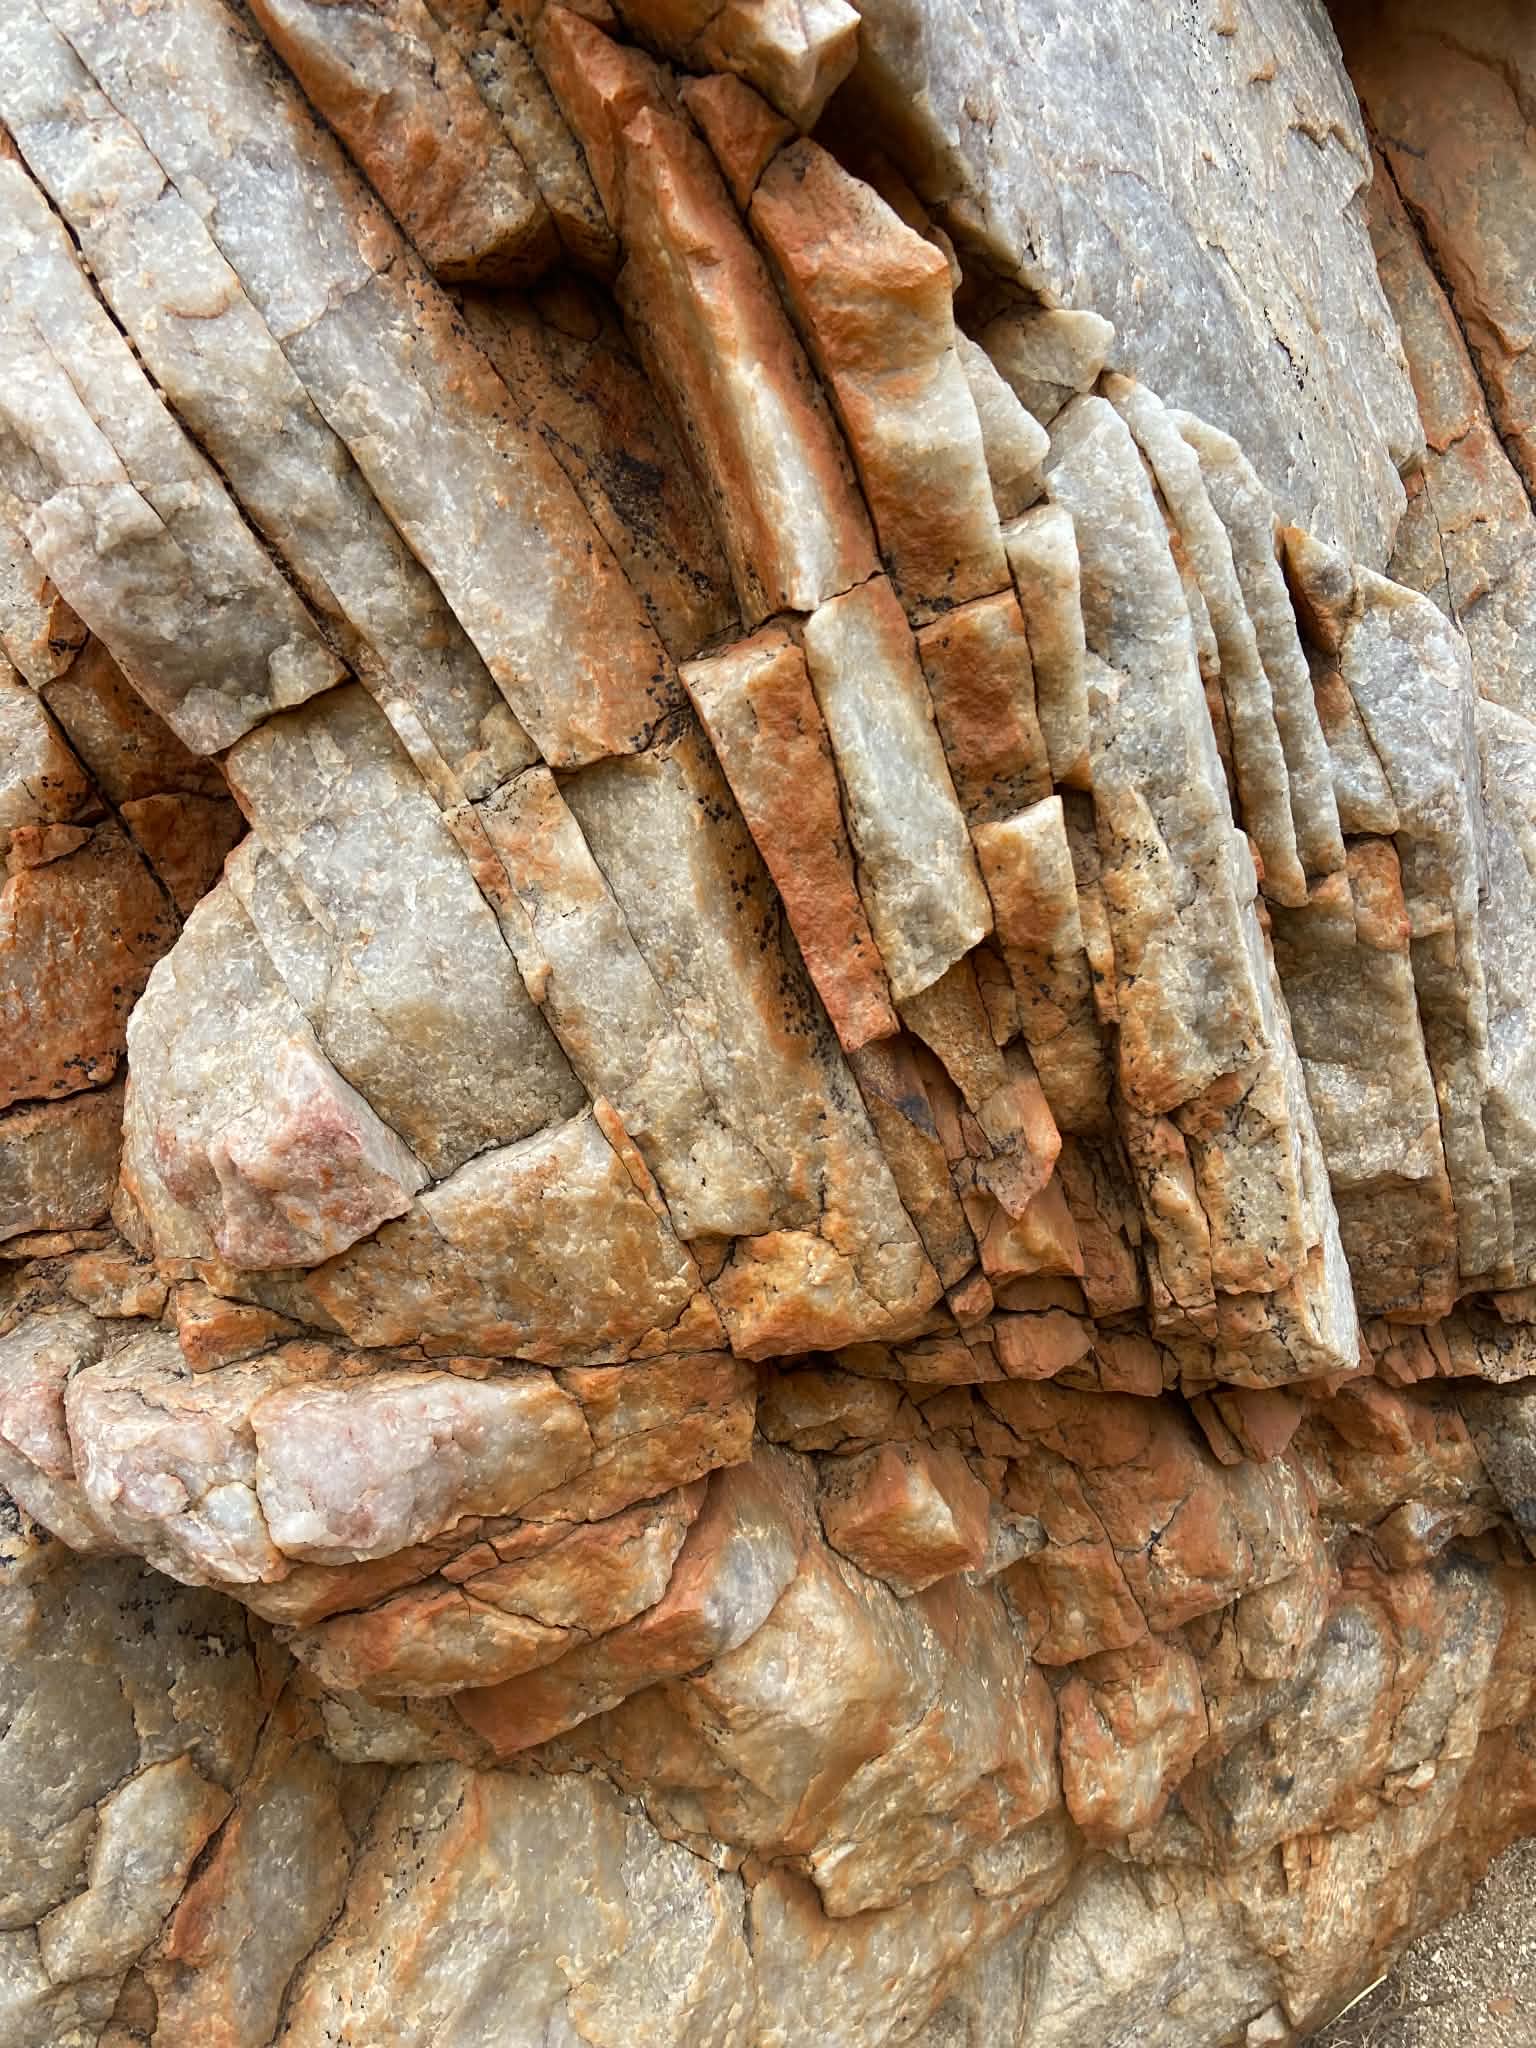
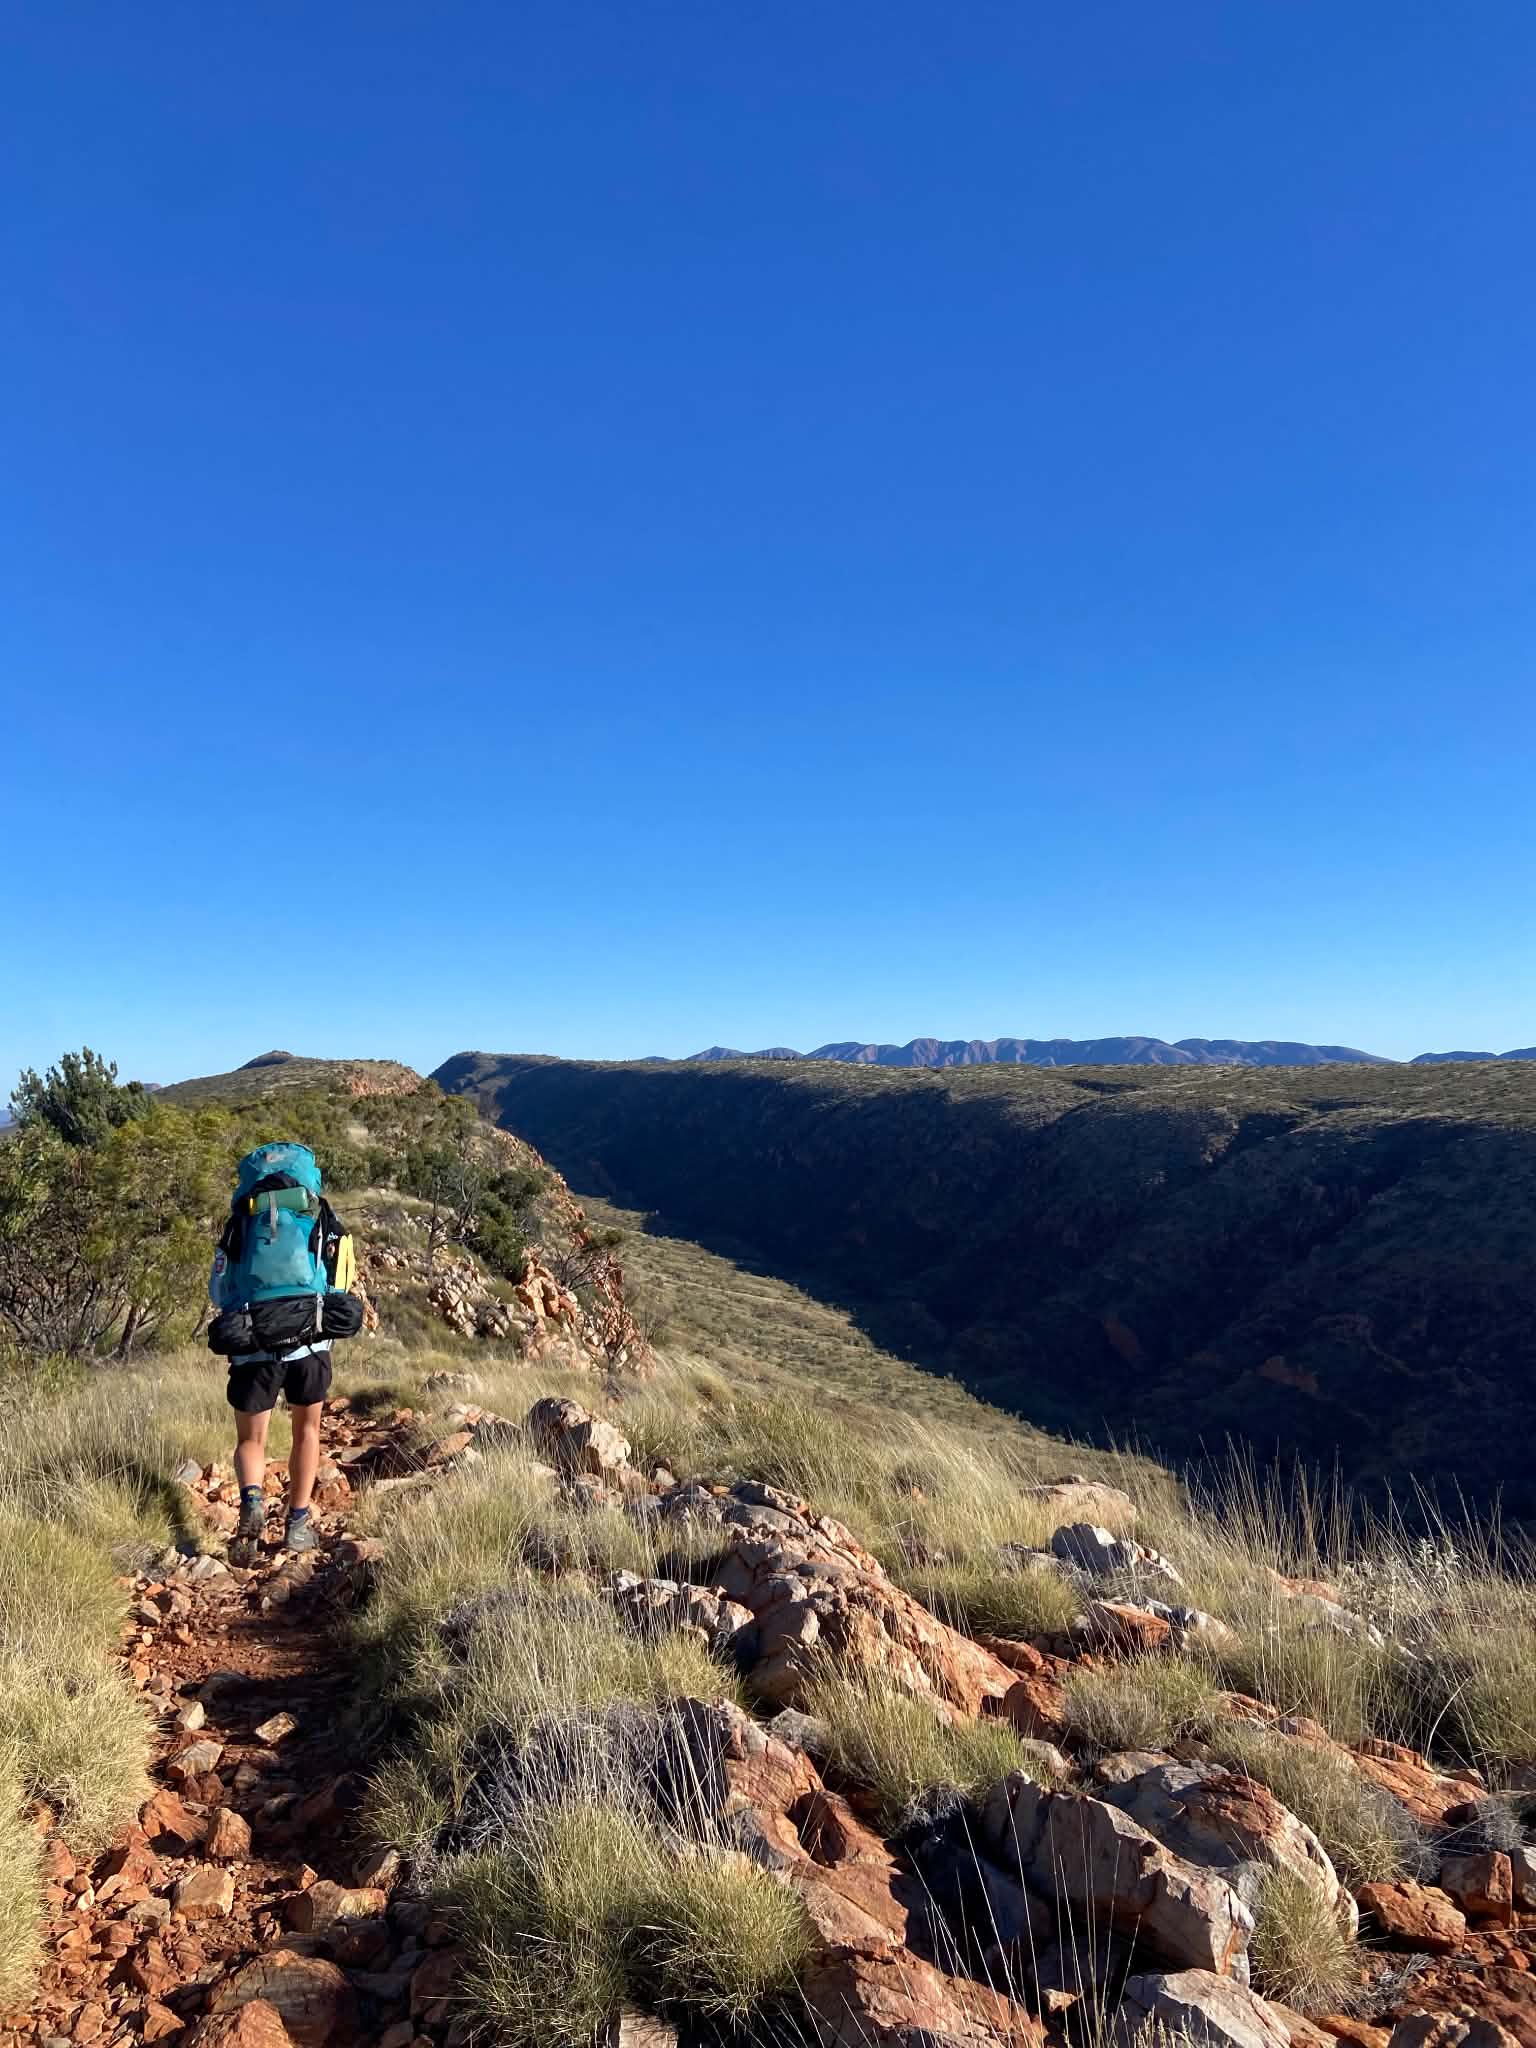
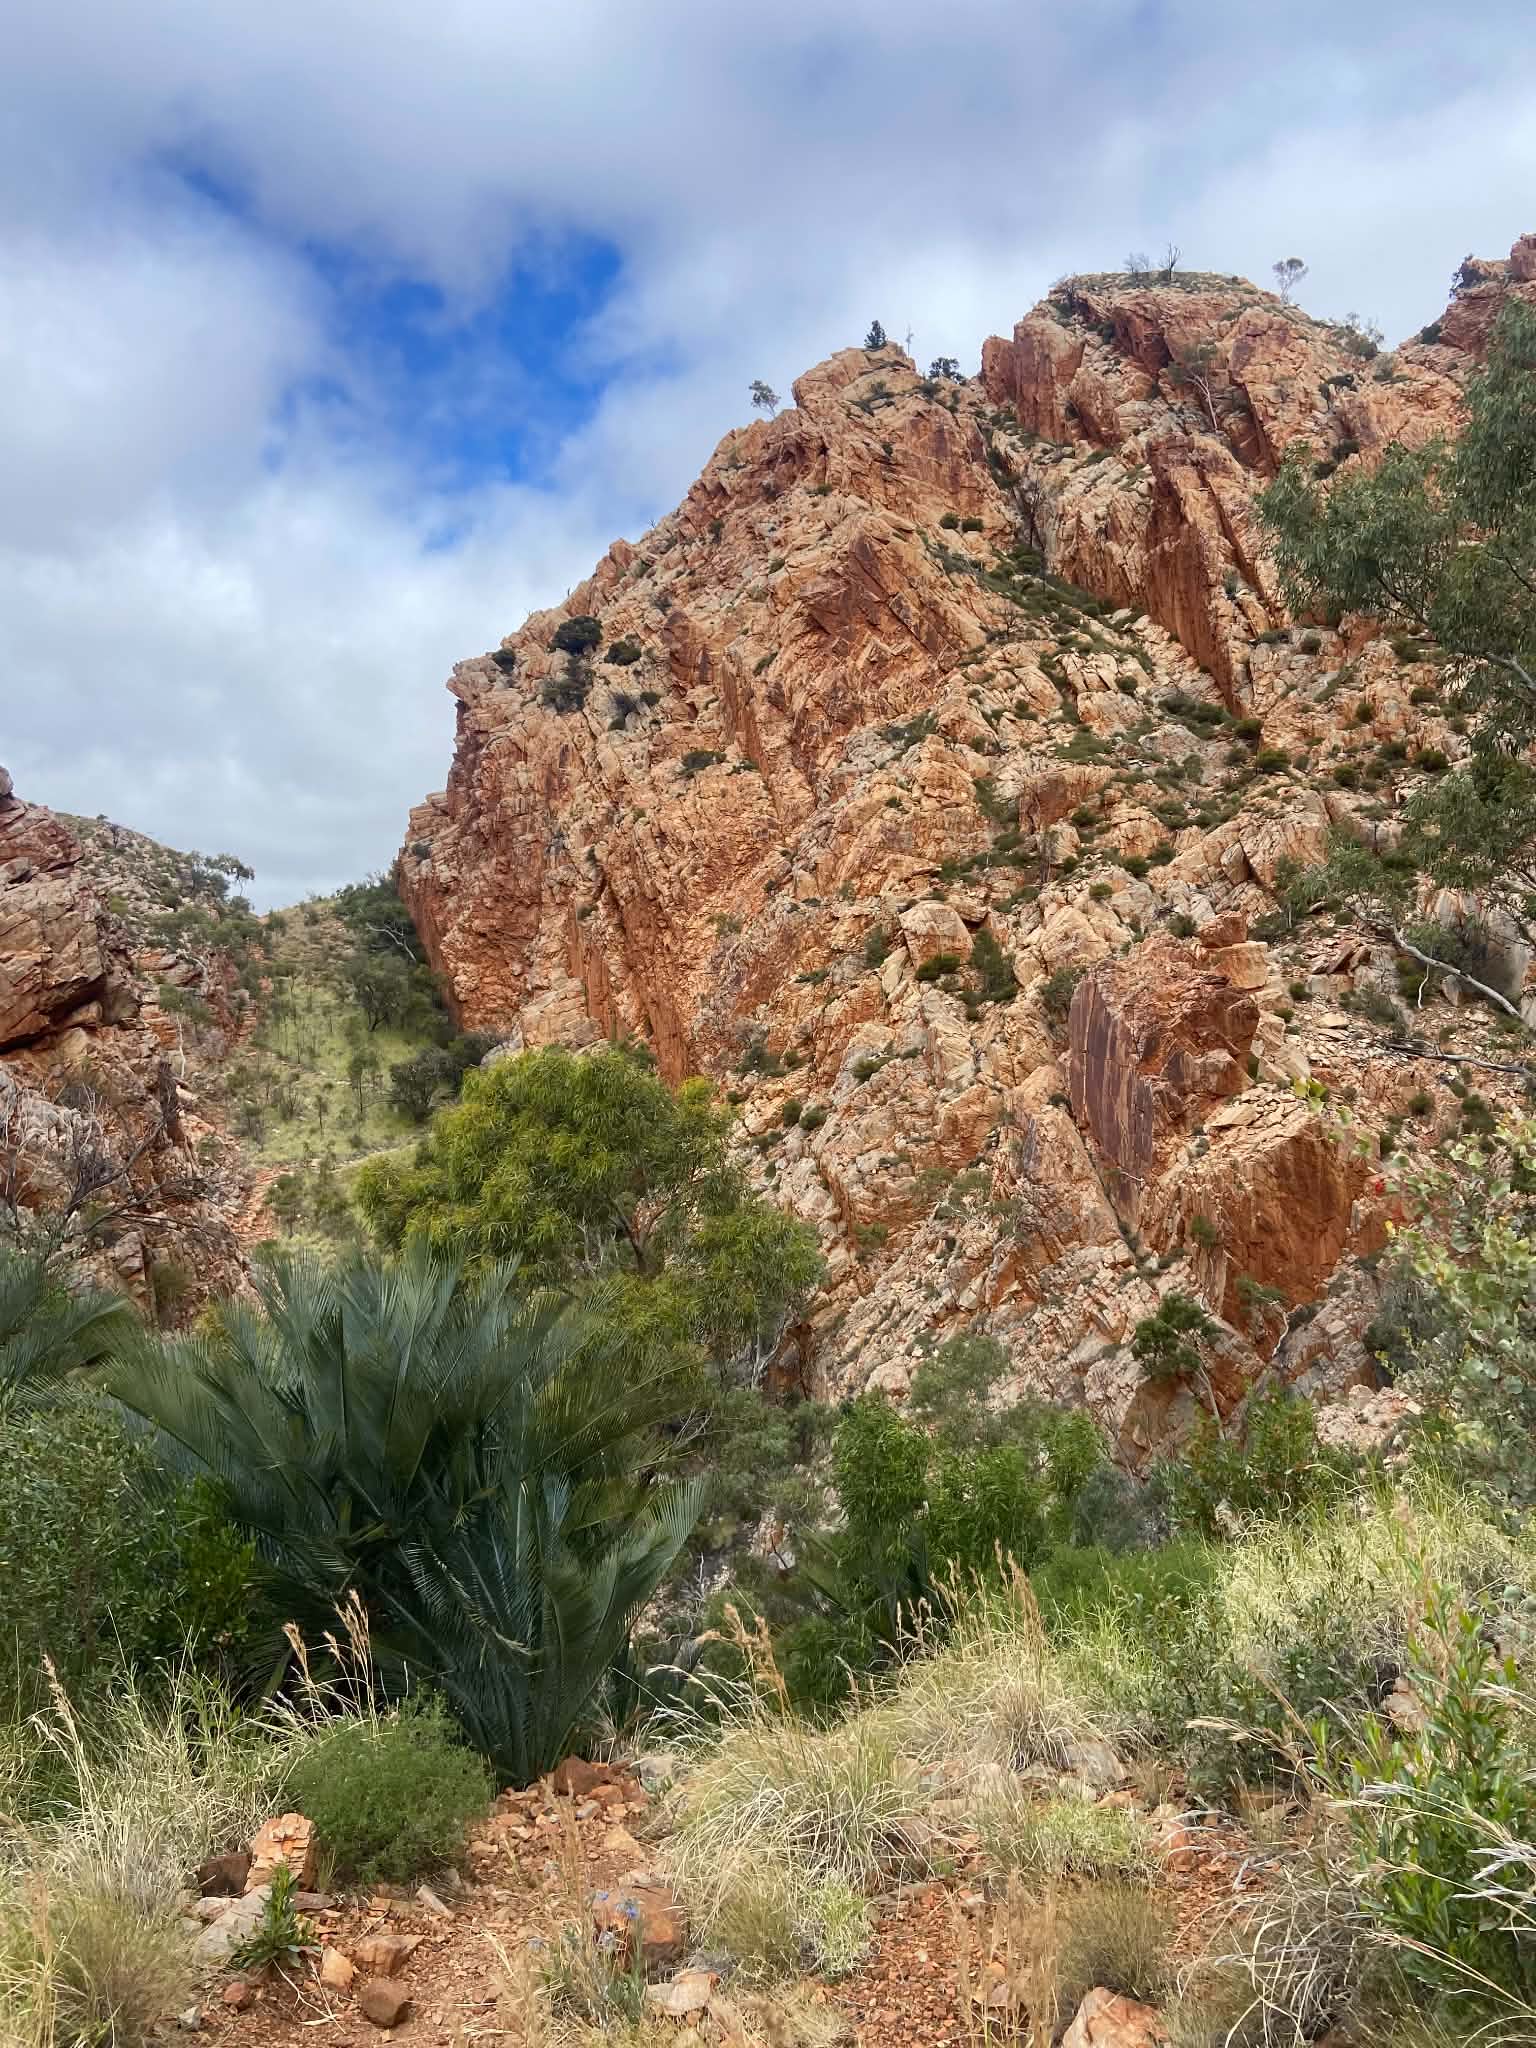
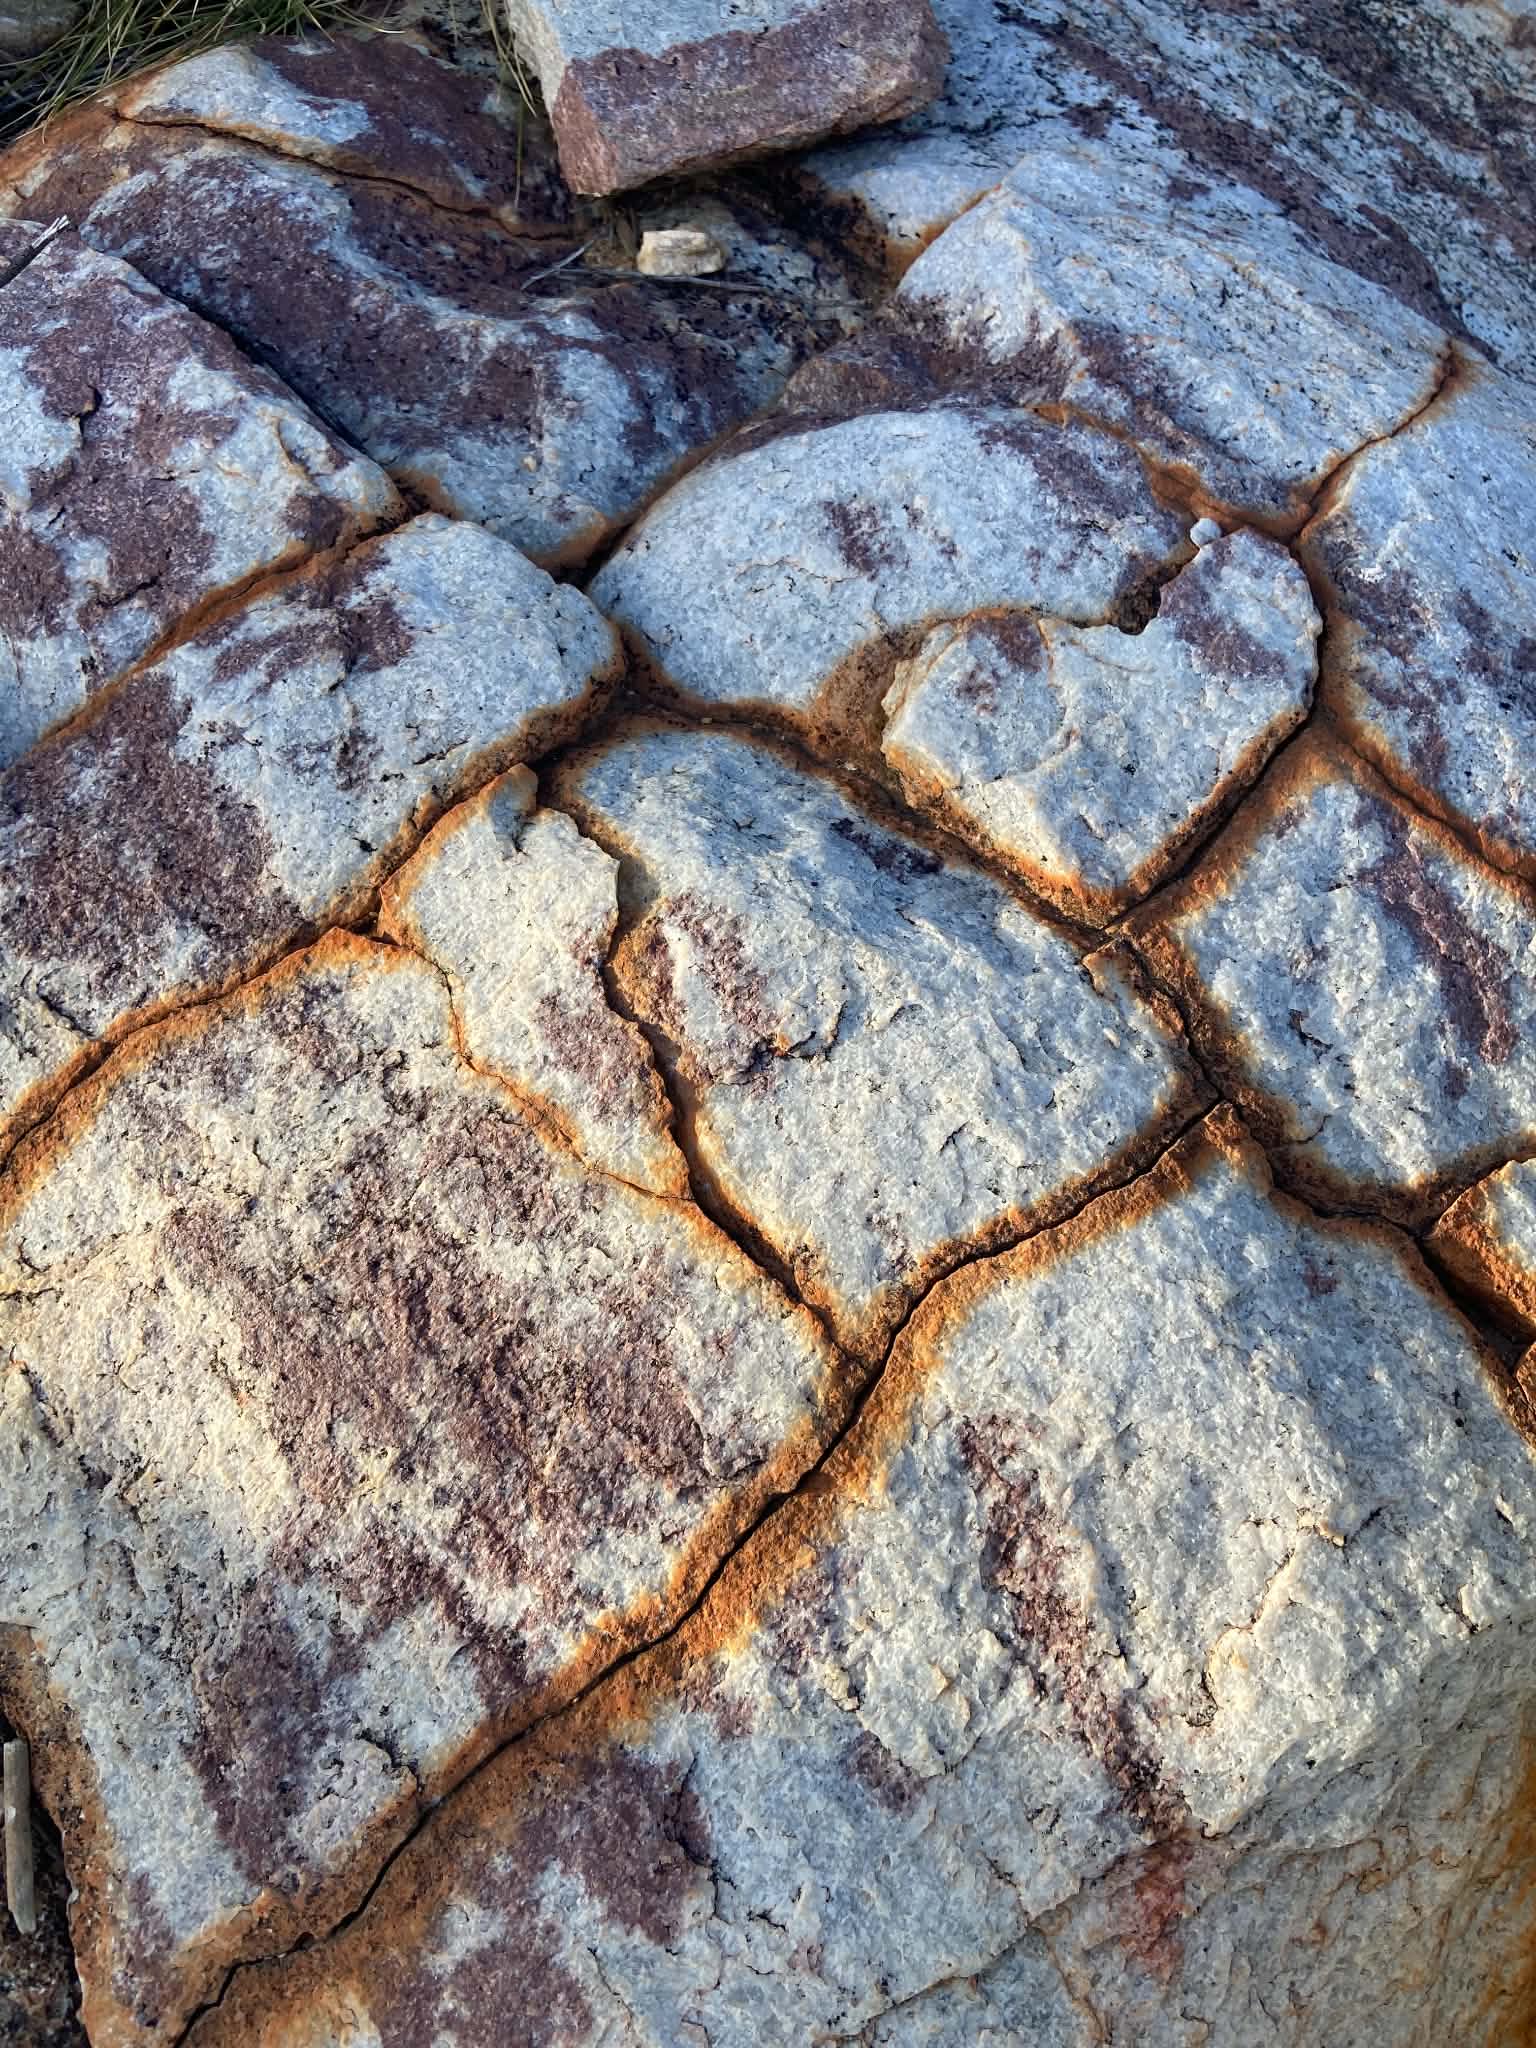
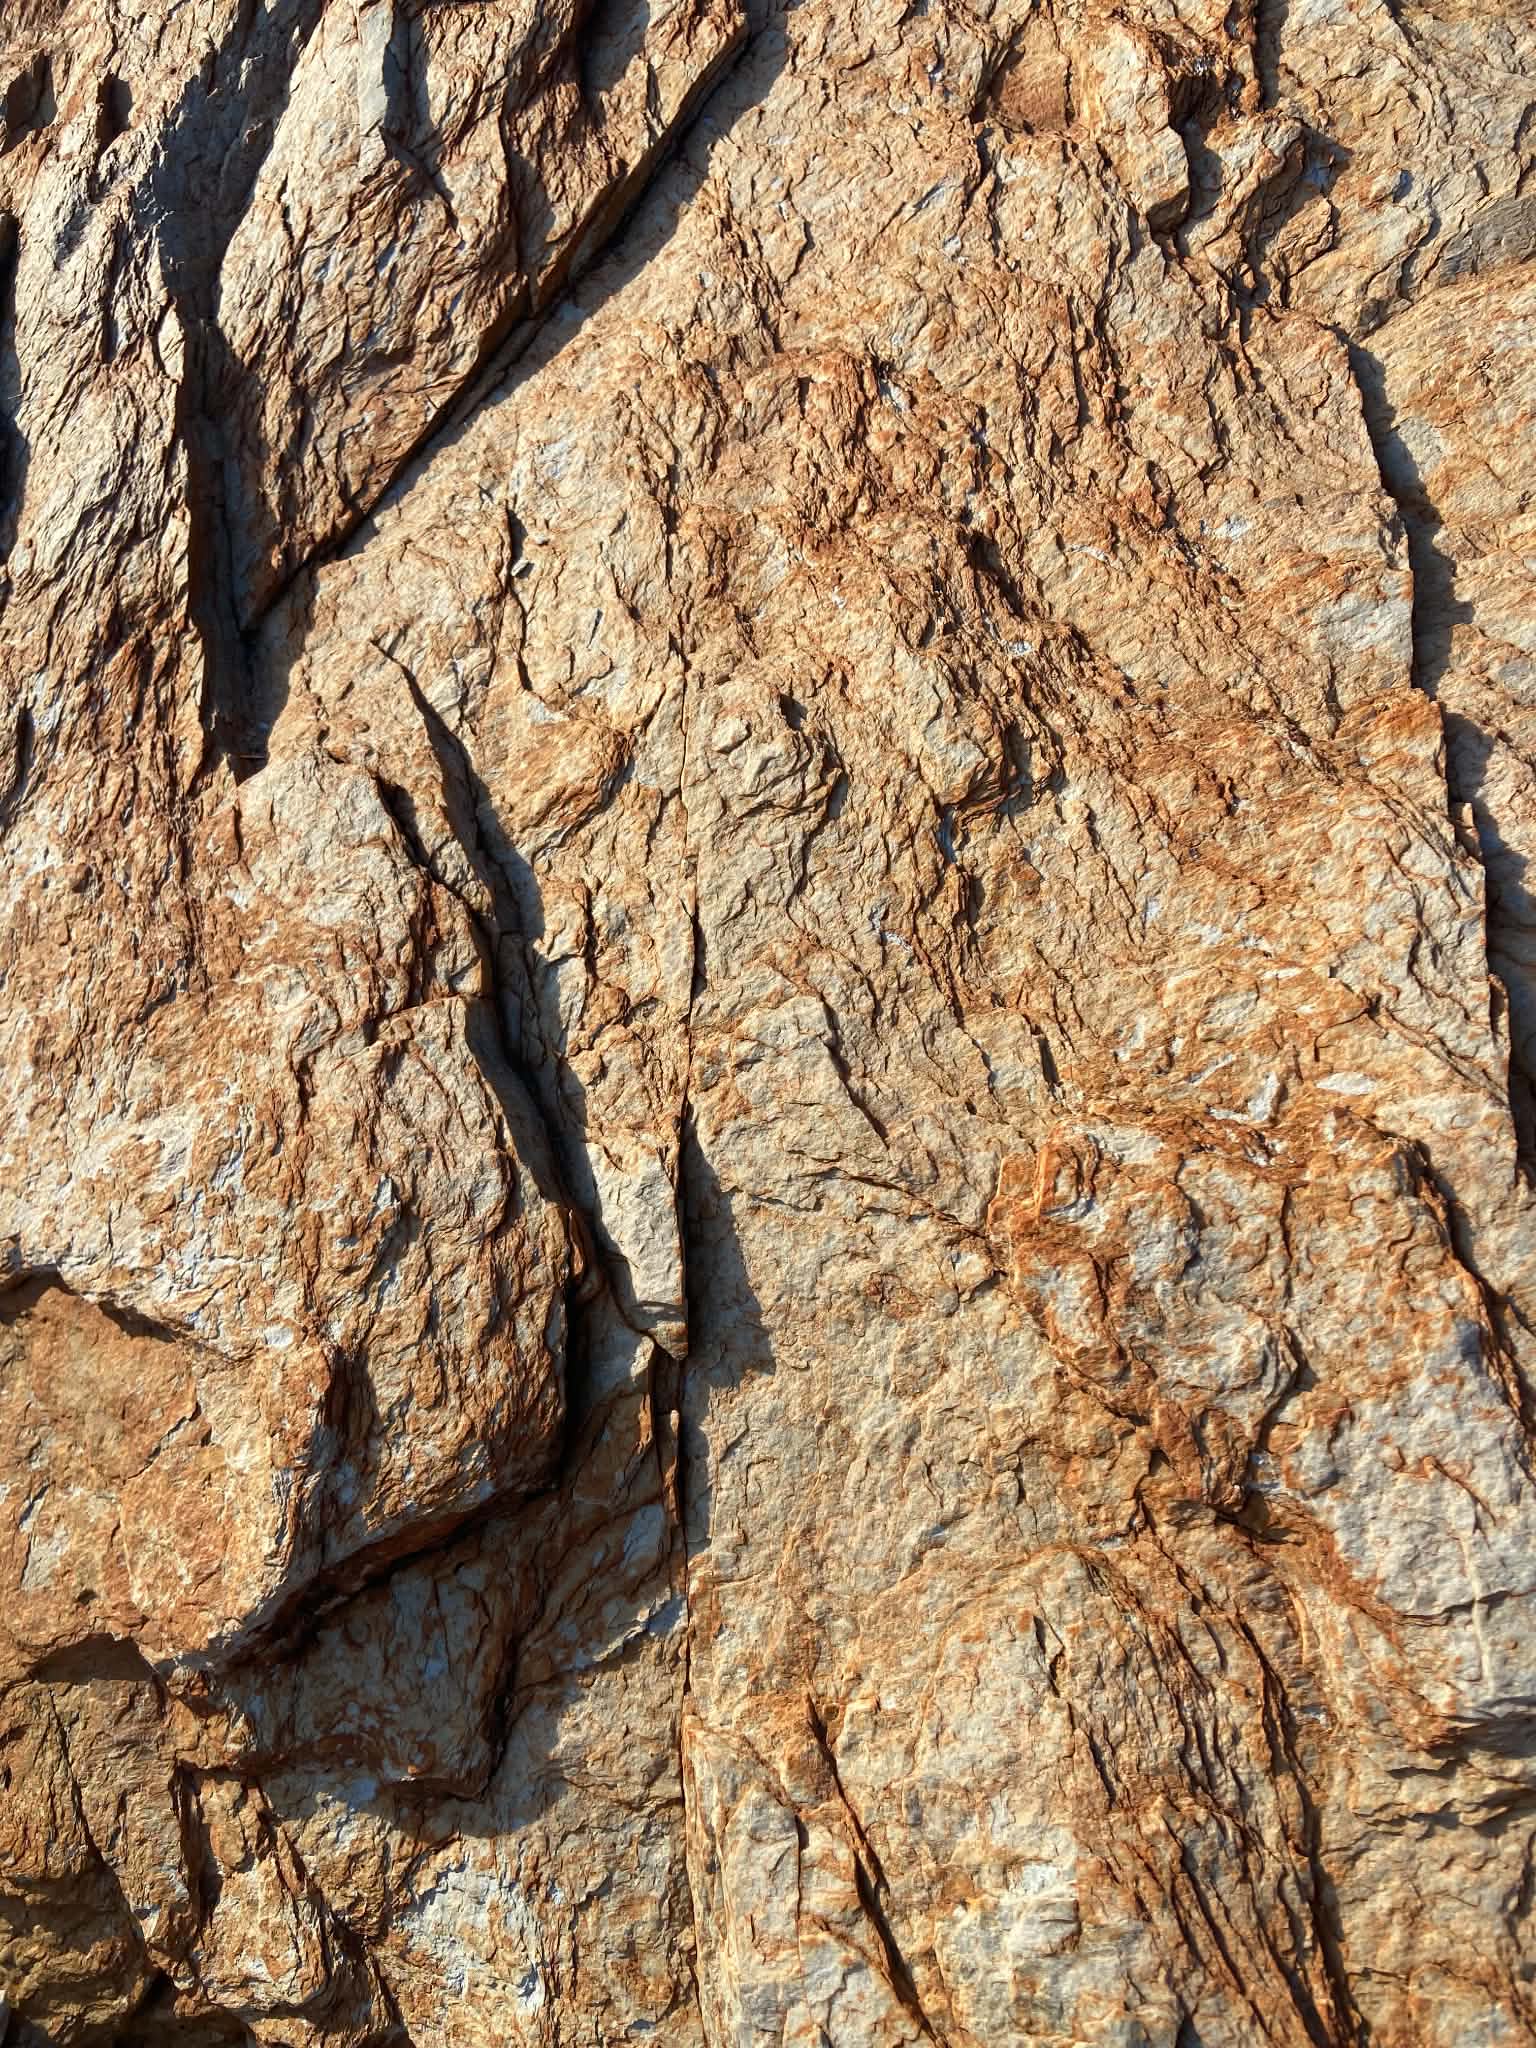
The is a fair bit of variation in the terrain of the walk, however overall it’s a very rocky trail. While made up of a combination of limestone, sandstone and granite, the Larapinta is most recognised for its infamous quartzite (Larapinta Trail Walk, 2026). Creating the incredible crags and jagged outline of Tjoritja (the West MacDonnell Ranges), this quartzite makes for a rugged, hard and unforgiving terrain which eats hiking boots and ankles for breakfast. The rock is not only hard underfoot, but can make for a very unstable and sometimes slippery surface. On the ridgelines the rock is splintered into shards not dissimilar to glass, which makes for a slippery and unpredictable descent.
The gorges initially provide some relief after the harsh rock of the ridgeline and mountain climbs, however the river beds are made up of lots of smaller and unstable rocks. This means lots of rock-hopping which is tough on the ankles.
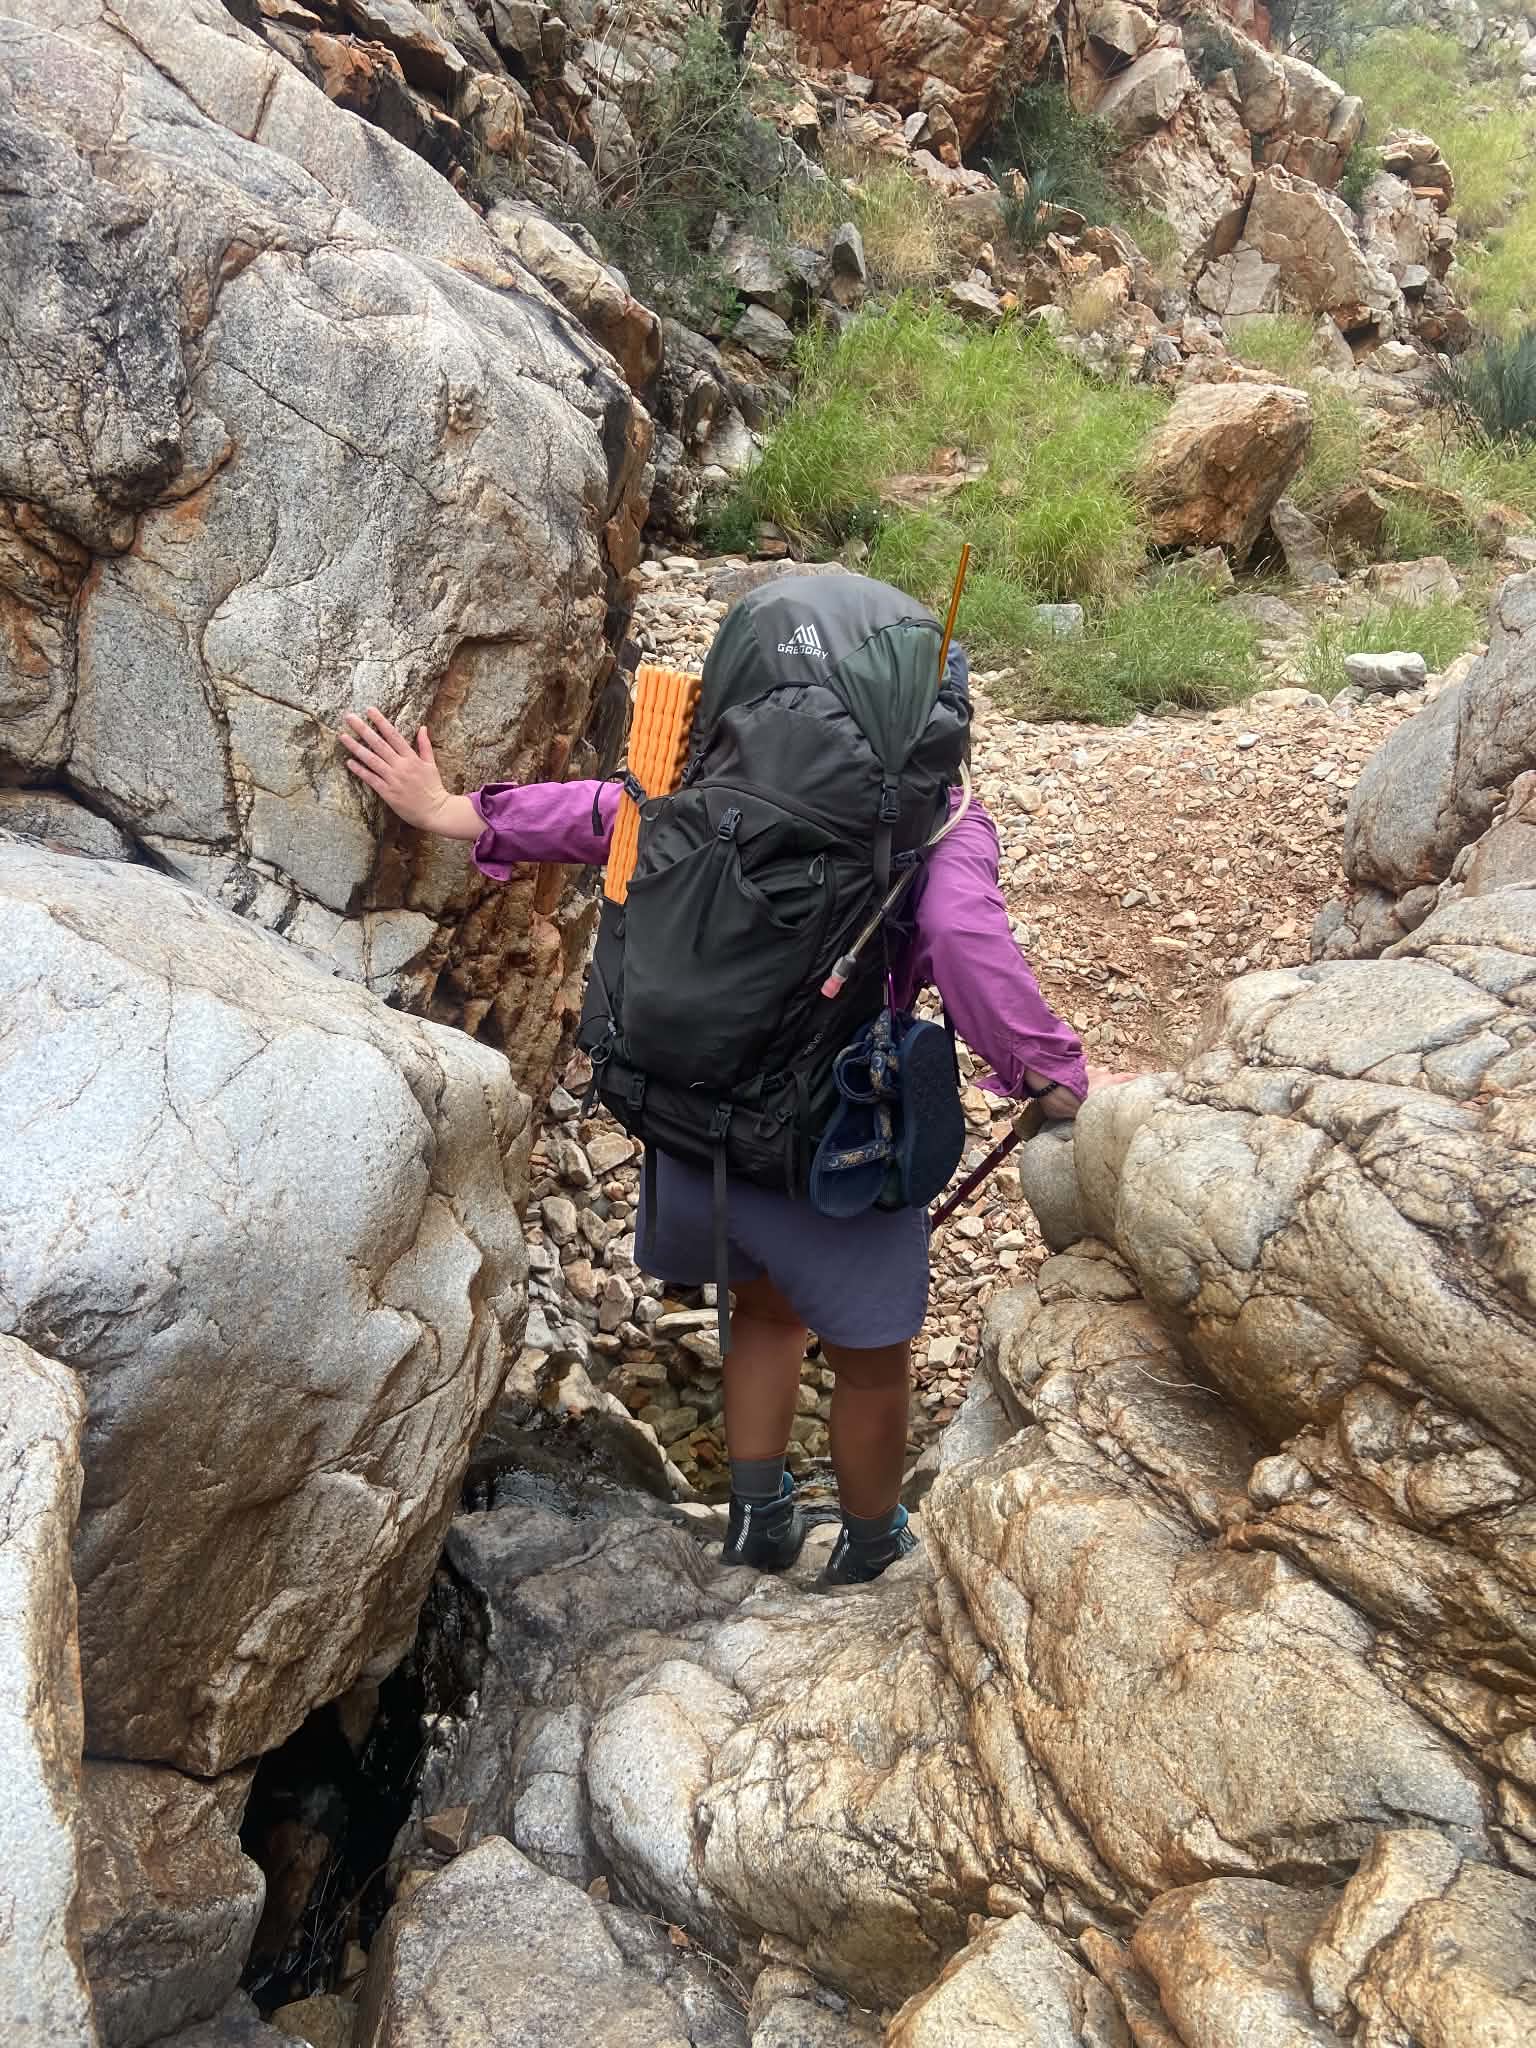
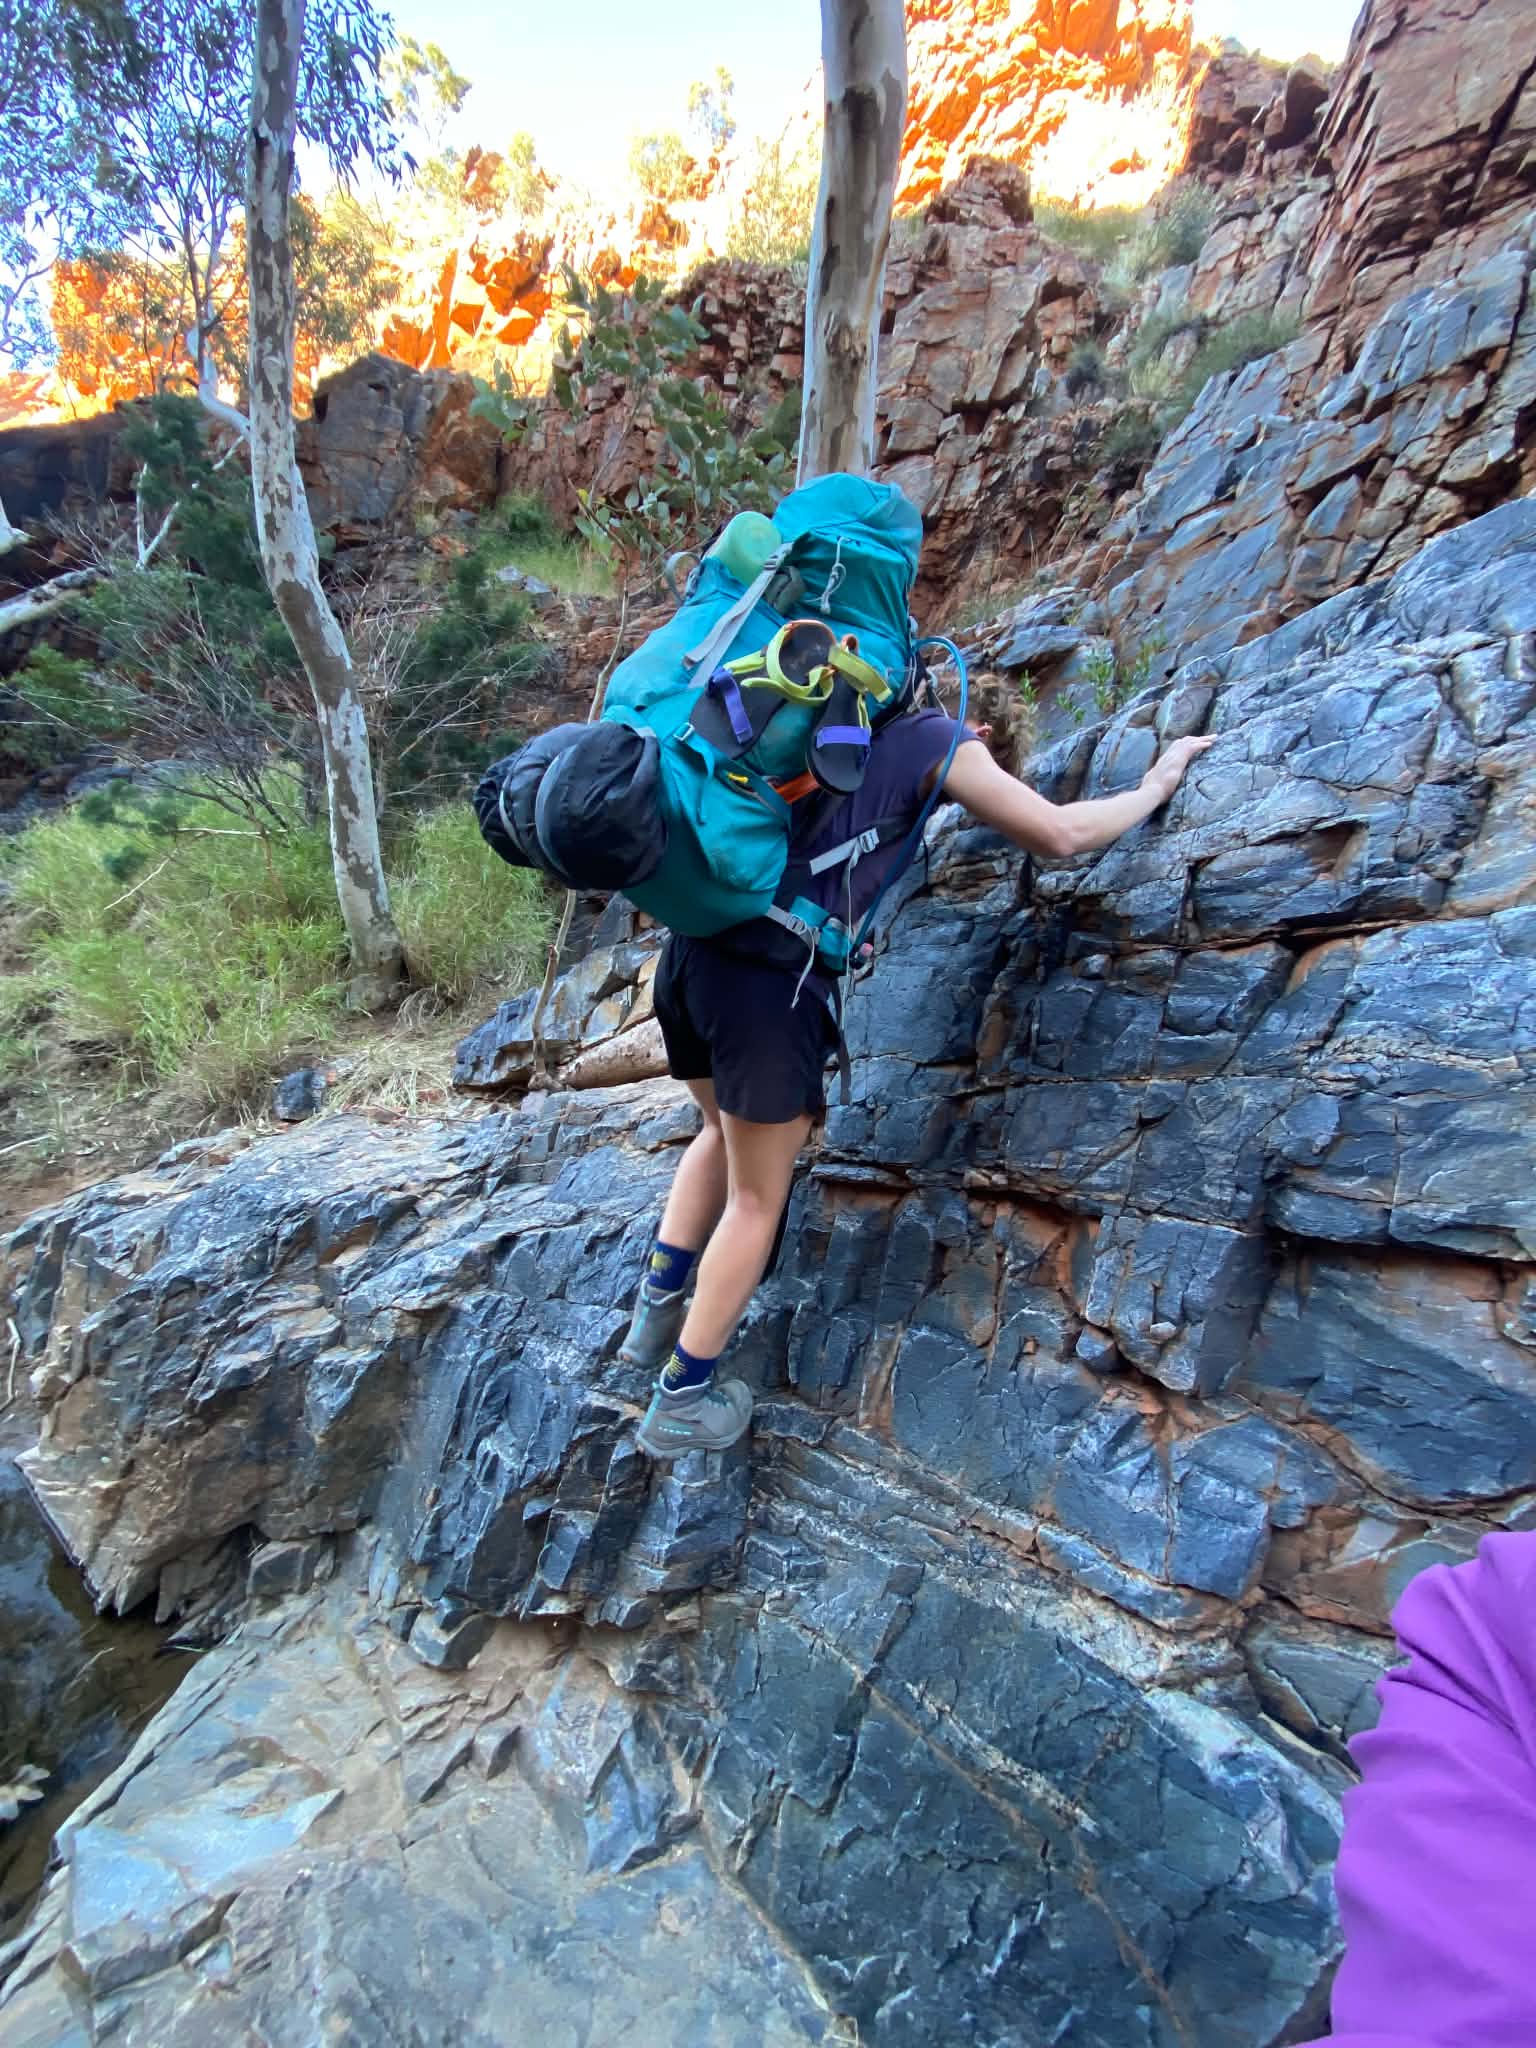
There are also some sections of scrambling, particularly through the gorges and the climb to Binkley Bluff. This includes some steep ascents and descents, and tight-roping along the ridgeline which can feel precarious in the wind. The aptly named Razorback Ridge is one such example where 4 points of contact were needed between the heights, slippery section and my fear of heights!
Water Crossings
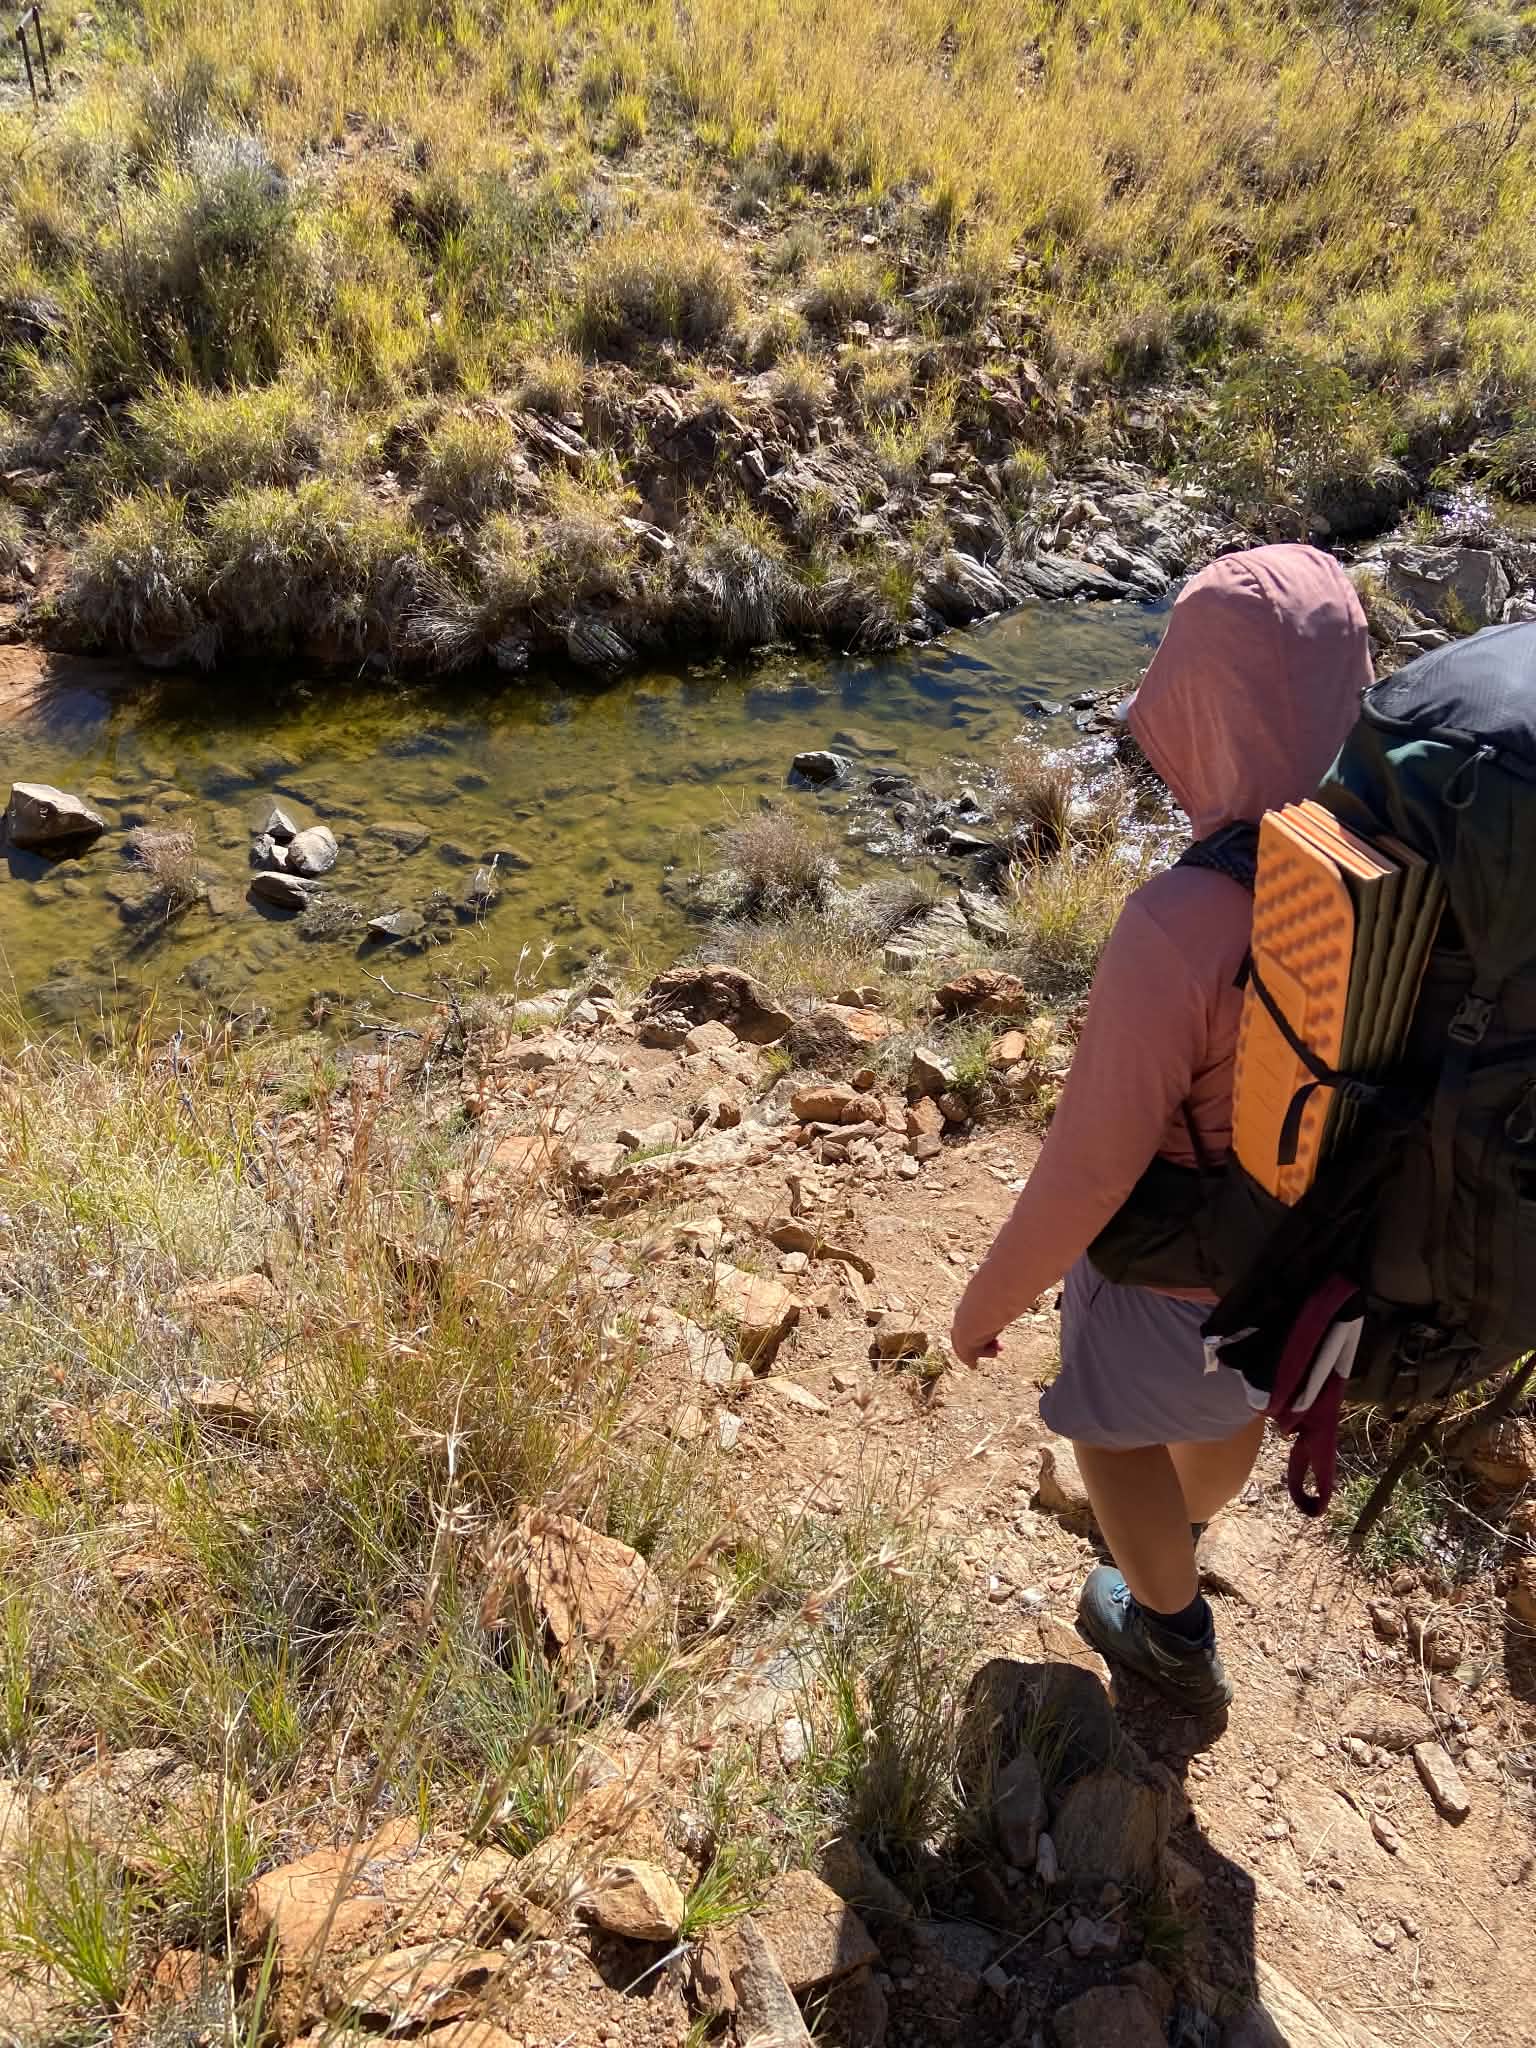
The water level was very low when we walked the Larapinta, and there were only two real water crossings: Finke River and Hugh Gorge. Finke River was an easy crossing that was about knee height, and Hugh Gorge required a full but short wade. These water crossings felt very safe, but note that the water in Hugh Gorge is very cold and we’d suggest against doing this first thing in the morning or last thing in the day so the water has some time to warm up or you have time to dry off in the sun.
Safety
Remoteness
While the Larapinta is a relatively remote walk, it’s a very busy trail in peak season and there was lots of foot traffic from day and multi-day hikers. There are also multiple access points along the trail, and we’re aware of multiple groups who exited early and were able to hitchhike, catch a ride on a tourist bus or call a charter to pick them up.
There were a few spots with Telstra reception on the high points of mountains, but typically no reception. There were a few opportunists selling access to Starlink along the way, and some people brought an electronic sim just to have Telstra access. Despite how busy the trail is, the walk has some risky moments and it’s still strongly recommended to have a PLB for emergencies and make sure that someone at home has a copy of your itinerary and expected end date.
Exposure
The extreme temperatures mean risk of dehydration and heat stroke, as well as potential for being very cold overnight. As long as you have suitable gear and get away walking early, neither should be an issue.
First Aid
As always, you’ll need a first aid kit. The terrain on this walk is particularly tough and you’ll want to have a good array of bandaids or whatever you use for blister management. I had some serious blisters despite wearing my normal socks and boots which have never given me trouble before. It was handy to have a doctor in our group, who became the trail’s resident doctor assisting with popping blisters and providing advice. There were plenty of people with serious foot issues, and we’re also aware of someone who left the trail and ended up getting a surgical washout in hospital after their blister became infected so make sure you take appropriate supplies.
Snakes
There are a few venomous characters in Tjoritja. Of note, the Mulga snake or King Brown is extremely venomous and is a local, however is rarely seen in winter. We came across what we think was an approx 2m King Brown on our ascent up to Hilltop camp. We heard a couple of stories from other walkers of seeing black snakes, but it doesn’t sound like they’re very active in winter. It would be worthwhile carrying a snake bandage just in case.
Water Access
Water access is good at camps and is available on trail in some sections. However, dehydration is a real risk given the heat, and you need to be mindful of how much water to carry if you plan to camp somewhere without a tank. The water in rivers is not guaranteed, and we met several people who got caught out when relying on water at the misleadingly named Waterfall Gorge. The Gorge was completely dry with no water access for several hours.
Packing List
| GEAR Hiking pack (60-70L) Dry bags Water bladder/drink bottles (at least 3L) Waterproof pack cover Sleeping bag (at least rated to 0 degrees) Sleeping mat Sleeping bag liner Tent Headtorch Trowel Map/guidebook Compass Walking poles Small rope/guy ropes | FIRST AID & SAFETY: Personal Locator Beacon (PLB) / satellite phone Bug repellant Snake bite bandage Water purification tablets / water filter Bandaids (lots!) Blister kit (lots!) Pain killers/analgesia Antihistamine Sports tape Tweezers Scissors Antiseptic cream Alcohol wipes |
| COOKING: Tea towel Washing up liquid and sponge Gas stove and cookwear Gas/butane canister Matches/lighter Cup/mug Spork Plate/bowl Sharp knife Chopping board Garbage bags/ziplock bags | CLOTHING: 2x Hiking shirt Hiking pants/shorts Thermal top and bottom Fleece Puffer jackets Waterproof jacket 2x sports bra 3x underwear 2x hiking socks 1x camp socks Hiking boots/trail runners Camp shoes (crocs/sandals) Hat Sunnies Beanie/buff |
| TOILETRIES: Toothbrush Toothpaste Hairbrush Sunscreen Hand sanitiser Toilet paper Vasoline (as lip balm and to help with chaffing) | OPTIONAL: Book Camera Binoculars Pillow Power bank Face wash and moisturiser Towel Electrical tape |
Protecting Food from Animals
There were a lot of mice around, particularly the major camps and where camps were close to water sources. The worst camps for mice were: Standley Chasm, Rocky Gully, Ellery Creek North, Serpentine Chalet Dam and Ormiston Gorge. At the worst campsites, we woke up to mice climbing up the netting of the tent and they could be heard searching through anything left outside.
We used smell proof bags which are thicker plastic ziplock bags that are supposed to stop the smell of food attracting visitors in the night. You can alternatively hang your food, or others got by just with the putting their food in multiple layers of dry bags. There were a few unlucky reports of mice eating their way into tents, packs and jackets that had food left in the pockets.
Campsites
Amenities
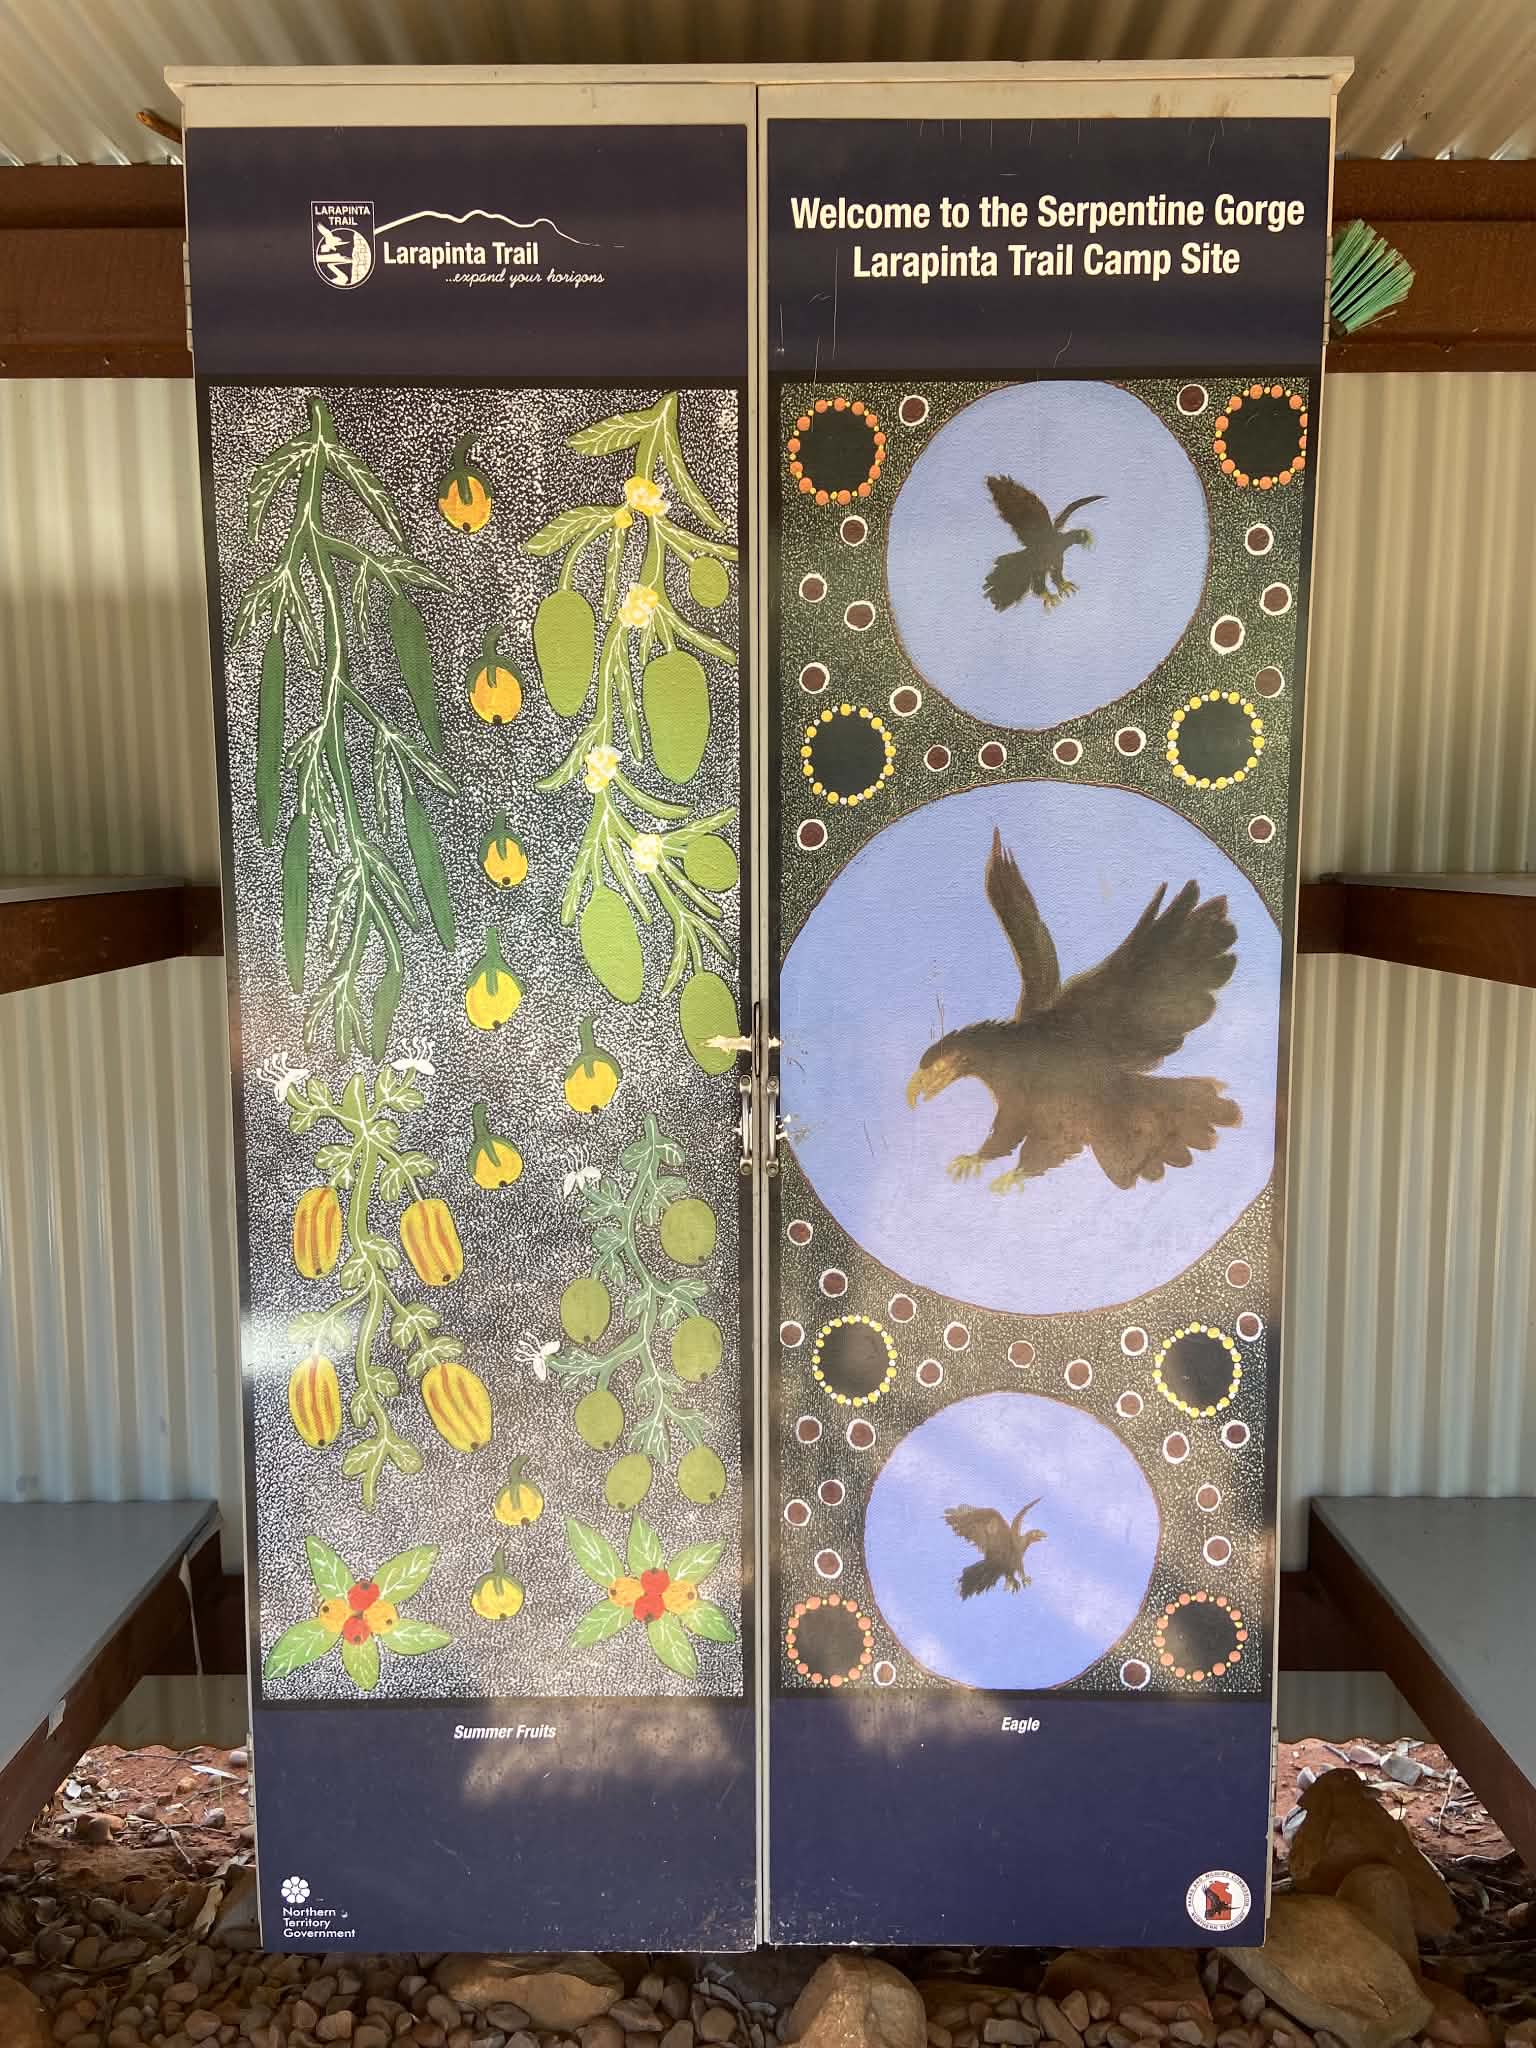
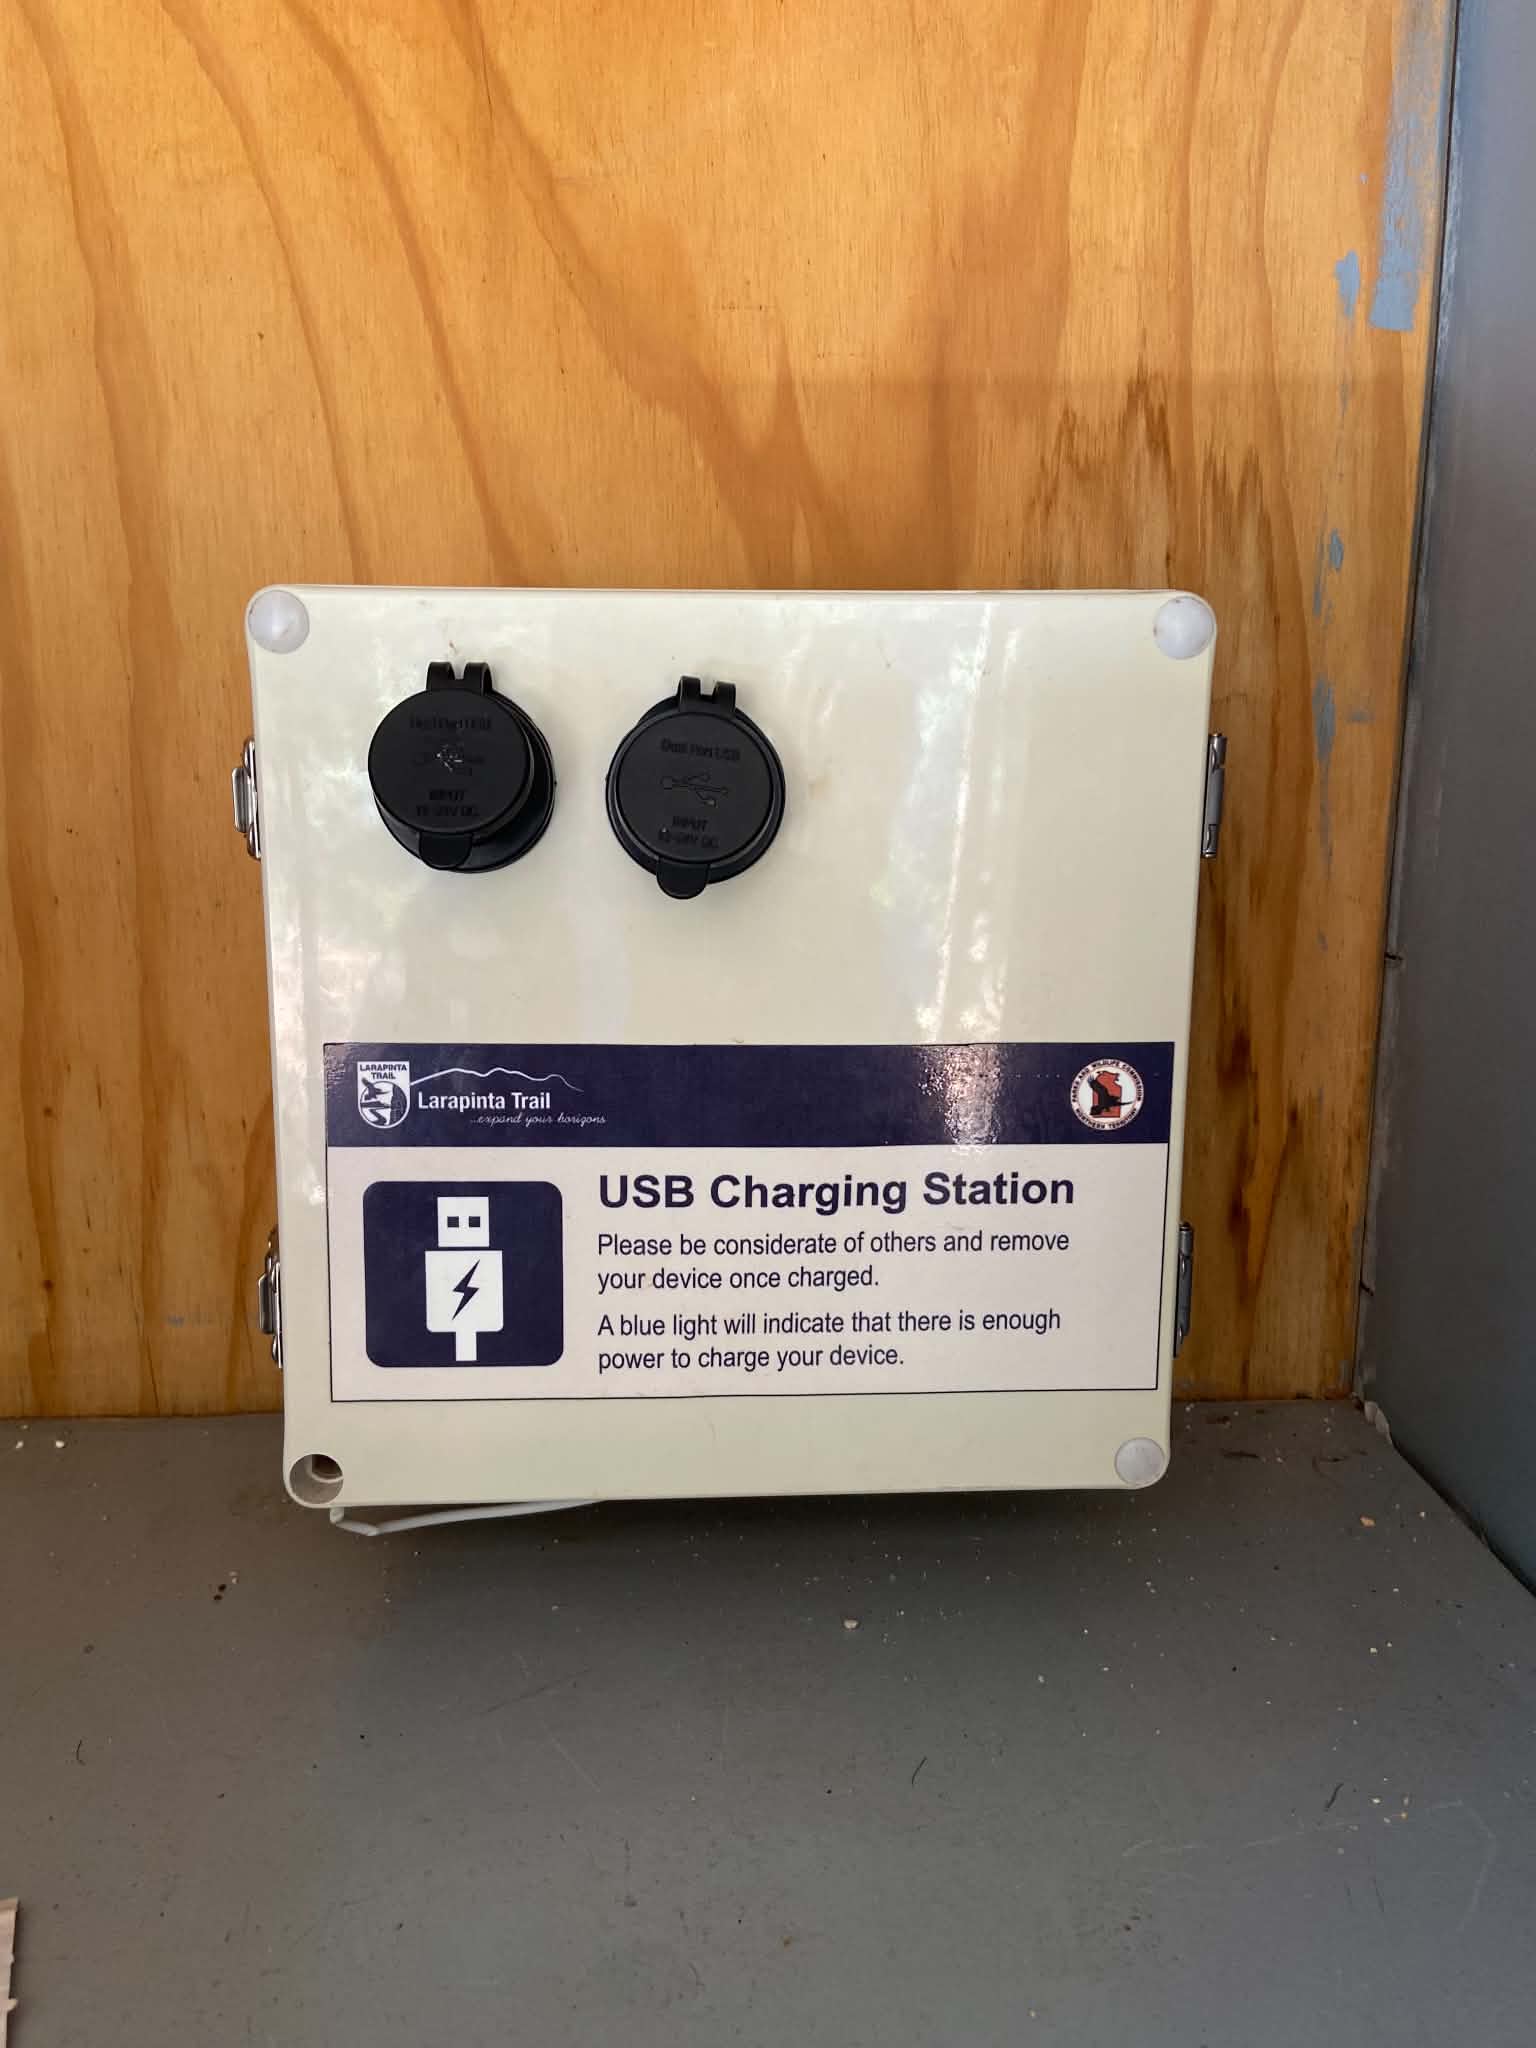
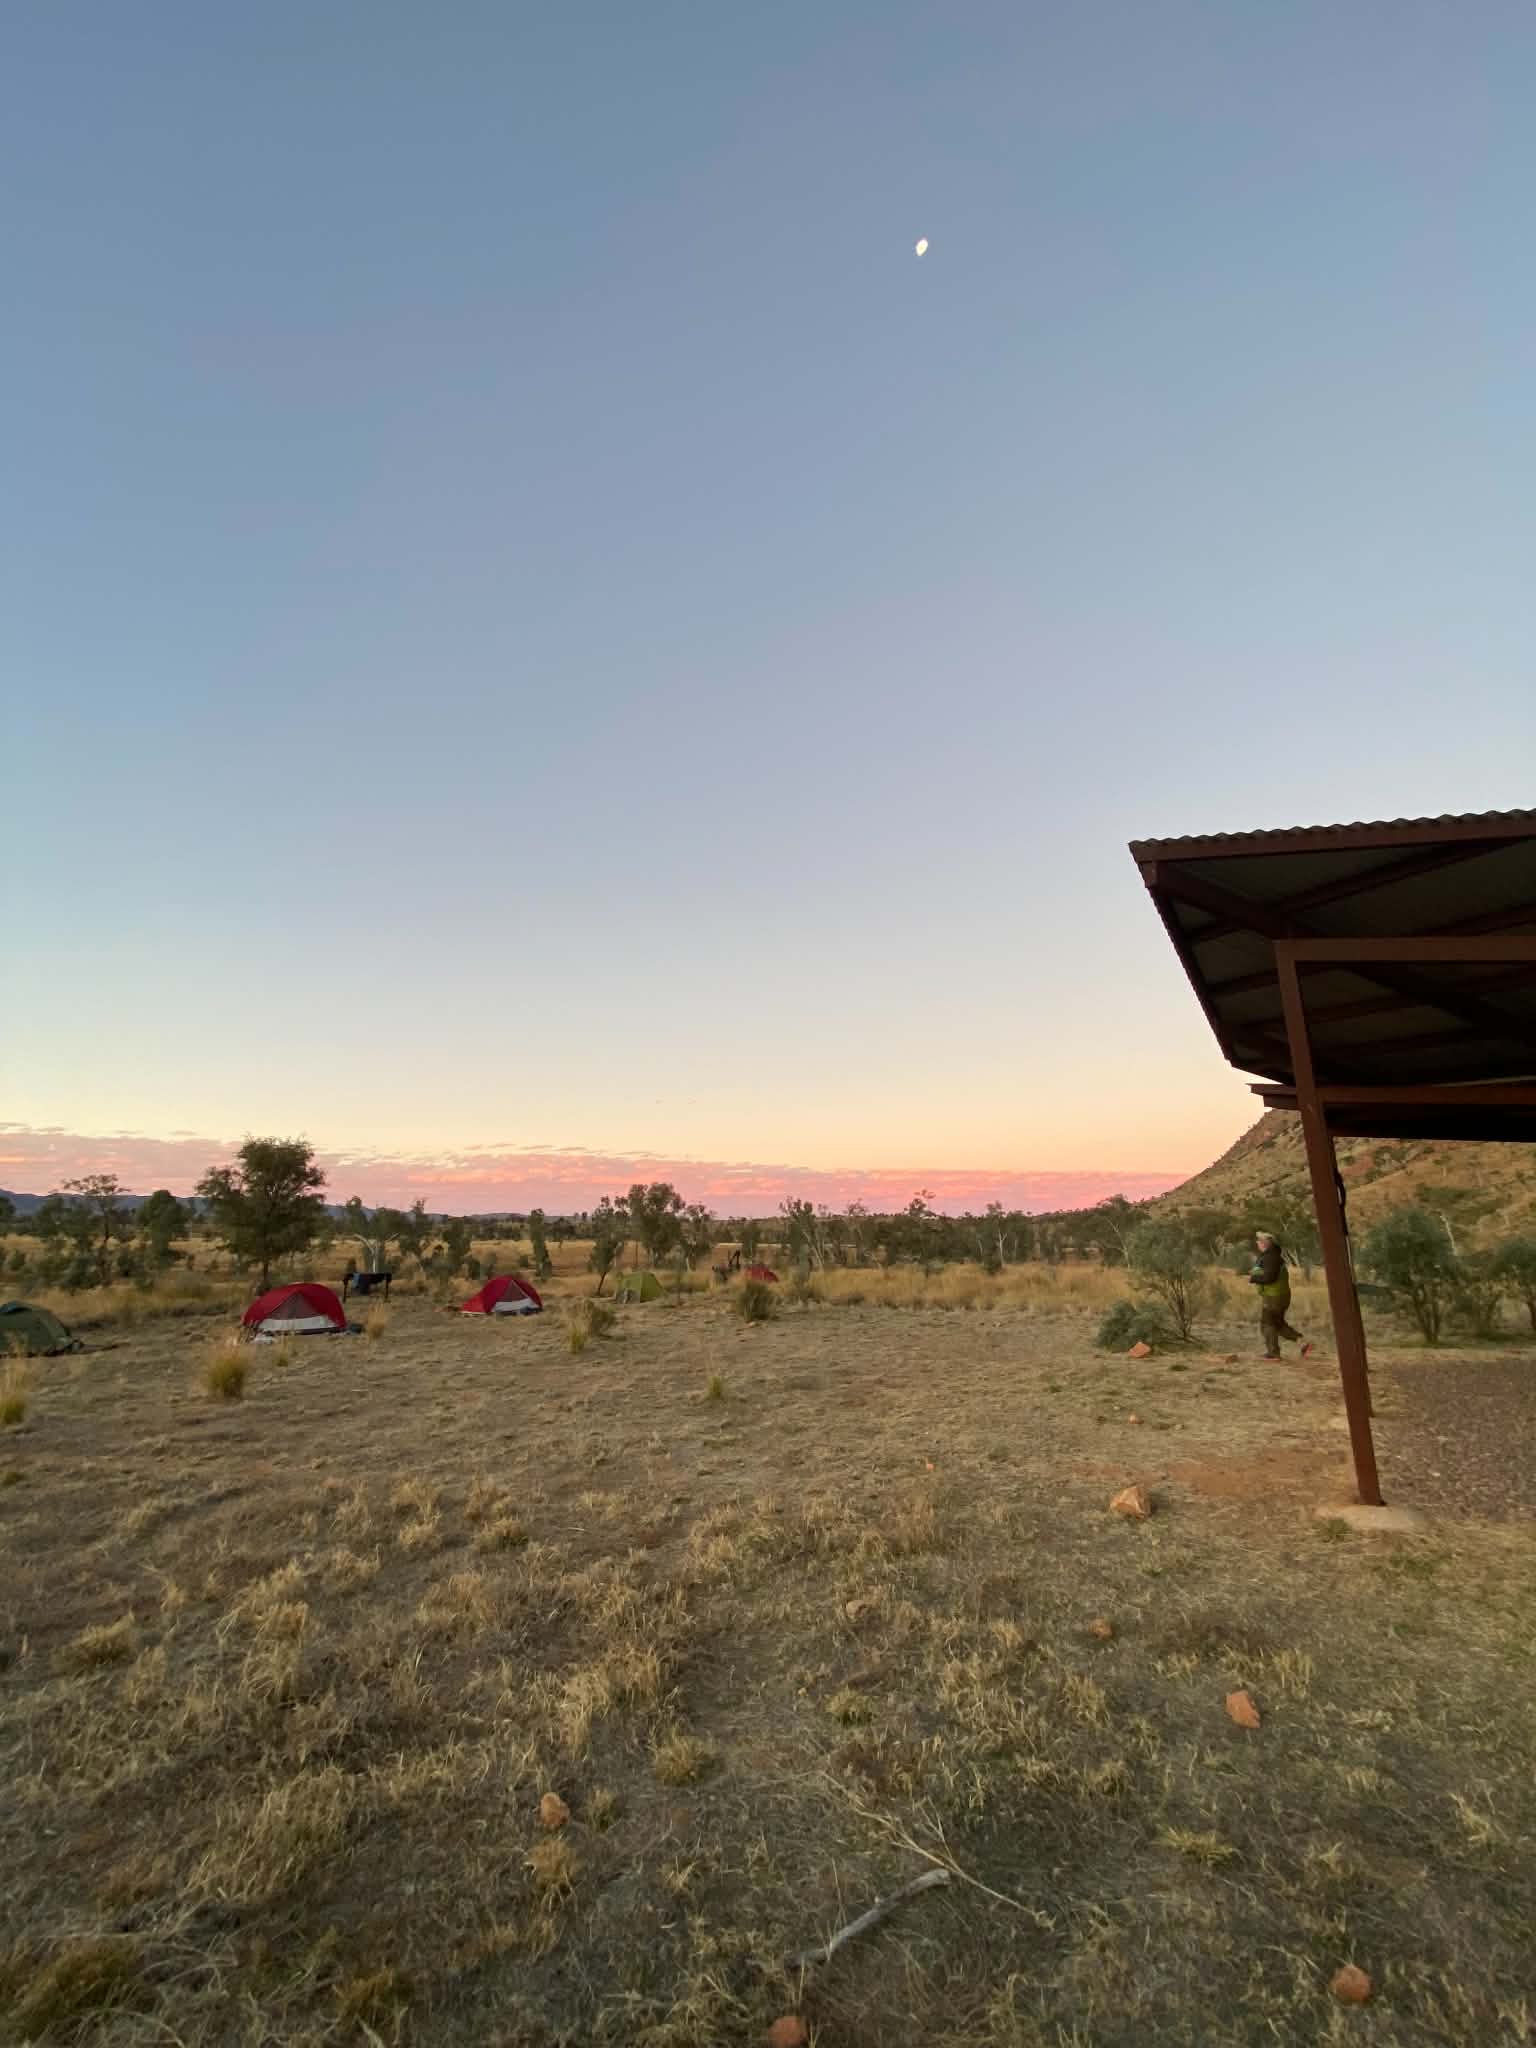
The major campsites are well-resourced with water tanks, shelters and toilets. Some shelters even have powerpoints (solar powered) to charge your items. This was a nice luxury, and we used our torches more than normal on this walk so it was an appreciated comfort. Just note that some shelters have a lithium battery, but the others will drain battery from your devices once the sun has gone down. The shelters have a couple of platforms for cooking and cowboy camping, and a cupboard. The cupboards are not mice-proof! At some of the particularly bad campsites, there are boxes under the platform that seemed to be mice-proof but proceed at your own risk.
Incredibly, all toilets had toilet paper! We have never seen this on another walk, and the toilets seemed to be cleaned at least once a week (in peak season) by rangers. The tanks had a decent amount of water, but rangers also top up the tanks as needed. You can collect water from some of the rivers along the walk, but the water quality is mixed and there are some places you shouldn’t collect water from for cultural reasons (i.e. Serpentine Gorge).
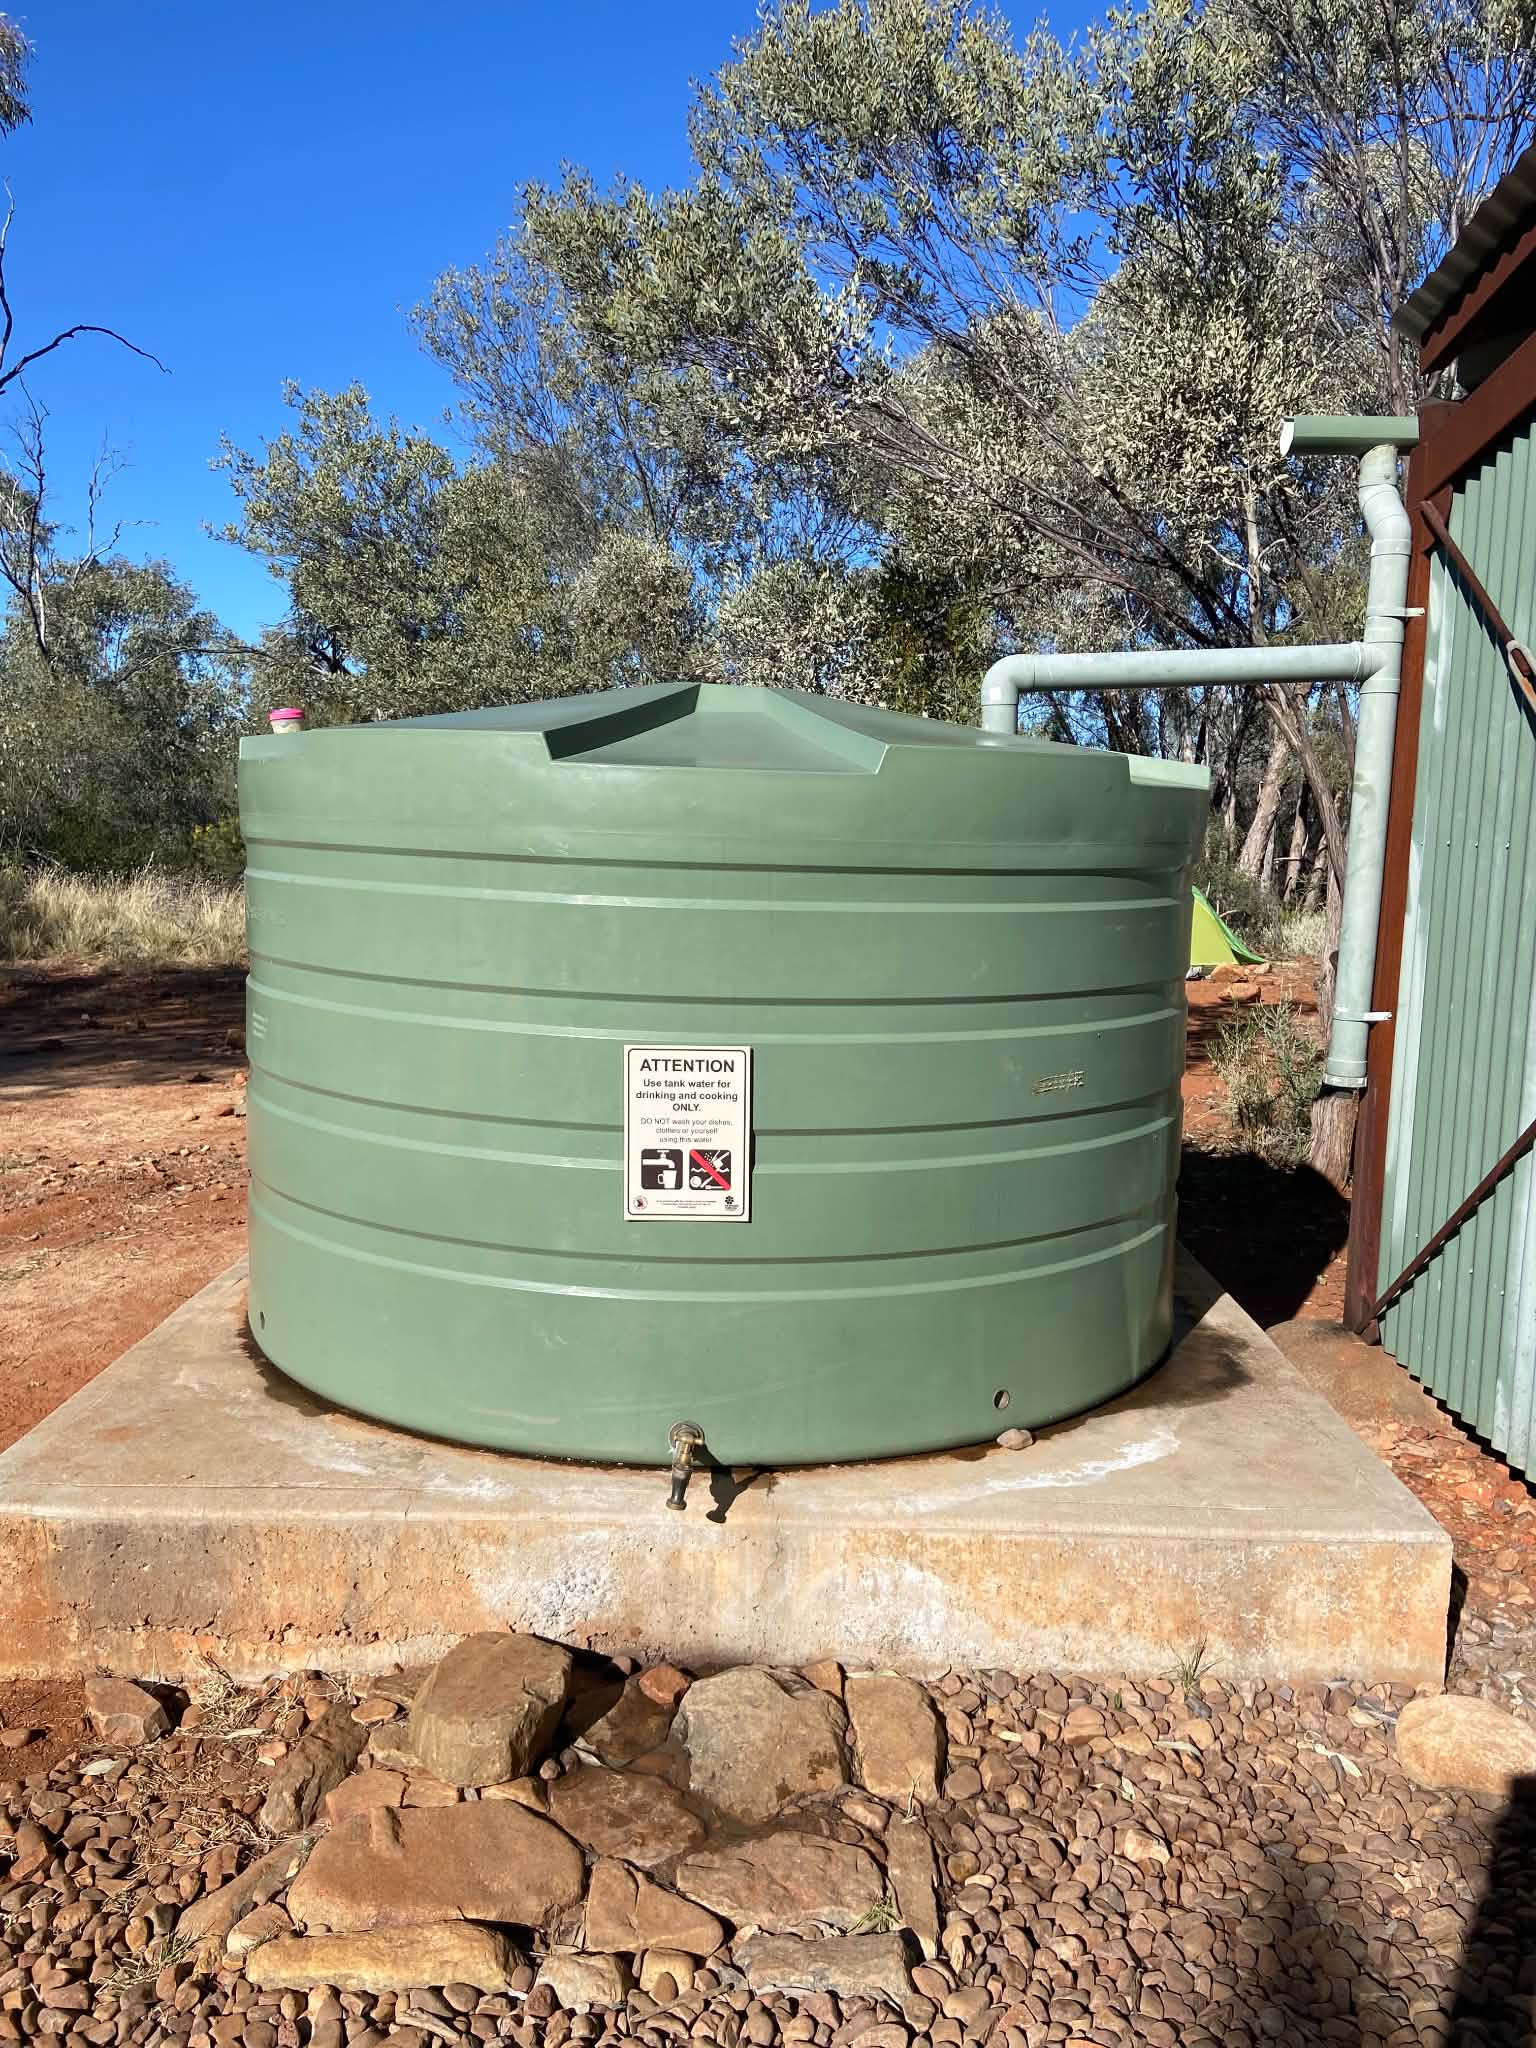
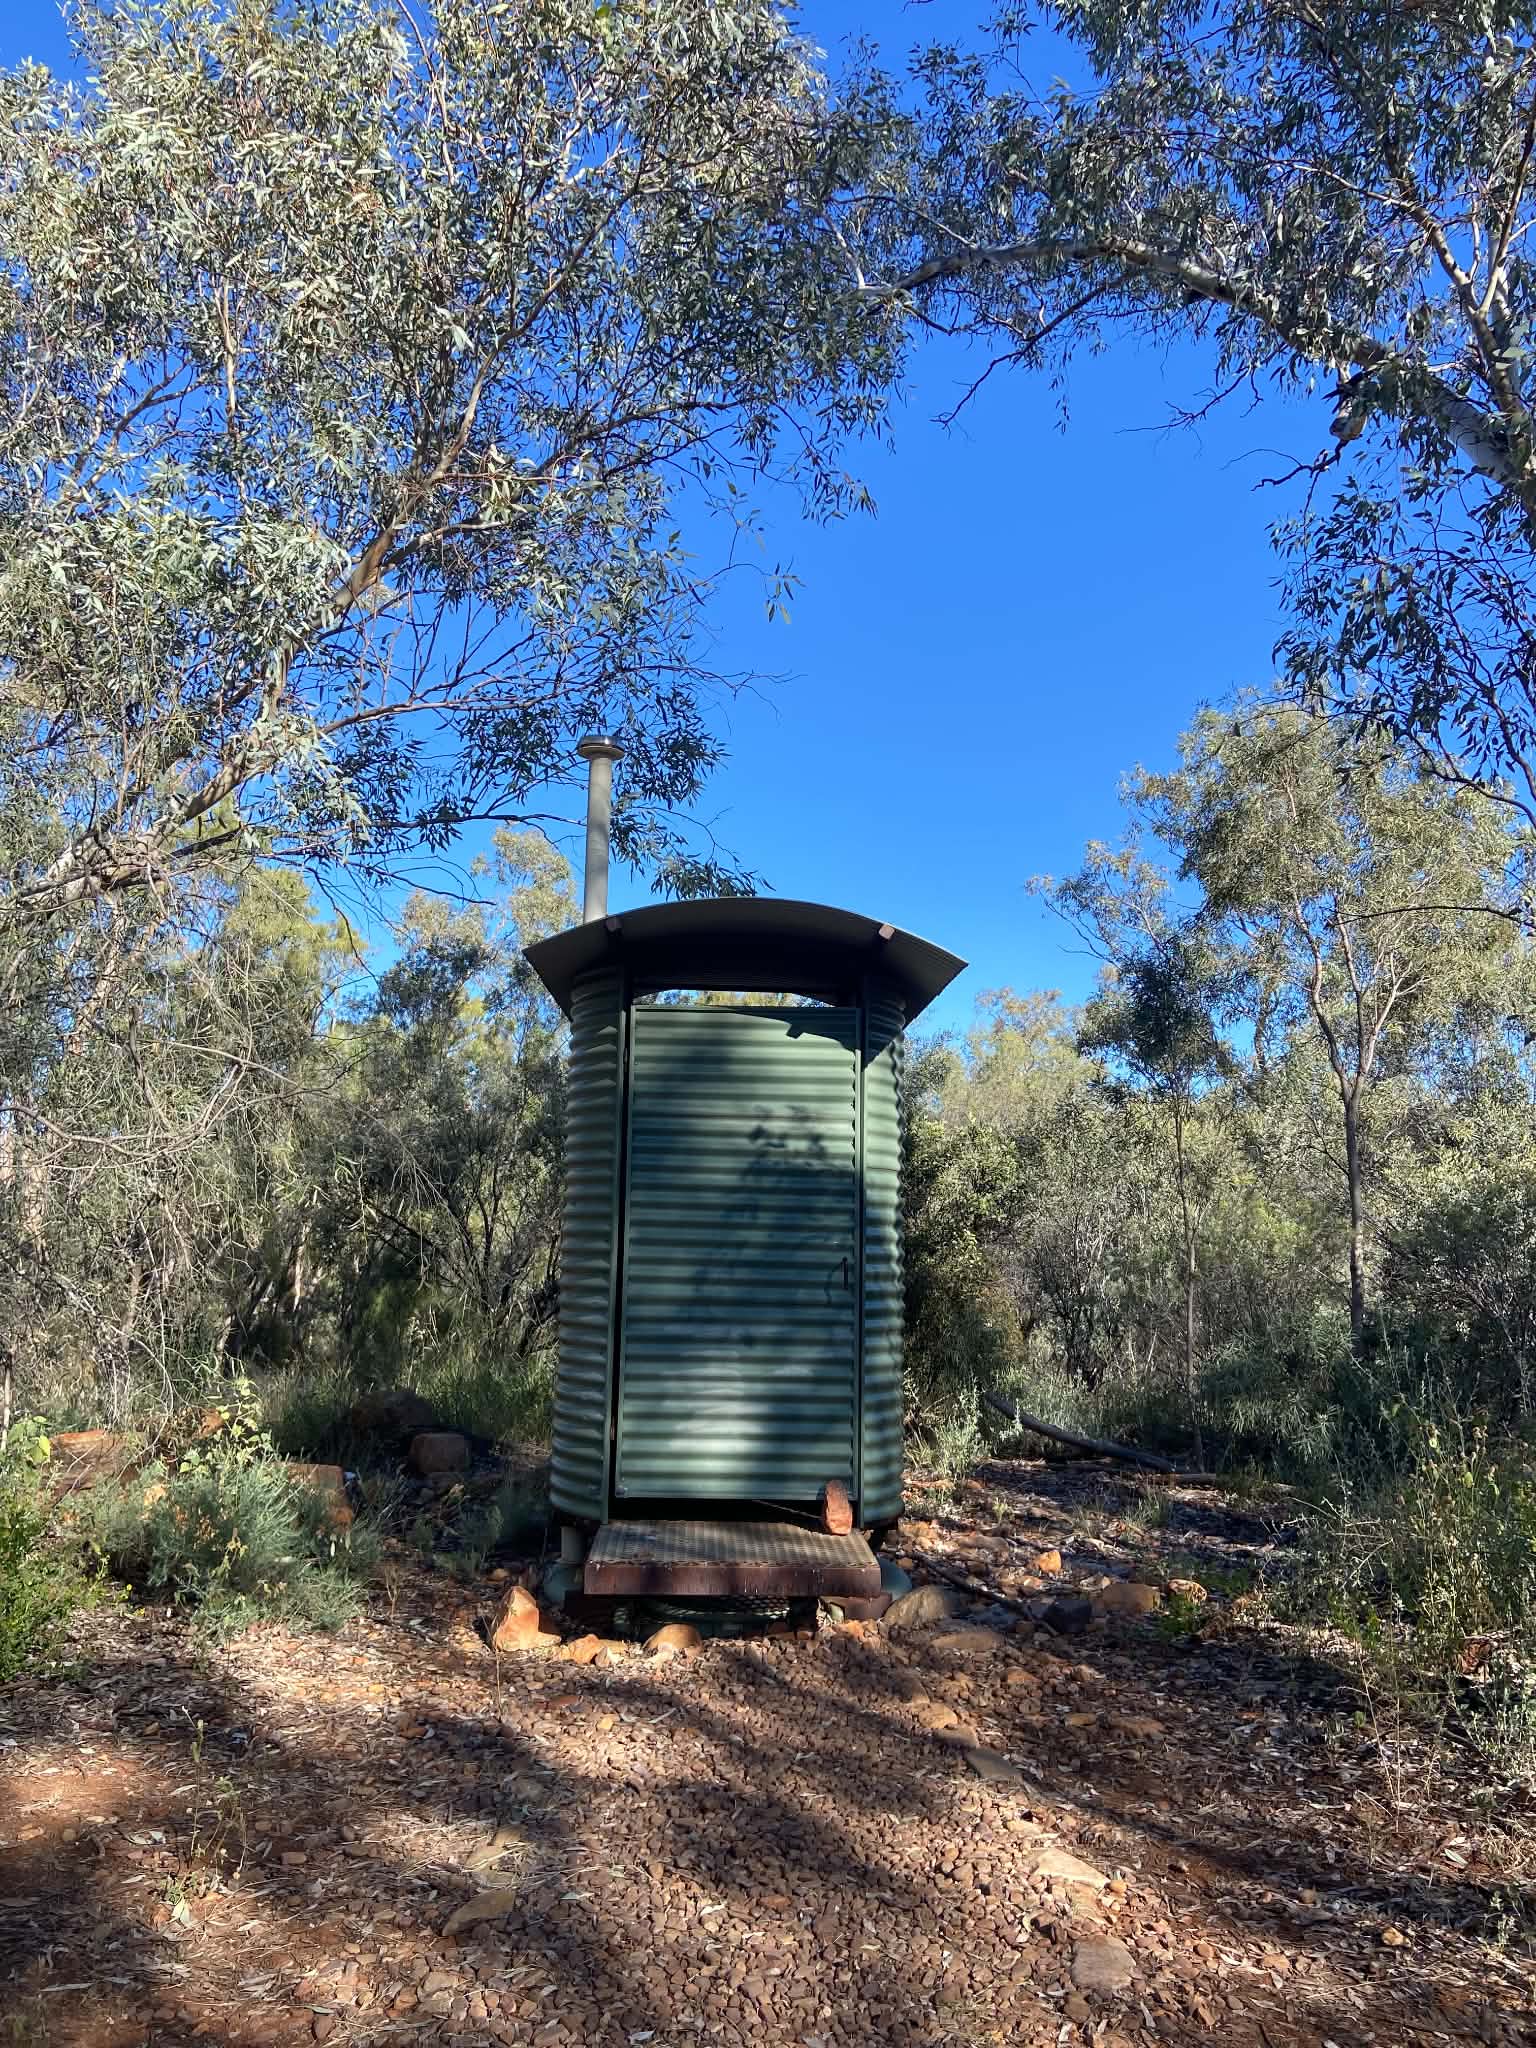
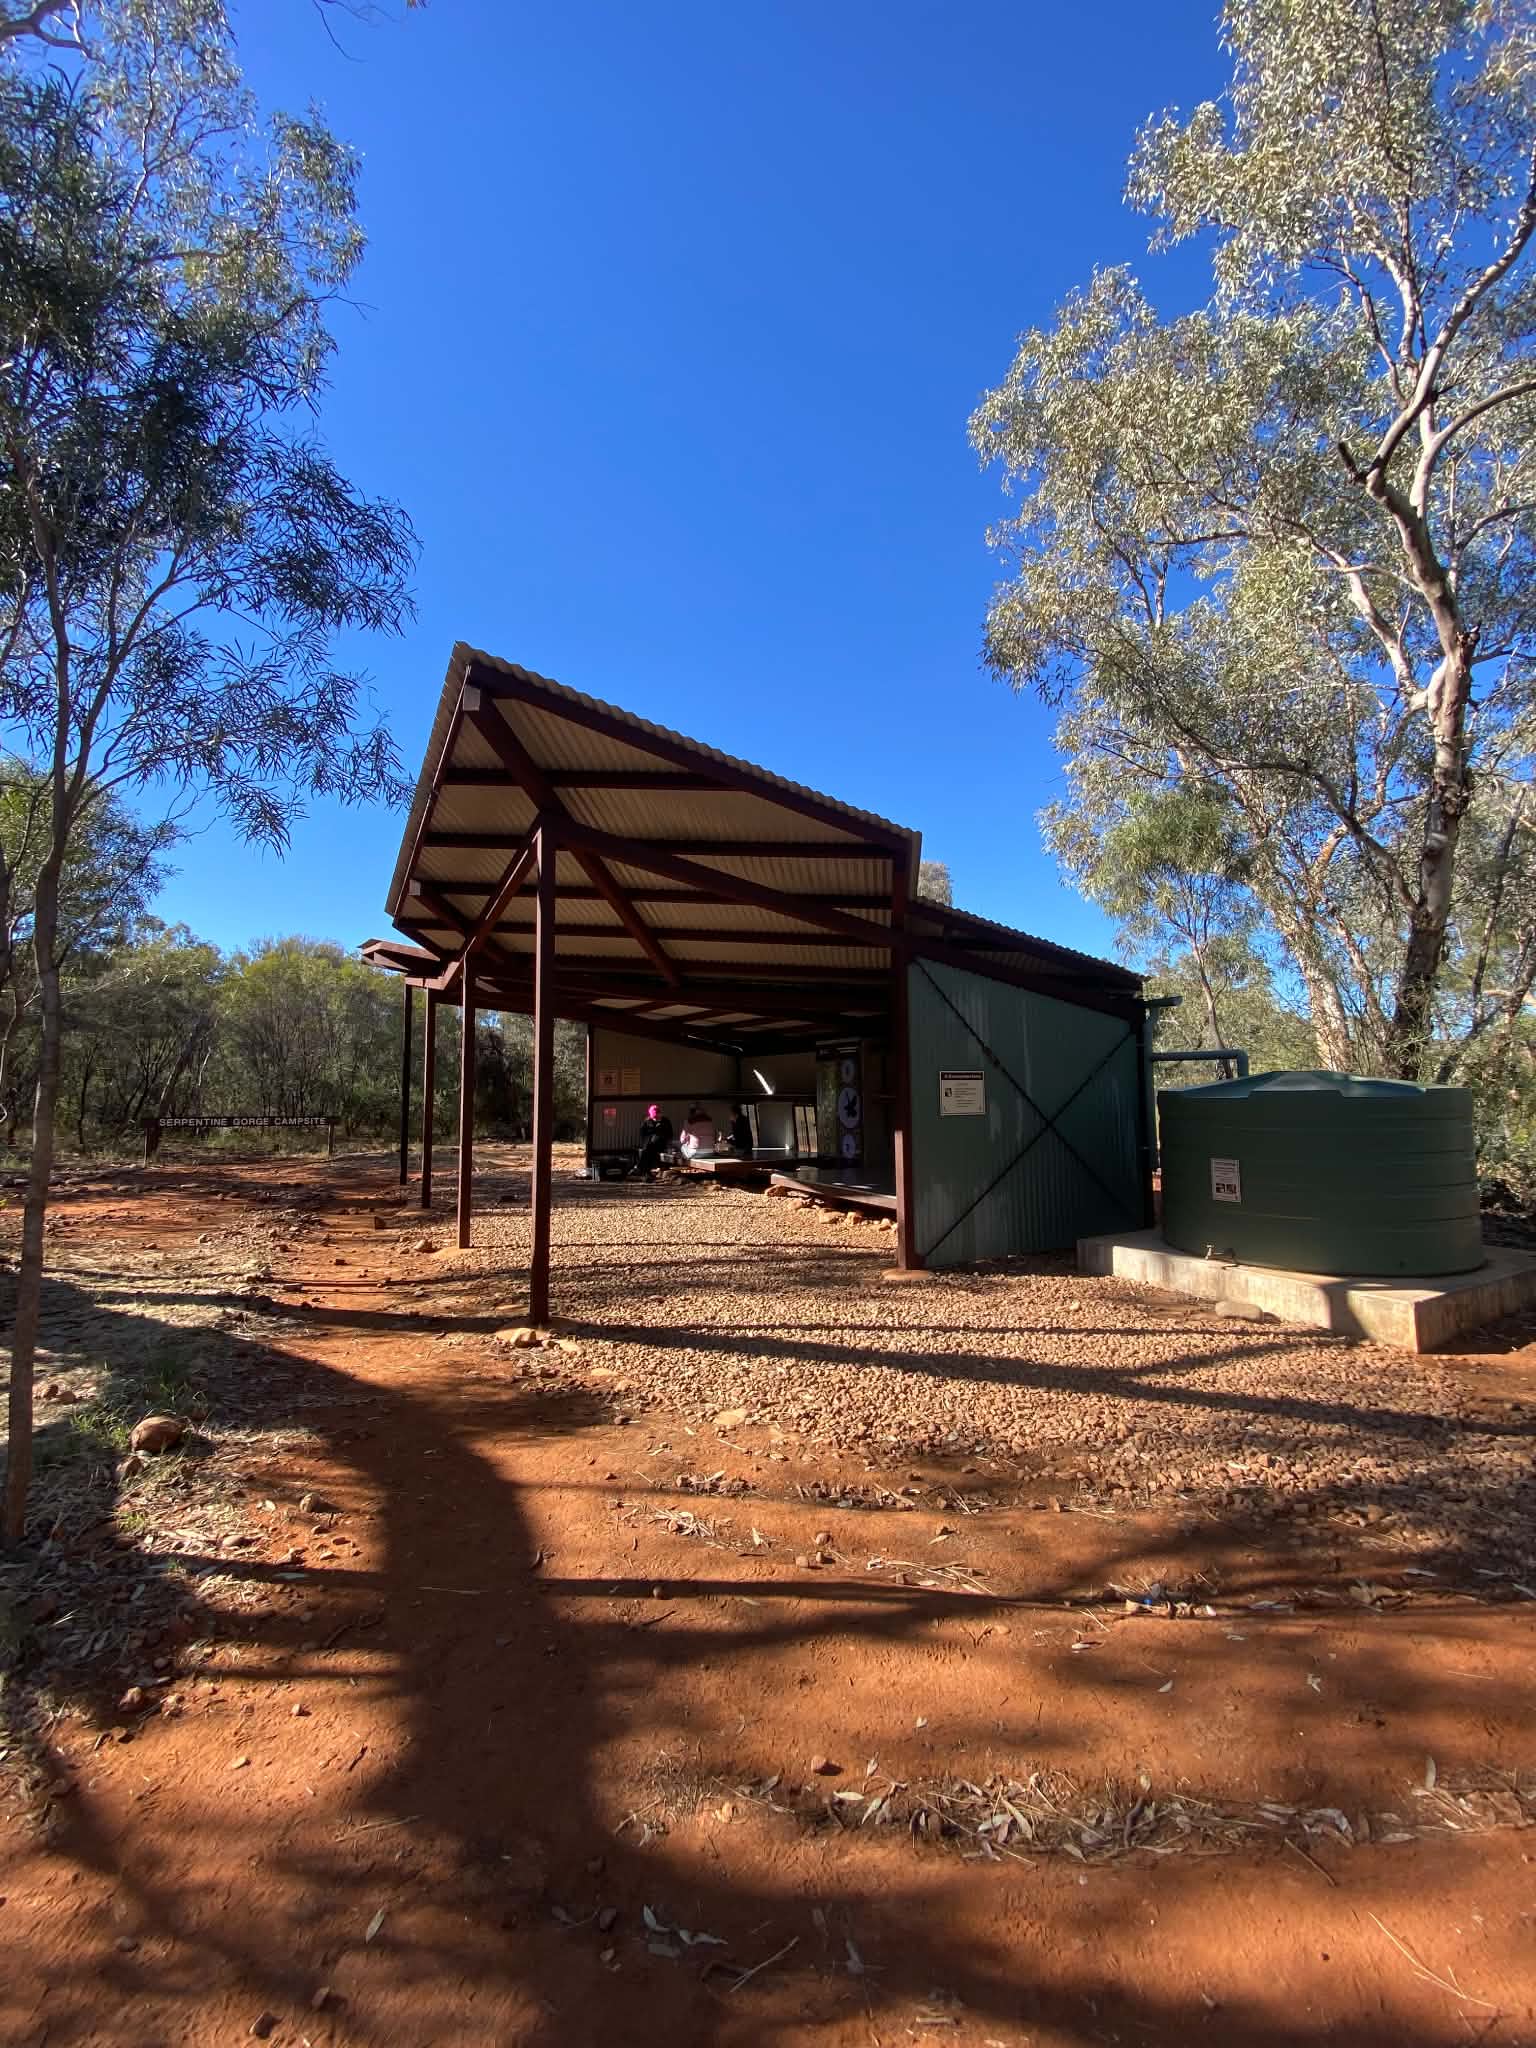
There are no allocated spots at camp and it’s first come first served. Some campsites have limited spots, and you will want to arrive early for popular camps like Hilltop Lookout. We saw people arrive at sunset and the campsite was already full, and they unfortunately had to keep walking. There are lots of small informal camps along the way, so typically you won’t have to walk too far to get a camp.
There are showers and a cafe at Ormiston Gorge and Standley Chasm. I’m pretty sure we contracted the worst athletes foot of our lives from one of these showers but it was amazing to have a hot shower!
Campsite Recommendations
A highlight of the Larapinta is the variety in the campsites. There are high camps with stunning sunrises and sunsets, camping in gorges perfect for an afternoon swim, and sheltered campsites for when you need a good sleep.
The high camps have incredible views and are an amazing prize after a long climb. Your choice to stay at a high camp may be weather dependent as they are typically very exposed. There are usually low rock walls which offer some protection, but it can still be incredibly cold and windy. We would definitely recommend trying a few high camps throughout the walk, but we also loved sleeping in the gorges.
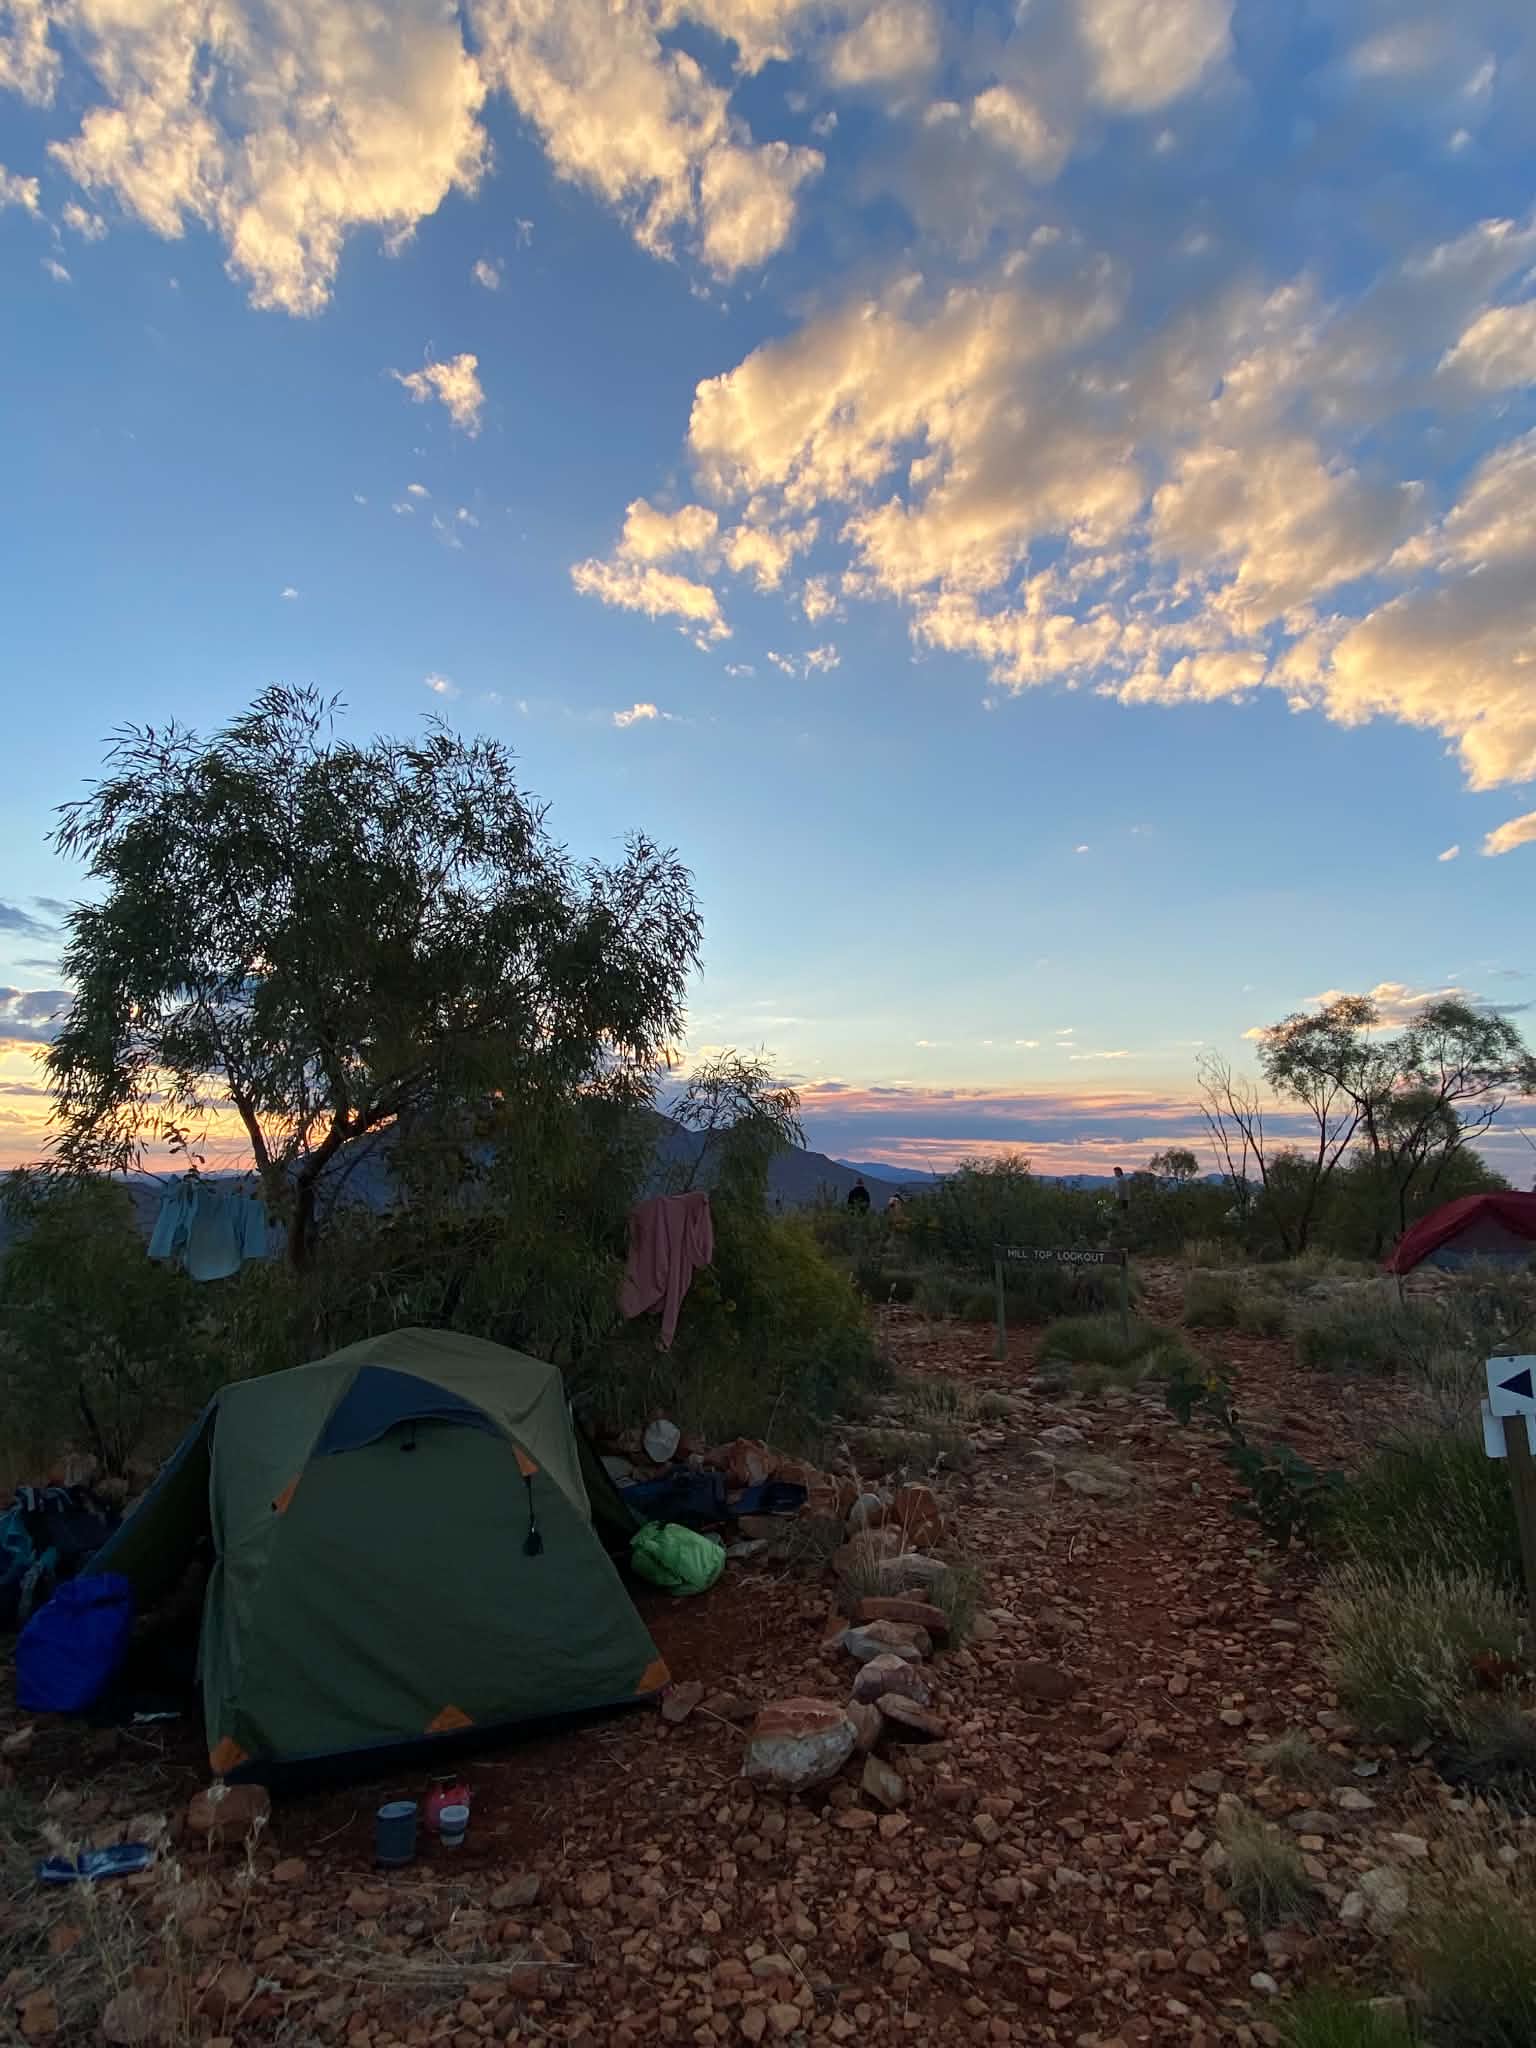
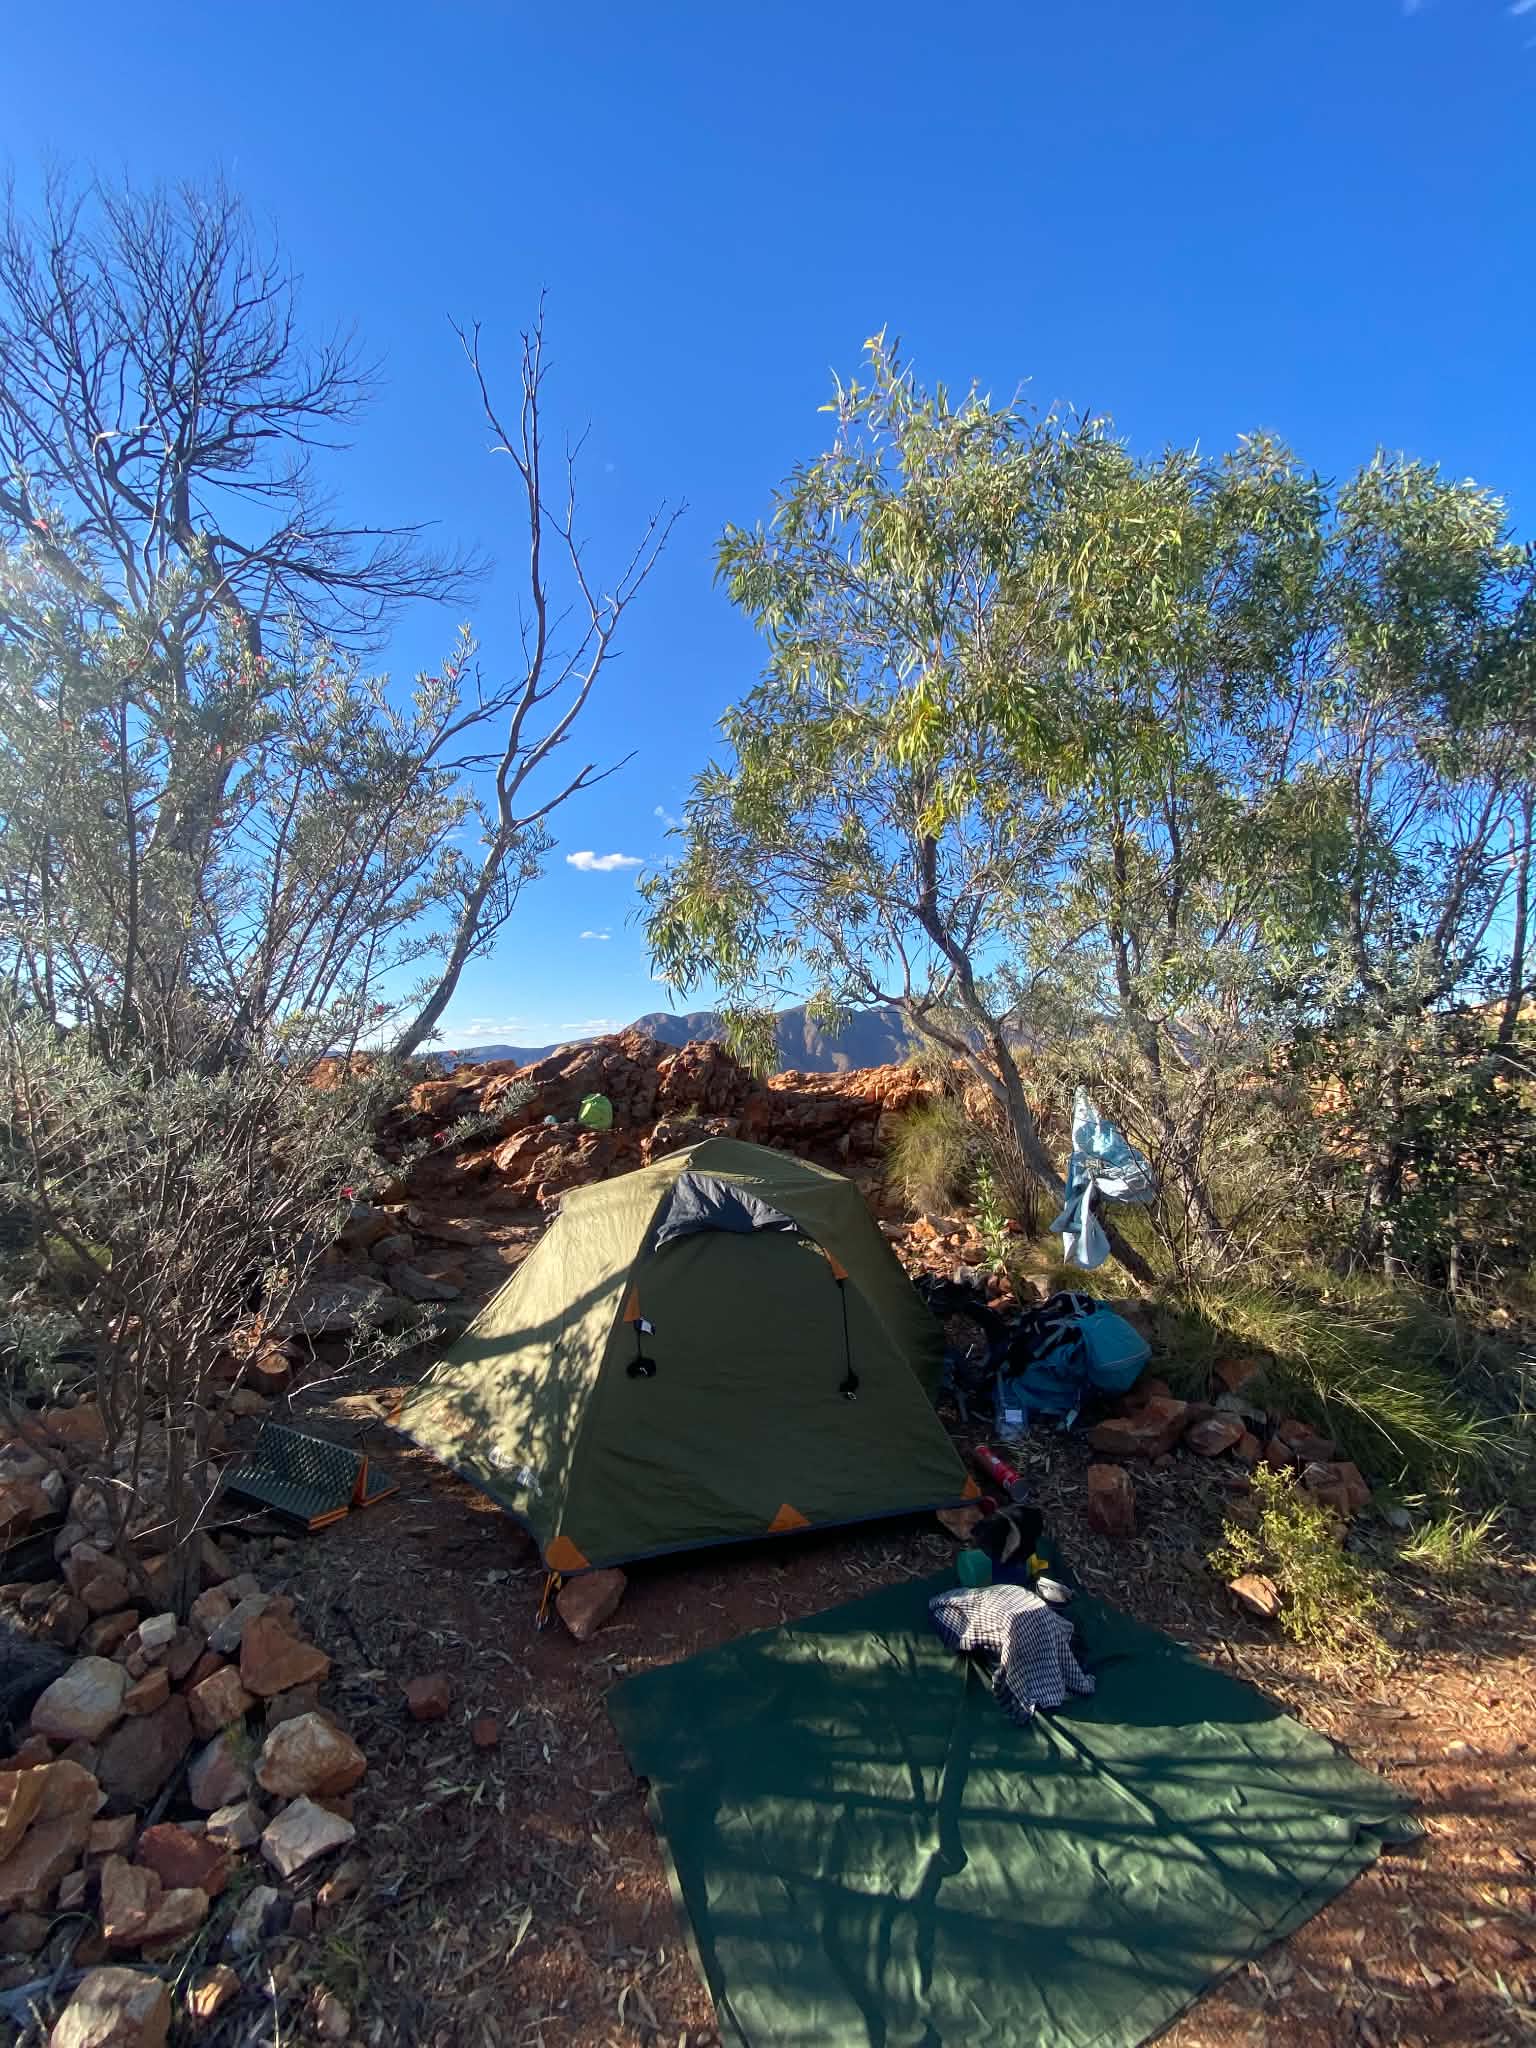
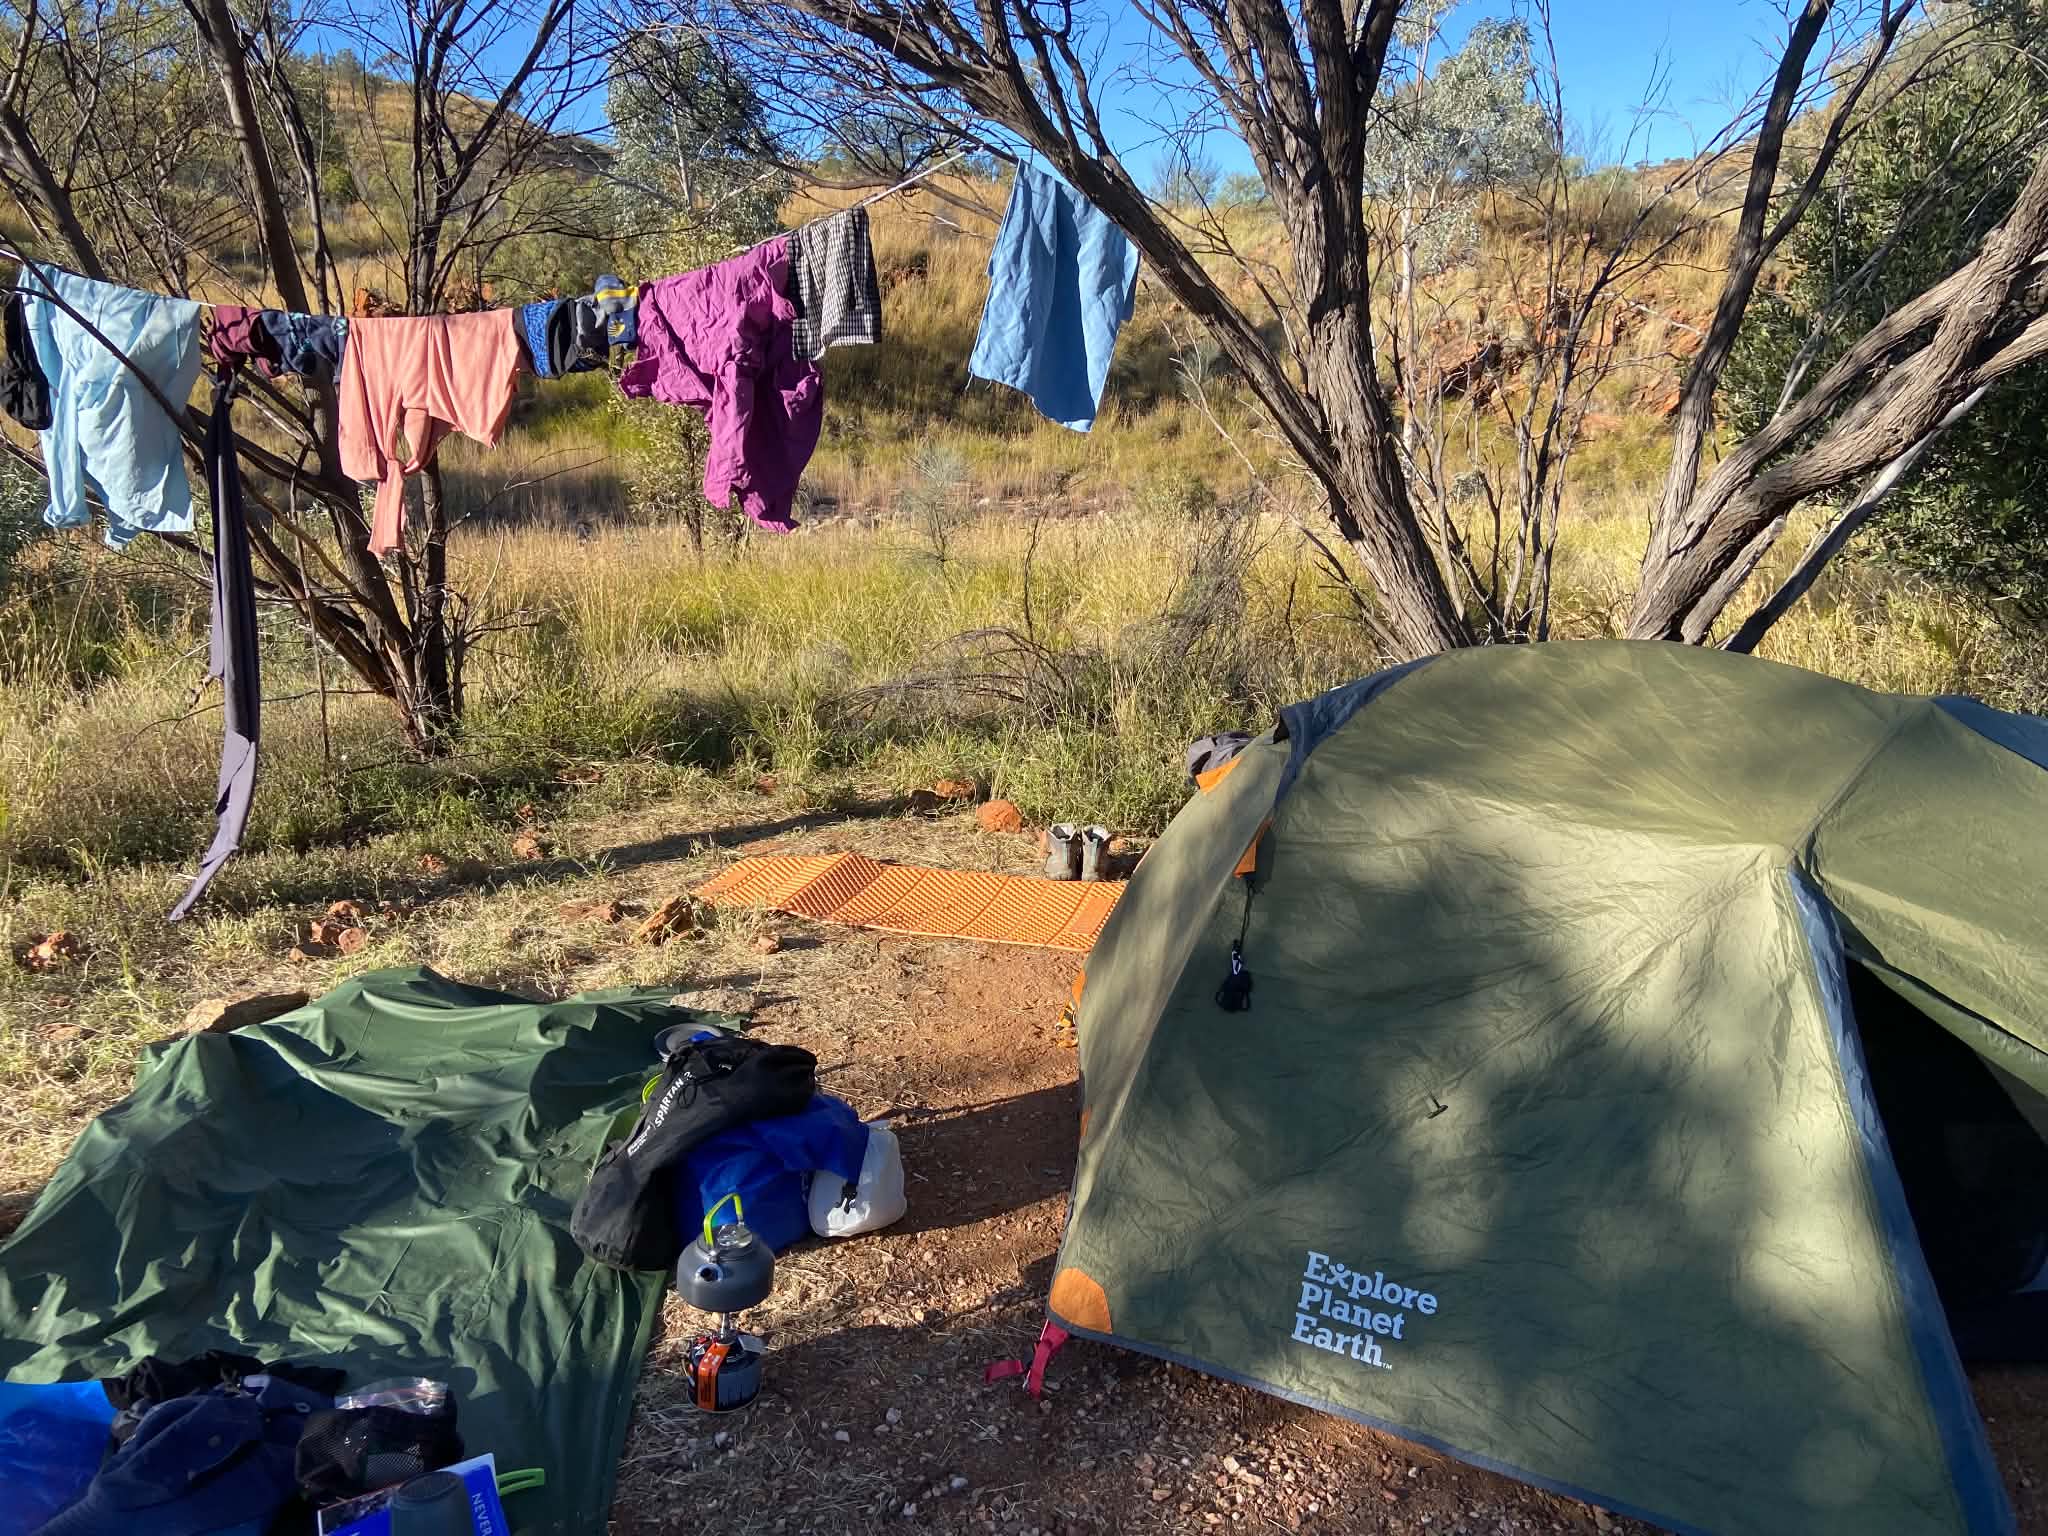
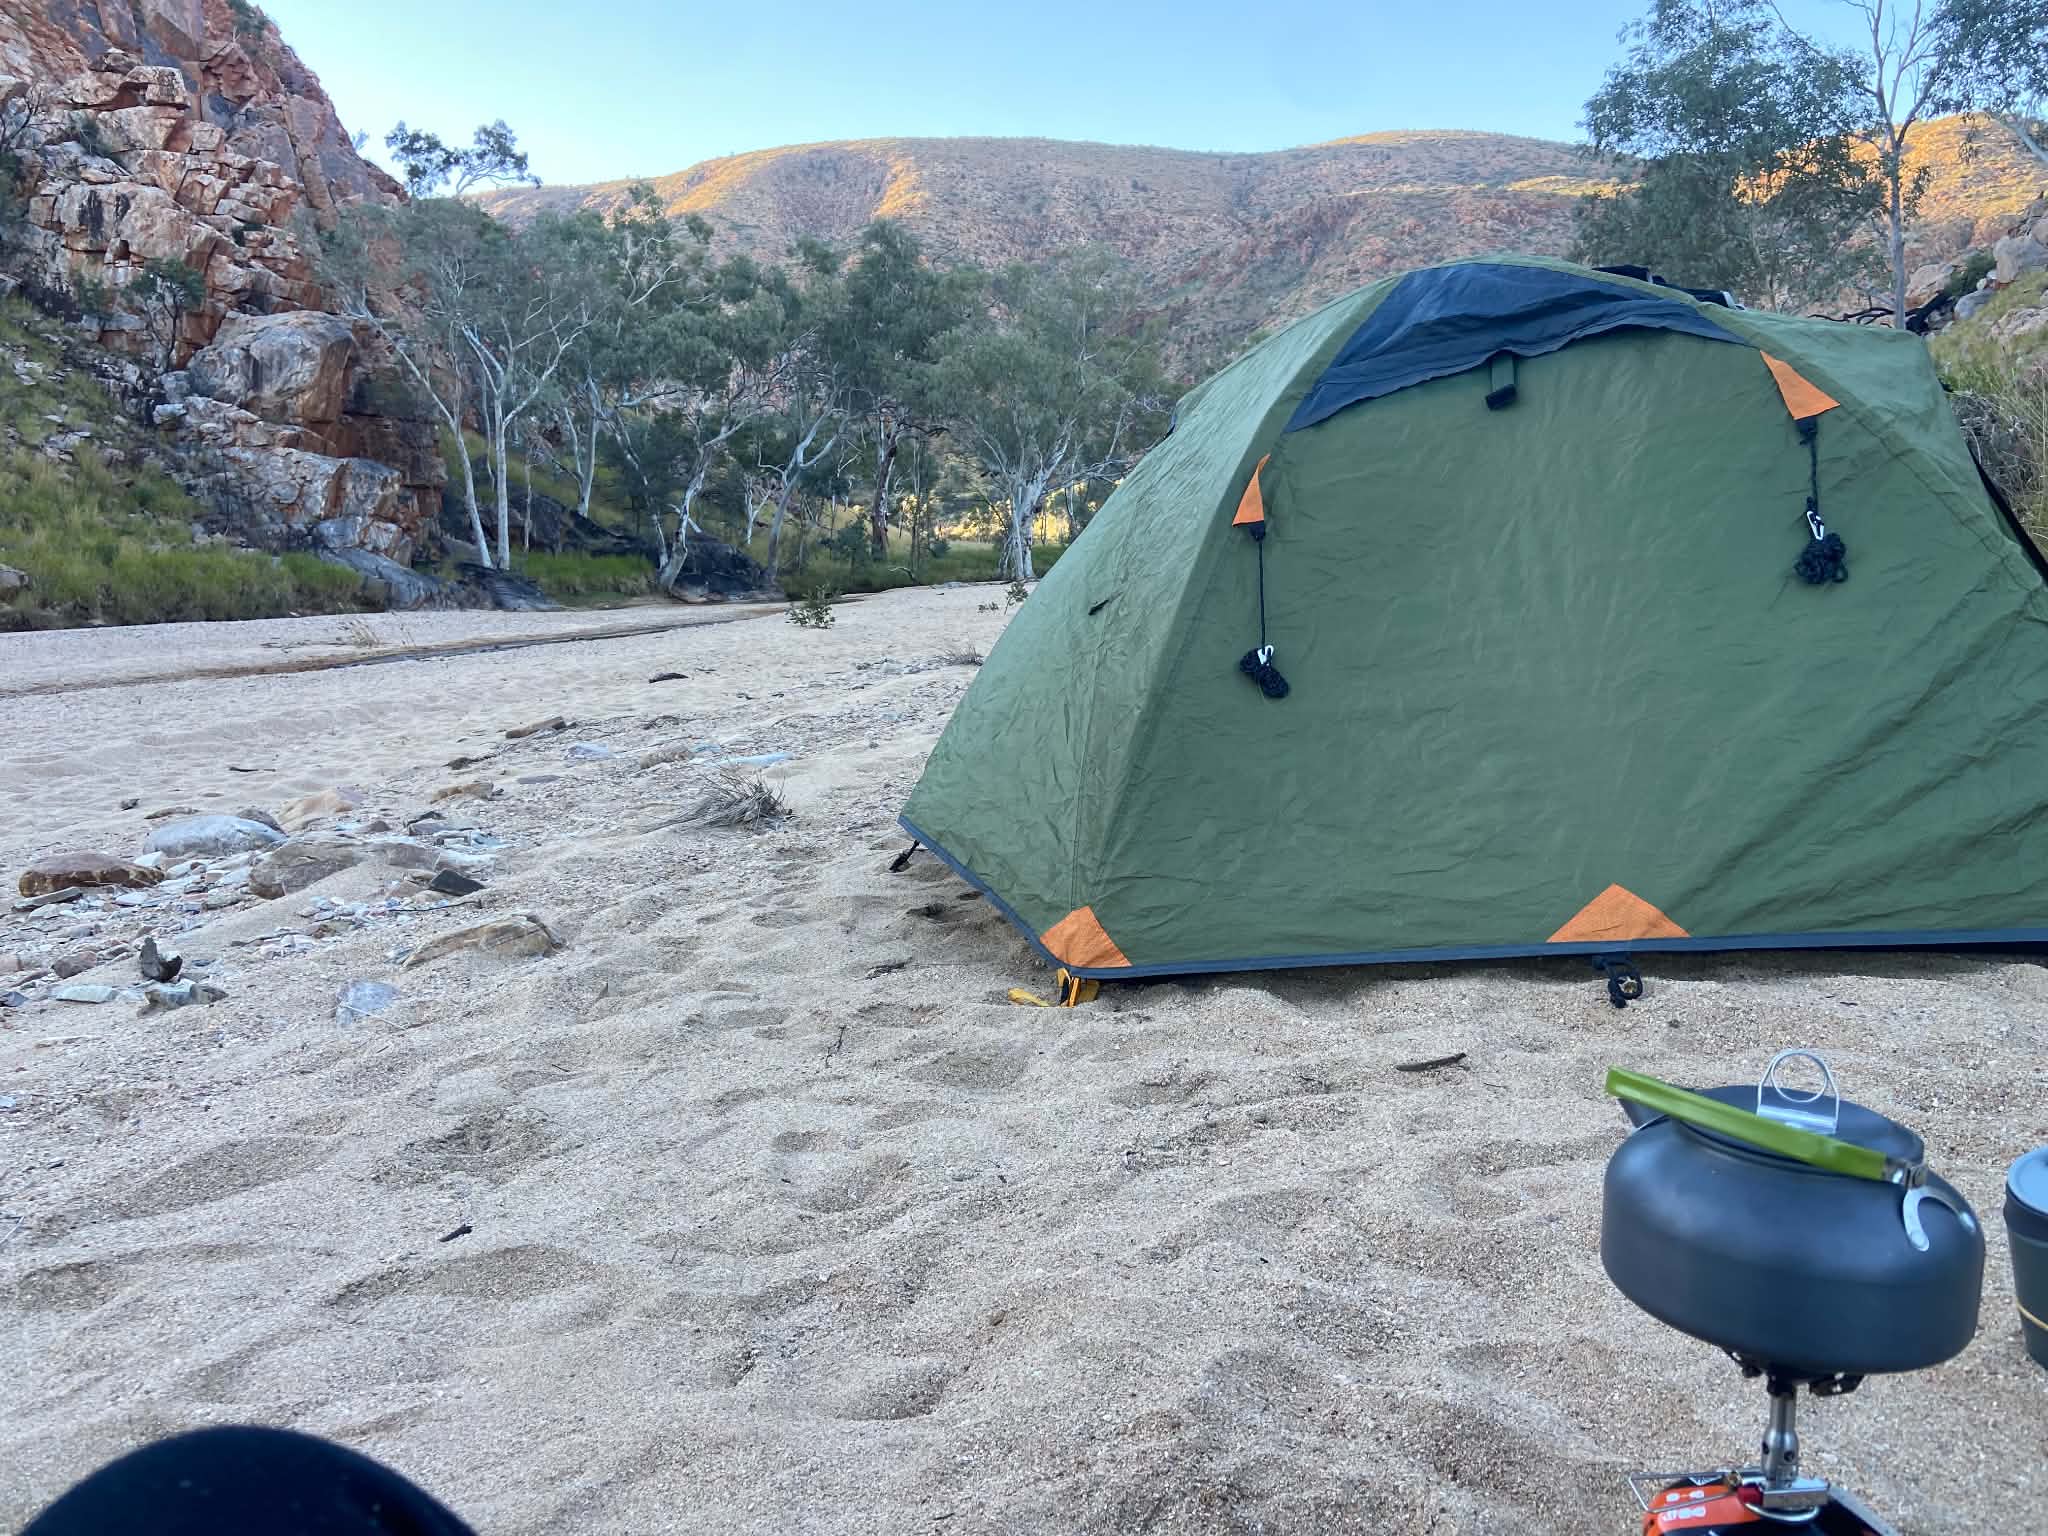
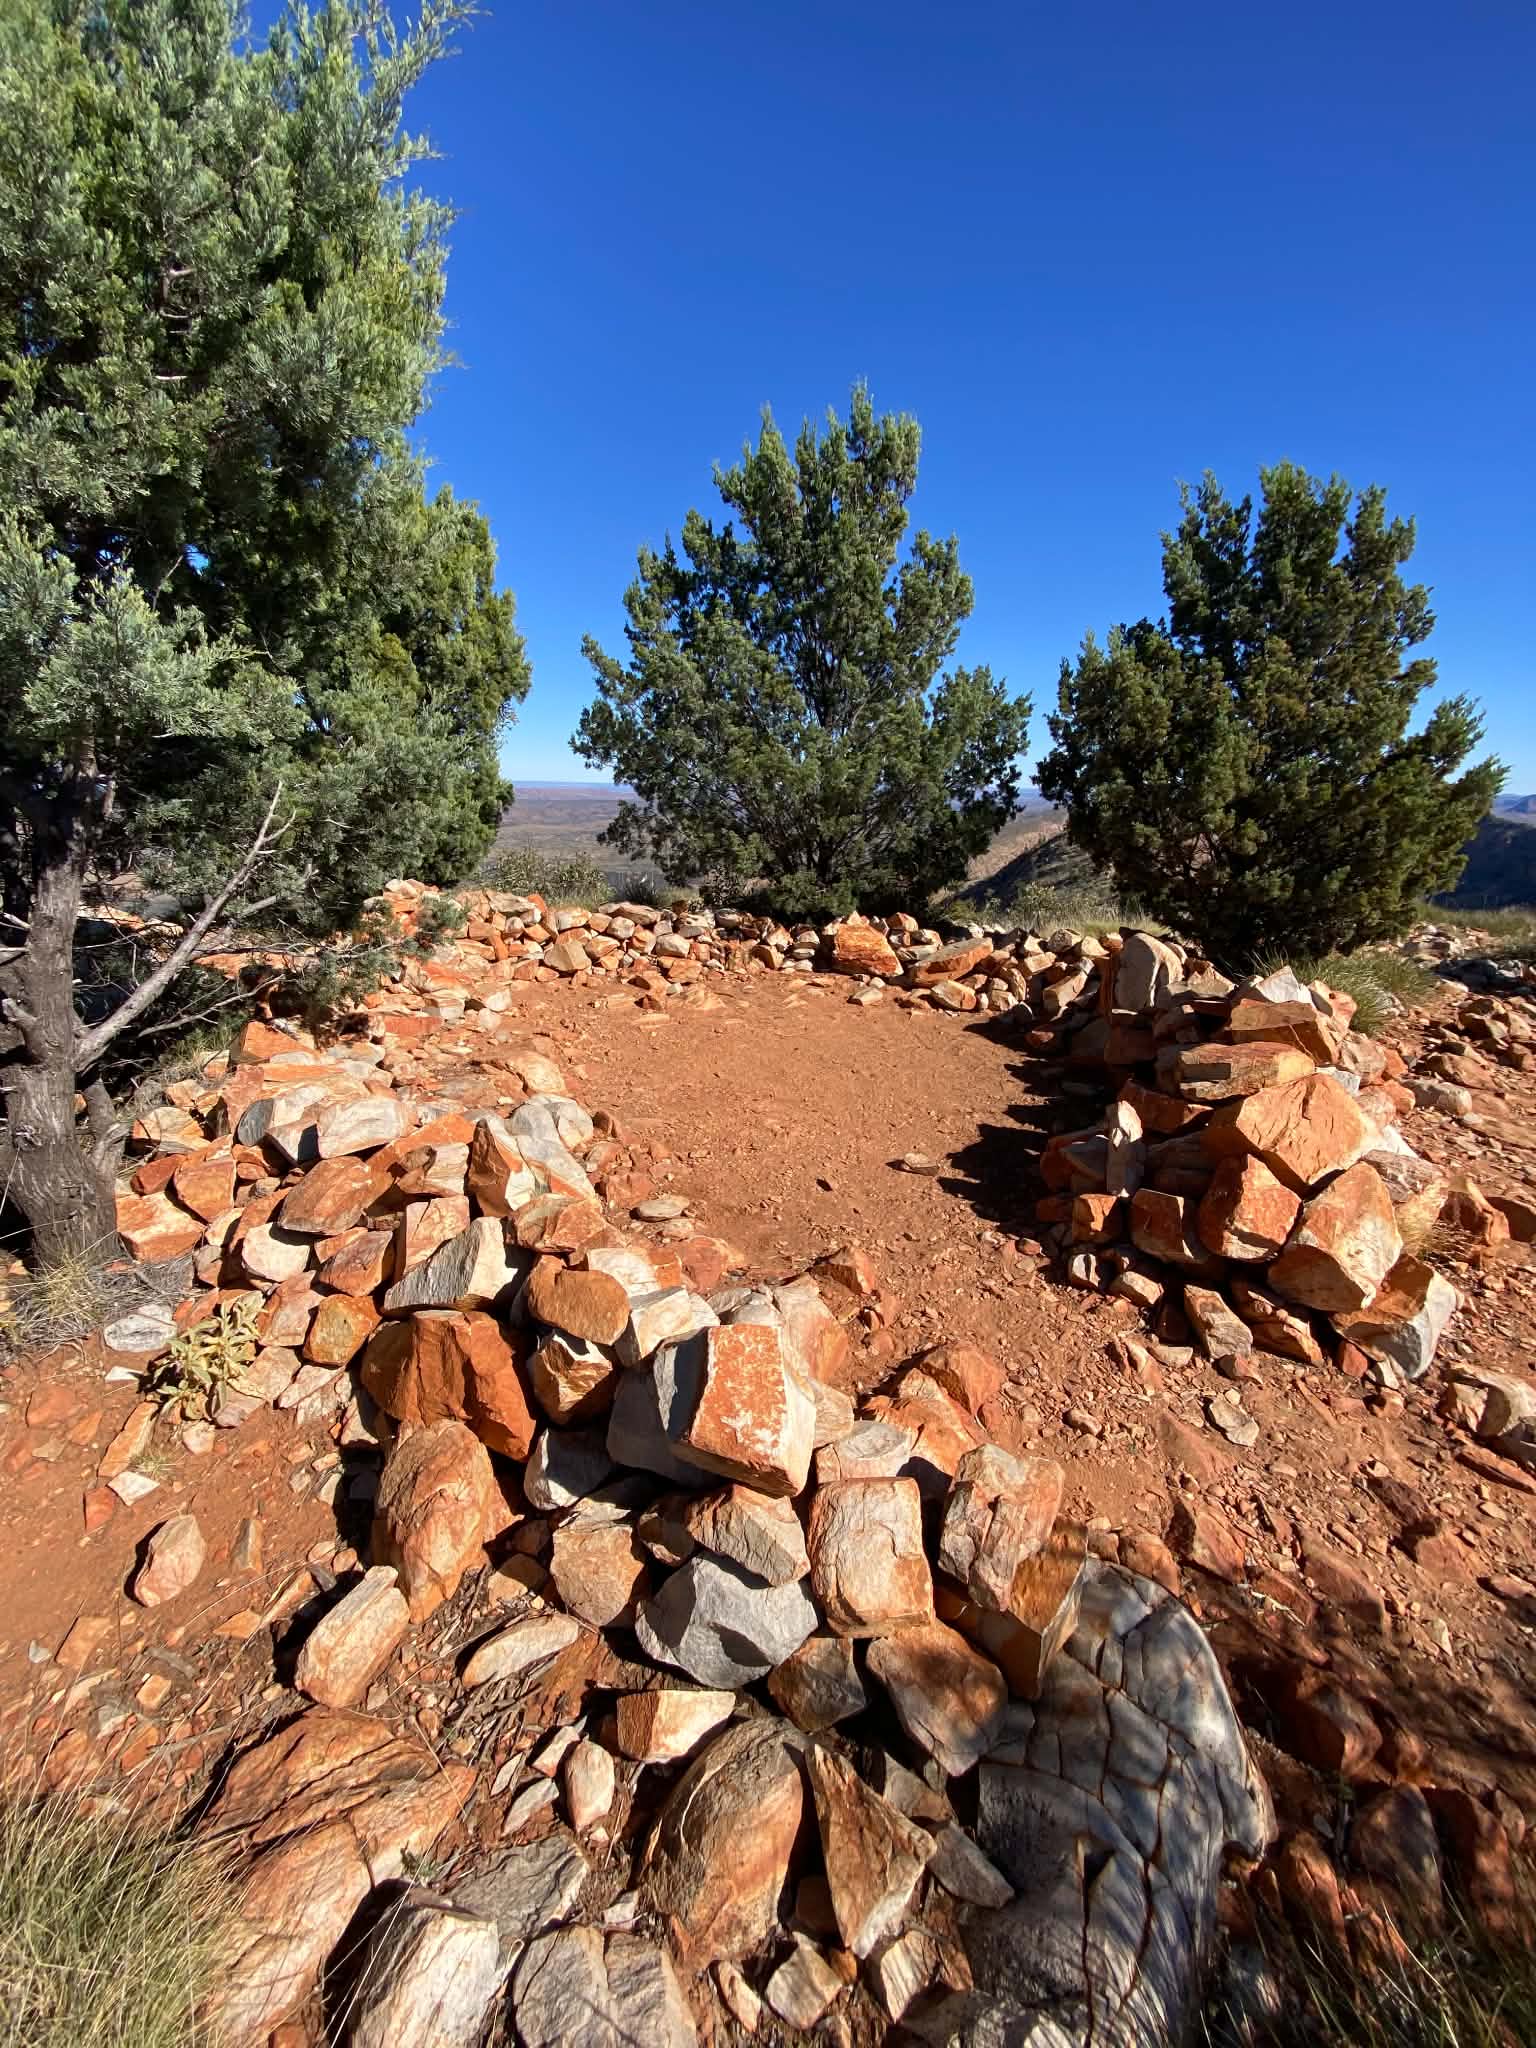
The Larapinta Trail website has a fantastic breakdown of each campsite along the trail with information on amenities, water access, amount of space and photos.
Here are a few campsites that we’d recommend:
| Section | Campsite | Water | Shelter | Toilets | Comments |
| 2/3 | Jay Creek | Y | Y | Y | Amazing sleep on the sandy riverbed |
| 4 | Brinkley Bluff | N | N | Y | We didn’t stay here, but incredible high camp. Reportedly life-changing sunrise seen here. Get there early to pick a less exposed spot. |
| 4/5 | Birthday Waterhole | Y | At Birthday Junction | At Birthday Junction | Amazing swimming spot and get to camp on the sand |
| 6/7 | Ellery Creek North | Y | Y | Y | Beautiful to spend time in the gorge and swim |
| 8 | Counts | N | N | N | We didn’t stay here but it was a great high camp with limited spots. Would have a great sunrise and sunset, but quite expoed |
| 9 | Hermit’s Hideaway | N | N | N | Incredible sunset and sunrise on this high camp. More sheltered than Giles lookout. |
| 11 | Hilltop Lookout | N | N | N | Need to carry plenty of spare water. Great sunrise and sunset at this high camp, but very busy. |
Day 0: Alice Springs
We arrived in Alice Springs in the early afternoon and quickly stopped at our accommodation before heading to the shops for snacks and collecting our pre-ordered gas from Lone Dingo. At the accommodation we confirmed that the food boxes had arrived and were waiting for us, then headed out to purchase food for the trail.
We had 4 food boxes which quickly became confusing, particularly as we often make dinners from lots of small components (rather than eating a packet meal where it’s all in one). This took some extra planning and careful consideration around the heaviest meals.
After finalising our packing, we headed to the local Warung Makan for Indonesian food which was amazing!! Then an early bed before heading out on the trail.
Day 1: Telegraph Station to Simpsons Gap
Distance: 23.8km (26.6km per the Garmin)
Duration: 10hrs (including breaks)
Highlights: Telegraph pole, Euro Ridge, Rungutjirba Ridge
We were up early and headed dropped our food boxes to the collection point at the hostel and went outside to wait for our taxi. We had booked a maxi taxi the day prior, but what eventually arrived was a normal taxi and we were told there are no maxi taxis in Alice. After about 10 calls to the automated phone system and hitting new heights of frustrating phone systems, we arranged to have two taxis come. The ended up being quite the palaver which caused a delay to our start of the day, and we watched in dismay as a maxi taxi pulled up as the second vehicle.
After arriving at Telegraph Station, we signed the log book before heading out. Despite being early, it was already warm in the sun and was clearly shorts and shirt weather. We immediately saw a number of small wallabies and colourful birds, as well as a historical cemetery.
Day 1 brings a touch of modern history (compared to the age of the land). The flat but rocky track leaving from Telegraph Station was the original road linking Adelaide to Darwin, first travelled by car in 1907. Above the track is the Overland Telegraph Line which connected Australia with the rest of the world from 1871 to 1928 (Chapman & Chapman, 2022). Prior to this, it was message by sea voyage which took months compared to the 5 hours of the Telegraph line (Alice Springs Telegraph Station, 2026).
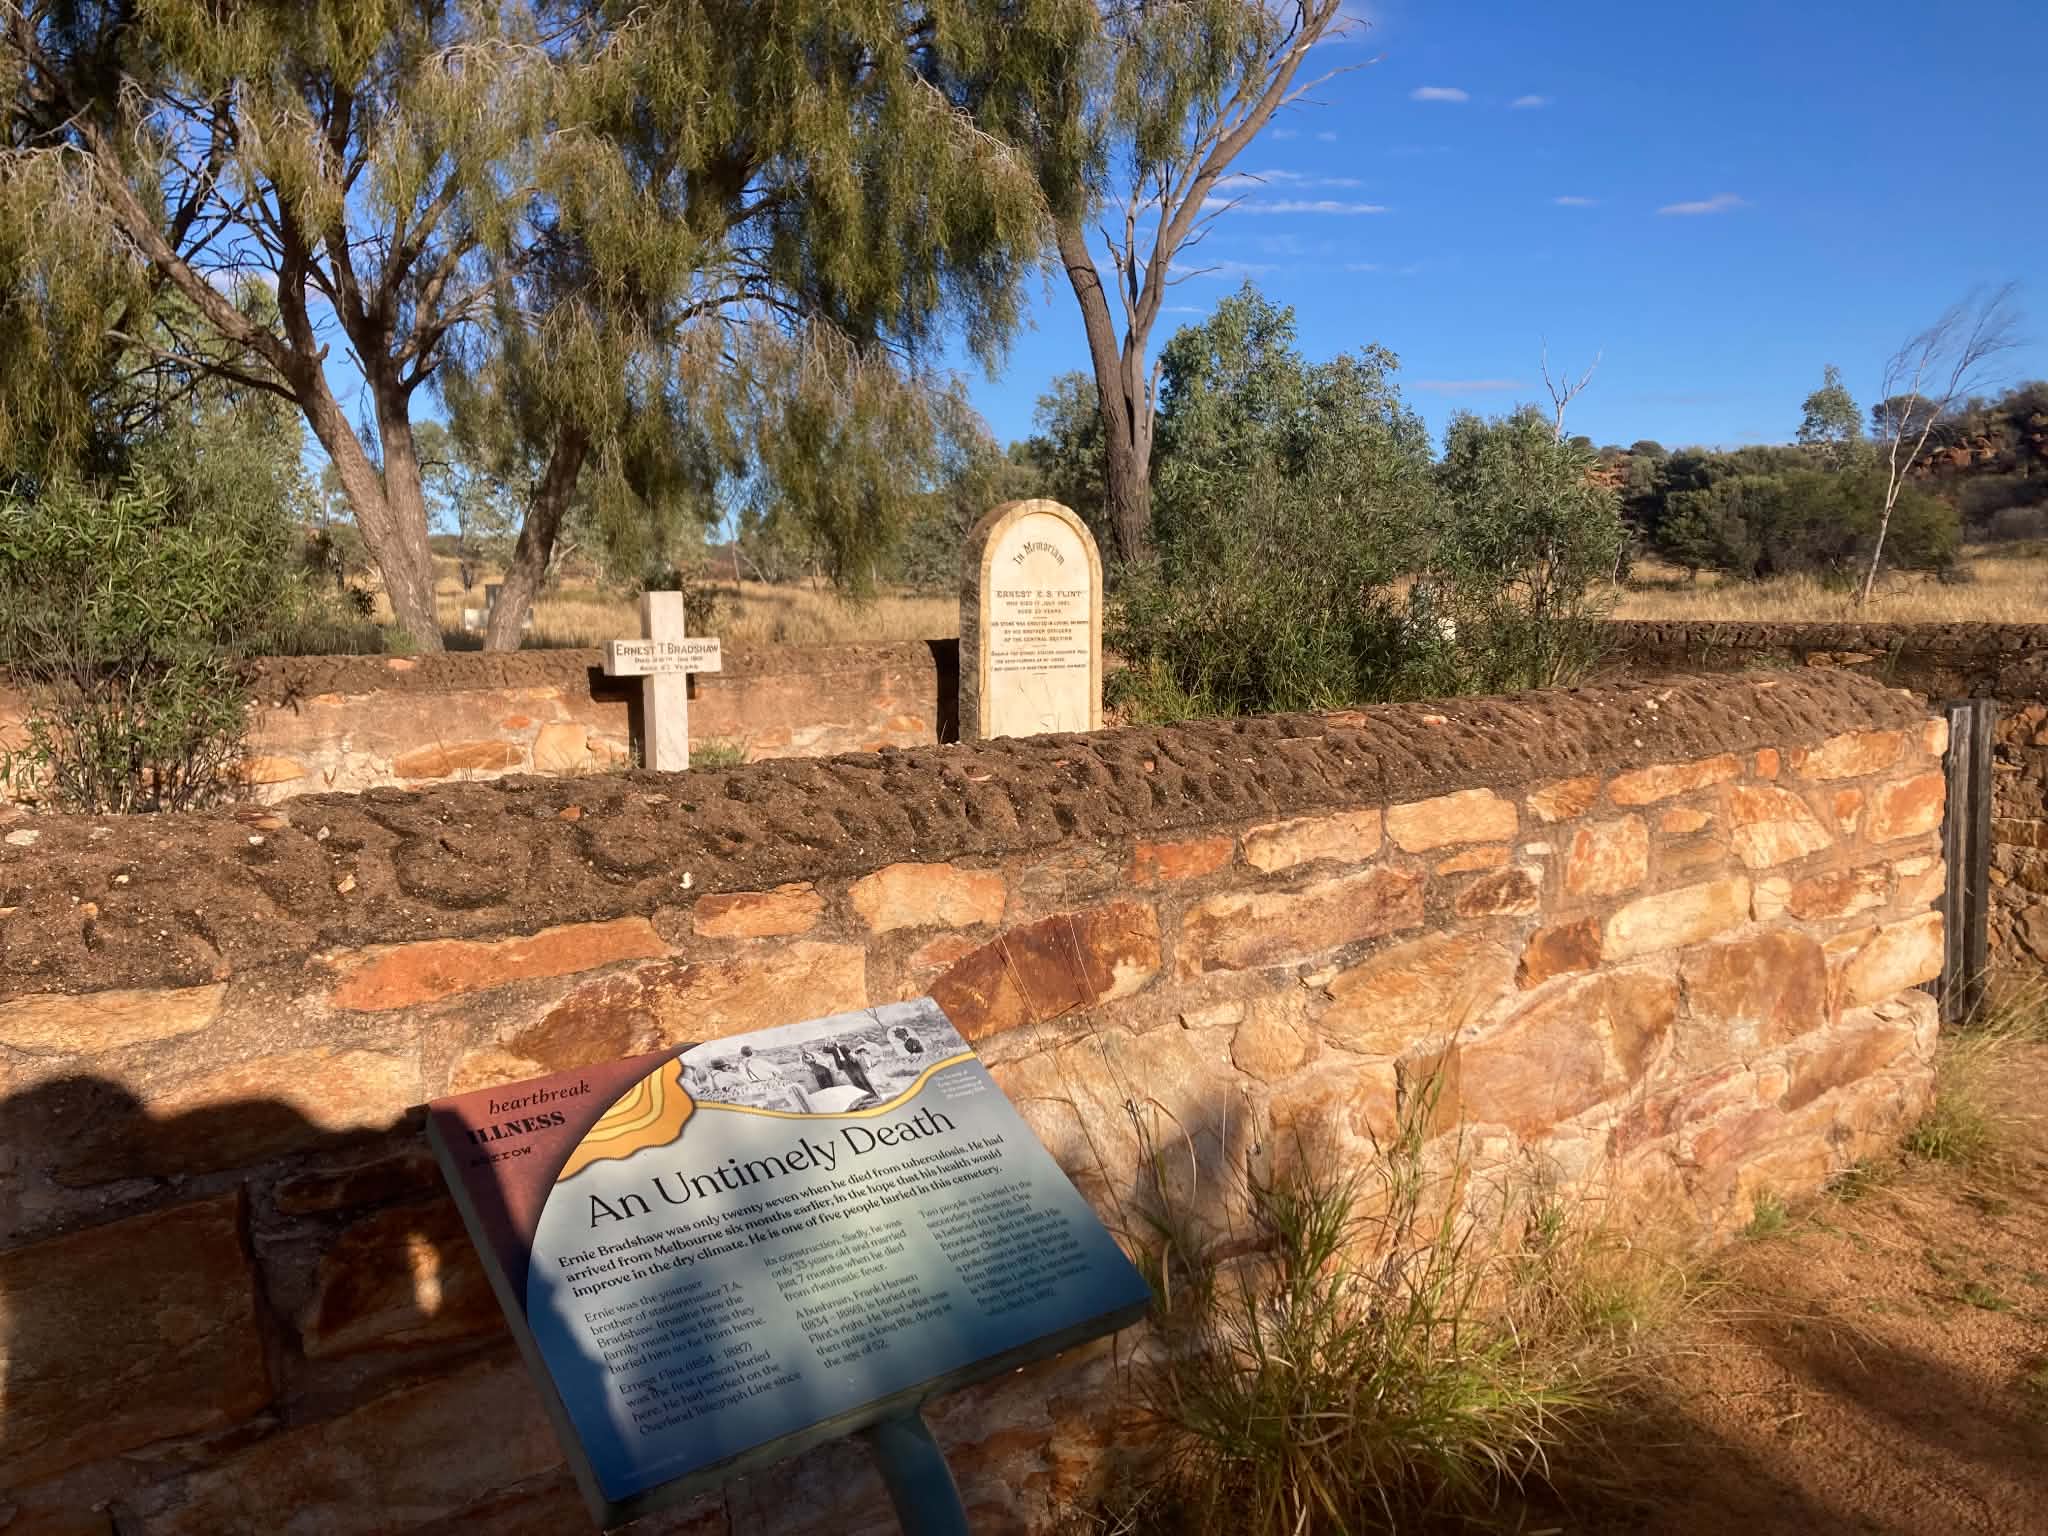
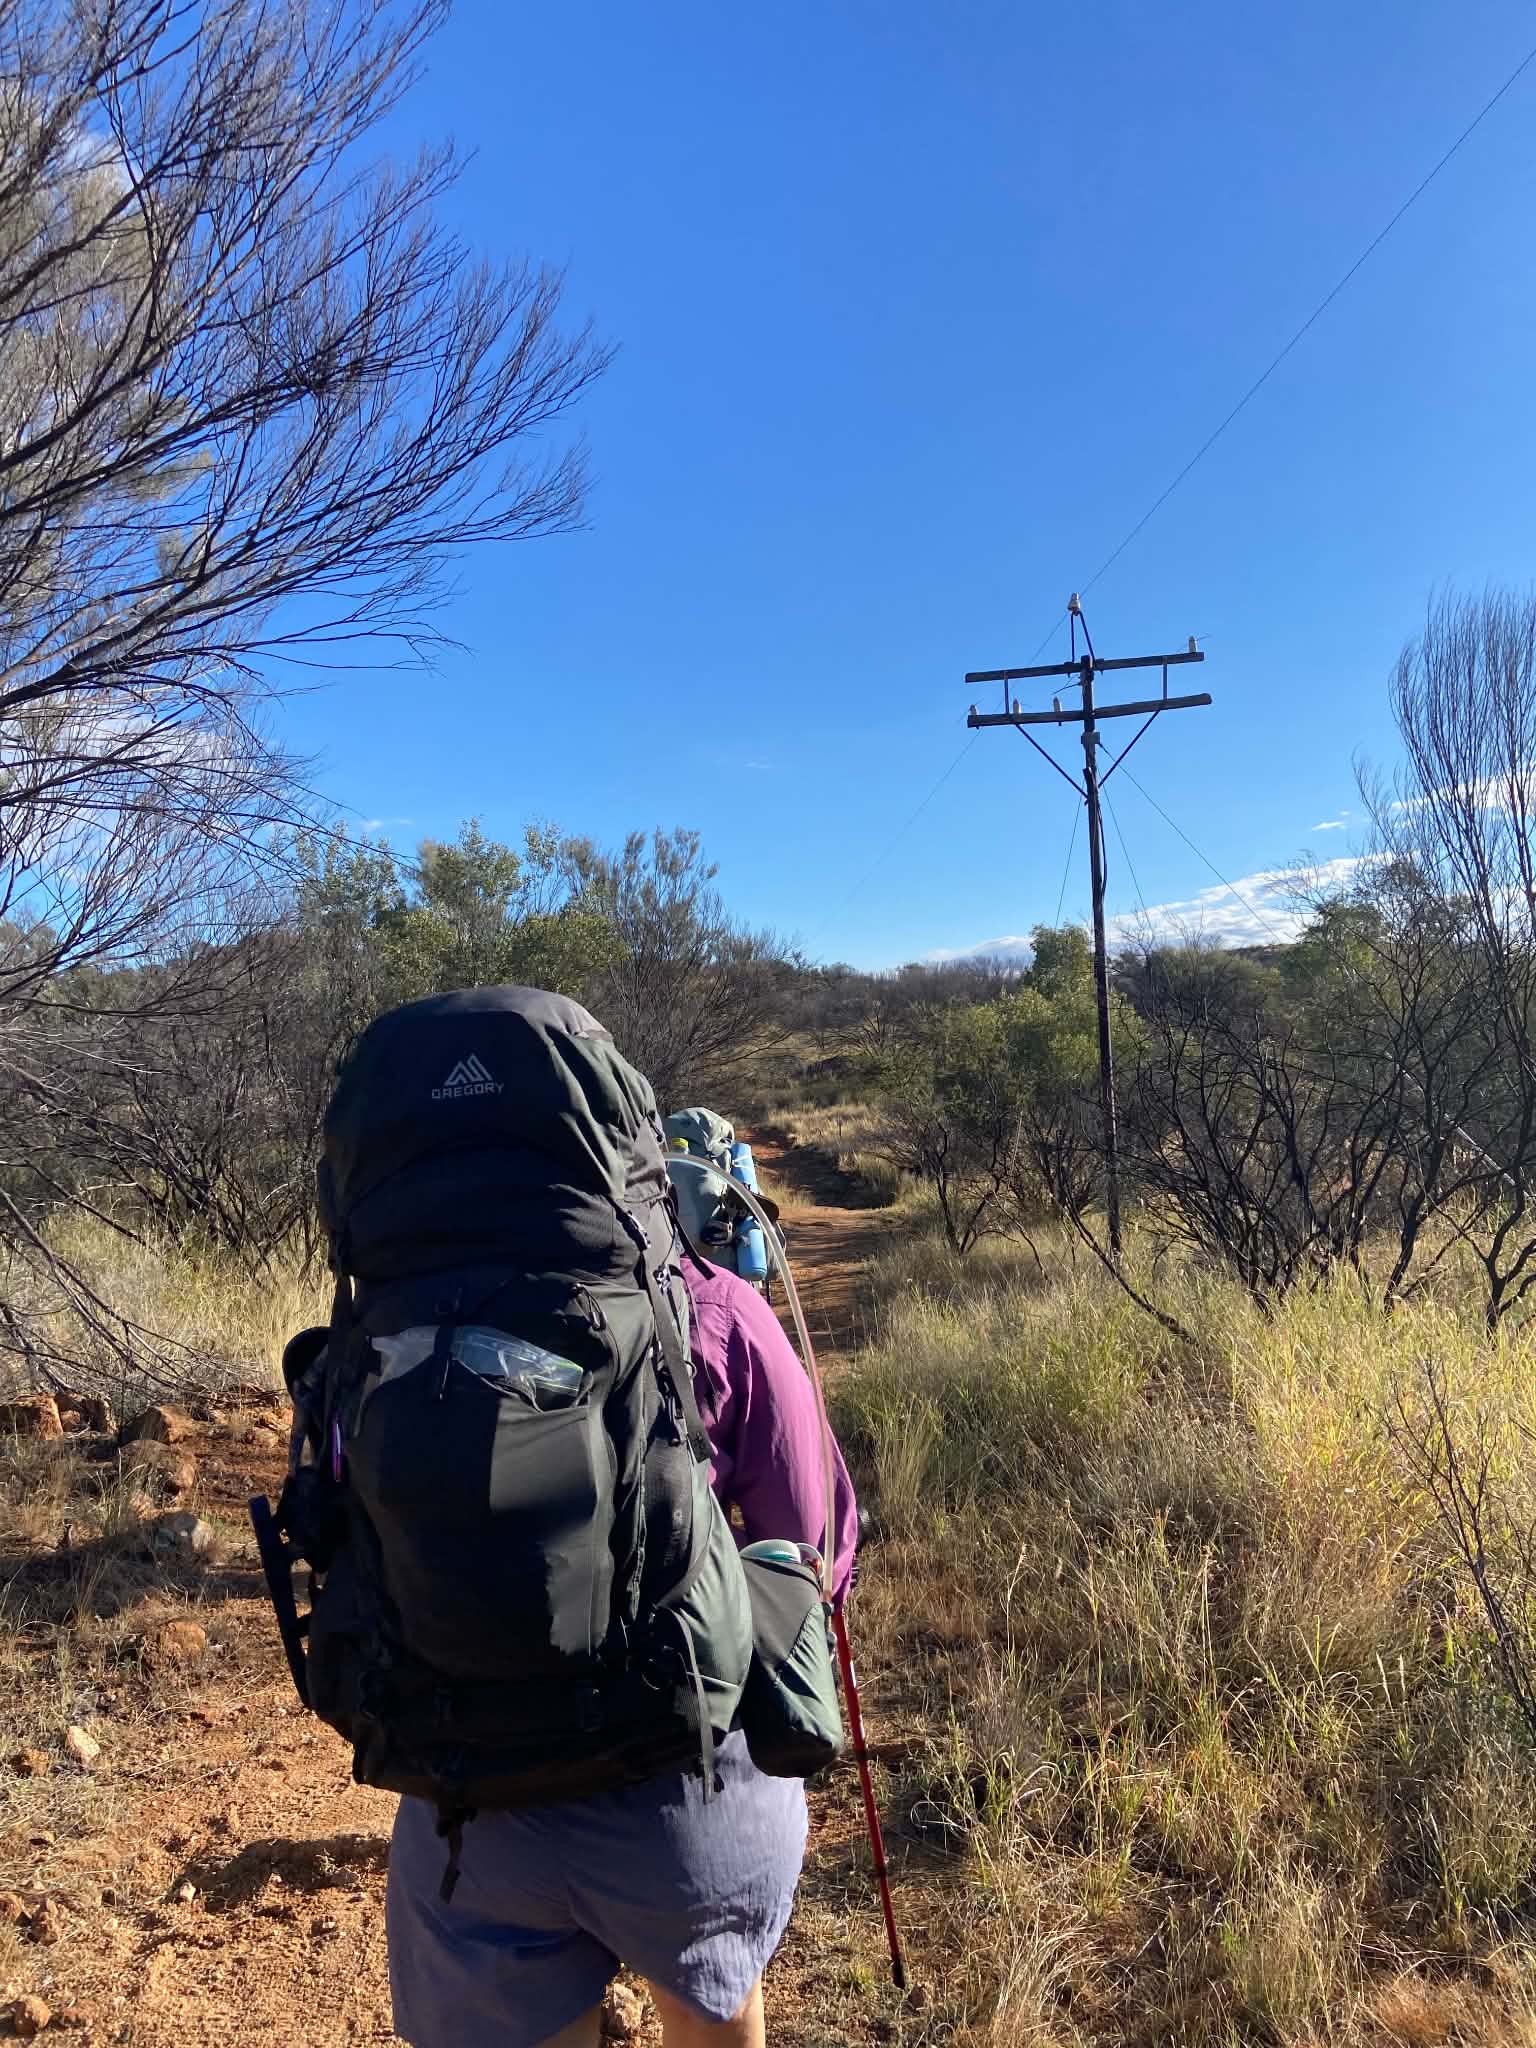
The track is fairly flat with some rocky sections, but overall is easy going. However, the trail is very hot and exposed and we certainly felt the heat. There are a couple of creeks in the first 10kms which make for a nice spot to break for morning tea. Take shade where you can find it, as there are limited shady break spots later in the day.
In the first half of the day, the main climb is Euro Ridge. Euro Ridge is the first insight into the craggy ridges to come, although on a smaller scale. You can see how the rock has been thrust into the sky along the Charles River fault line 350 million years ago. This is a steady climb, and the ridge has a few high points. The trail at the crest is rock slab and is close to the edge and caused a little anxiety for those afraid of heights.
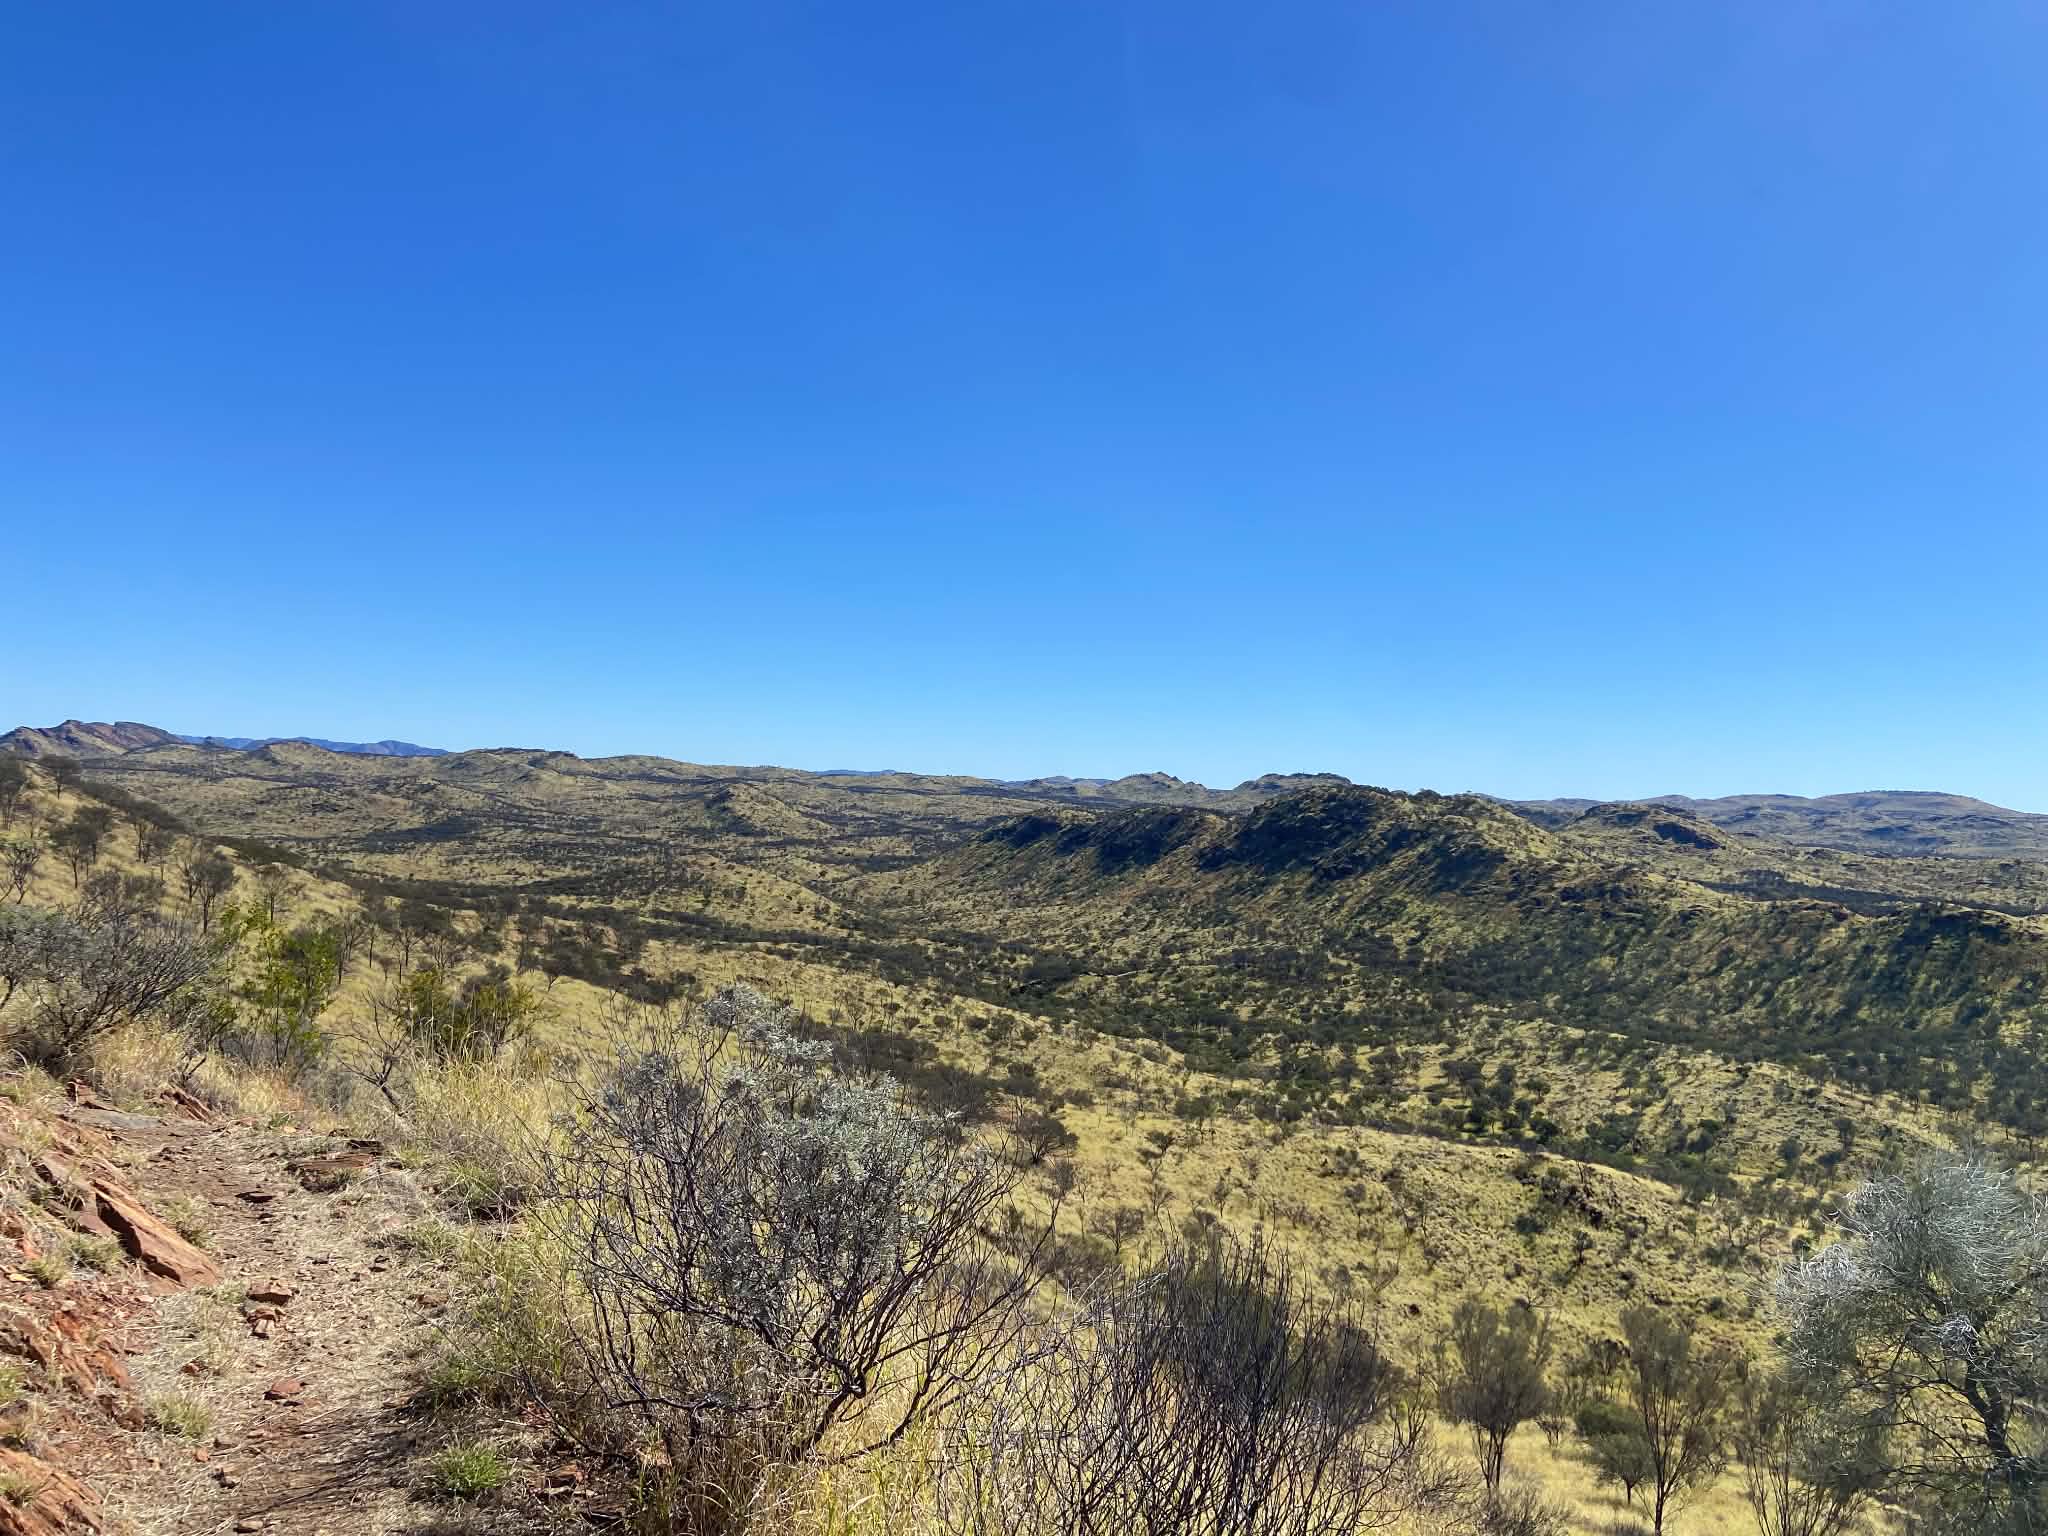
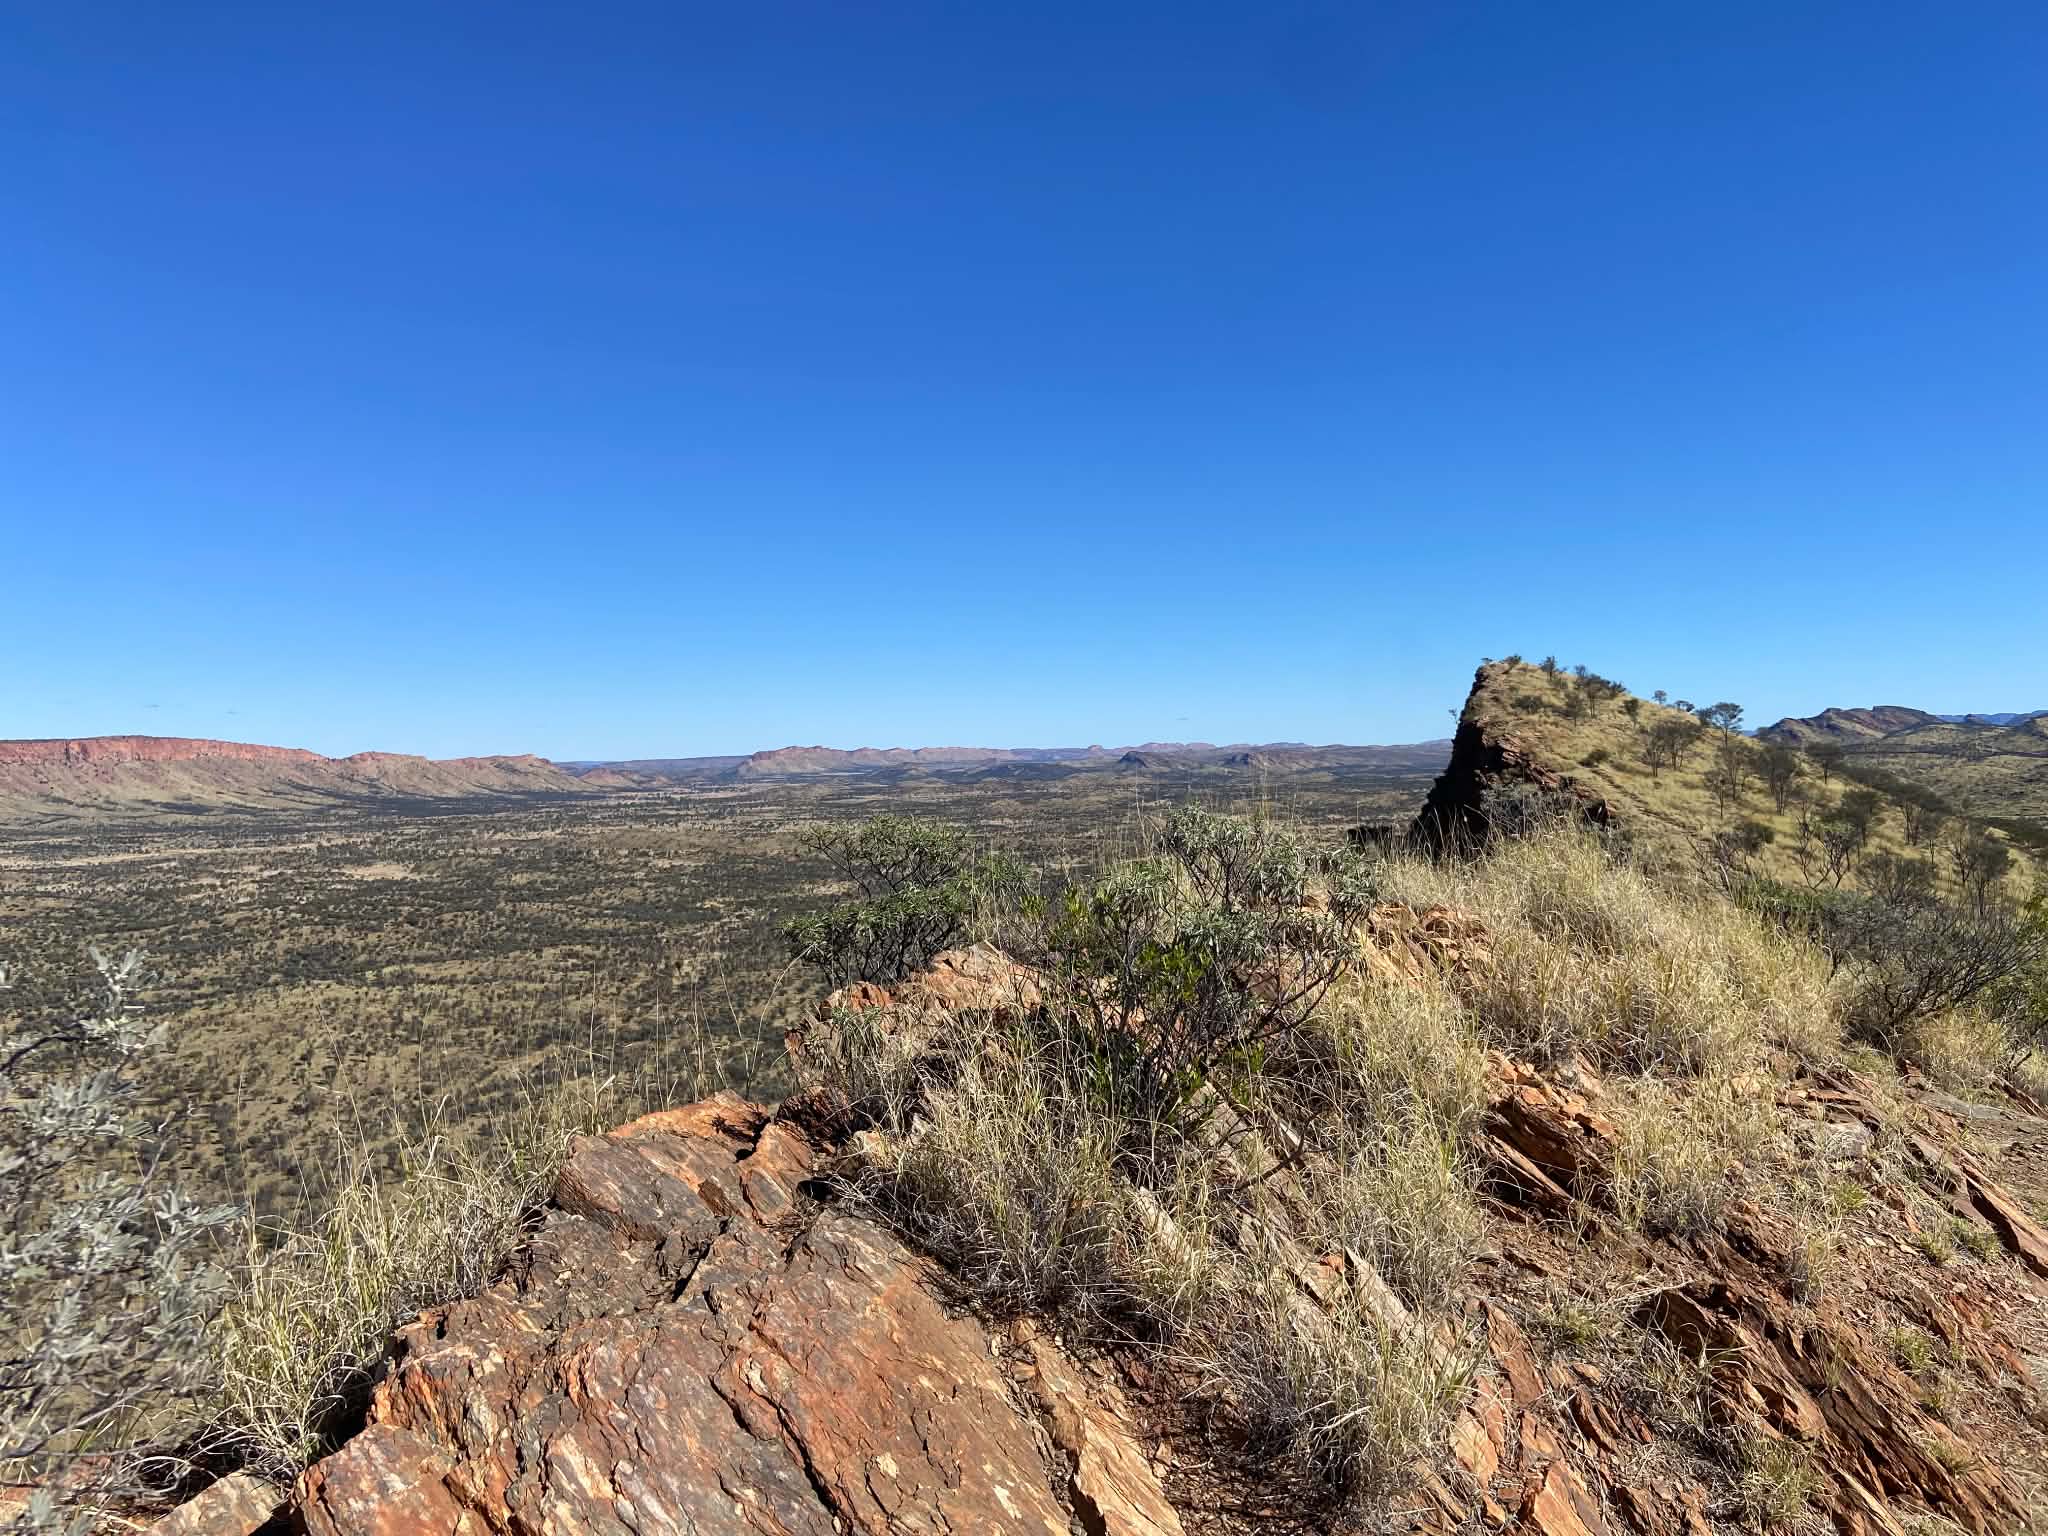
From here it is a steady walk to Wallaby Gap campsite which has a toilet, water tanks and a shelter with platforms offering much needed reprieve in the heat. We had lunch at the campsite and first met the 3 Sydney girls and sharing a quick chat before heading on.
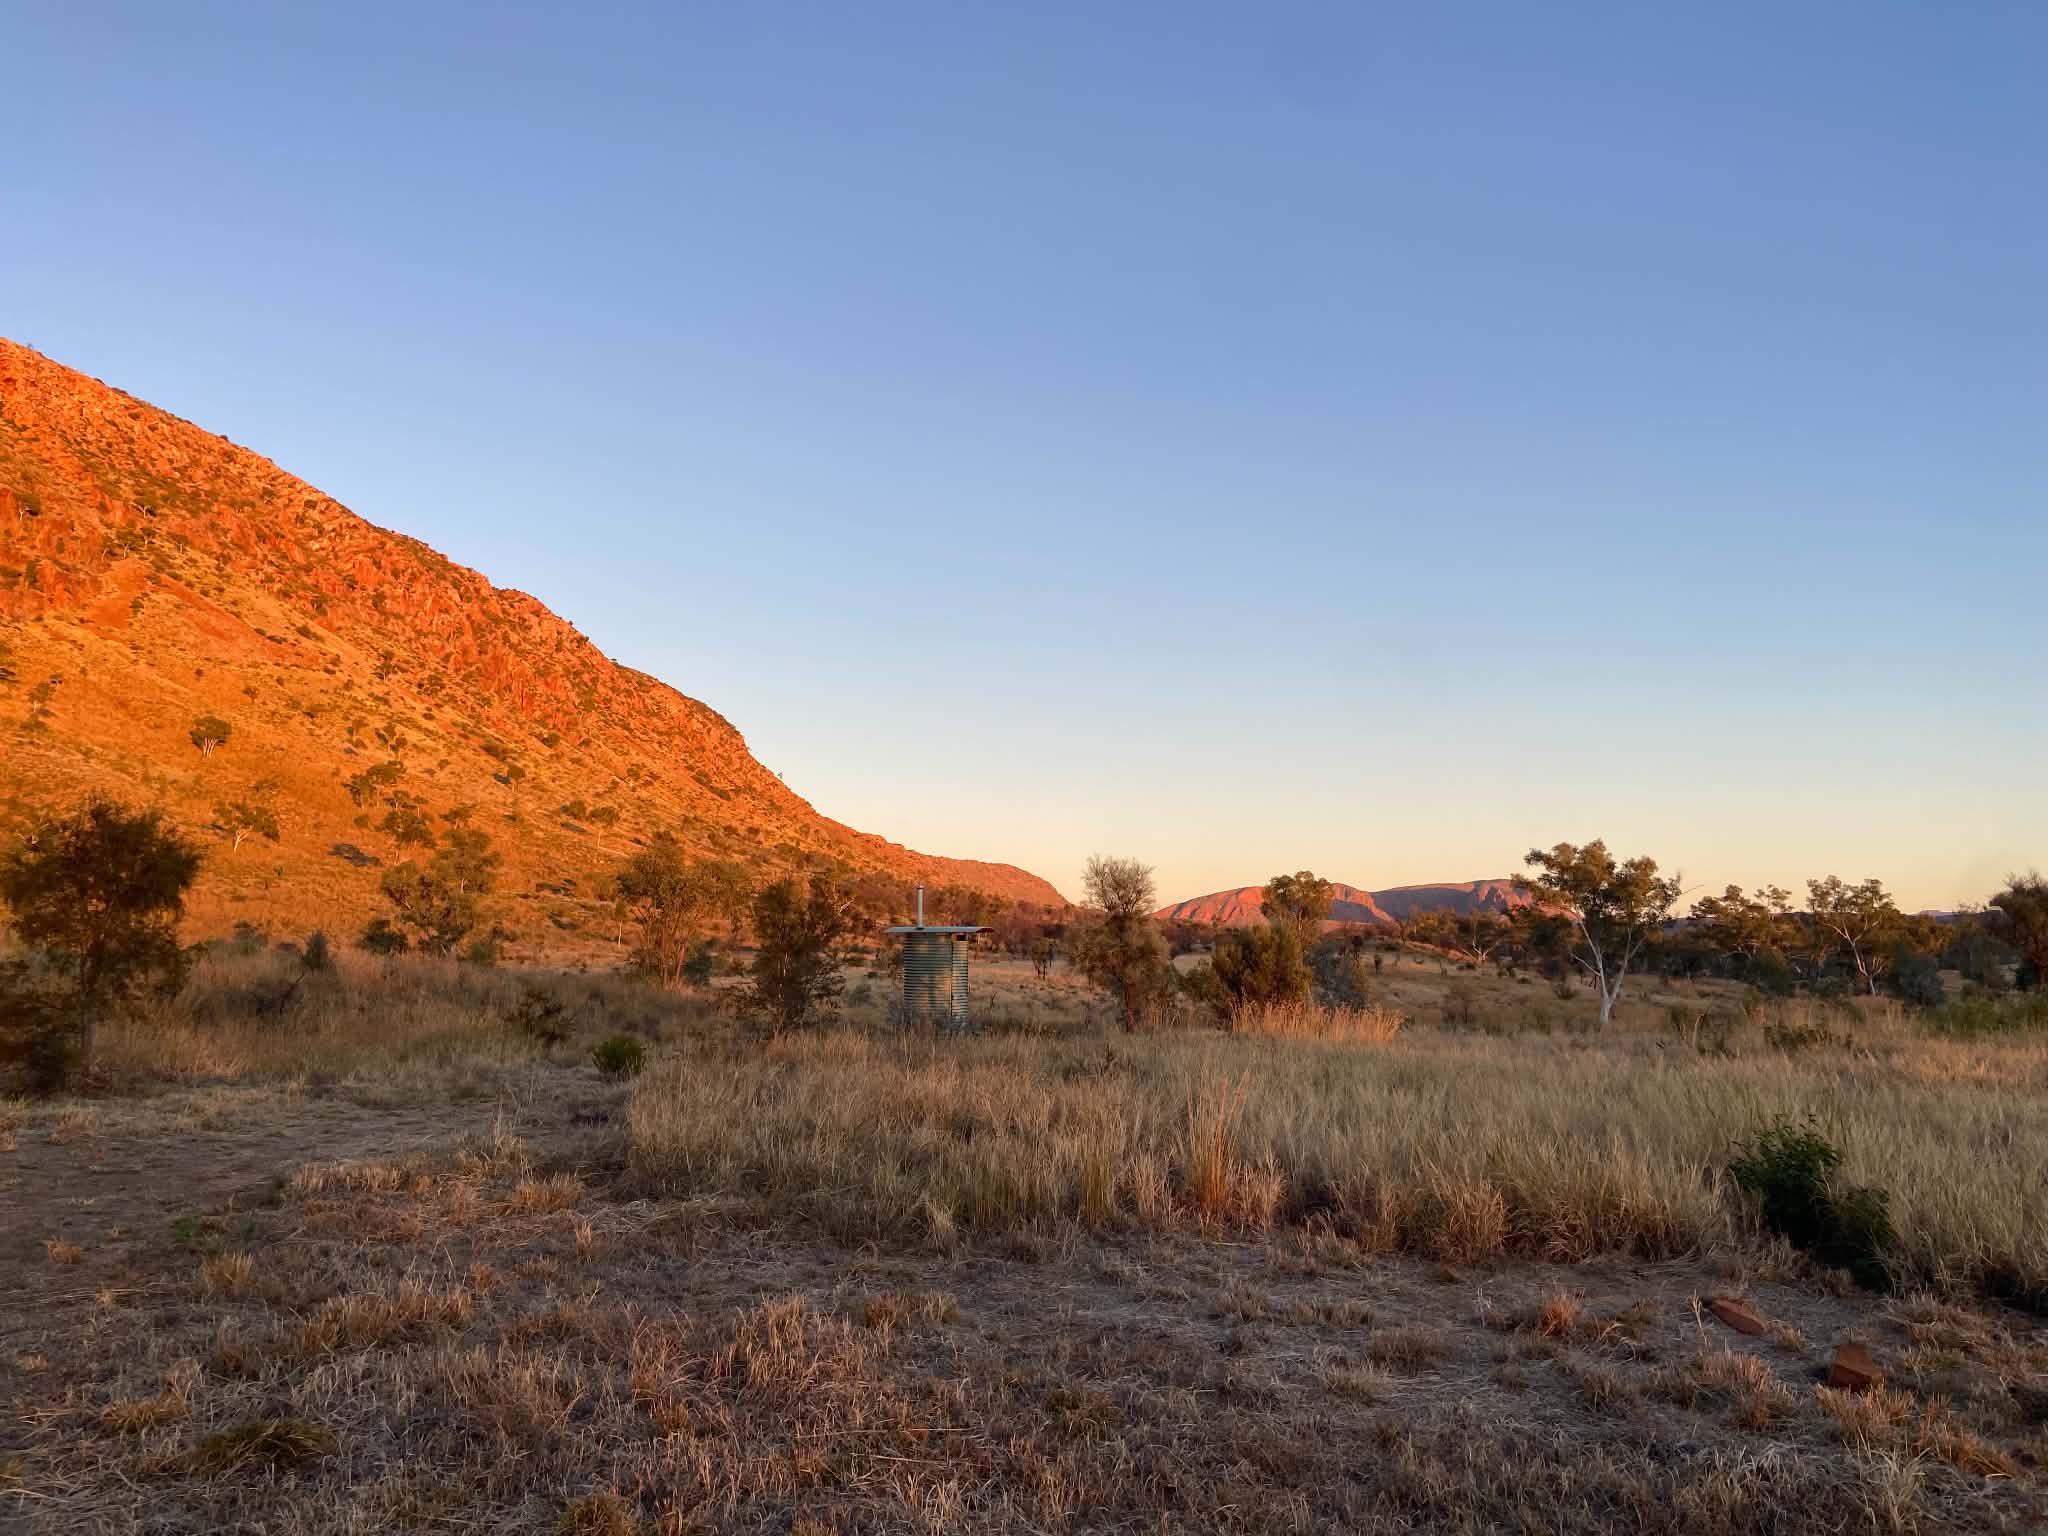
From Wallaby Gap, the trail continues in undulating fashion but is generally a steady walk. We were really feeling the heat by this point, as well as conditioning to the packs which was slowing our pace. At about the 18km mark, we started to climb up to the Rungutjirba Ridge. This was a solid climb in the second half of the day, but once on the ridgeline there was a welcome reprieve as we wound around the side of the range with epic views of the neighbouring ranges which seemed to extend forever. By this point, the day had gotten away from us and we watched in awe as the orange ranges turned into flaming red in the afternoon sun, and a fear started to seep in as we walked in the shadow of the range.
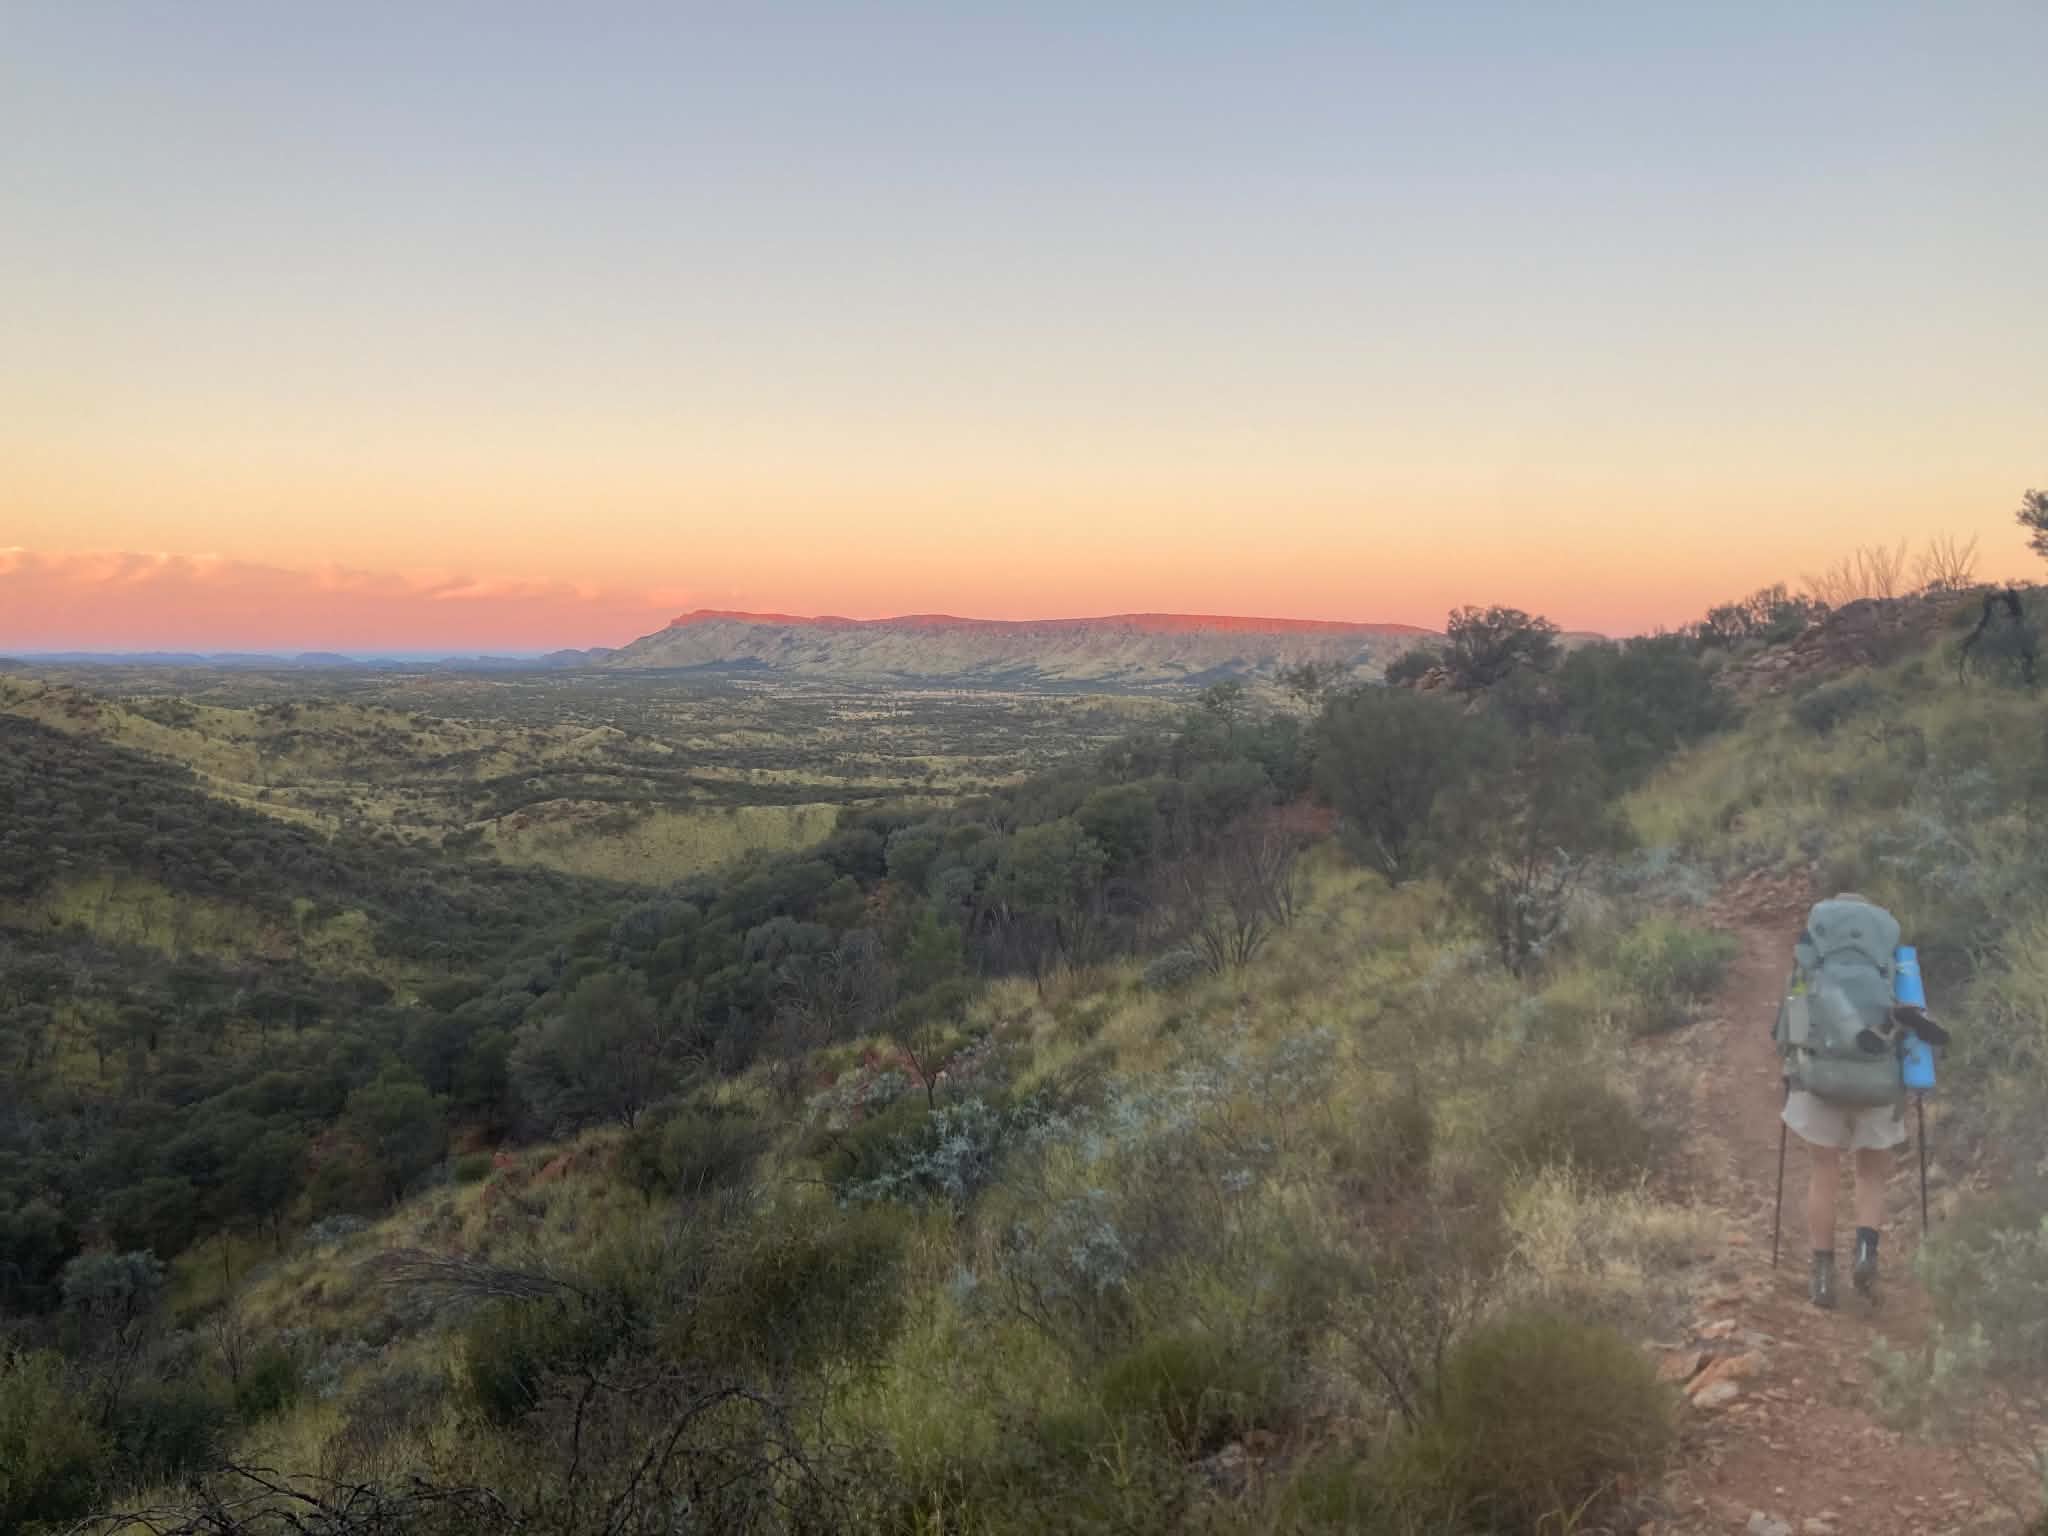
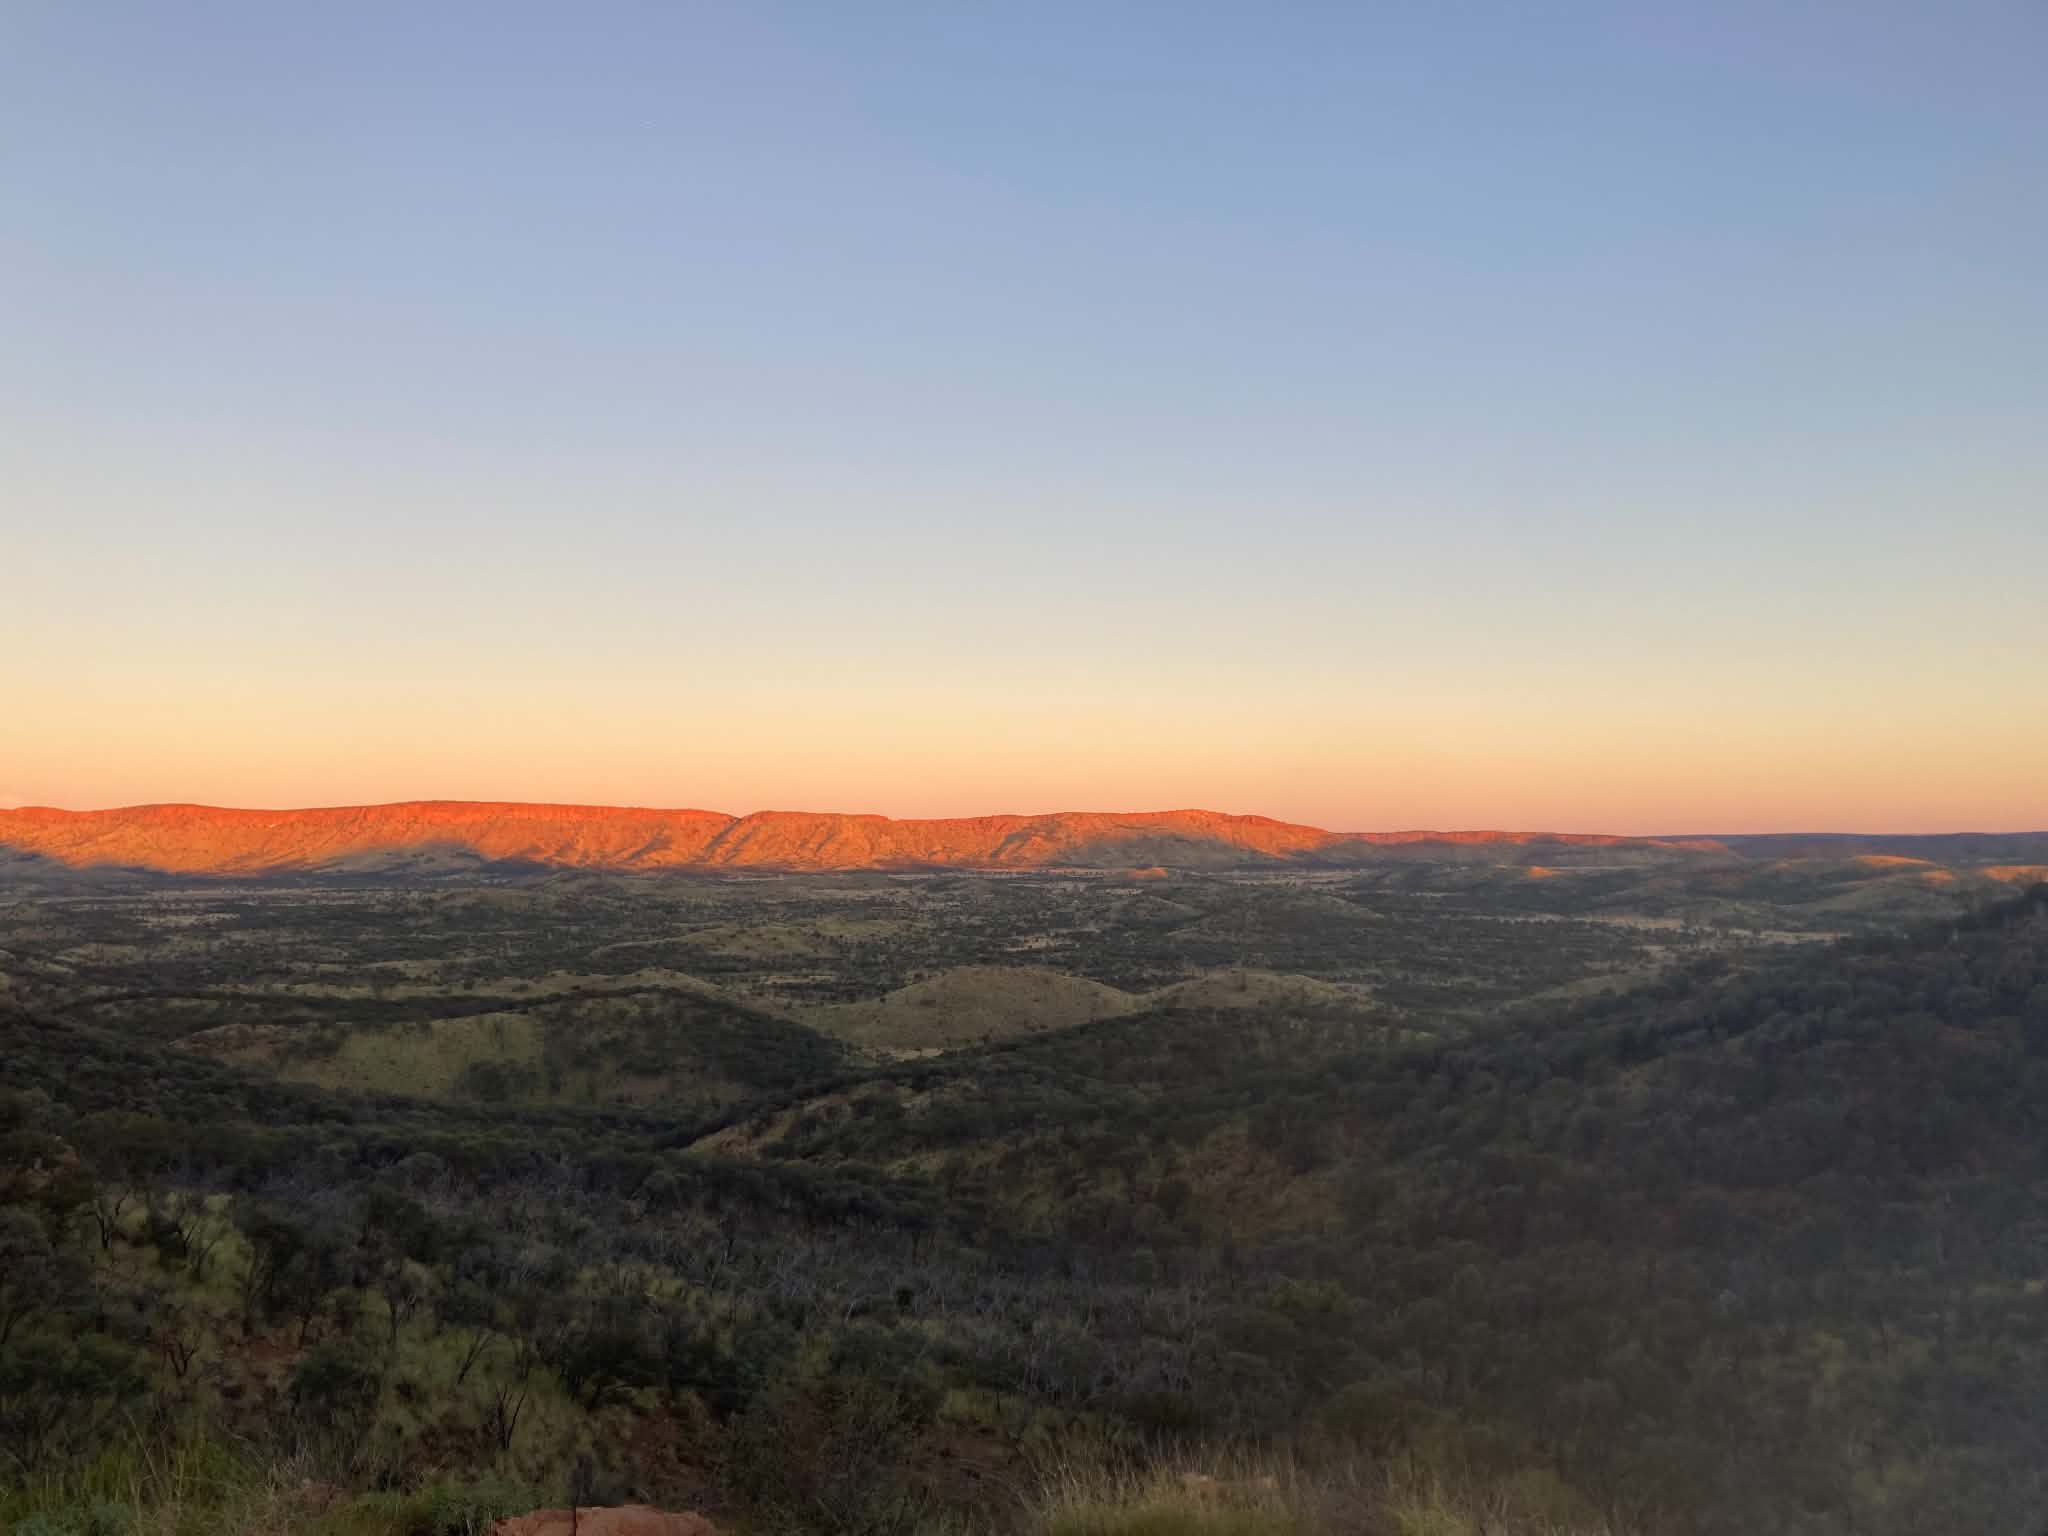
I felt a little bit in survival mode at this point, so my retelling may be less than accurate and certainly isn’t detailed. After coming down into a saddle and climbing again for a short period, we were in woodland and slowly started to descend. The track was very rocky and heavy feet were made worse by the dimming light. It became apparent that we would not be arriving in daylight, and we kept eyes on the headtorches in the distance. While the trail is generally easy to follow, there are a couple of exceptions to this, notably the end of day 1 in the dark. Once we’d made it off the range, there was not one, but TWO river crossings in the dark. Both were very shallow (ankle deep at most), but while the blue arrow pointed us across the river, we couldn’t see any arrows on the other side. This led to some bush bashing which fortunately met up with the trail.
After a long day we arrived in the dark, and the campsite was nowhere to be found. This absolutely wouldn’t be an issue in daylight, but a real challenge in the dark. Eventually the campsite was located and lo and behold, the campsite was a further 800m!! We set up tents and got cooking our Japanese curry asap. It was a weary group on night one, but we agreed to regroup early in the morning with hopes to get away before the heat.
Peaks & Pits:
Peak: Watching sunset on the orange cliffs
Pit: Walking in the dark and arriving after sunset
Day 2: Simpsons Gap to Jay Creek
Distance: 24.8km (27.7km as per Garmin)
Duration: 10hrs (including breaks)
Highlights: Arenge Bluff, Jay Creek
Weary, battered and bruised we emerged from our tents into the early morning darkness. We had a quick breakfast and pack-up before starting moving around sunrise. Spirits were high, but there remained a sense of a wariness around the amount of walking ahead (this was our longest day).
The first few kilometers were very flat and meandering, and although there was some woodland, the walk was mostly exposed and quickly became hot. We had some lingering injury from the day prior, and made a few stops to check this before eventually deciding to split the group and two of our comrades headed back to Simpsons Gap to hitchhike back to town. We made a plan to meet at Serpentine Gorge where we had a rest day planned, and our comrades could hike in to camp together for a couple of nights.
After our farewell, we continued on and the track remained relatively flat before climbing the rocky ridge. There were some beautiful views at Arenge Bluff and we enjoyed a short break here before continuing onto Mulga Camp for lunch. Along this section we first encountered the hip WA girls: a group of 4 young women on their first multi-day hike. You could easily mistake them for a pop group in their cool bandanas and limited sun protection, and we came to know these girls as absolute troopers. Already on day 2, one of them was walking in sandals after her boots had left her with a nasty blister on underneath the nail of her big toe.
Finally we came to Mulga Camp. It was very hot and we considered stopping here for the night, but were concerned about falling behind in kilometers so early in the trip. We say the 3 Sydney girls again and took comfort in the fact that everyone was struggling.
Not long after lunch, we came to Spring Gap. We were able to wet our hats and buffs in the water here to help keep the temperature down, which was a much needed reprieve from the heat. From here, it was a long, slow meandering section with some climbs. We took many breaks and shared snacks with the family boys’ trip (uncles/nephew trio) we met, who we’d caught up to throughout the day (this is always a confidence boost).
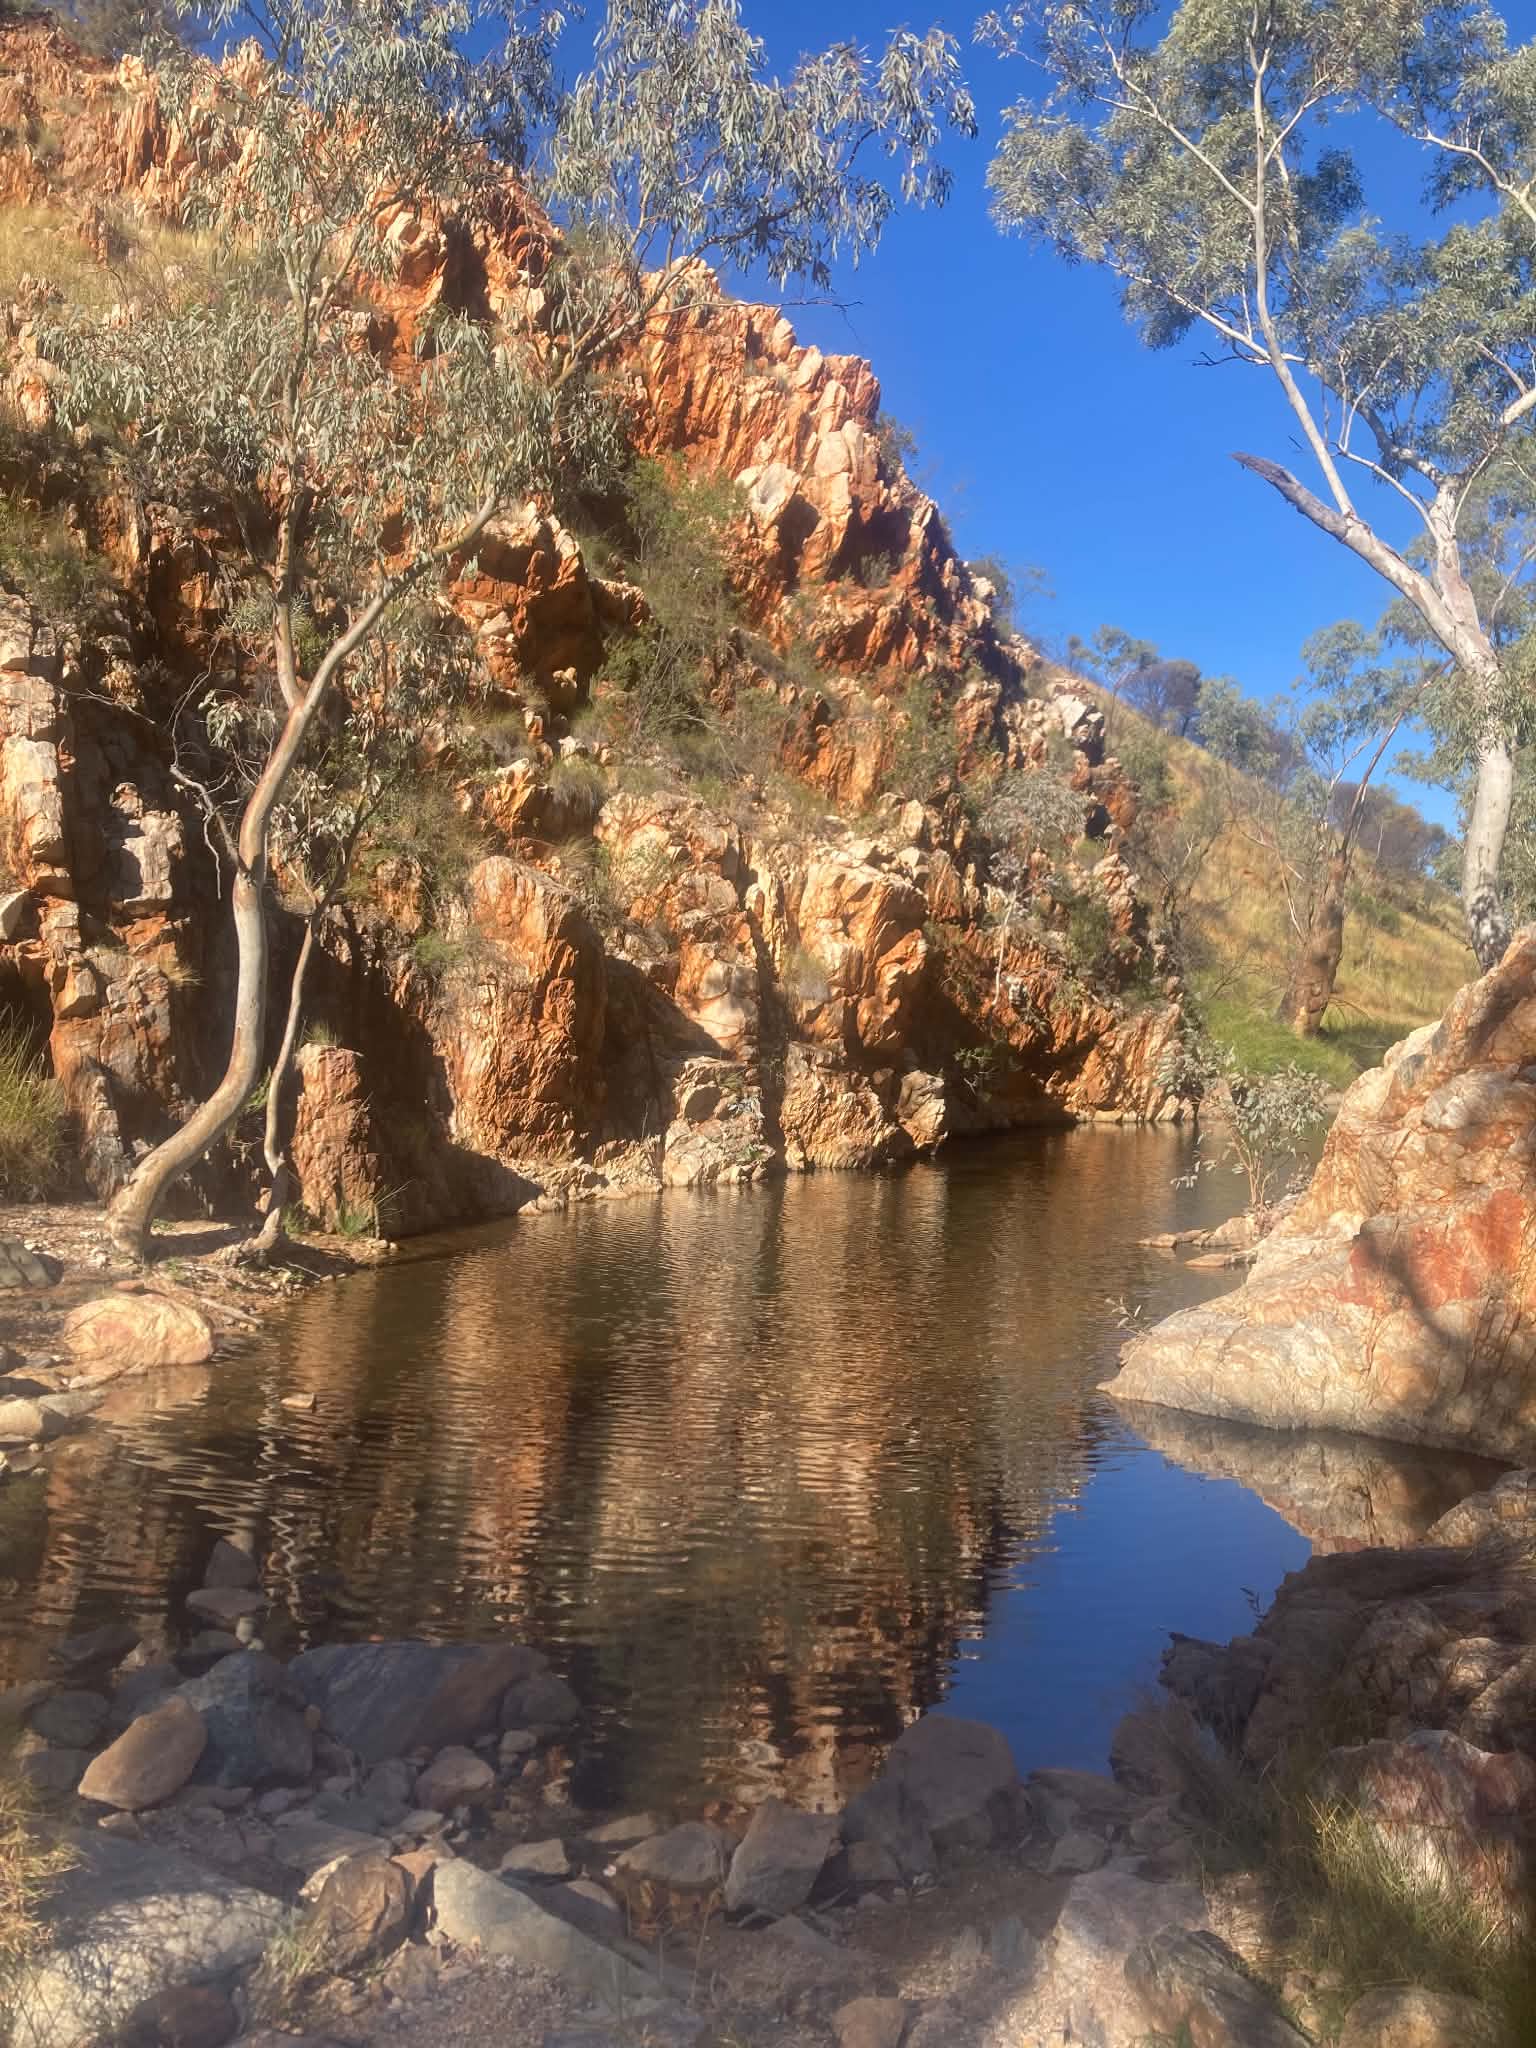
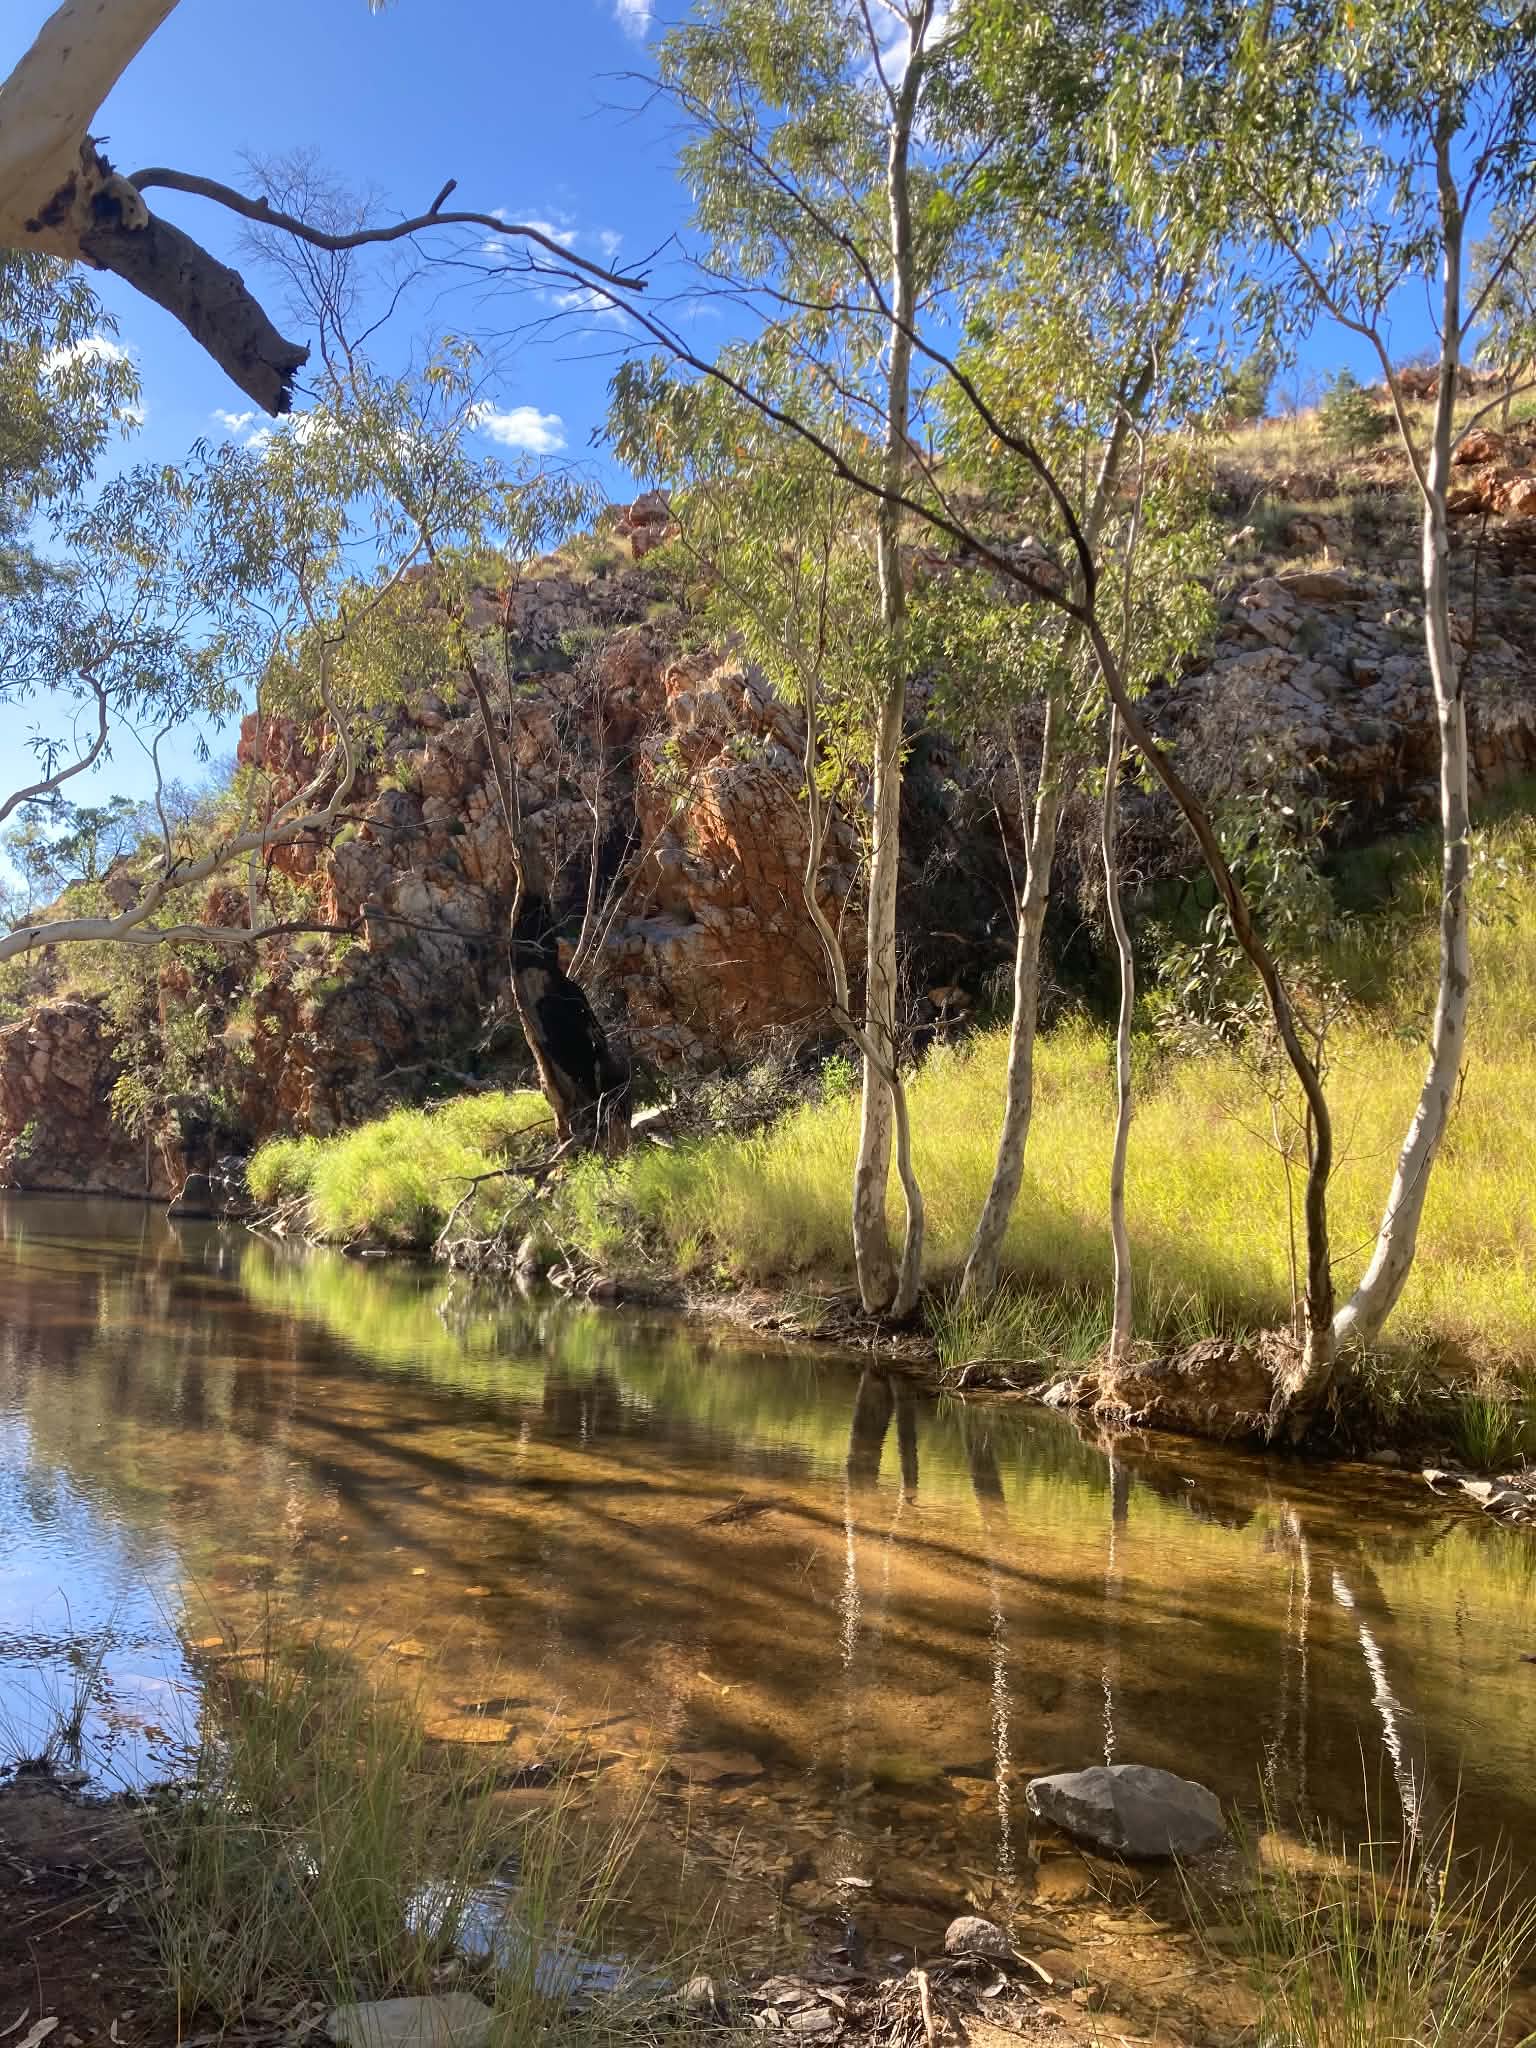
The last few kilometers dragged and dragged. We passed the 24km mark with no camp in sight. According to our Garmin, we walked 26km this day and there was consensus among other walkers that it was a tough day and longer than expected (in retrospect, I still think this was the hardest day – although not the hardest walking, it was long, hot and mentally difficult).
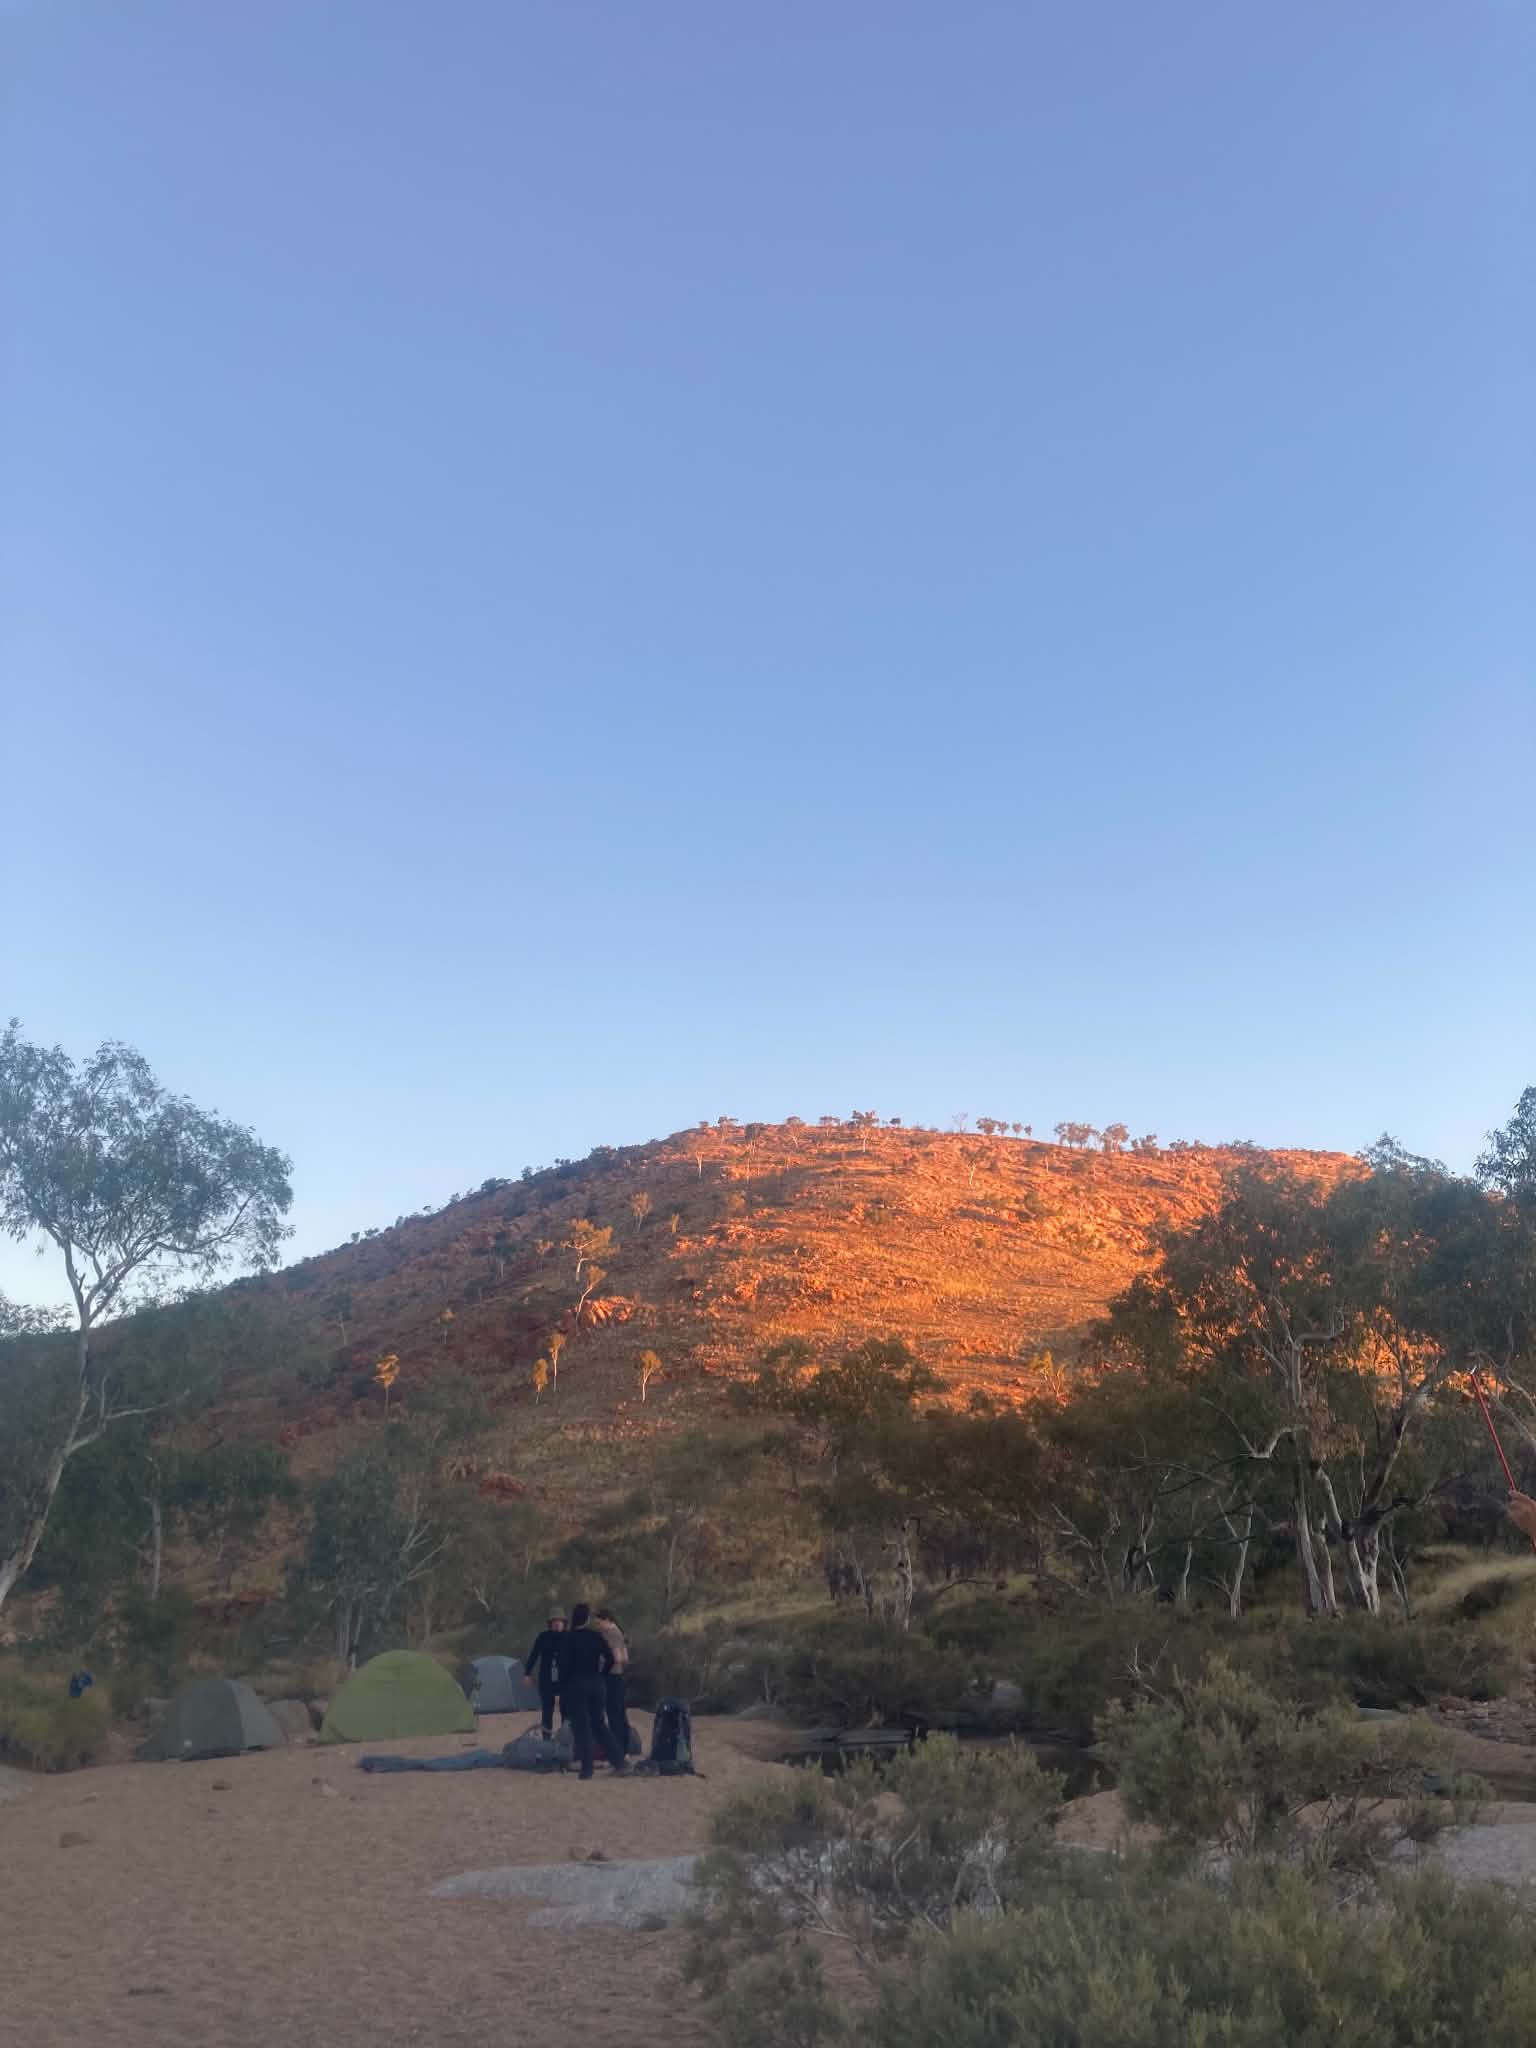
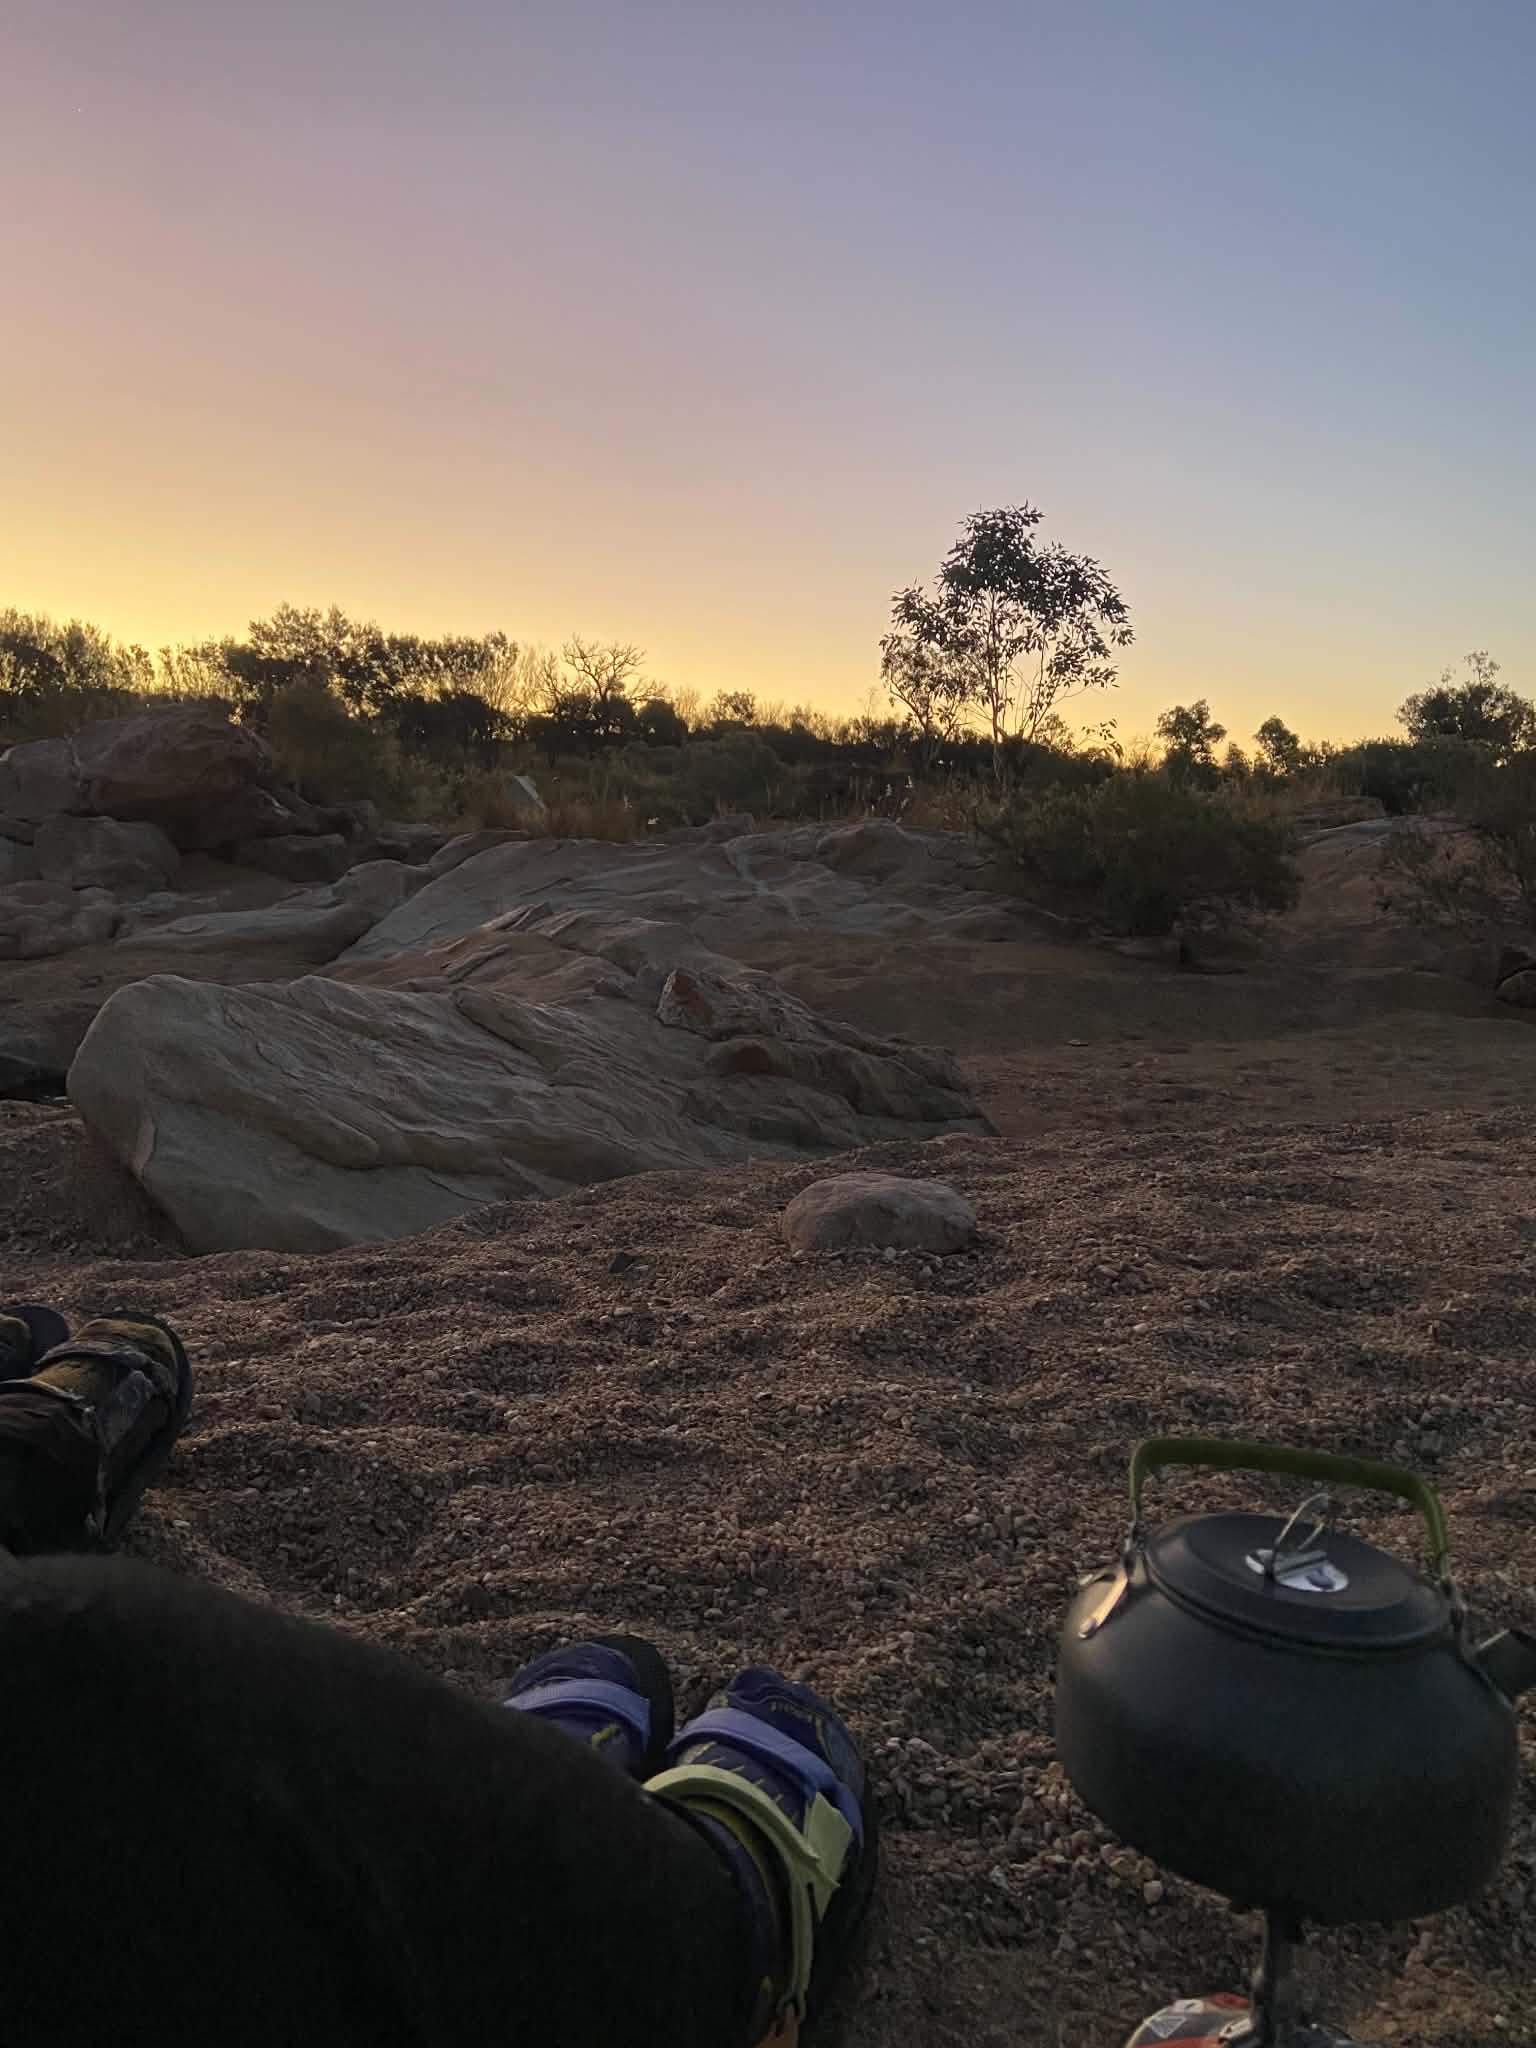
At last we arrived at Jay Creek at golden hour, just as a stray bison showed up to check out the new campers. We were ecstatic to have arrived before dark, and set-up our tent on the sand of the riverbed. By this point of the day, my feet were in so much pain I was threatening tears and starting to walk funny. I wasn’t alone, and as the other groups trailed in there was all sorts of strange gaits happening. Everyone was absolutely filthy about the unexpected extra kilometers which bred some camaraderie.
This campsite was beautiful and we saw the most incredible stars I have ever seen. We had our dhal and naan, and talked peaks and pits before heading to bed for some much-needed recovery.
Peaks & Pits:
Peak: Amazing campsite and star-gazing!
Pit: The extra 2km and painful feet.
Day 3: Jay Creek to Standley Chasm
Distance: 13.6km (as per Garmin)
Duration: 7hrs (including breaks)
Highlights: Jay Creek, Cycad Creek, Standley Chasm
We woke up feeling optimistic and ready for a shorter day (only 13.6km!). Sleeping on the sandy creek bed is an unmatched sleeping experience – we have literally never had such a good night of camp sleeping.
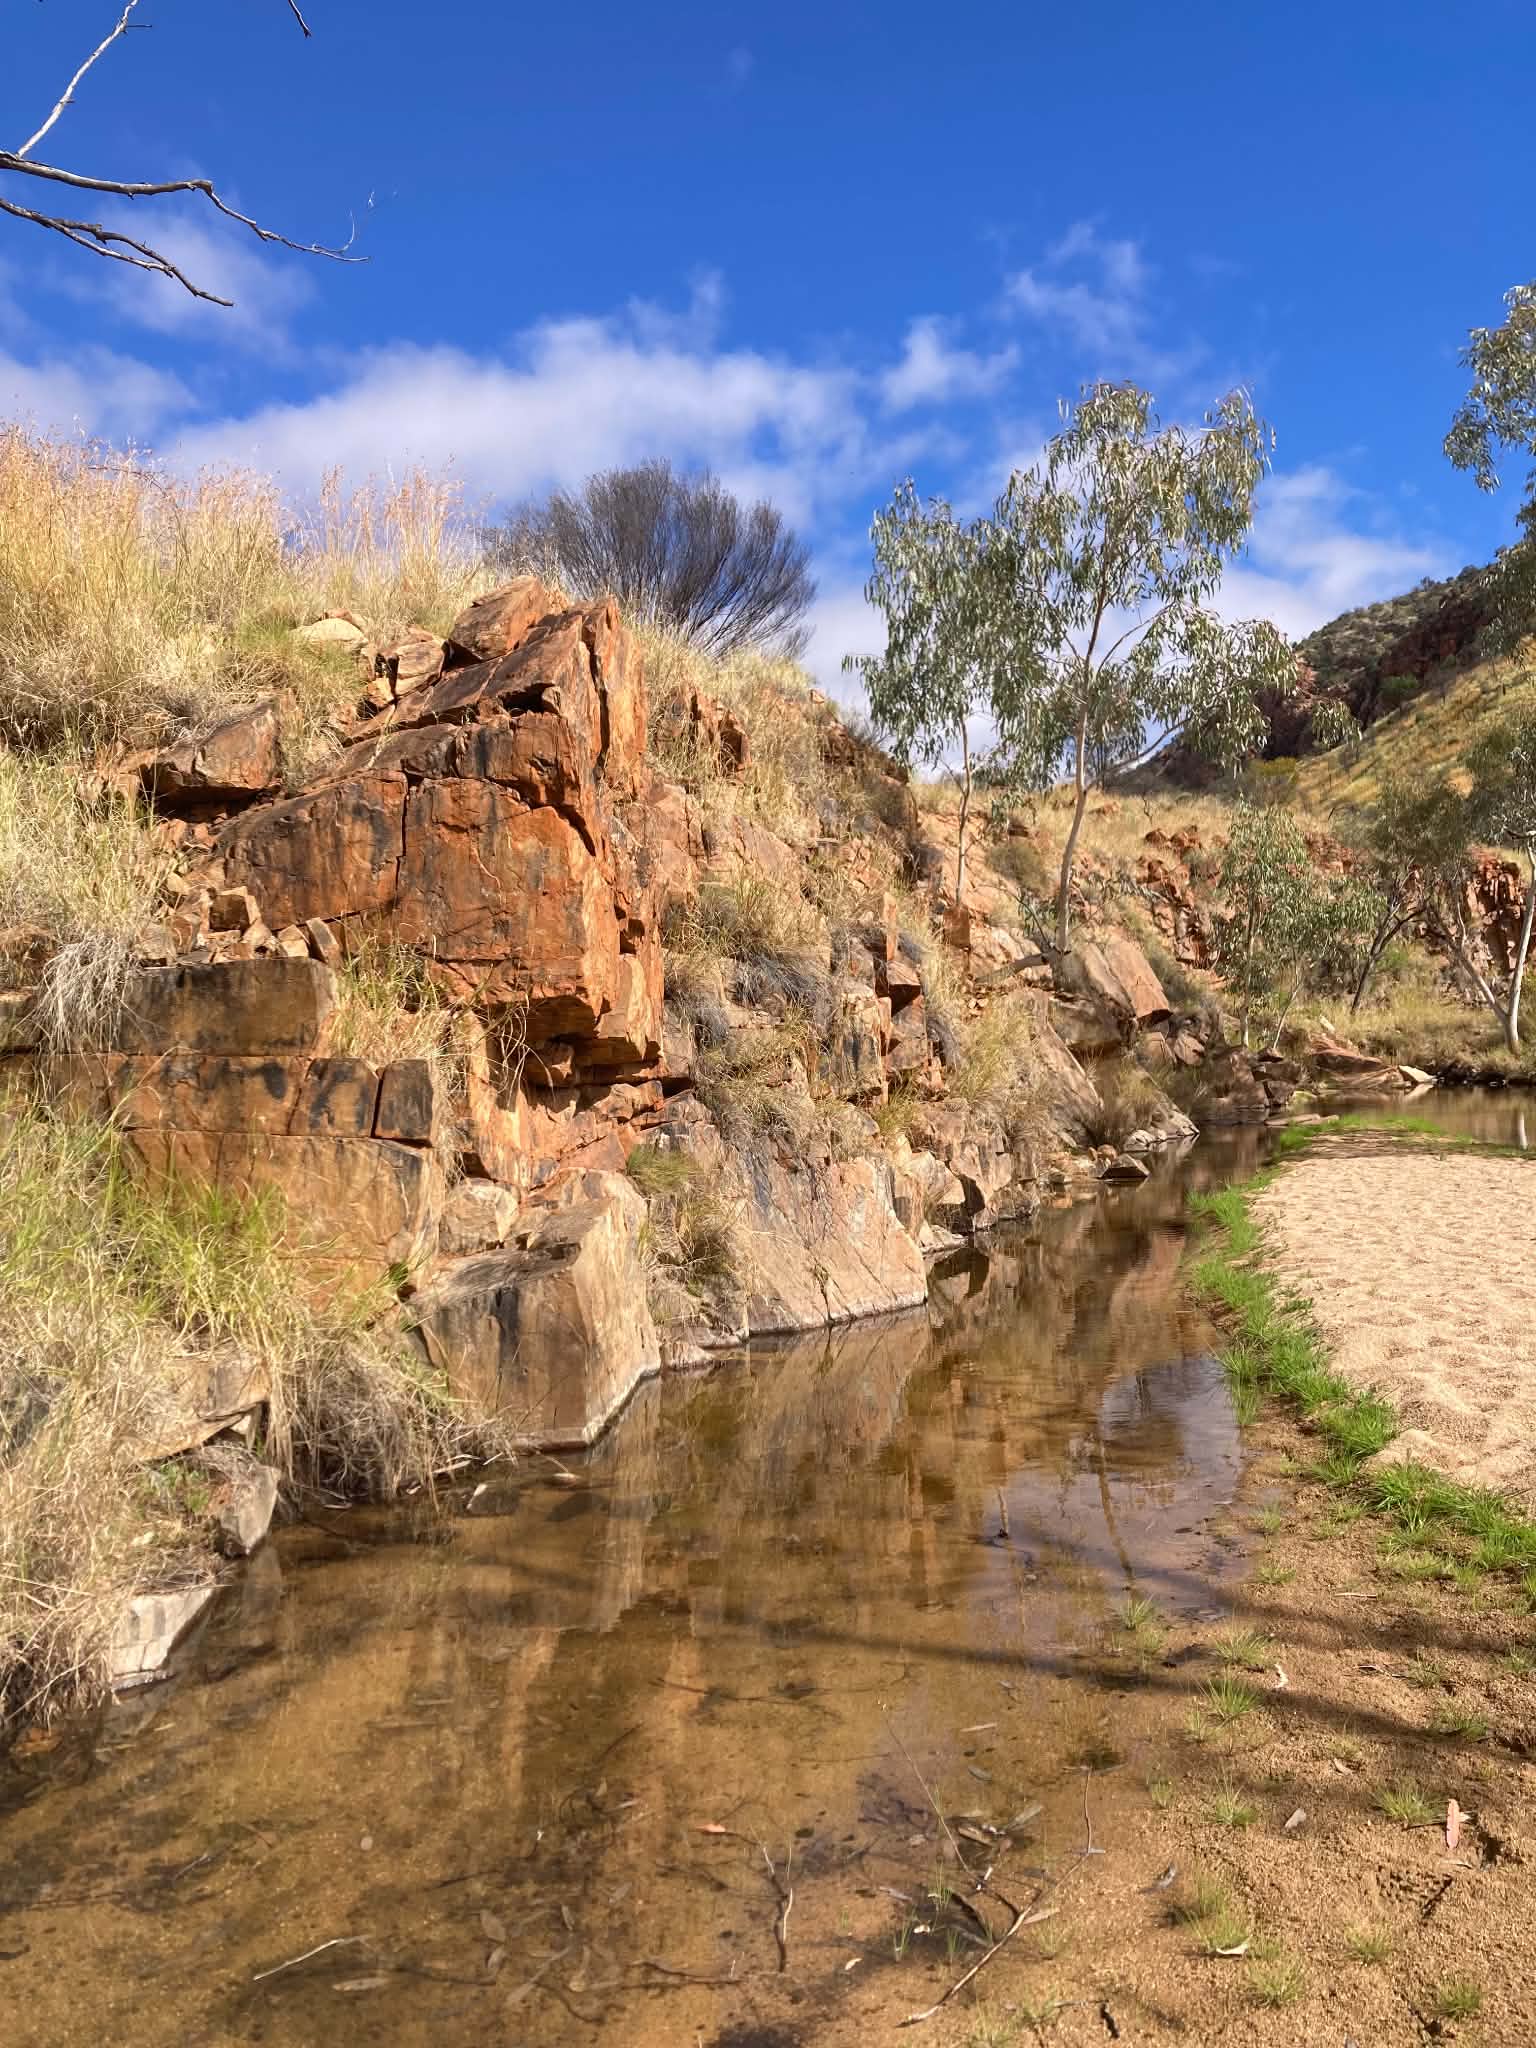
We had breakfast before heading off at sunrise. The start of day 3 was beautiful walking along the creek bed with rock walls on either side. As per the Chapman guidebook, there is a Dreaming story about the creek and it is considered a sacred site, and you must walk respectfully through the creek.
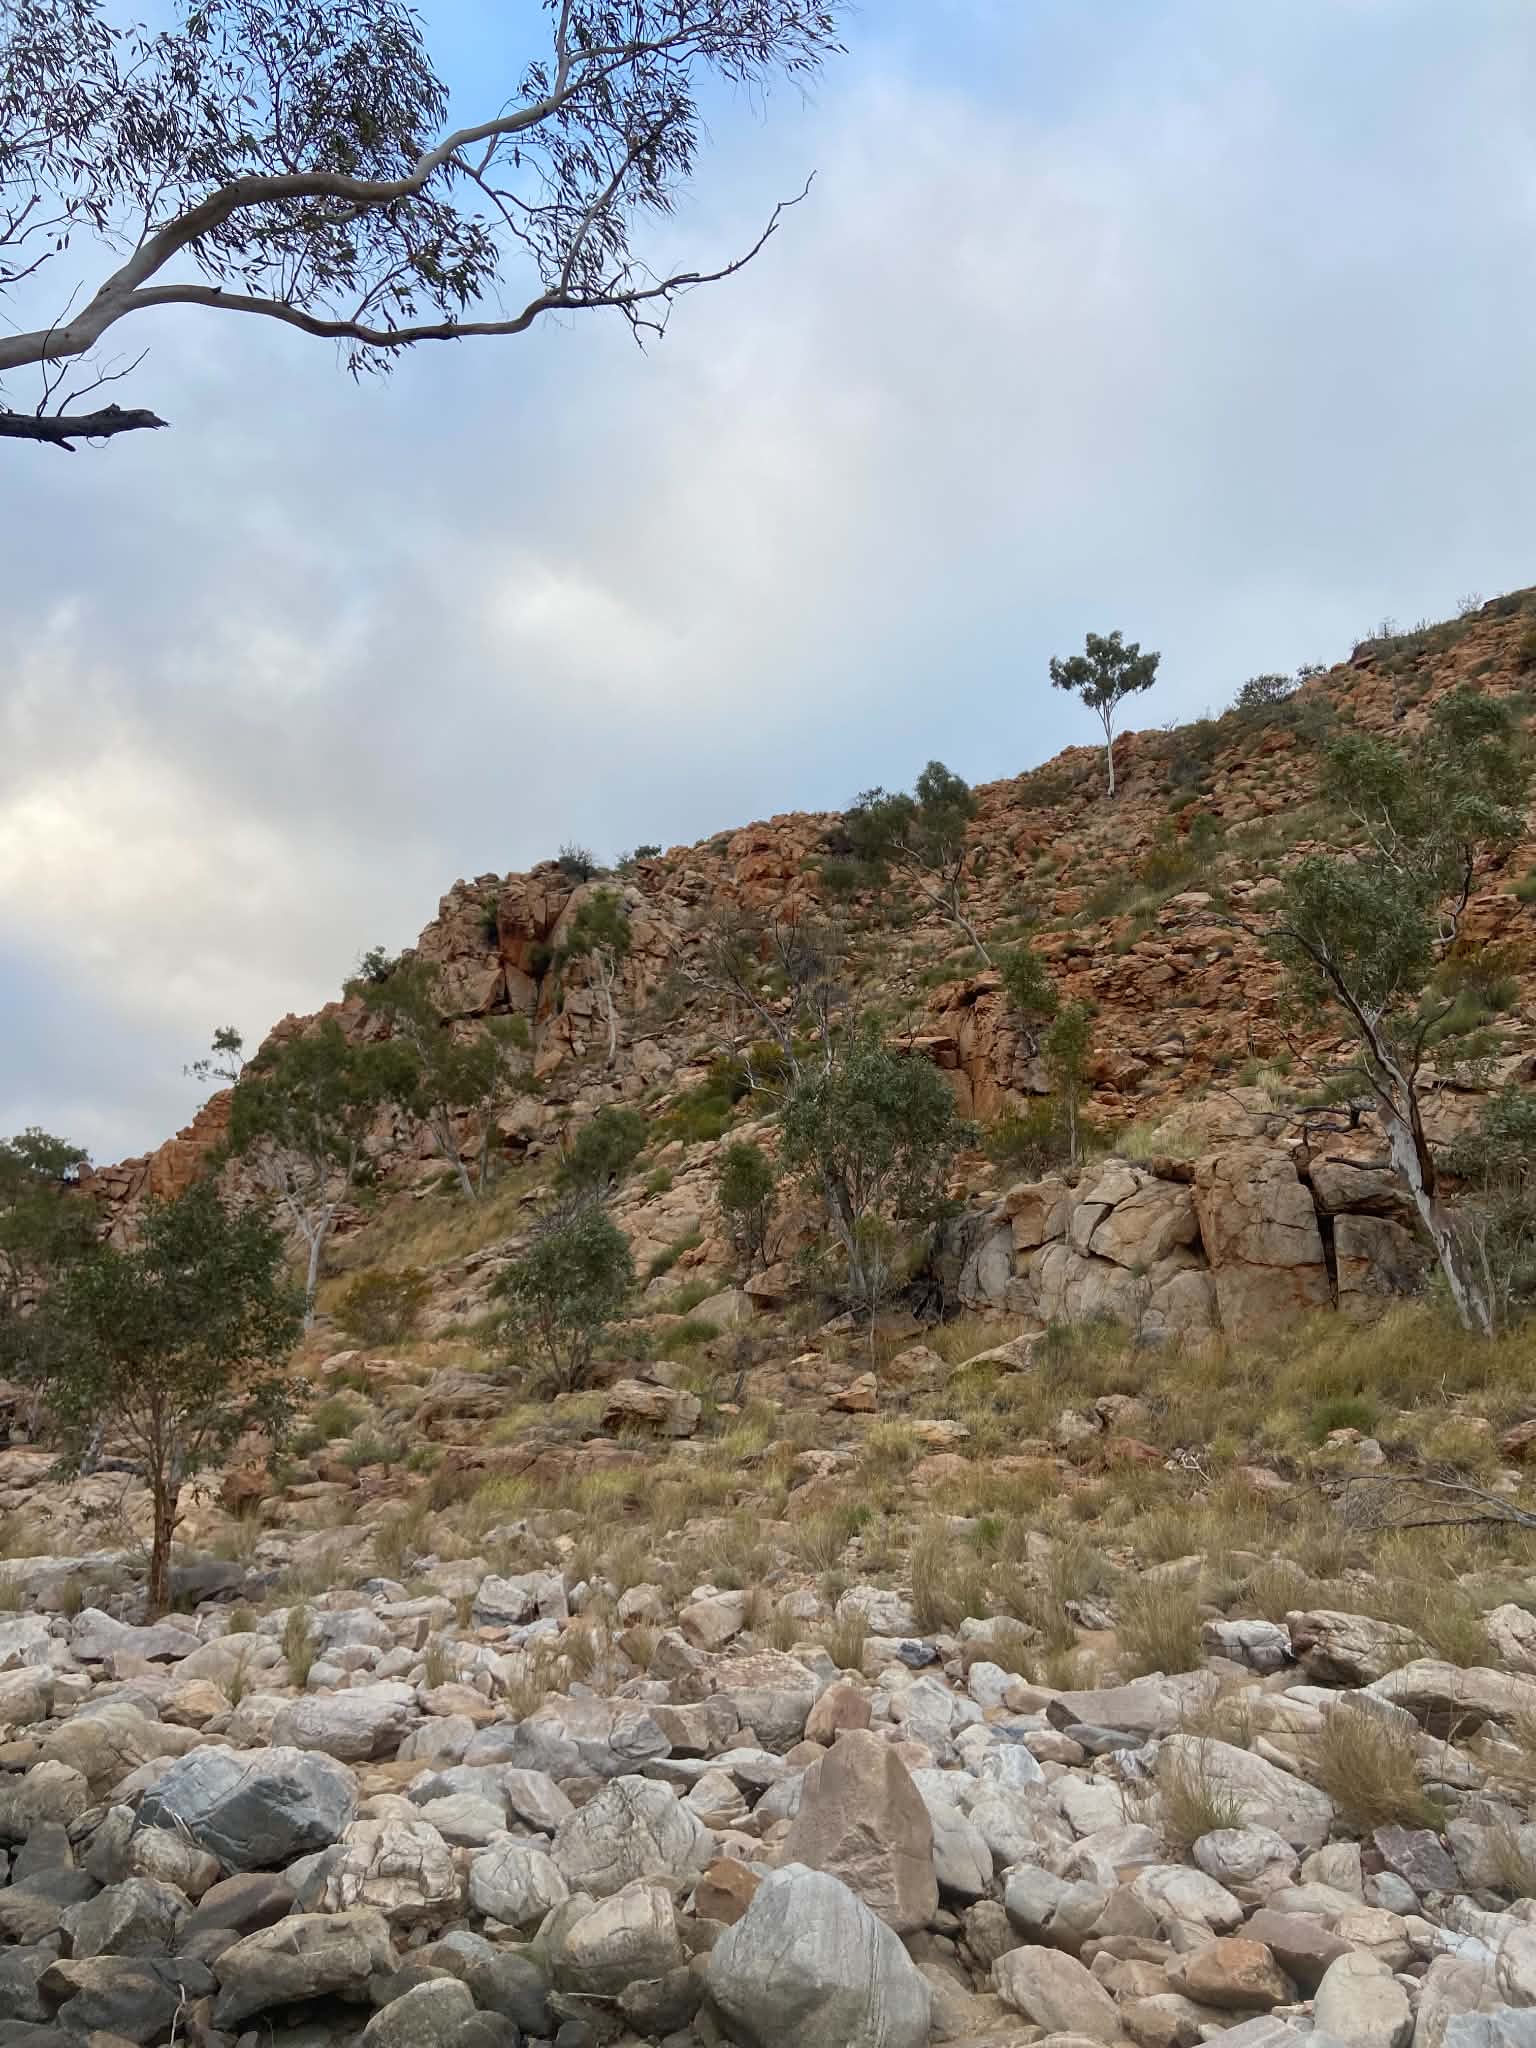
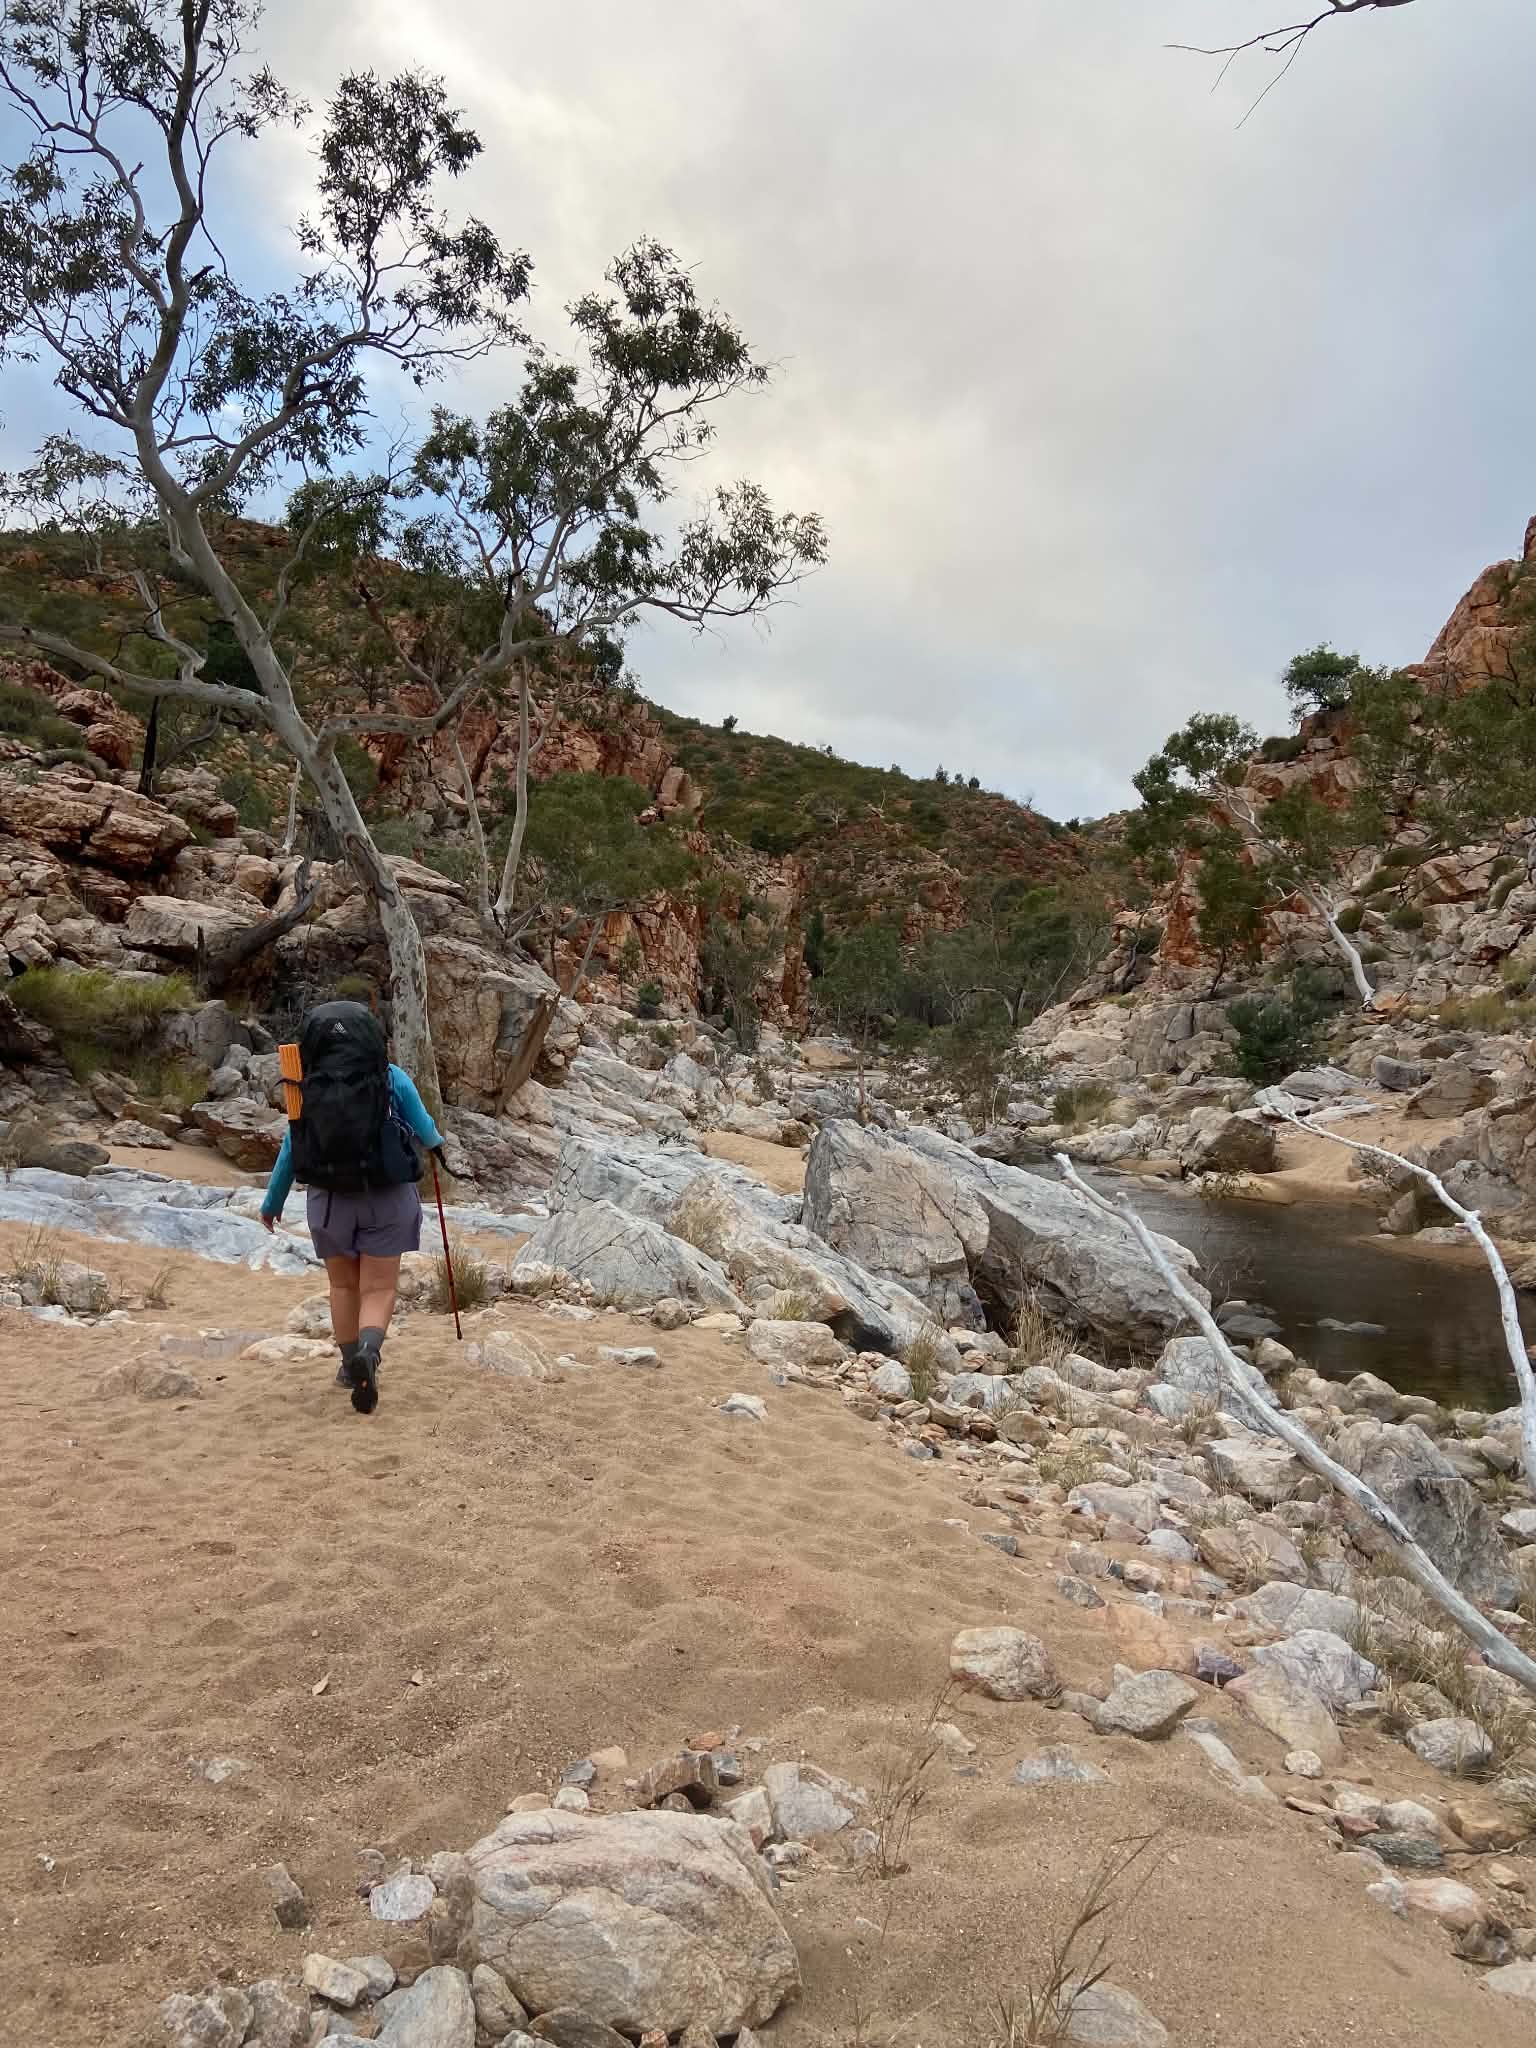
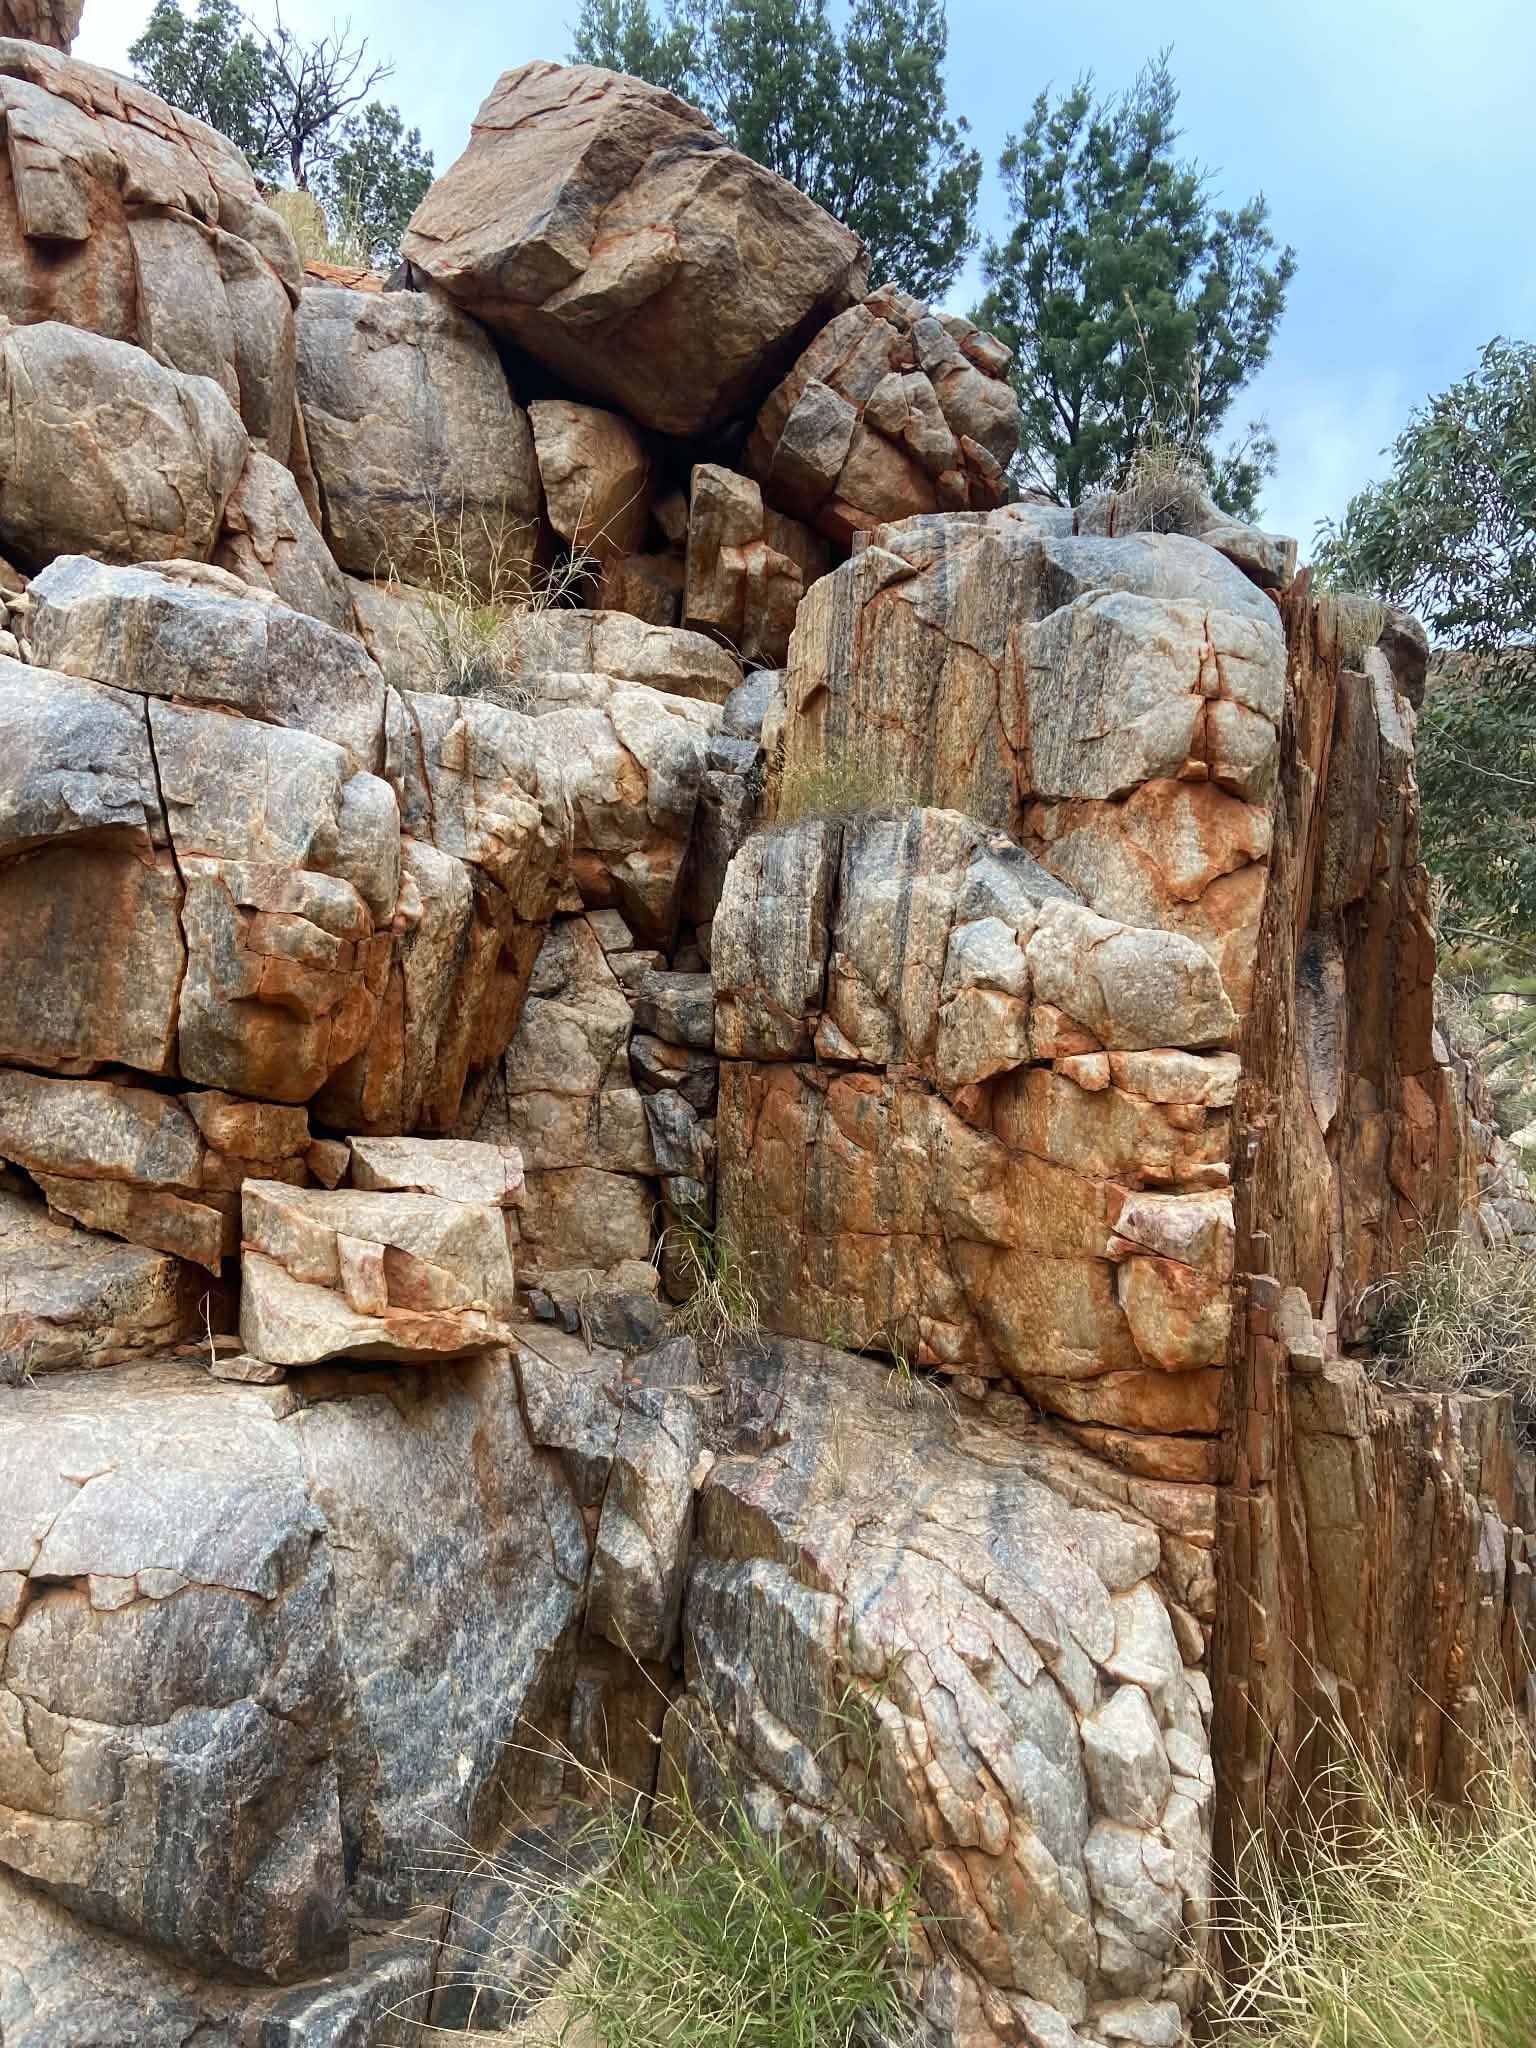
This was really our first experience of walking in a gorge and we appreciated time in the shade and soft sand underfoot. At the end of the creek we found Fish Hole which had a small amount of water. The track turns right and soon commences a short but steep climb up out of the gorge. We found several animal bones here that looked like a wallaby. This little section of track was originally constructed for camel trains travelling from Hermannsburg to Hamilton Downs. There are lovely views from the spur before descending back down to Jay Creek which the trail follows for a few kilometers. This section is mostly easy to follow but you do need to keep an eye out for signs and they can be a bit hidden in the creek. Eventually we came to Tangentyere Junction where we had morning tea and opted for the low route. We heard from others that they enjoyed the high route, but there was a very steep and sketchy descent. Given there is lots of up and down just before Standley Chasm, we were glad to have taken the low route and enjoyed our time in the gorges.
The latter half of the day was lots of rocky creek walking which was sore on the feet but was very pretty, and nice to be in the shade. Around Cyad Creek there was a section with short but steep scramble which we really enjoyed. Some people reported moving a lot slower in the scramble sections, but we found ourselves moving quickly through these and enjoyed the variation in walking. At one point, you scramble up a waterfall and sidle across which is no easy feat with a 20kg pack.
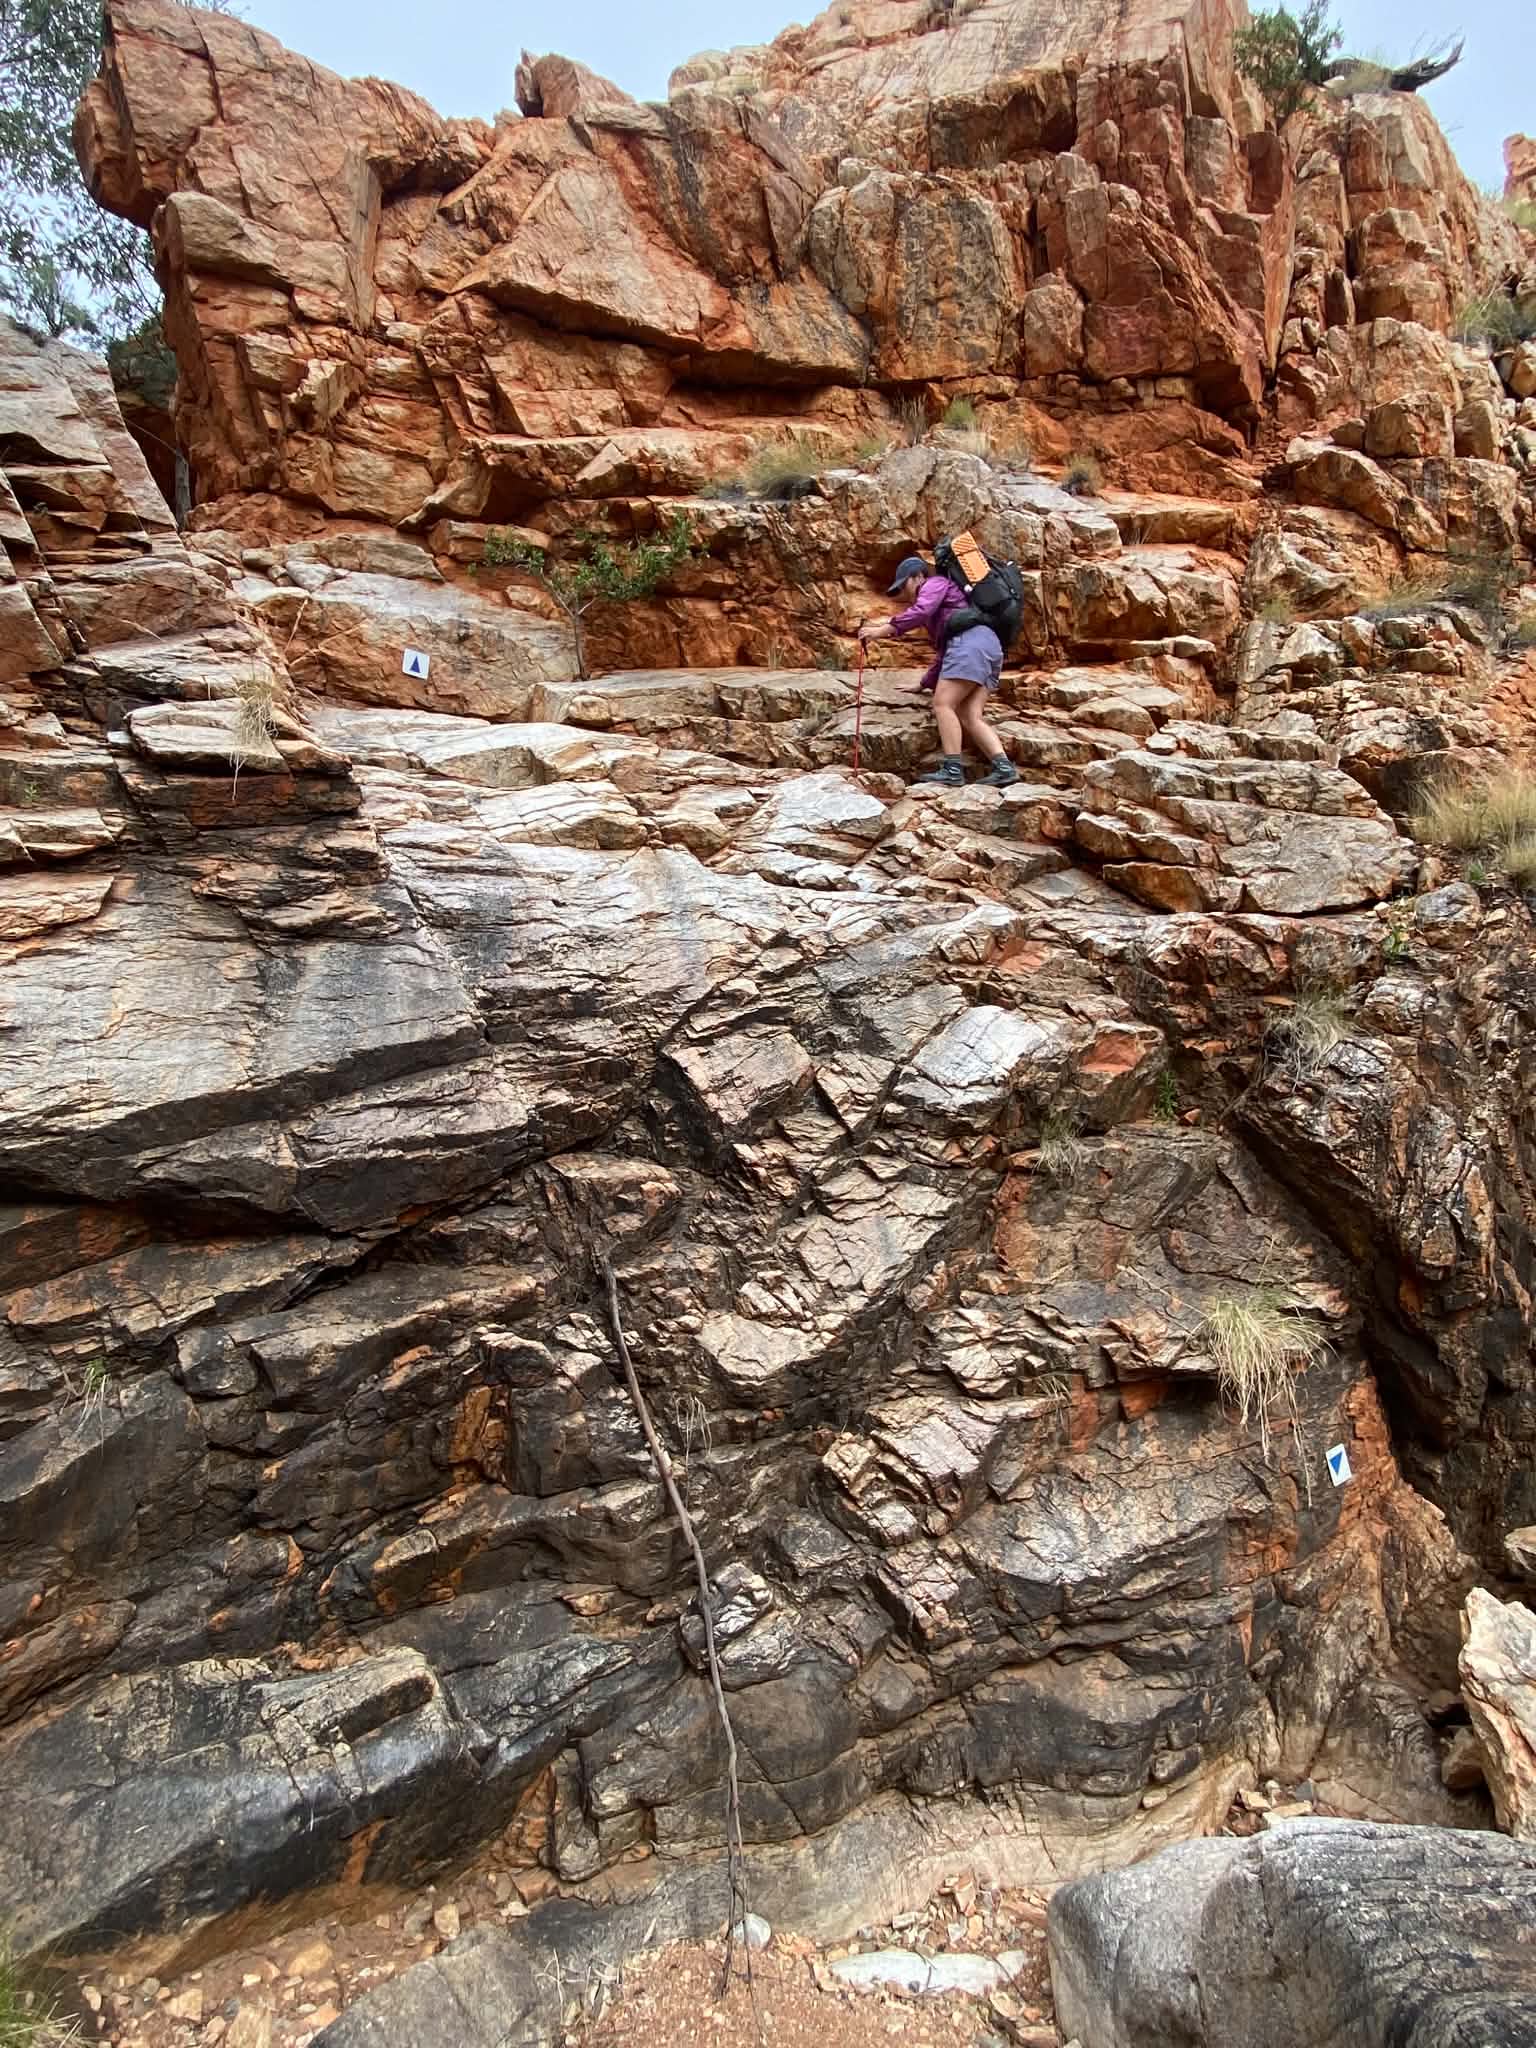
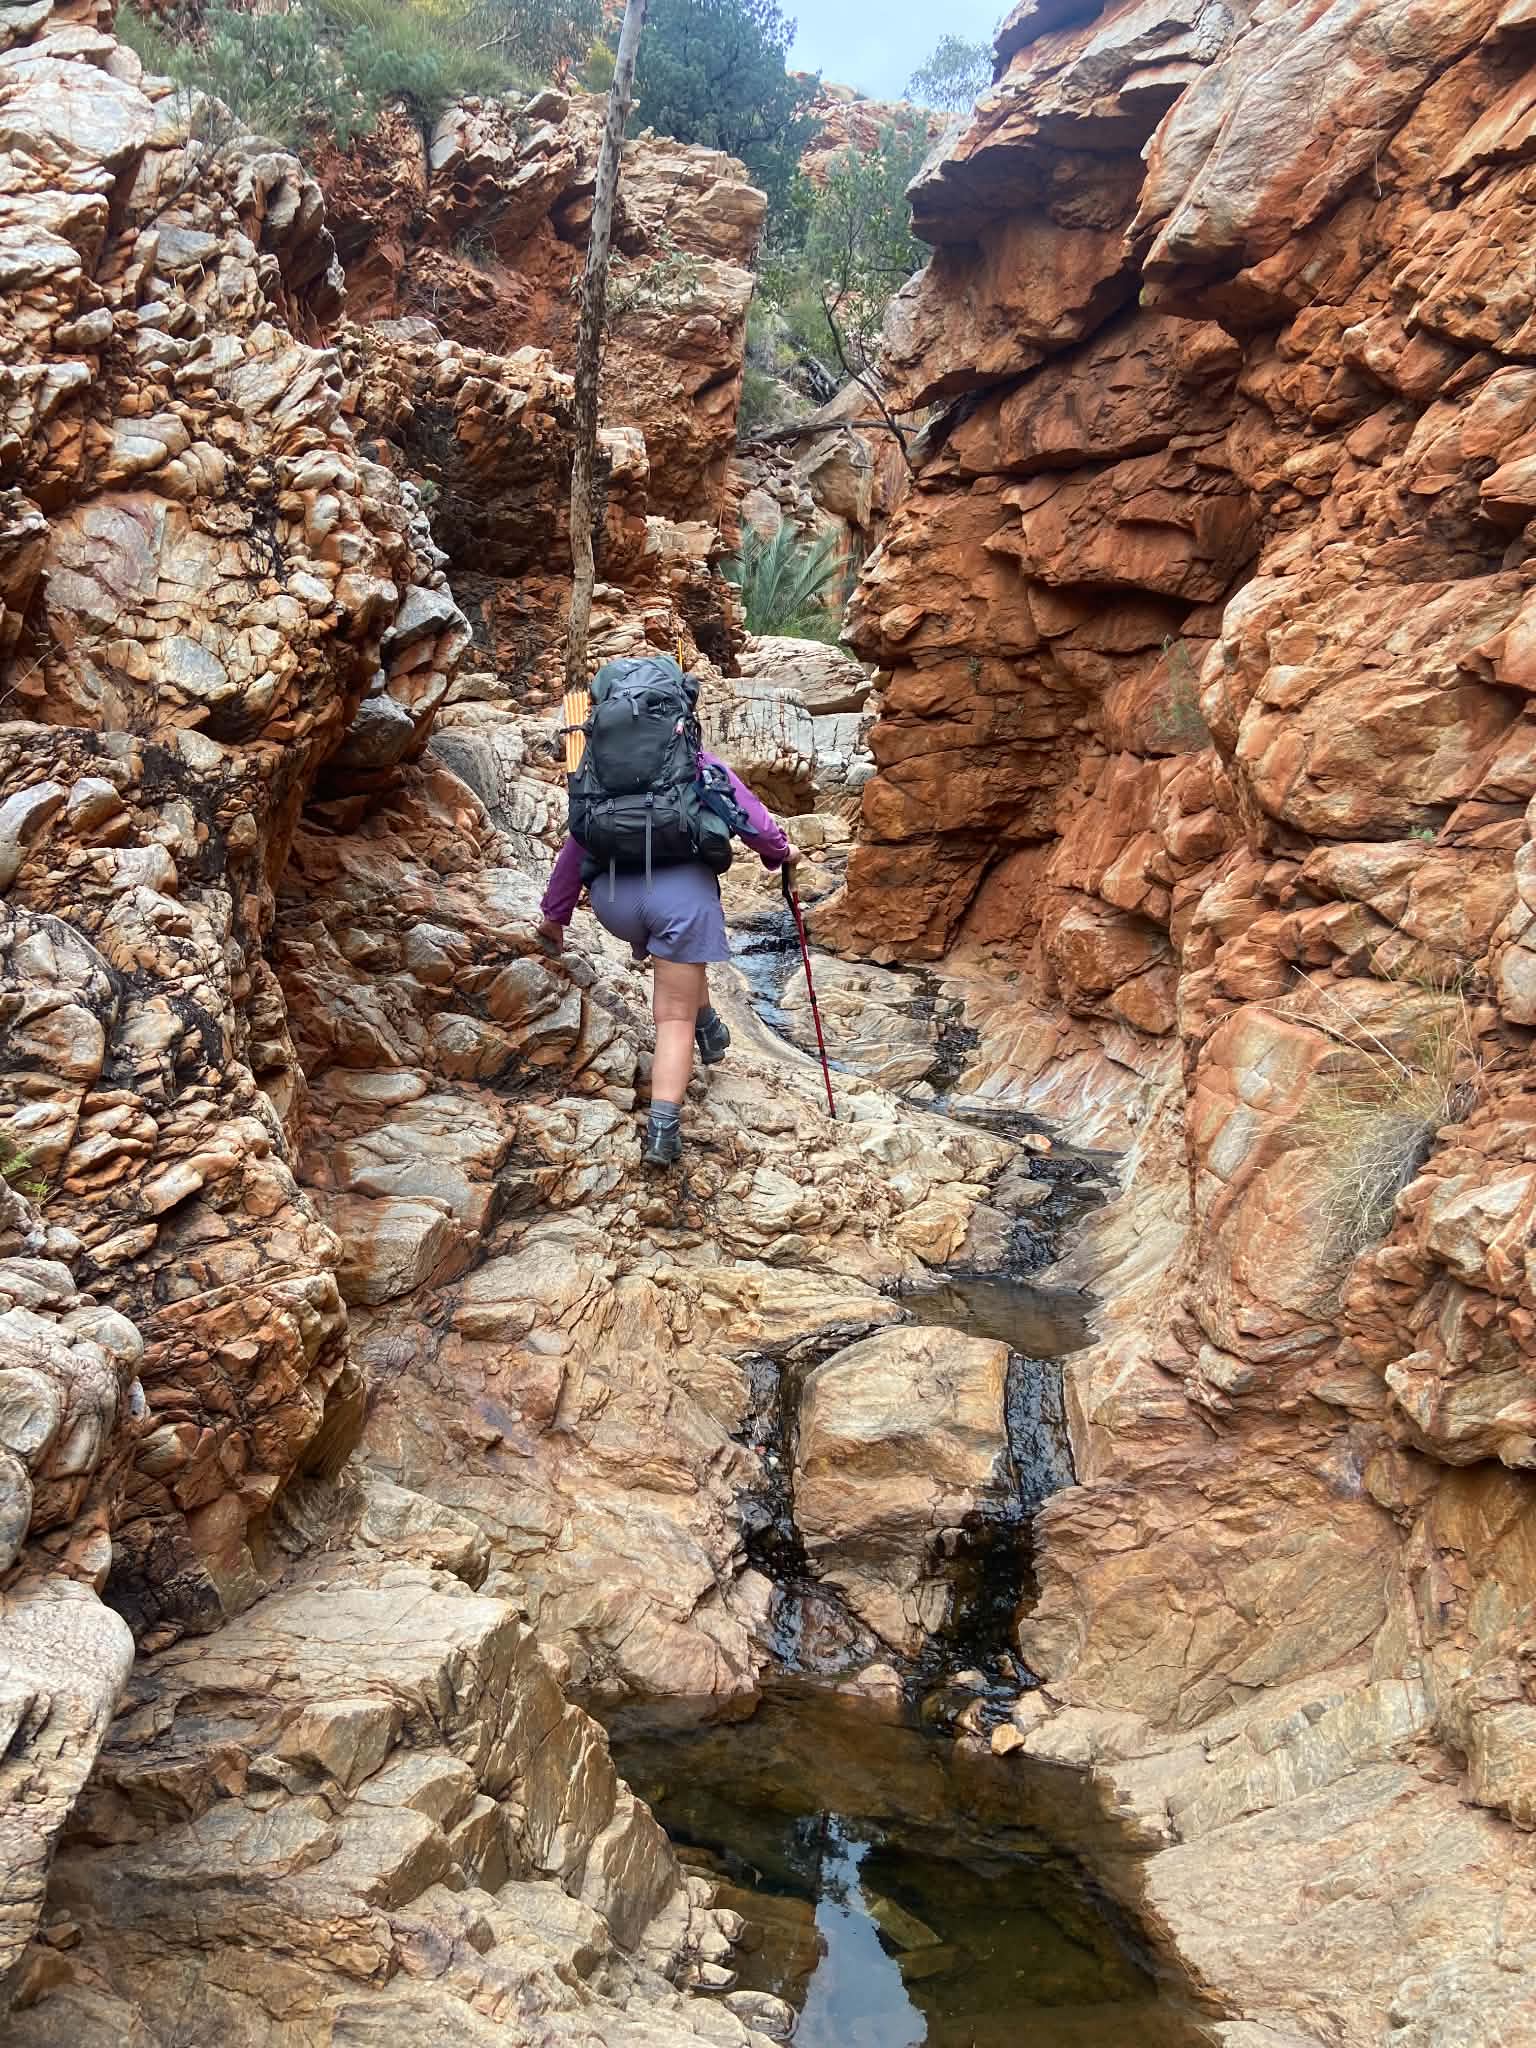
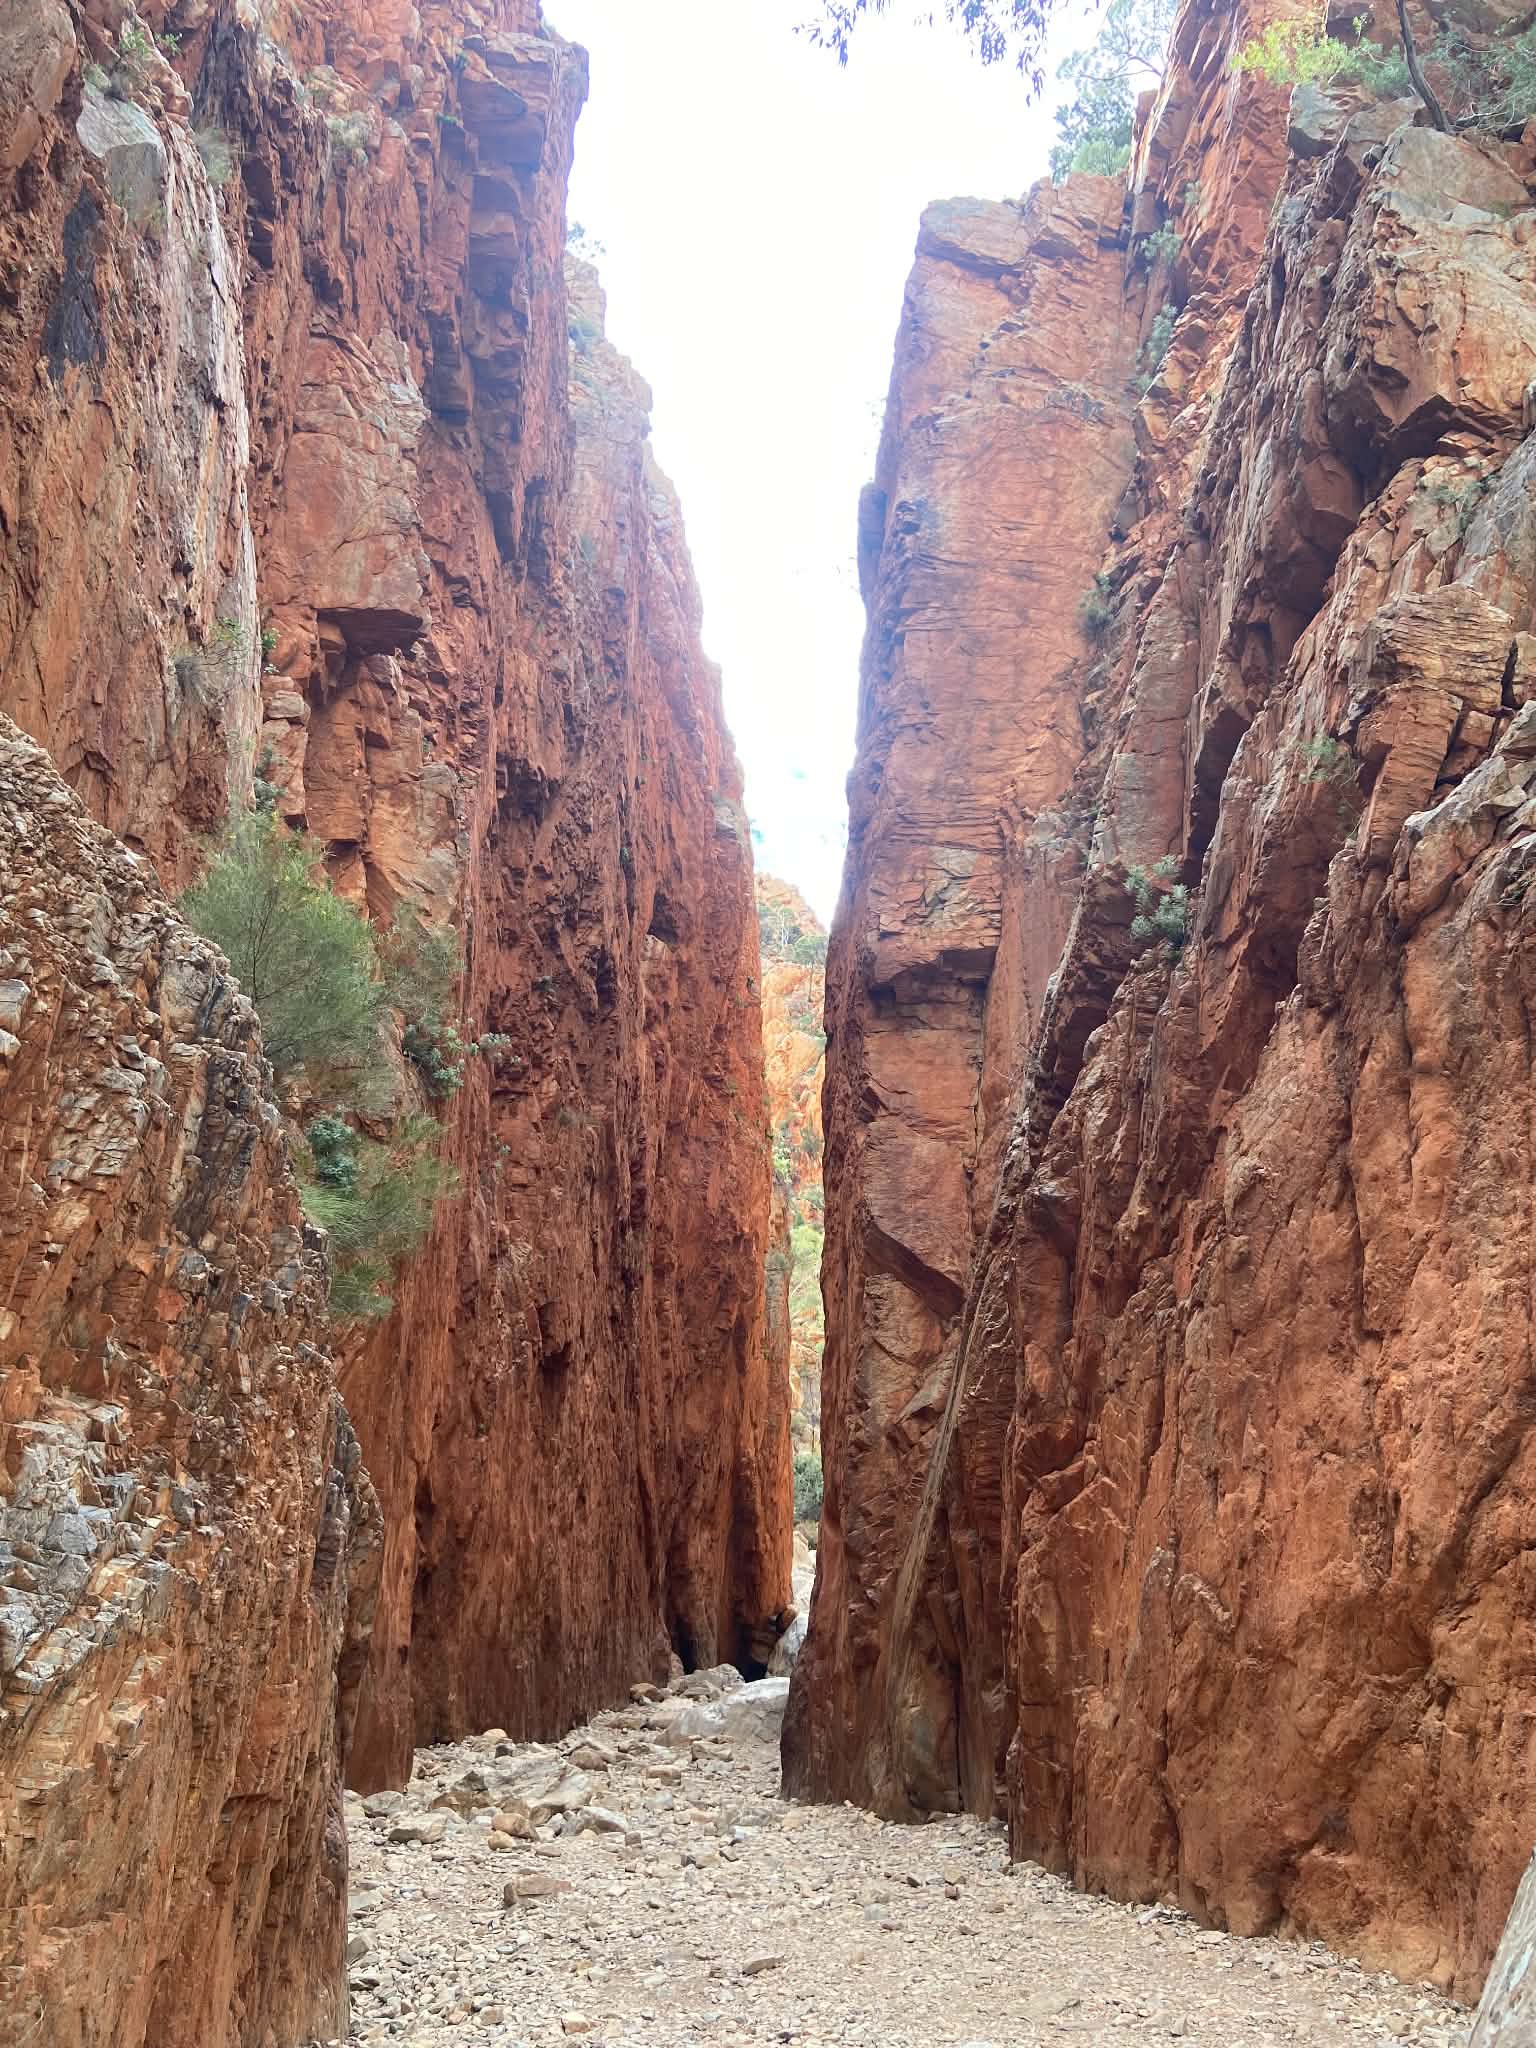
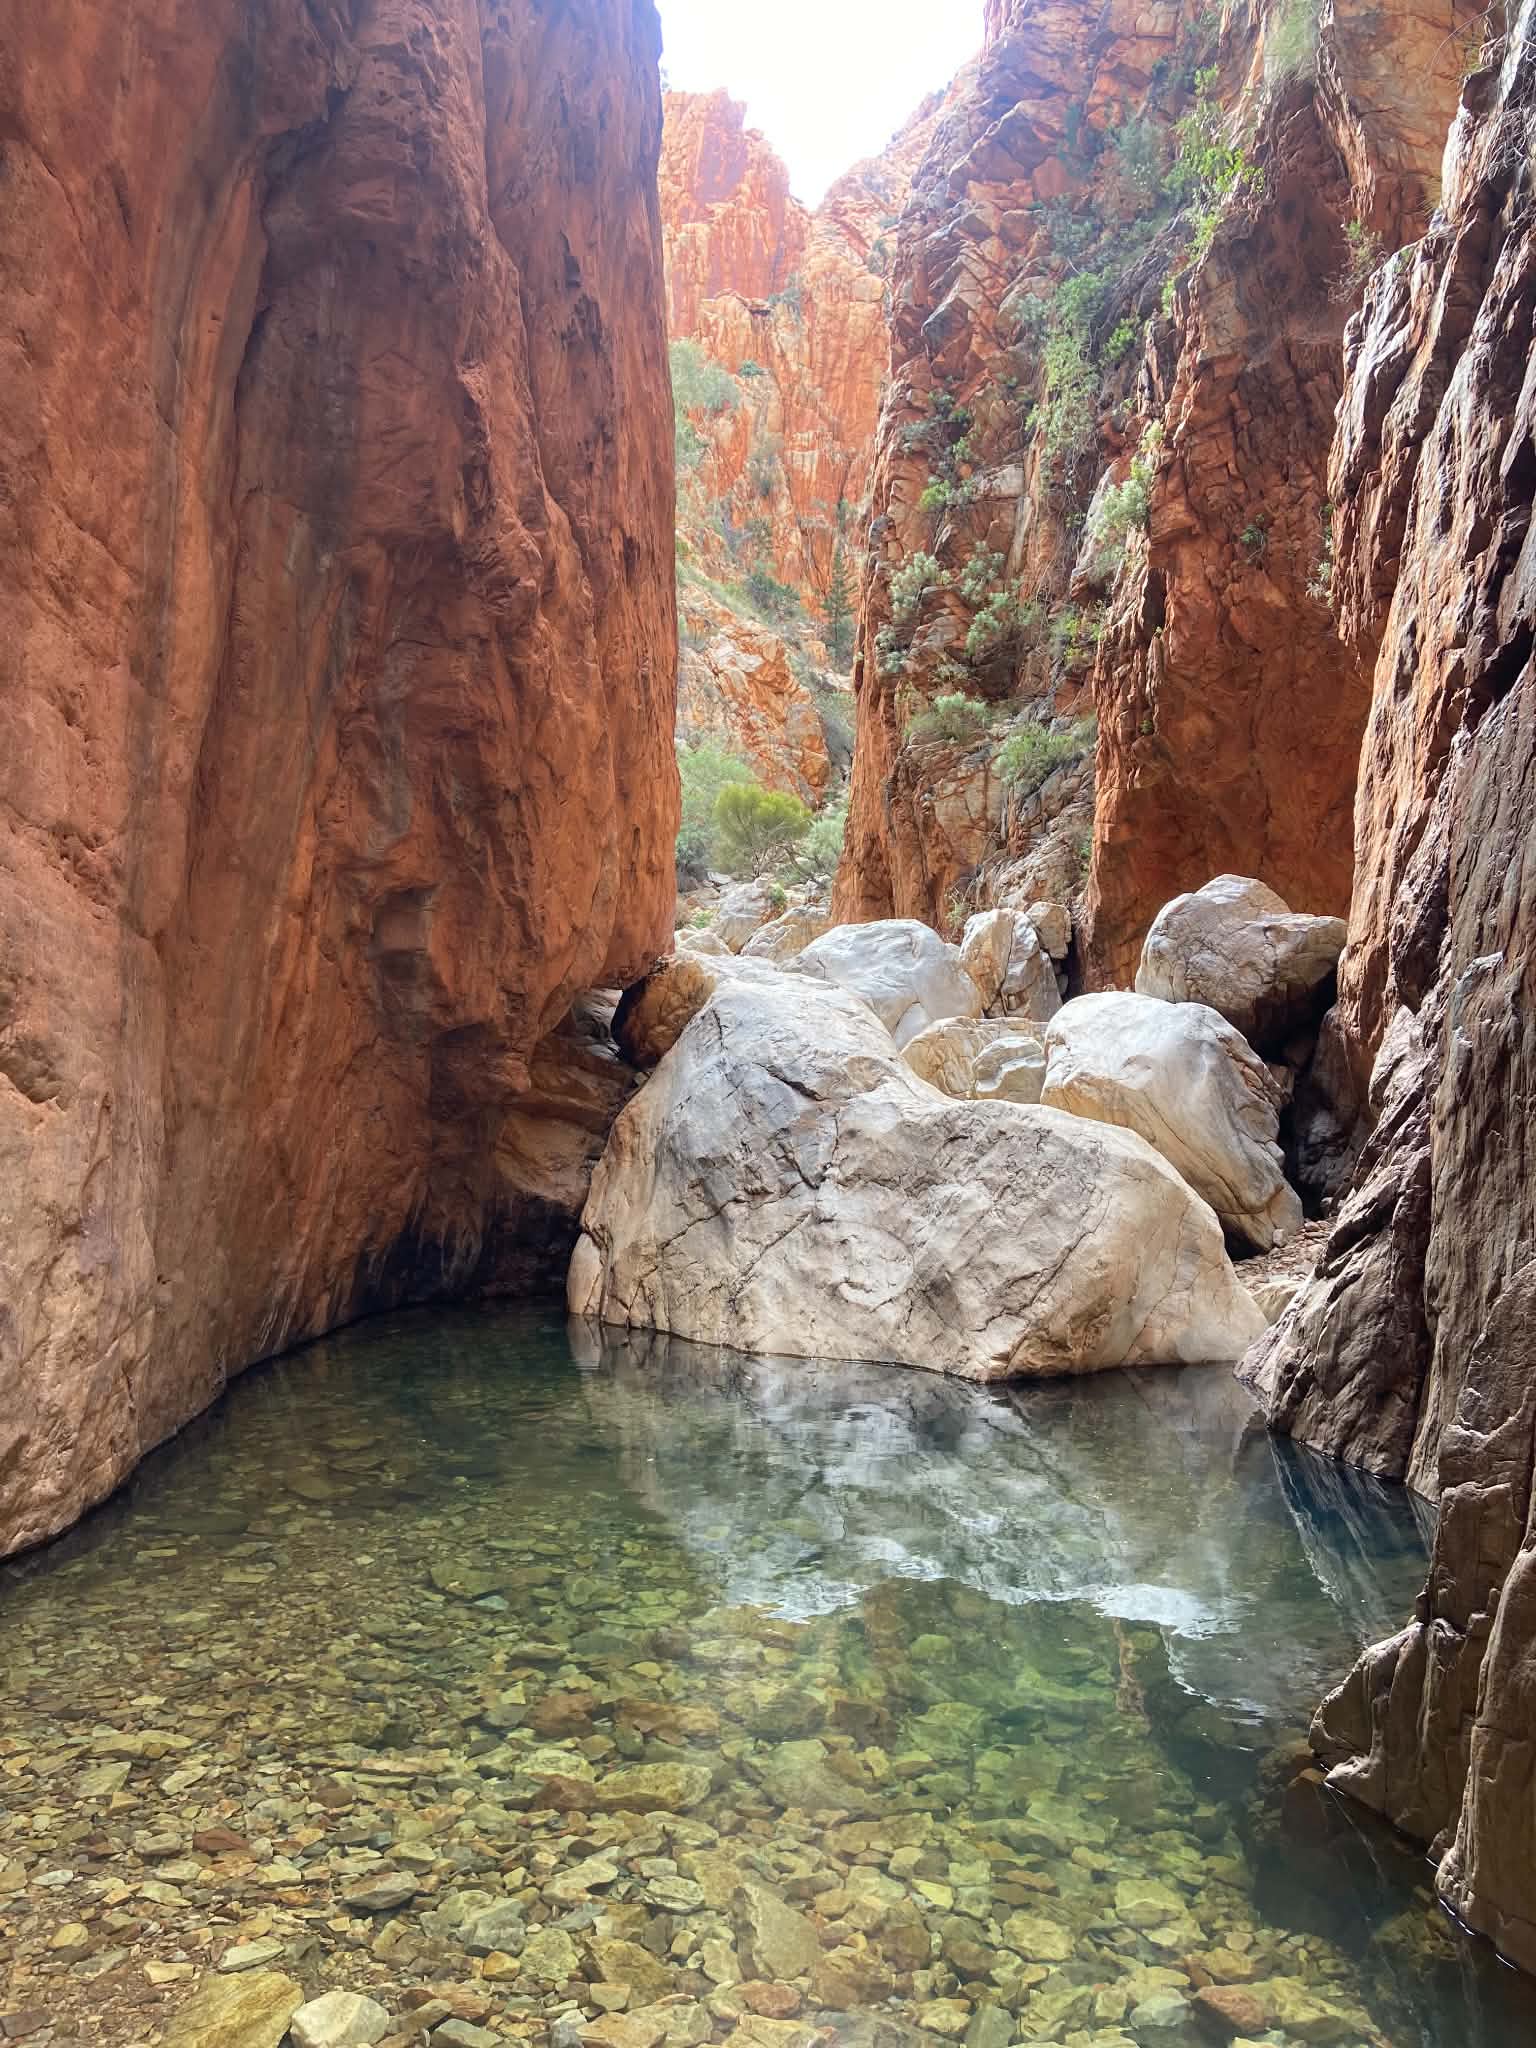
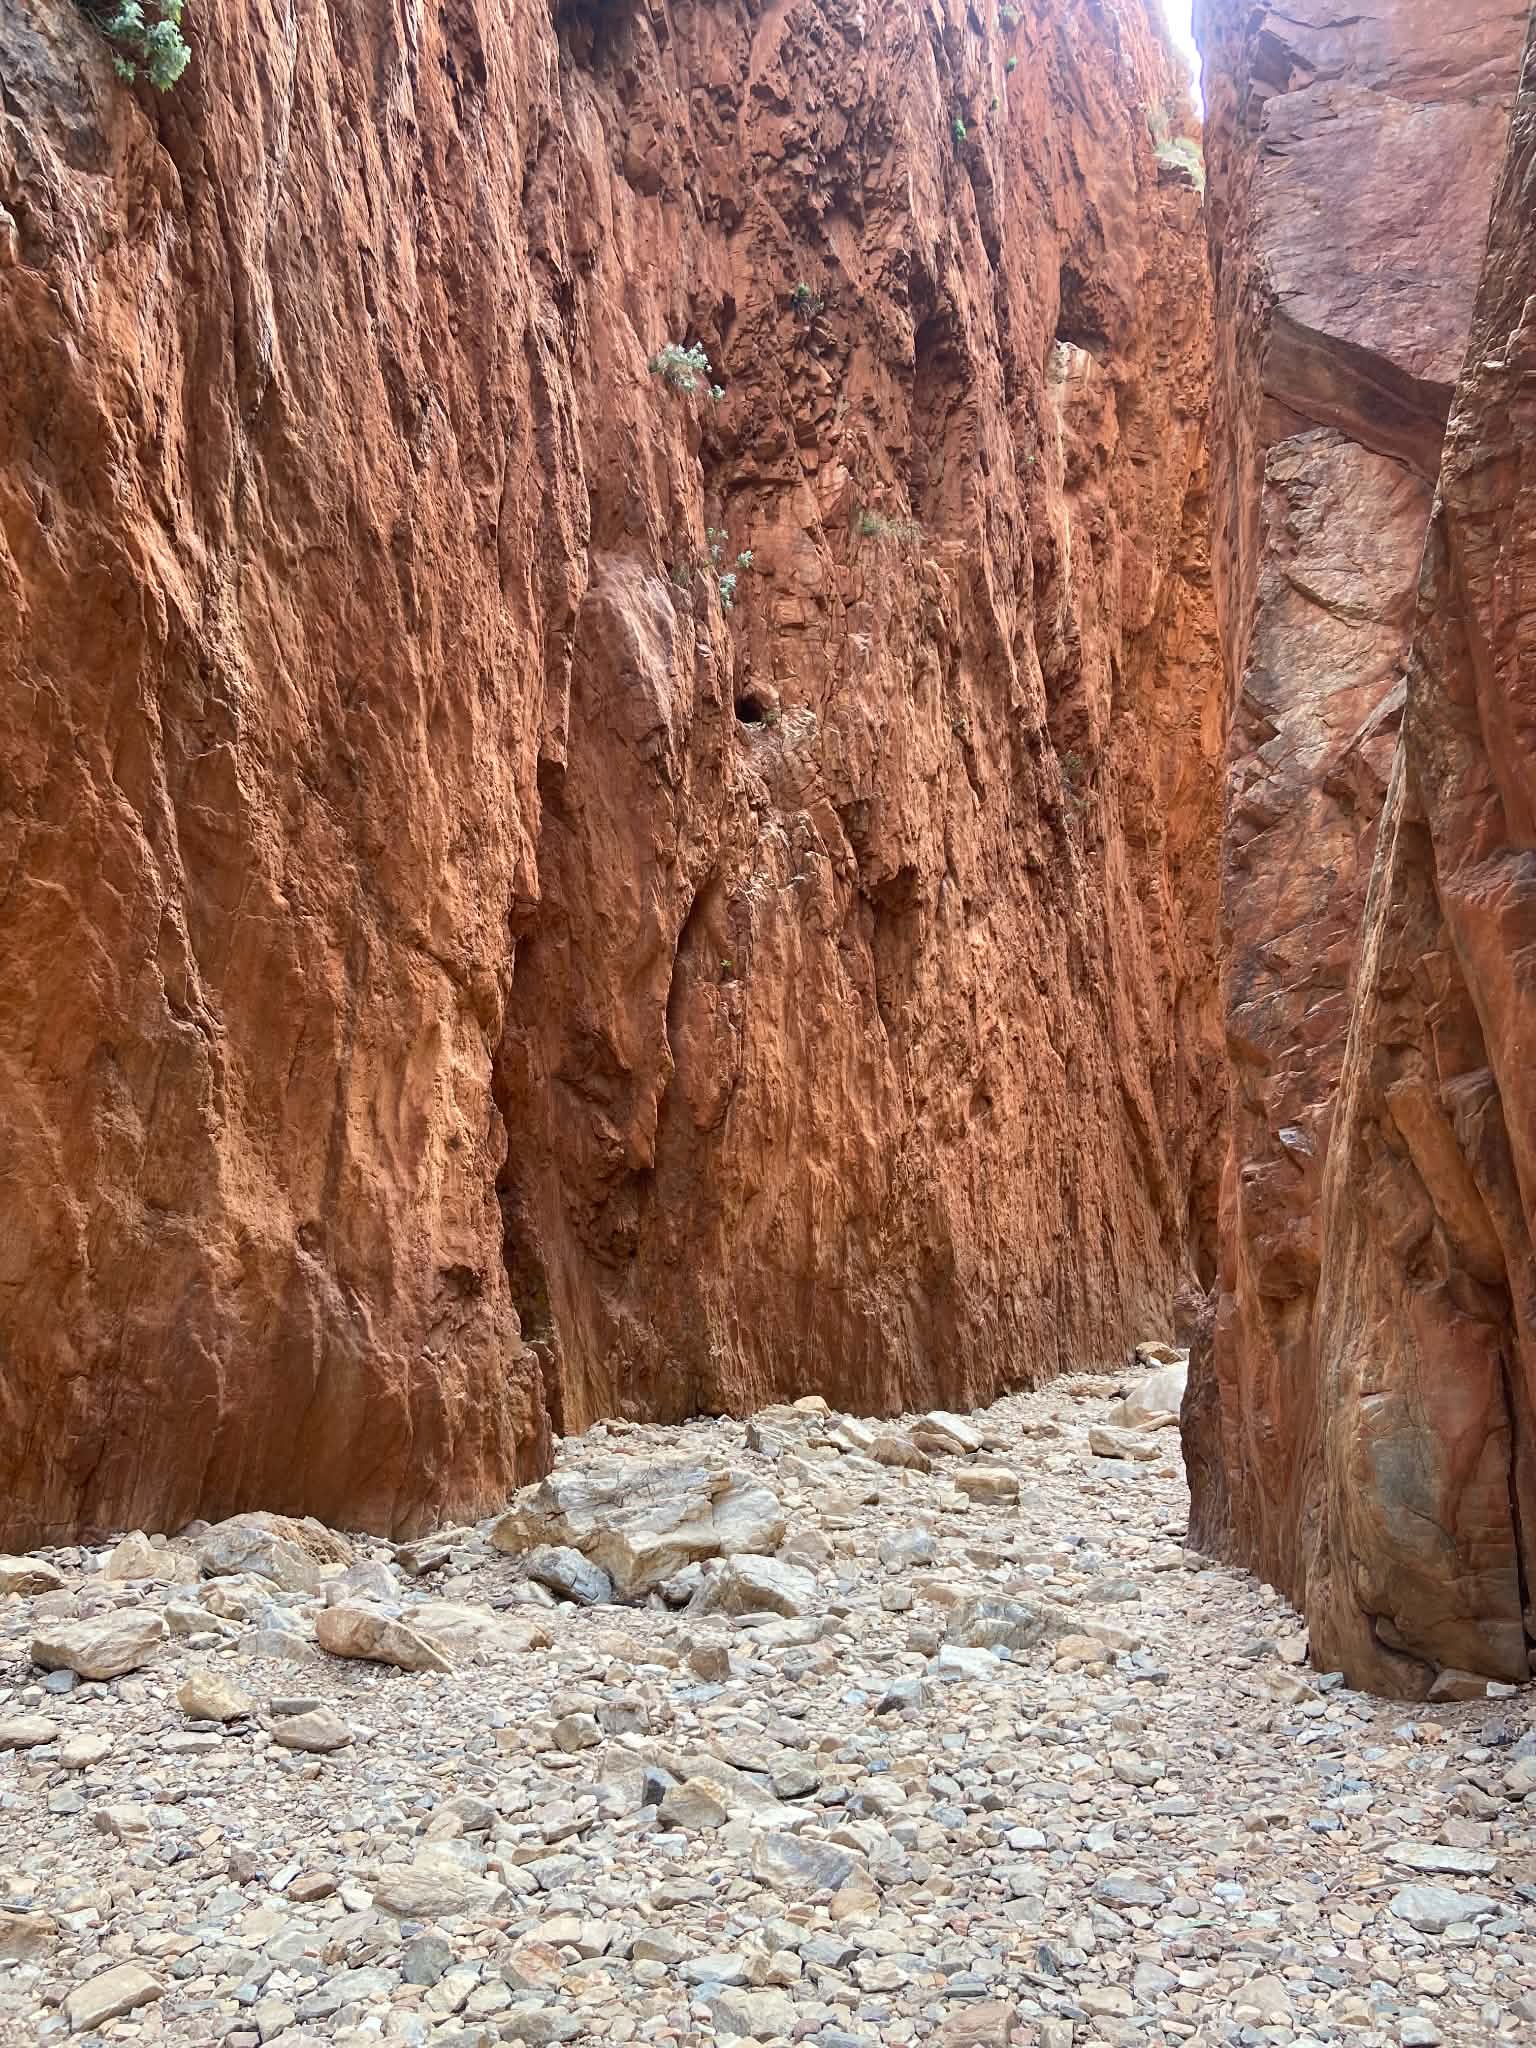
As we approached Standley Chasm, there was not one, but two large and steep ascents and descents. This is mostly on steps and is a solid workout for the legs. After making it up, down and up the first, we were sadly disappointed to see another big climb and descent in our future. Eventually we made the final steep descent down to the basin, where we dropped our hiking packs and walked packless to check out Standley Chasm. It is an amazing spectacle and the colours are incredible. We then headed to the cafe where we got a hot lunch (fish and chips and a vego burger), and called family and friends.
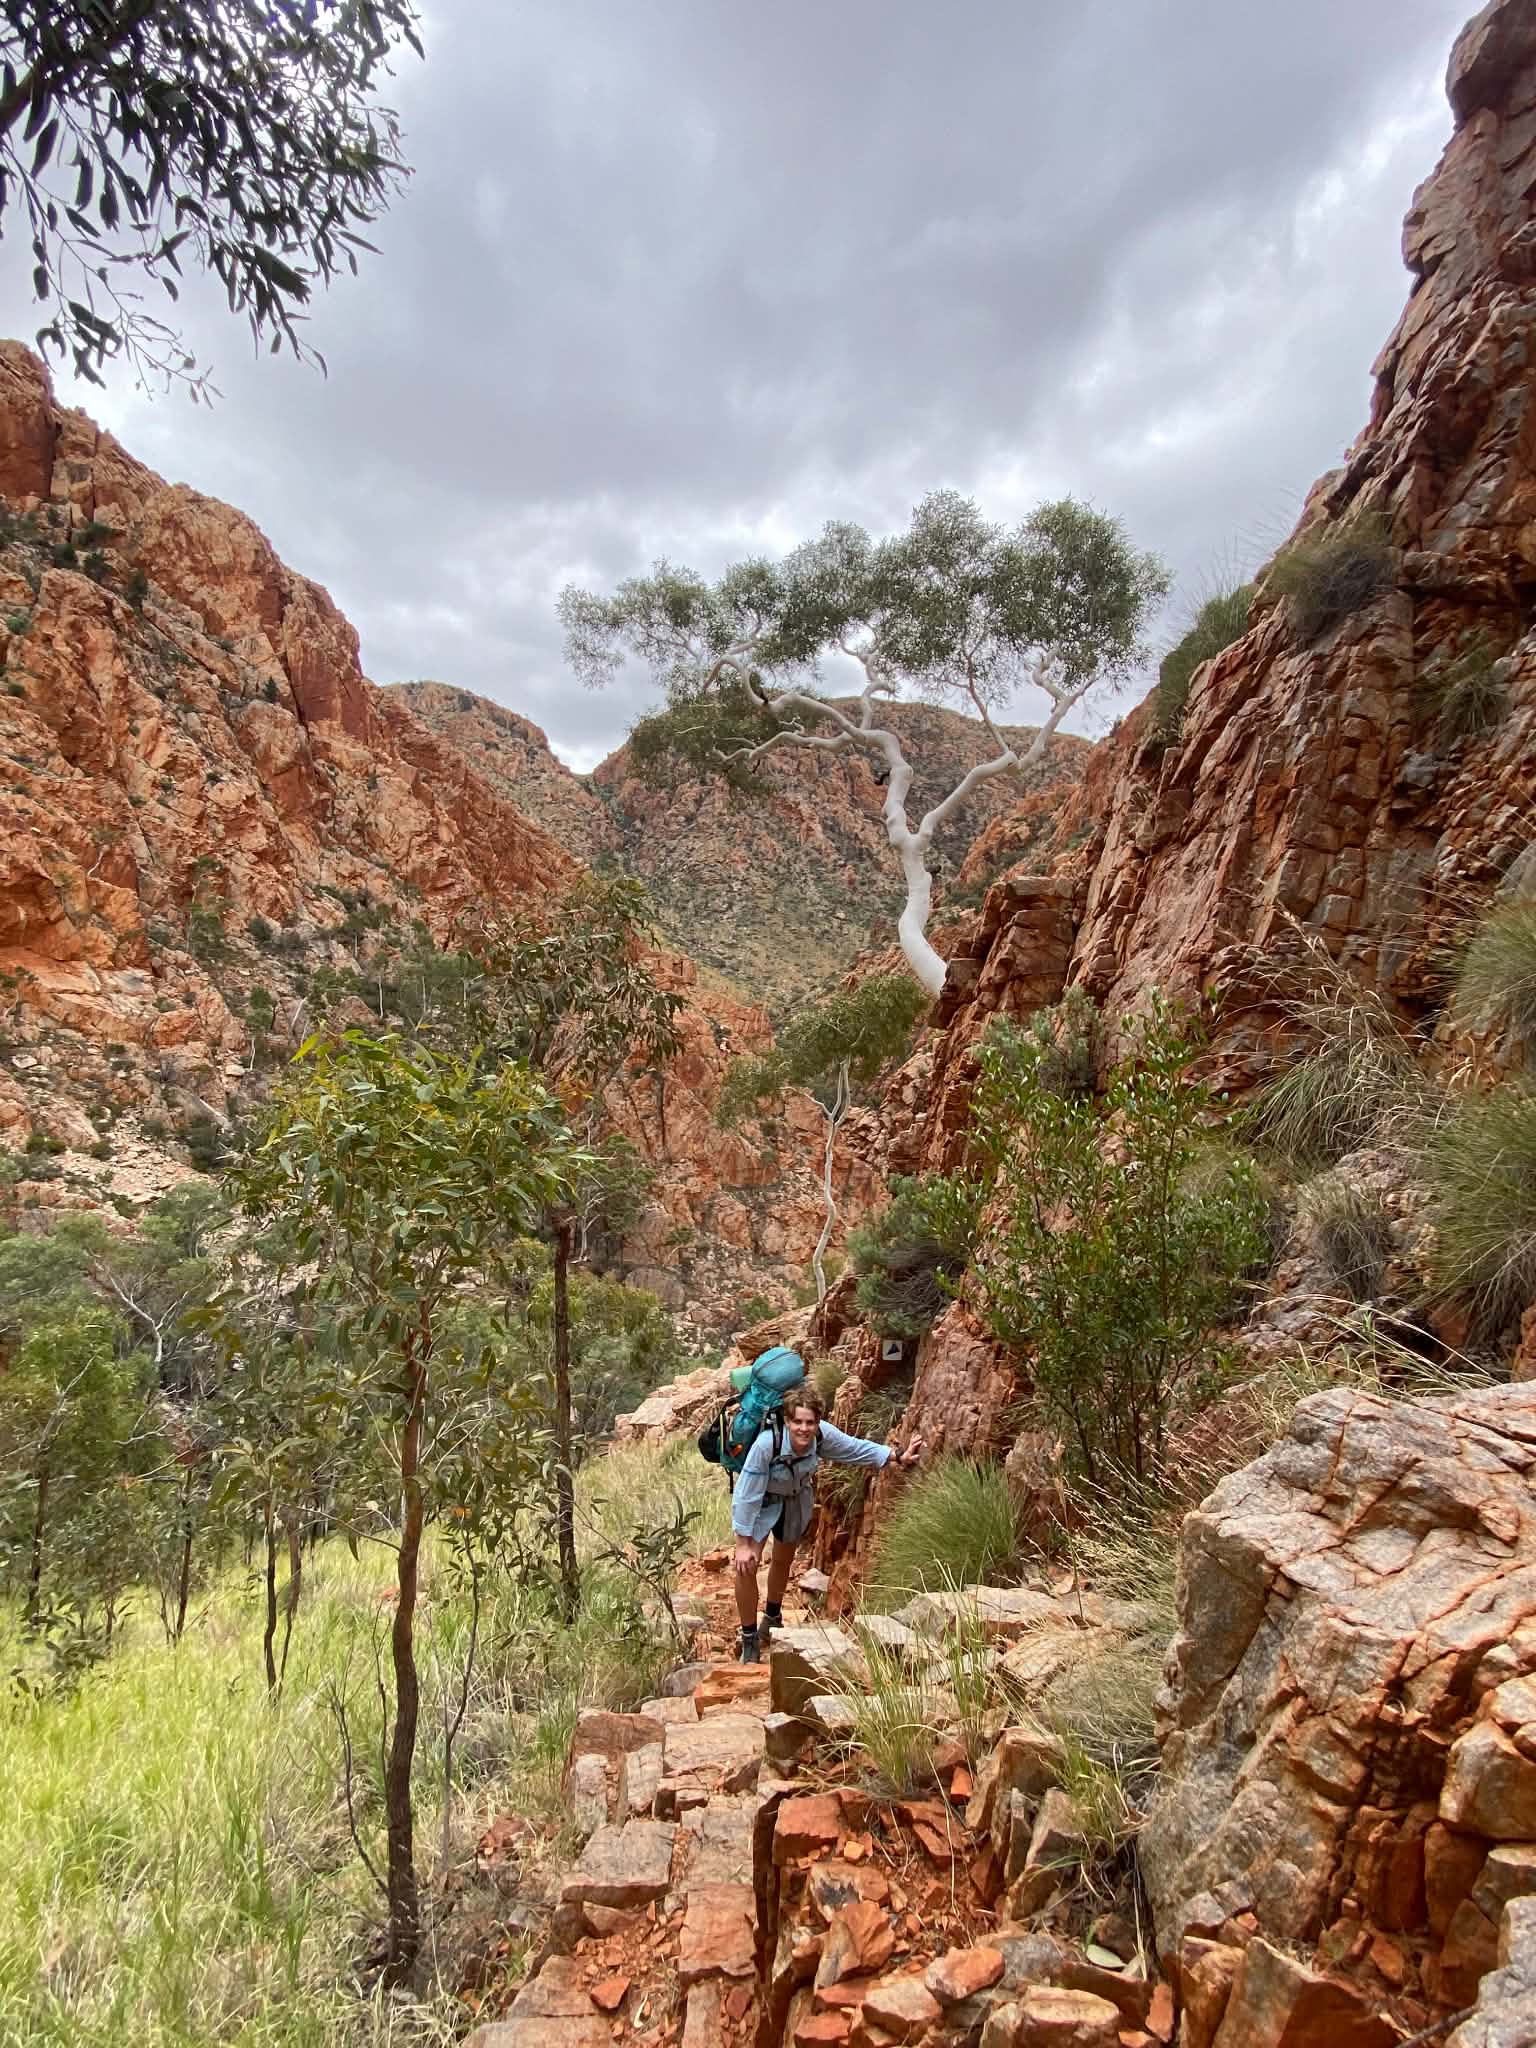
The camping at Standley Chasm is essentially on the median strip of the carpark, but it does the job and there are hot showers. It has a small shed with two showers, a kettle, sink, microwave, fridge and washing machine. We retrieved our food box, set up camp and made dinner. As we’d lost a couple of comrades, we took what we wanted from the food box and tried to give away as much of the rest as we could. We were Larapinta angels for the WA 4 who were in desperate need of chocolate, lollies and 2min noodles.
We had dinner before heading off for an early bed. The mice were running rampant at Standley Chasm, and we placed our food bags back in the food box overnight which kept everything safe.
Peaks & Pits:
Peak: Scrambling and a hot meal (that we didn’t have to cook)
Pit: Surprise extra climb at the end of the day
Day 4: Standley Chasm to Birthday Junction
Distance: 17.9km (18.2km as per Garmin)
Duration: 8.5hr (including breaks)
Highlights: Incredible views from the ridgeline, Brinkley Bluff, Stuarts Pass, Birthday Waterhole
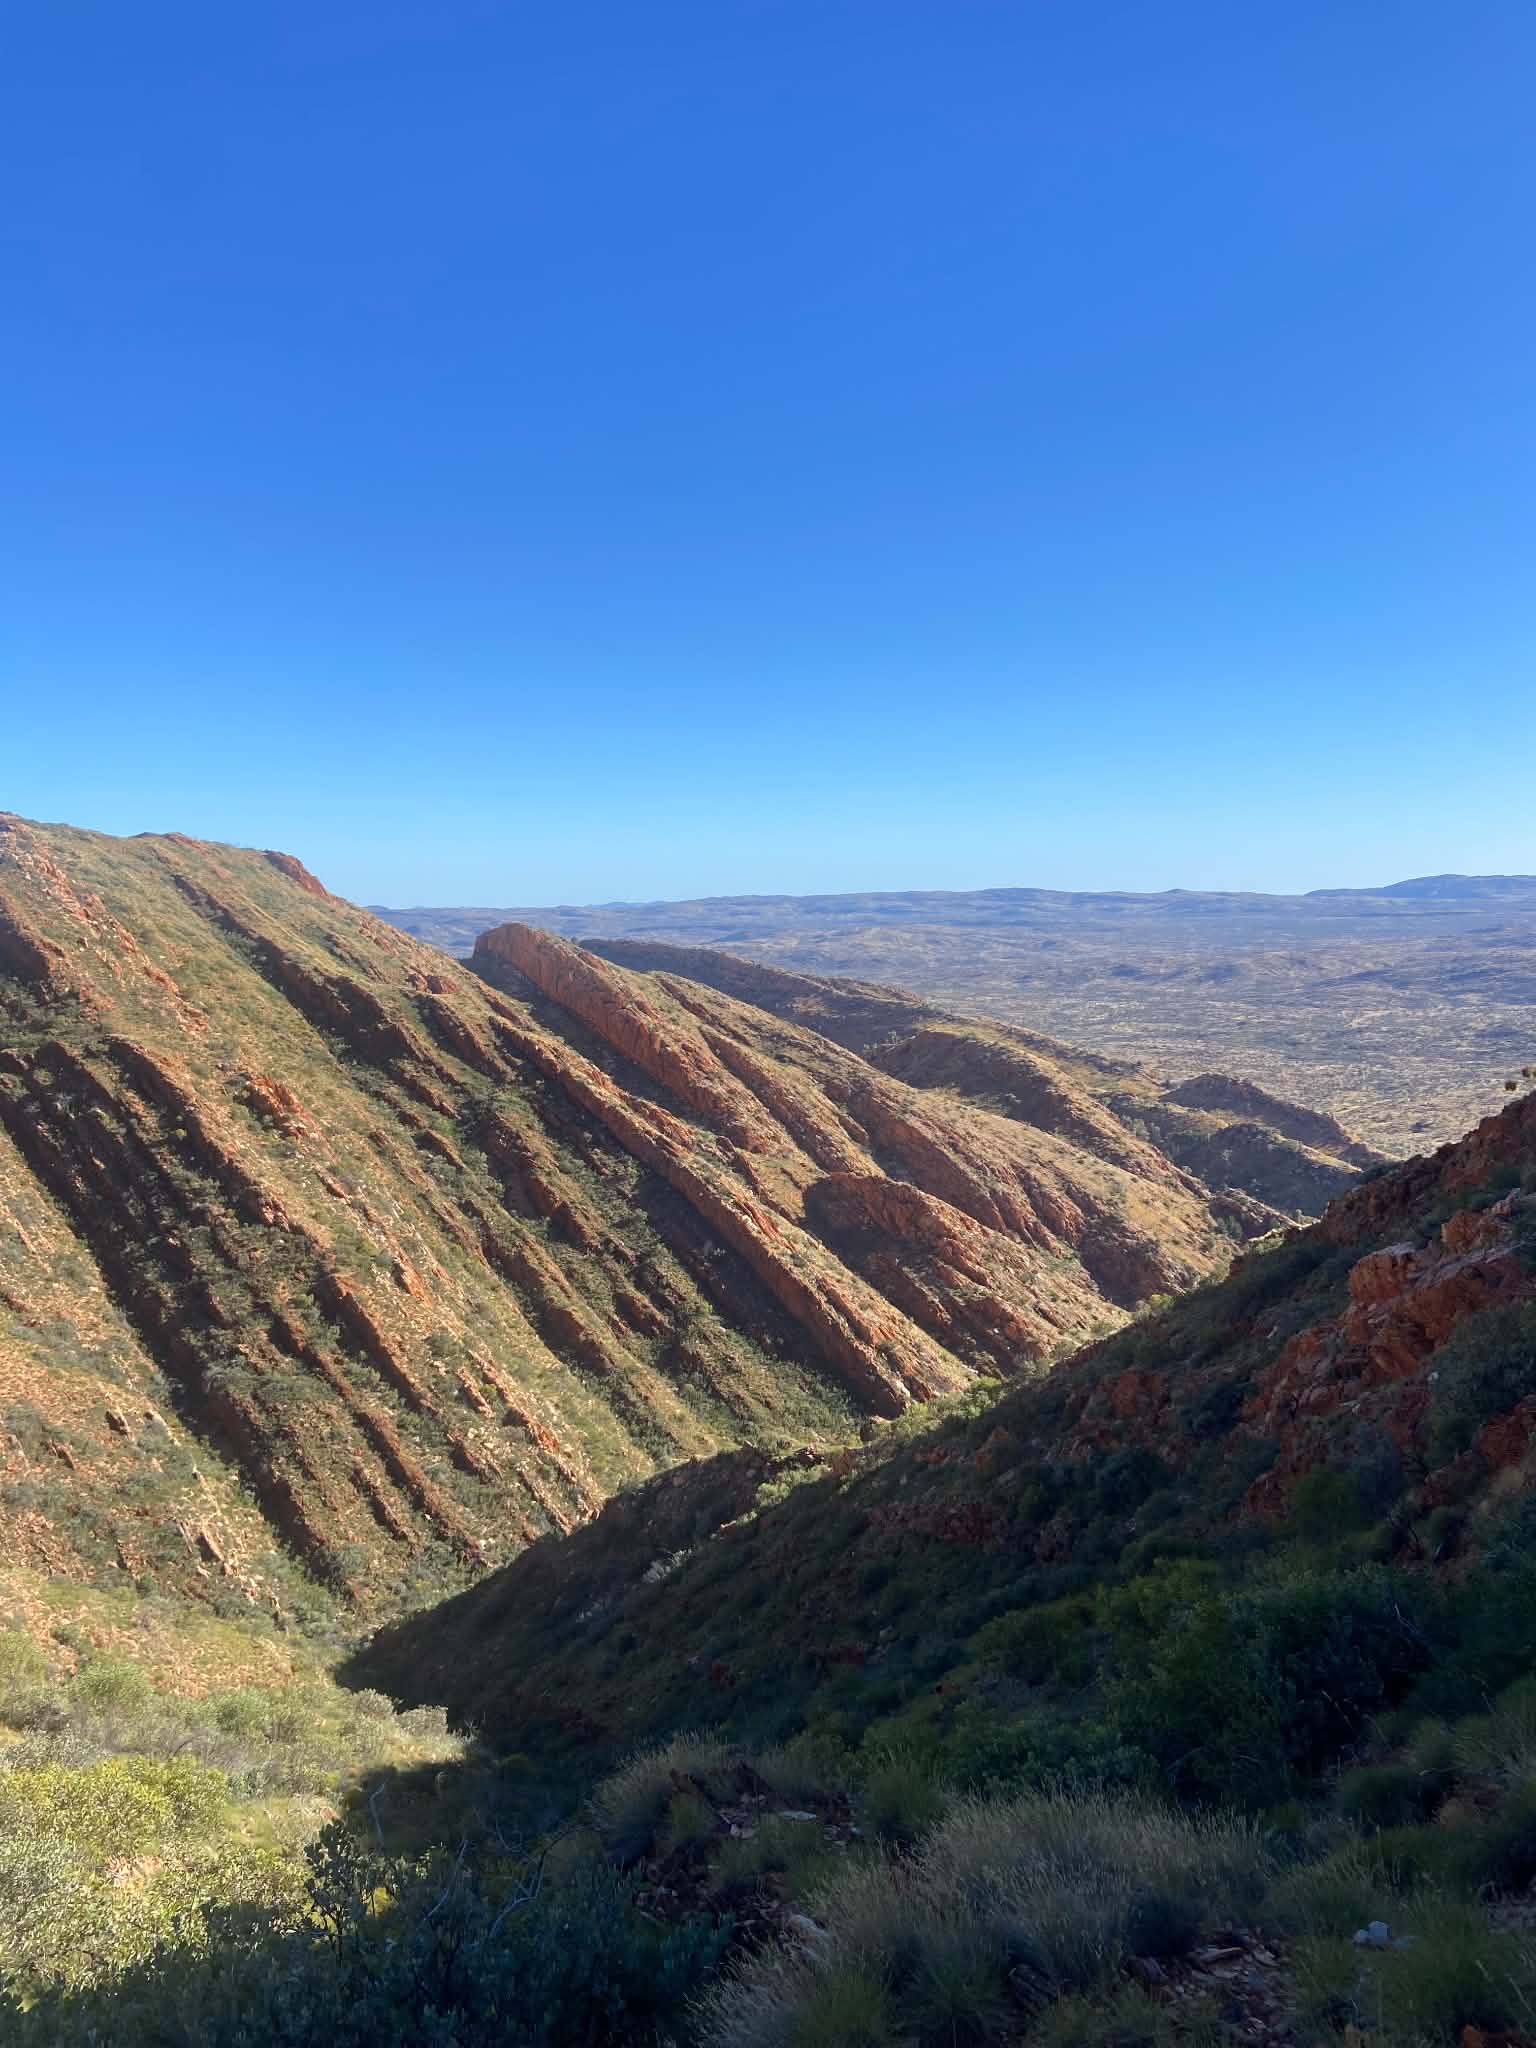
The packs were back to their heaviest after the food drop restock. We knew there was a big day of climbing ahead of us, so we headed off before sunrise. It wasn’t long before the trail started to rise and we were climbing. Fortunately, we were in the shadow of the range for a few hours and had shade until around 9:30am. After a long and steep climb, a stunning view emerged over the crest of Reveal Saddle. From here we could see Brinkley Bluff and sidled along the ridge. It was a very windy morning and this sidle section is exposed, so it was a little bit scary but not much option to turn back at this point. These steeps sections called for some scrambling, including some bum-shuffling in the scariest bits. It is very exposed to the elements and you are essentially walking the tip of the mountain, so there are long and dramatic drops on either side, but incredible views if you’re not too scared to look up from your feet.
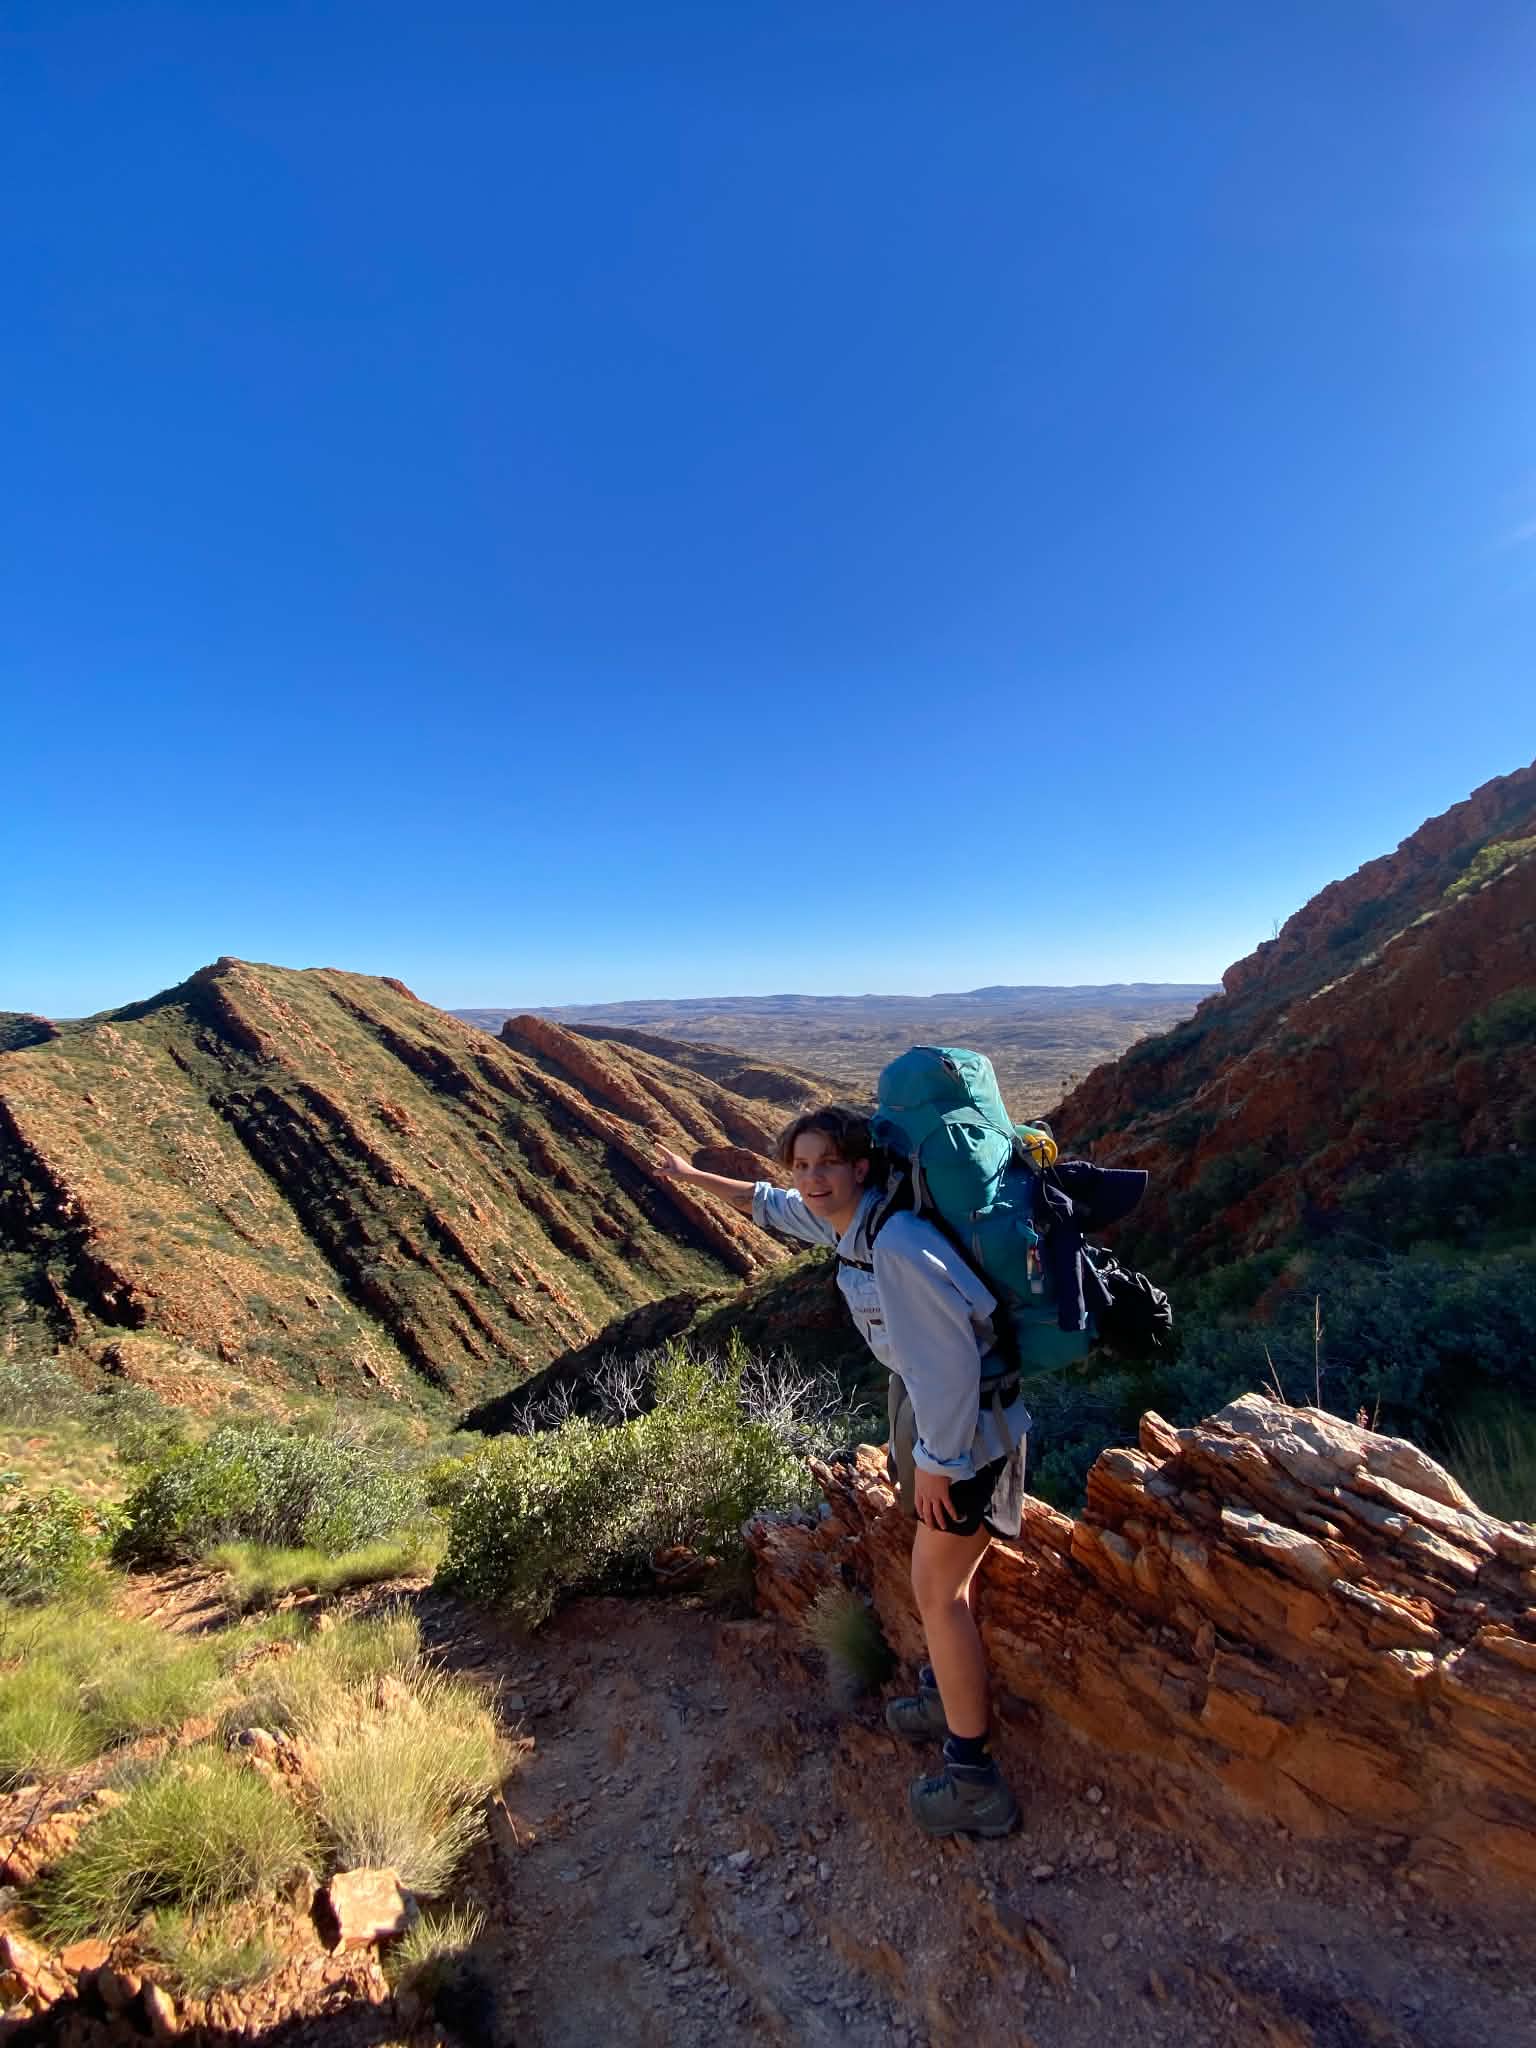
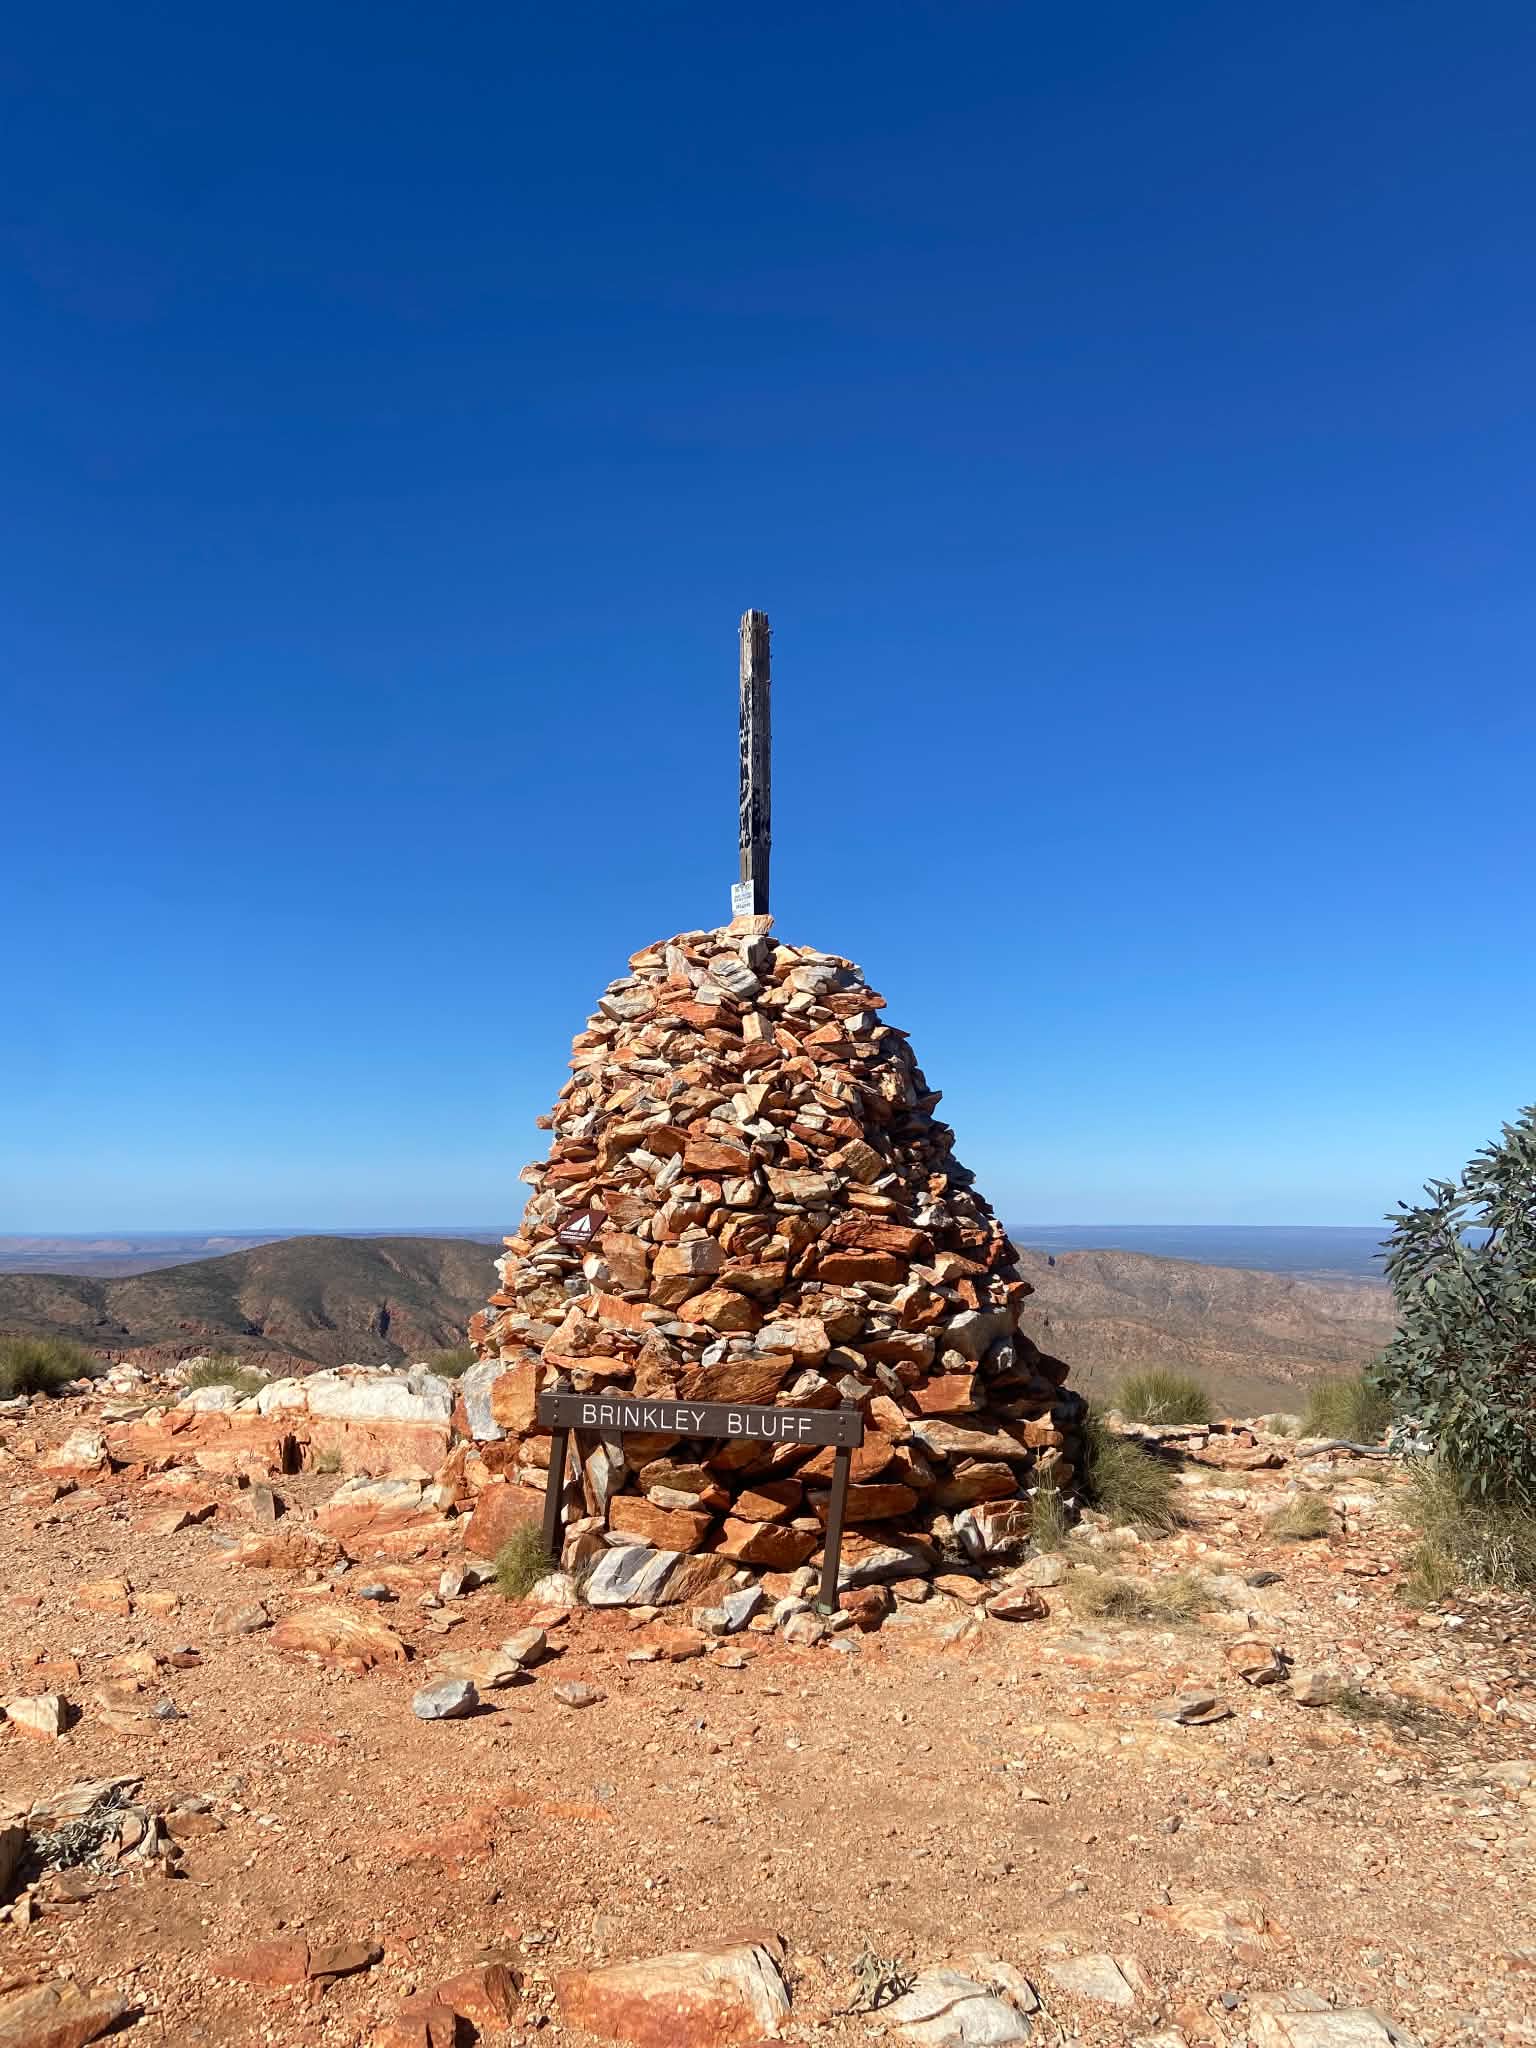
The cairn based on Brinkley Bluff is visible for some time before you arrive at the summit, and is a beacon for the lunch spot. Brinkley Bluff has just had a toilet installed, but has no water access. There are several campsites with small rock walls, but these are still exposed. We heard from walkers going the other direction that it was extremely windy at night, but the best sunrise they’d ever experienced. The 360 views are pretty stellar, and this is the one spot I wish we had stayed at (although when we were up there, I was concerned how I would go with the wind all night). We met a lovely hiking guide who recommended Birthday Waterhole instead of staying at Brinkley, and ultimately we thought this was a good idea. We had lunch at Brinkley before heading down the steep and zig zagging descent.
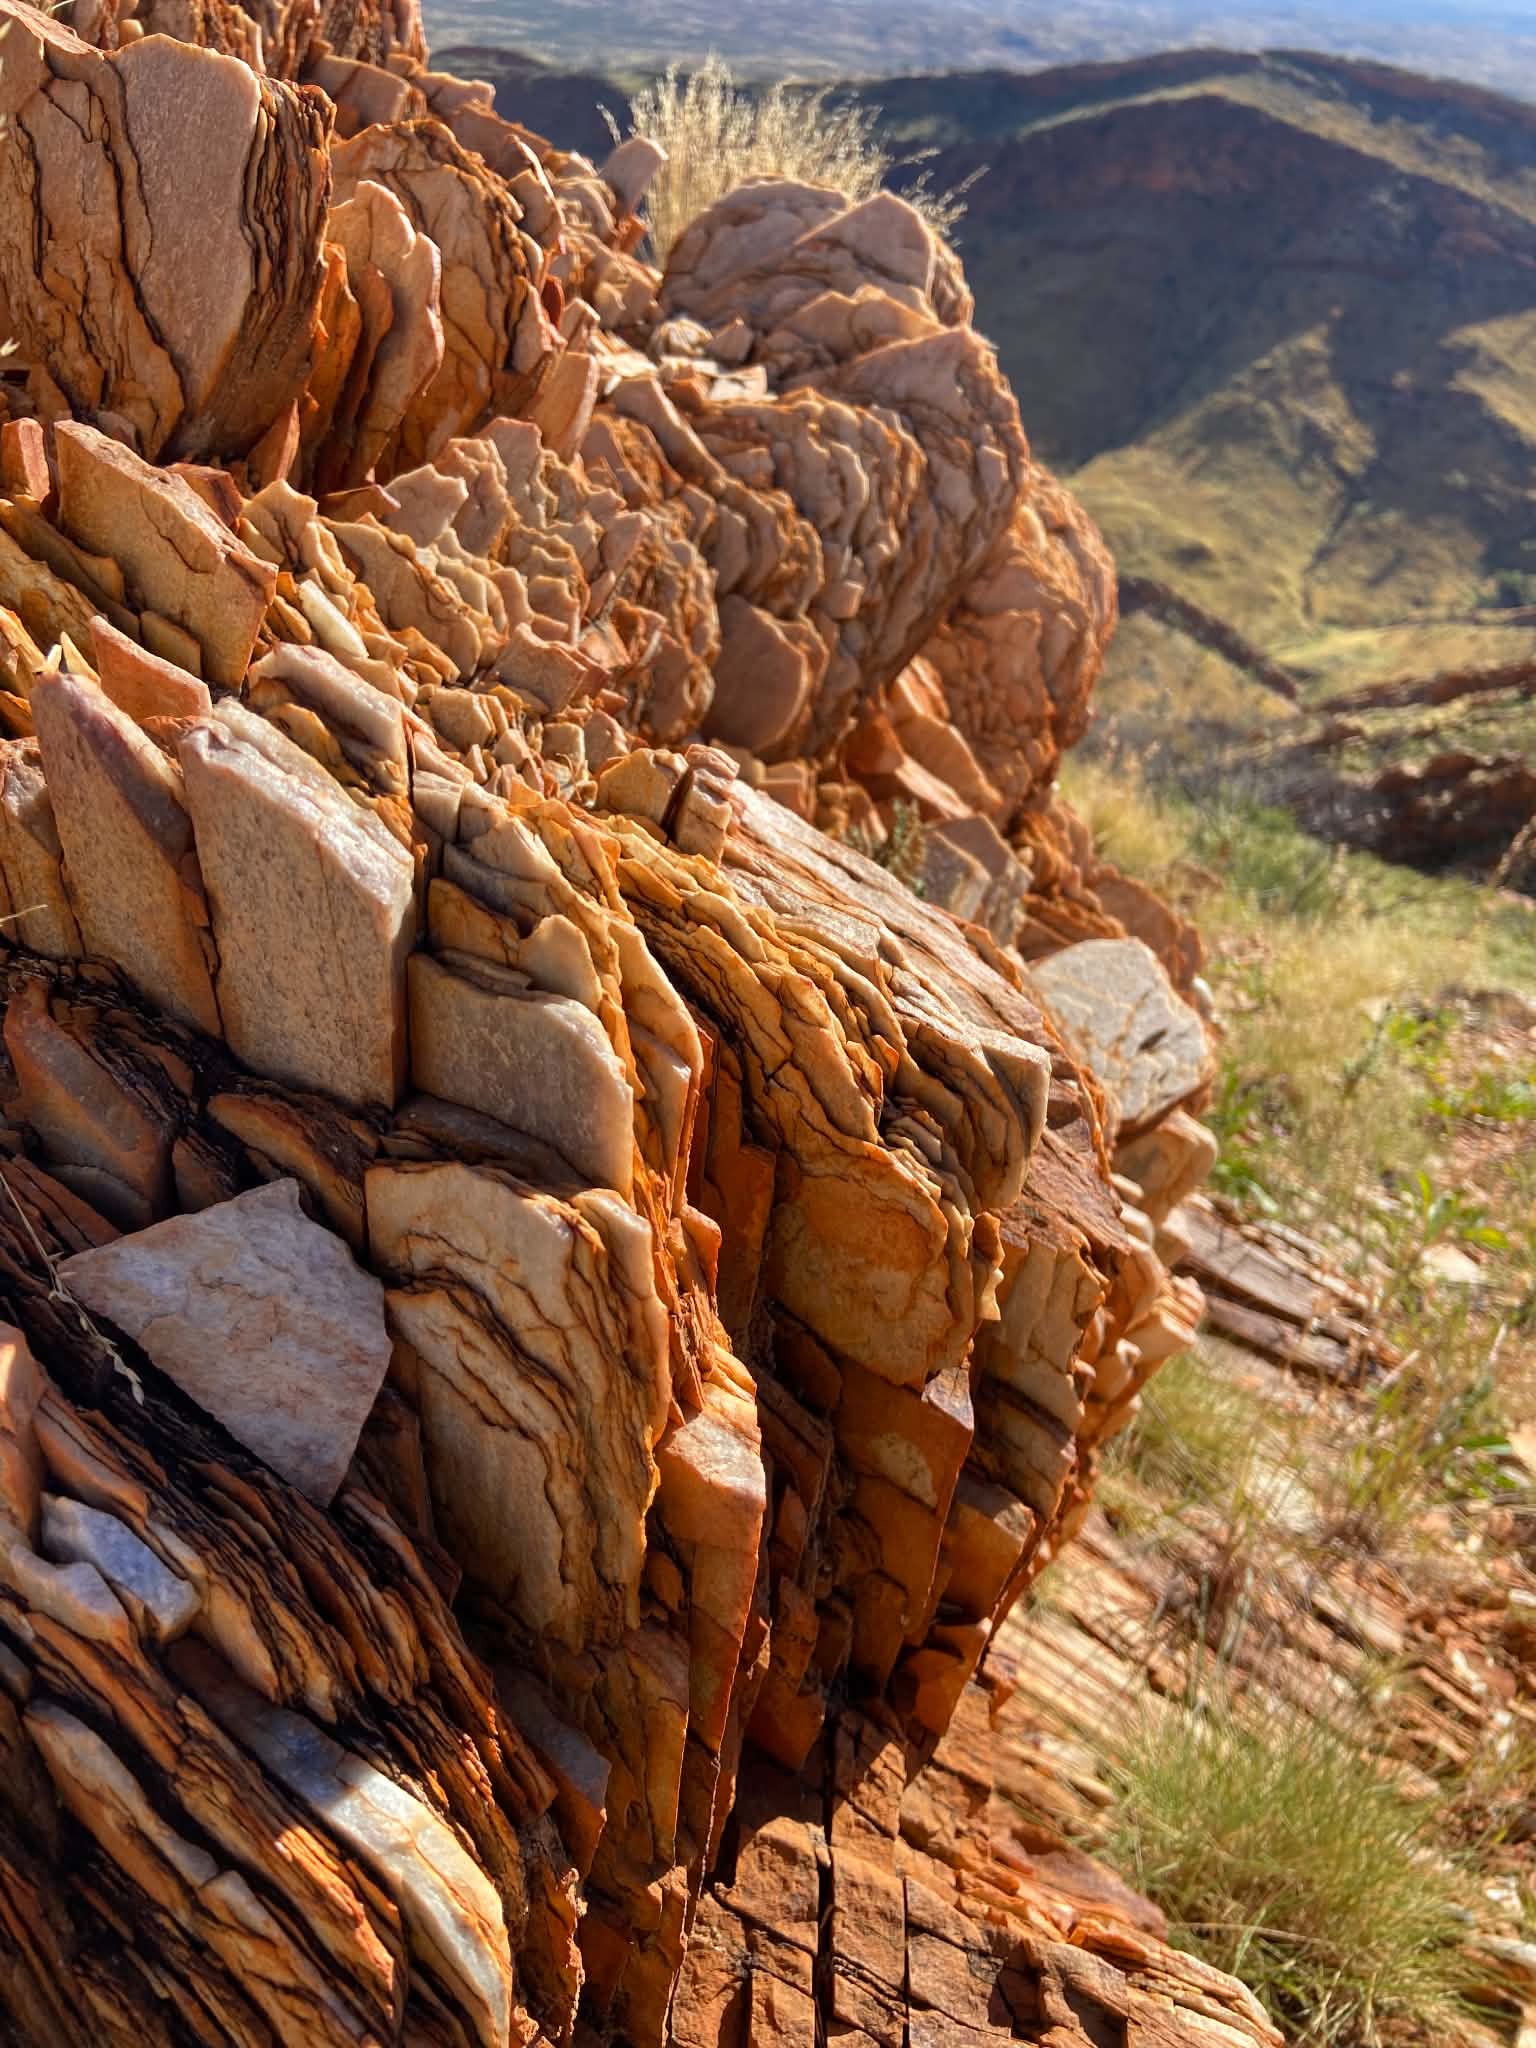
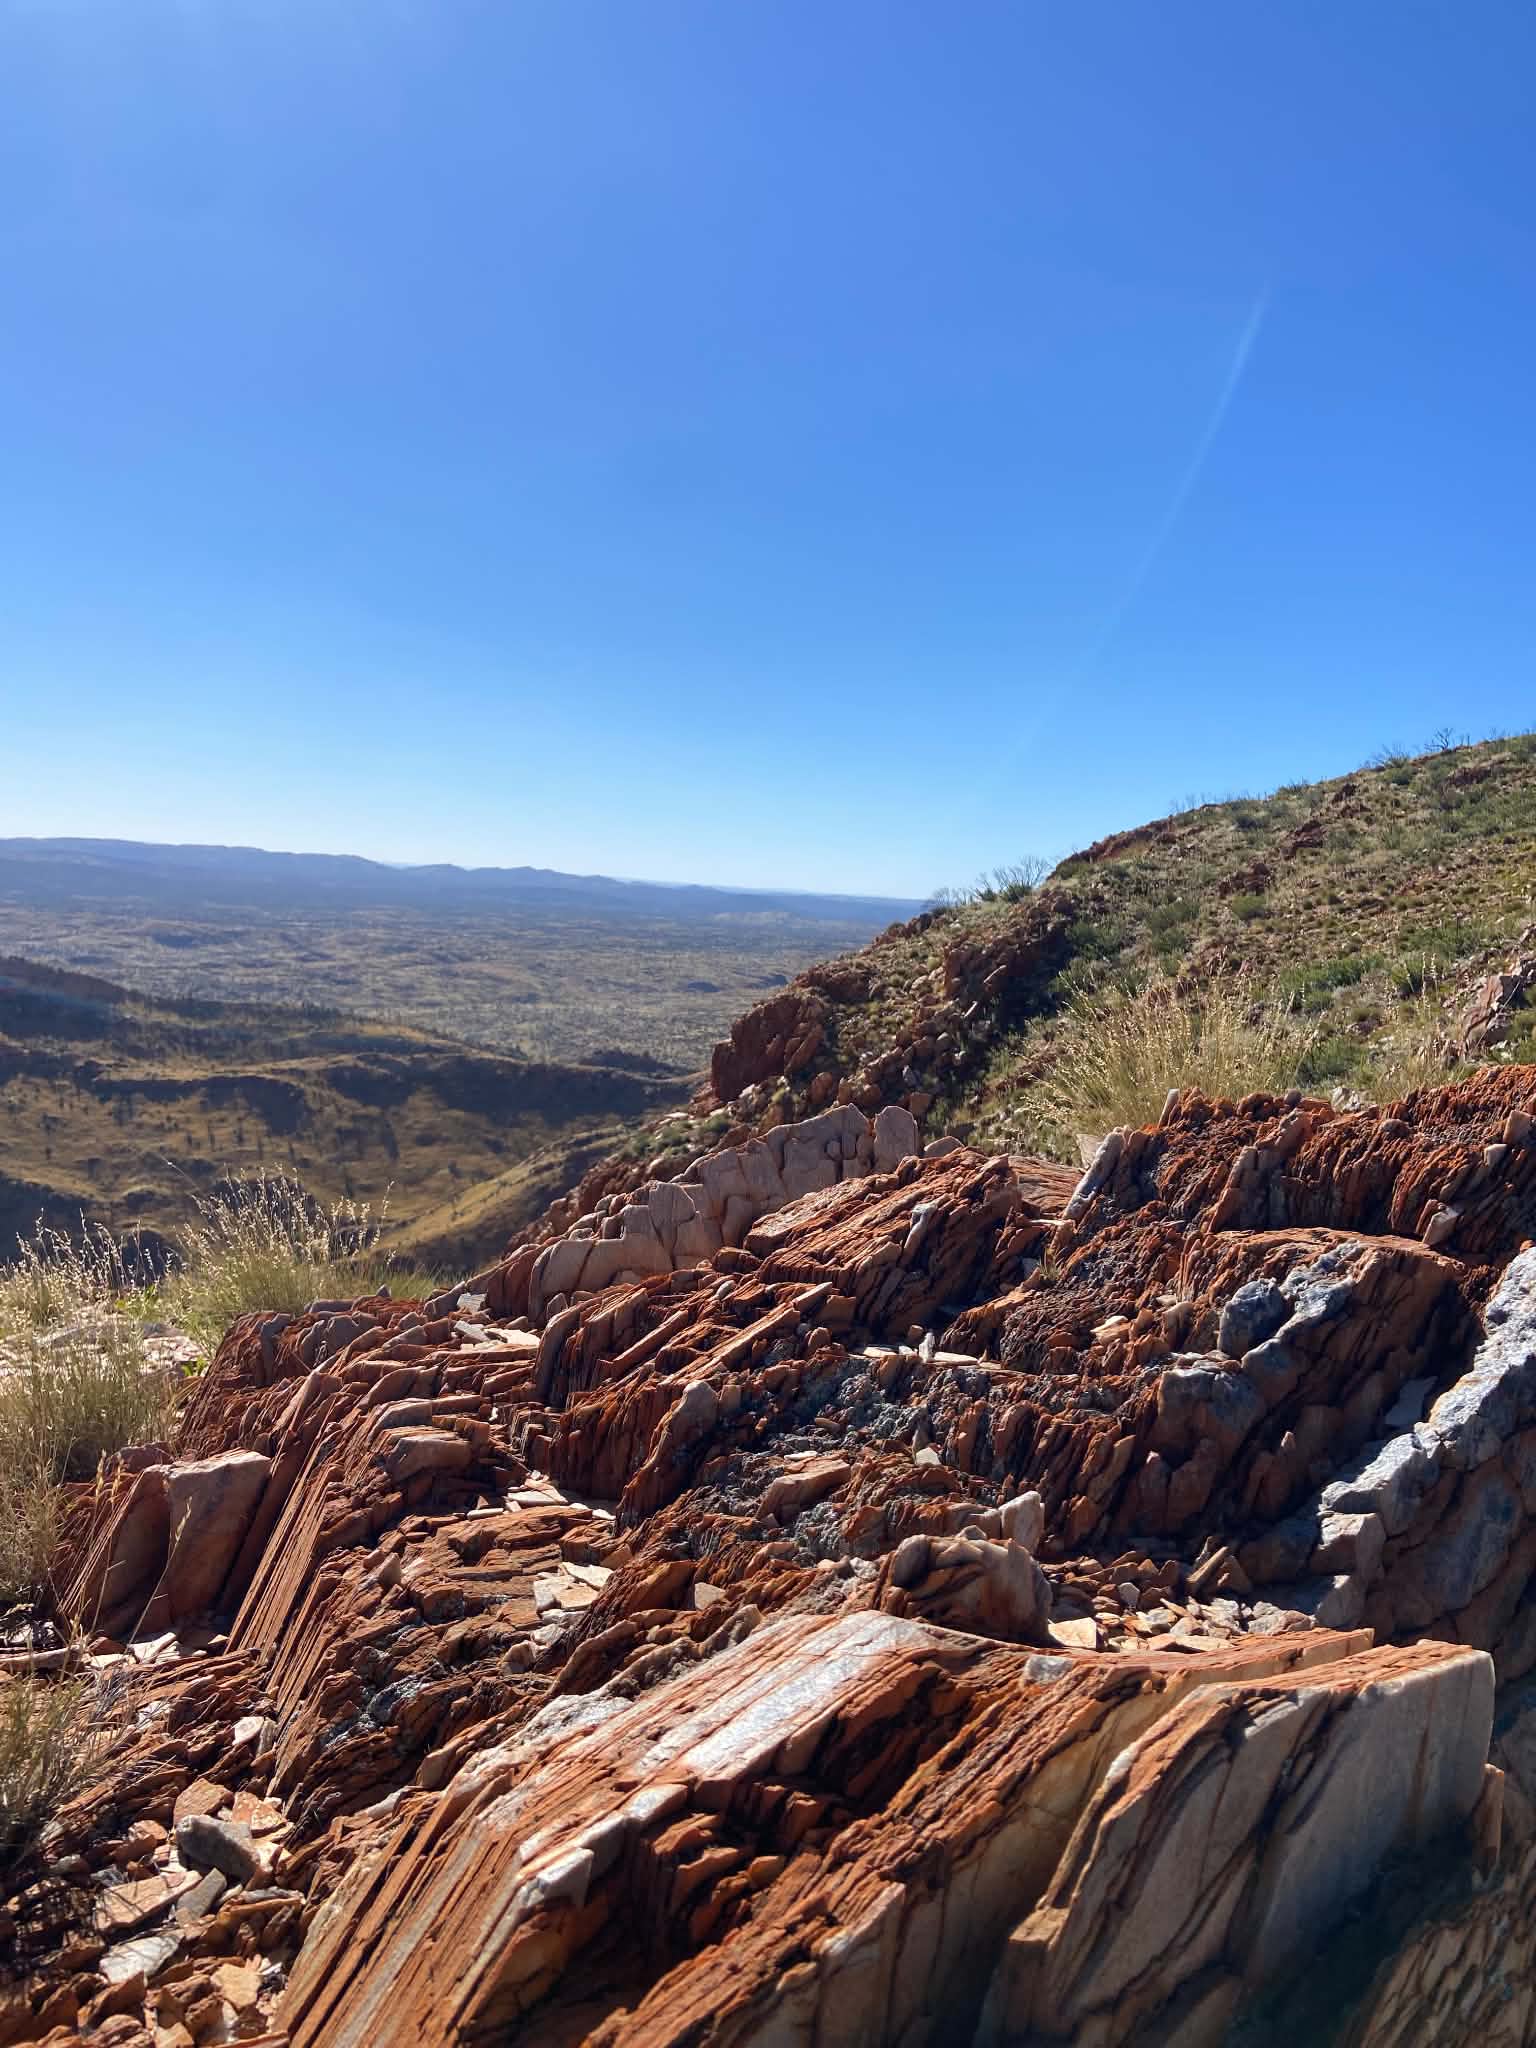
All that goes up must come down, and that is nowhere more true than on a mountain top. The descent is tough with lots of rock stairs, uneven steps and some very sketchy shallow sections of trail where we had to hold our bodies against the rock and sidle along the track. Again, not very height-phobia-friendly walking. Eventually the trail turns into the creek bed and there is some relief from the sun with tree canopy above. There is a short but fun section of scramble here.
Once at the bottom, the trail heads back uphill for a final climb in the sun. The trail slowly descends in a winding fashion into the valley of Stuart’s Pass. This is a long descent which is hard on the knees and steep in sections. There is a nice campsite here, however no amenities. There was some water in the creek here where you could fill up if needed.
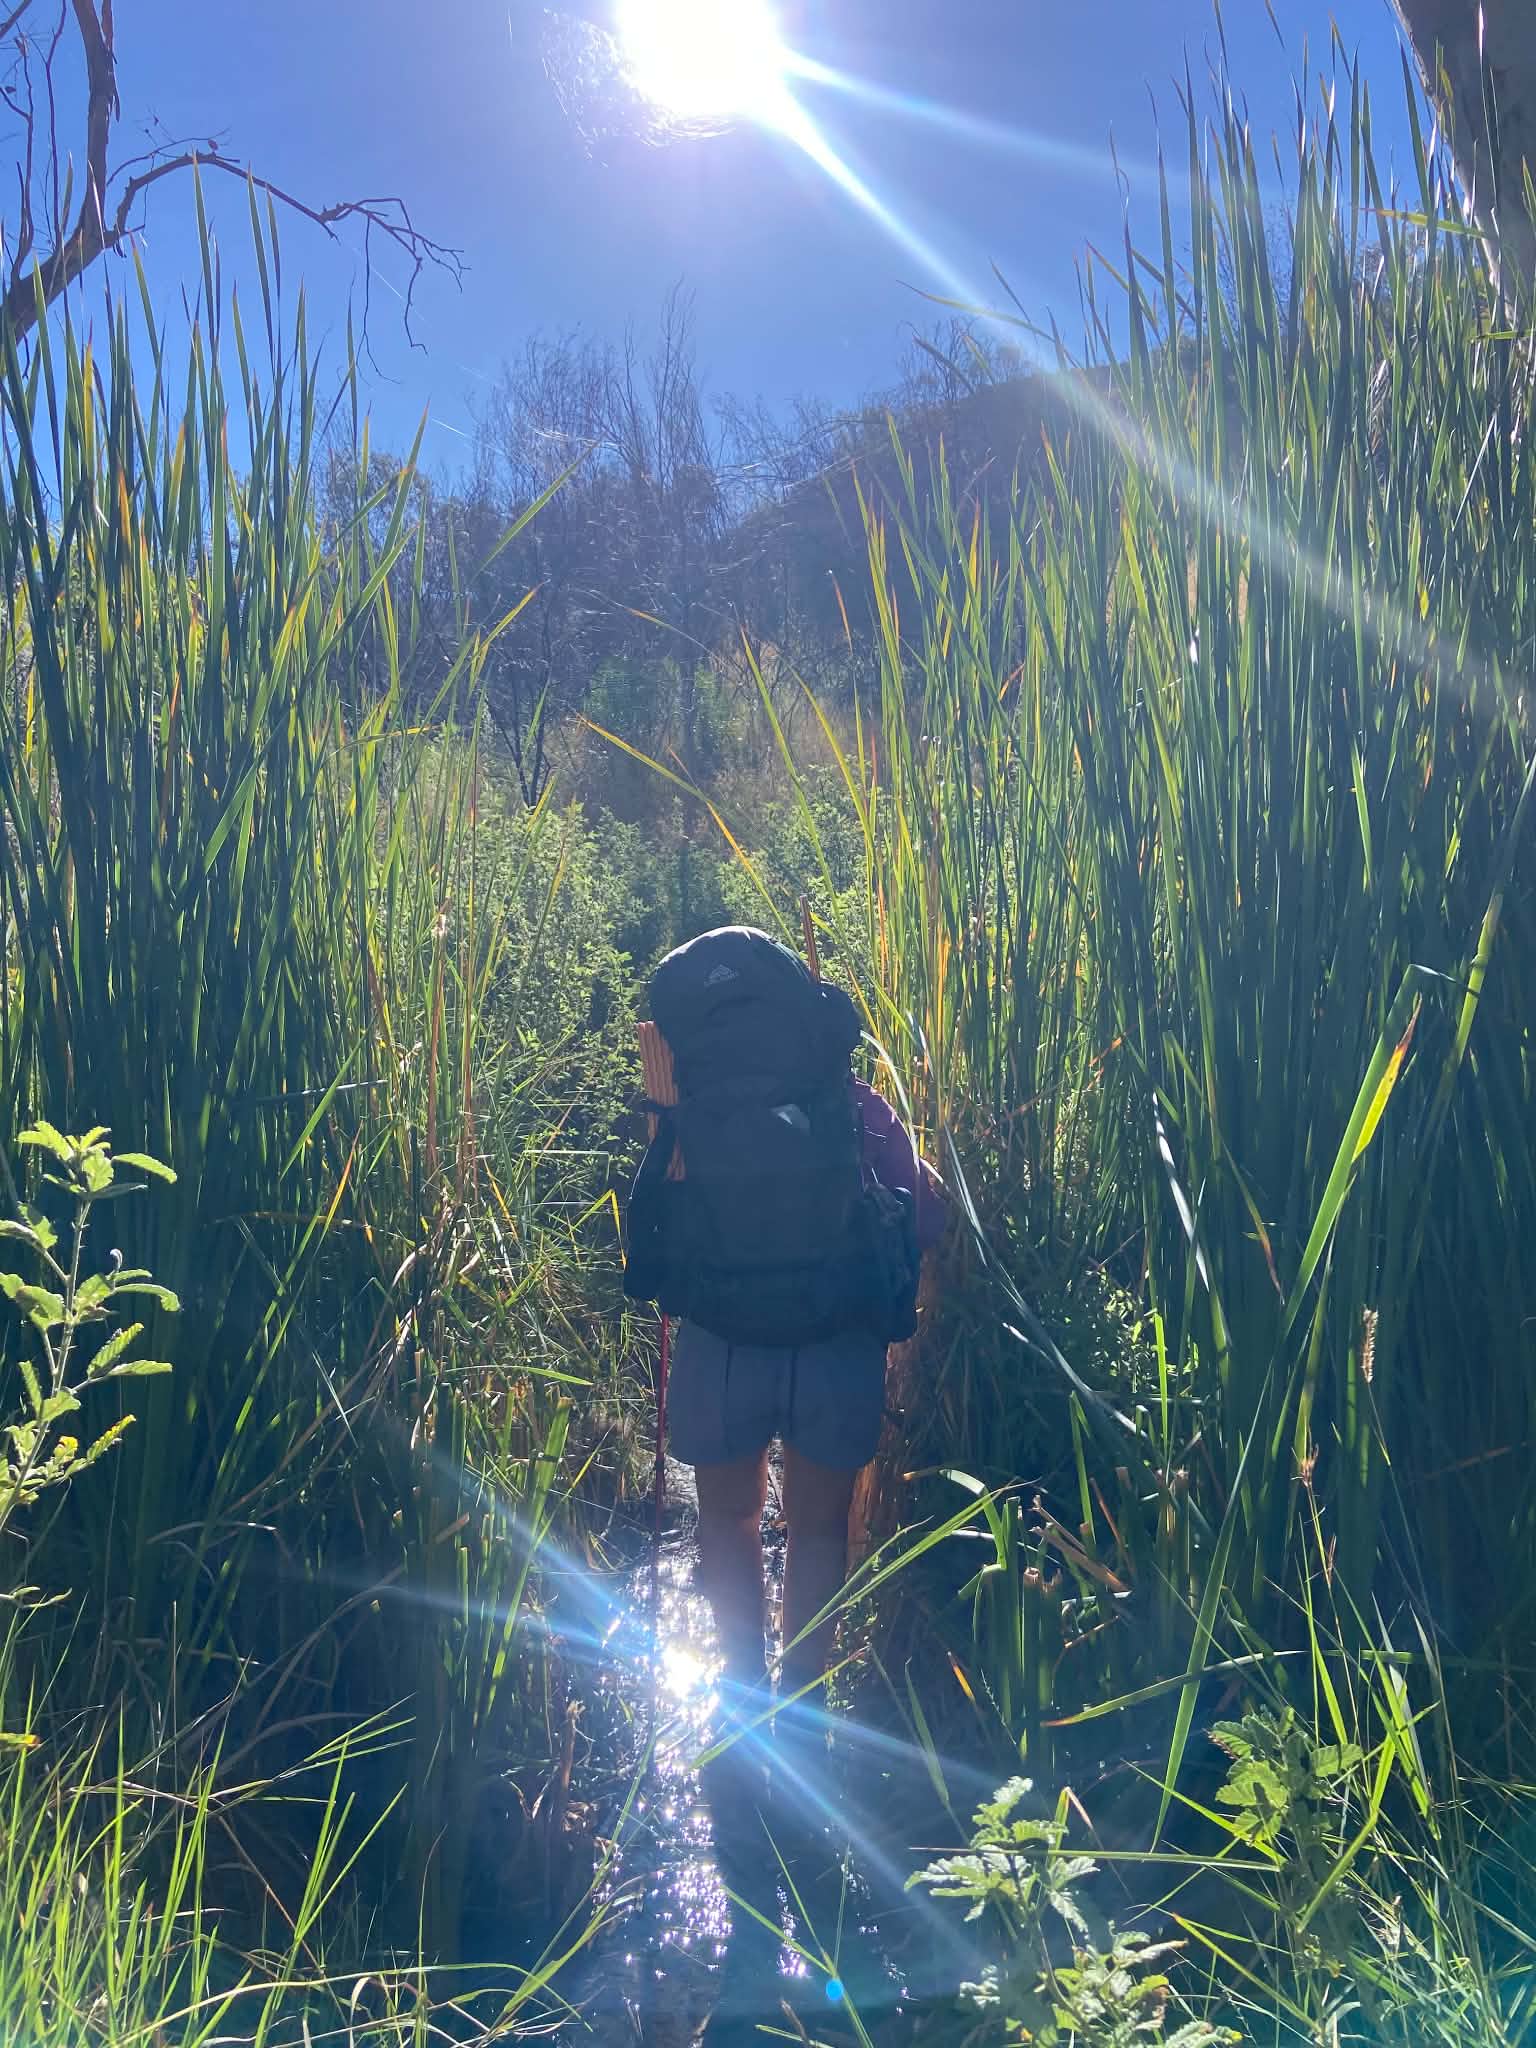
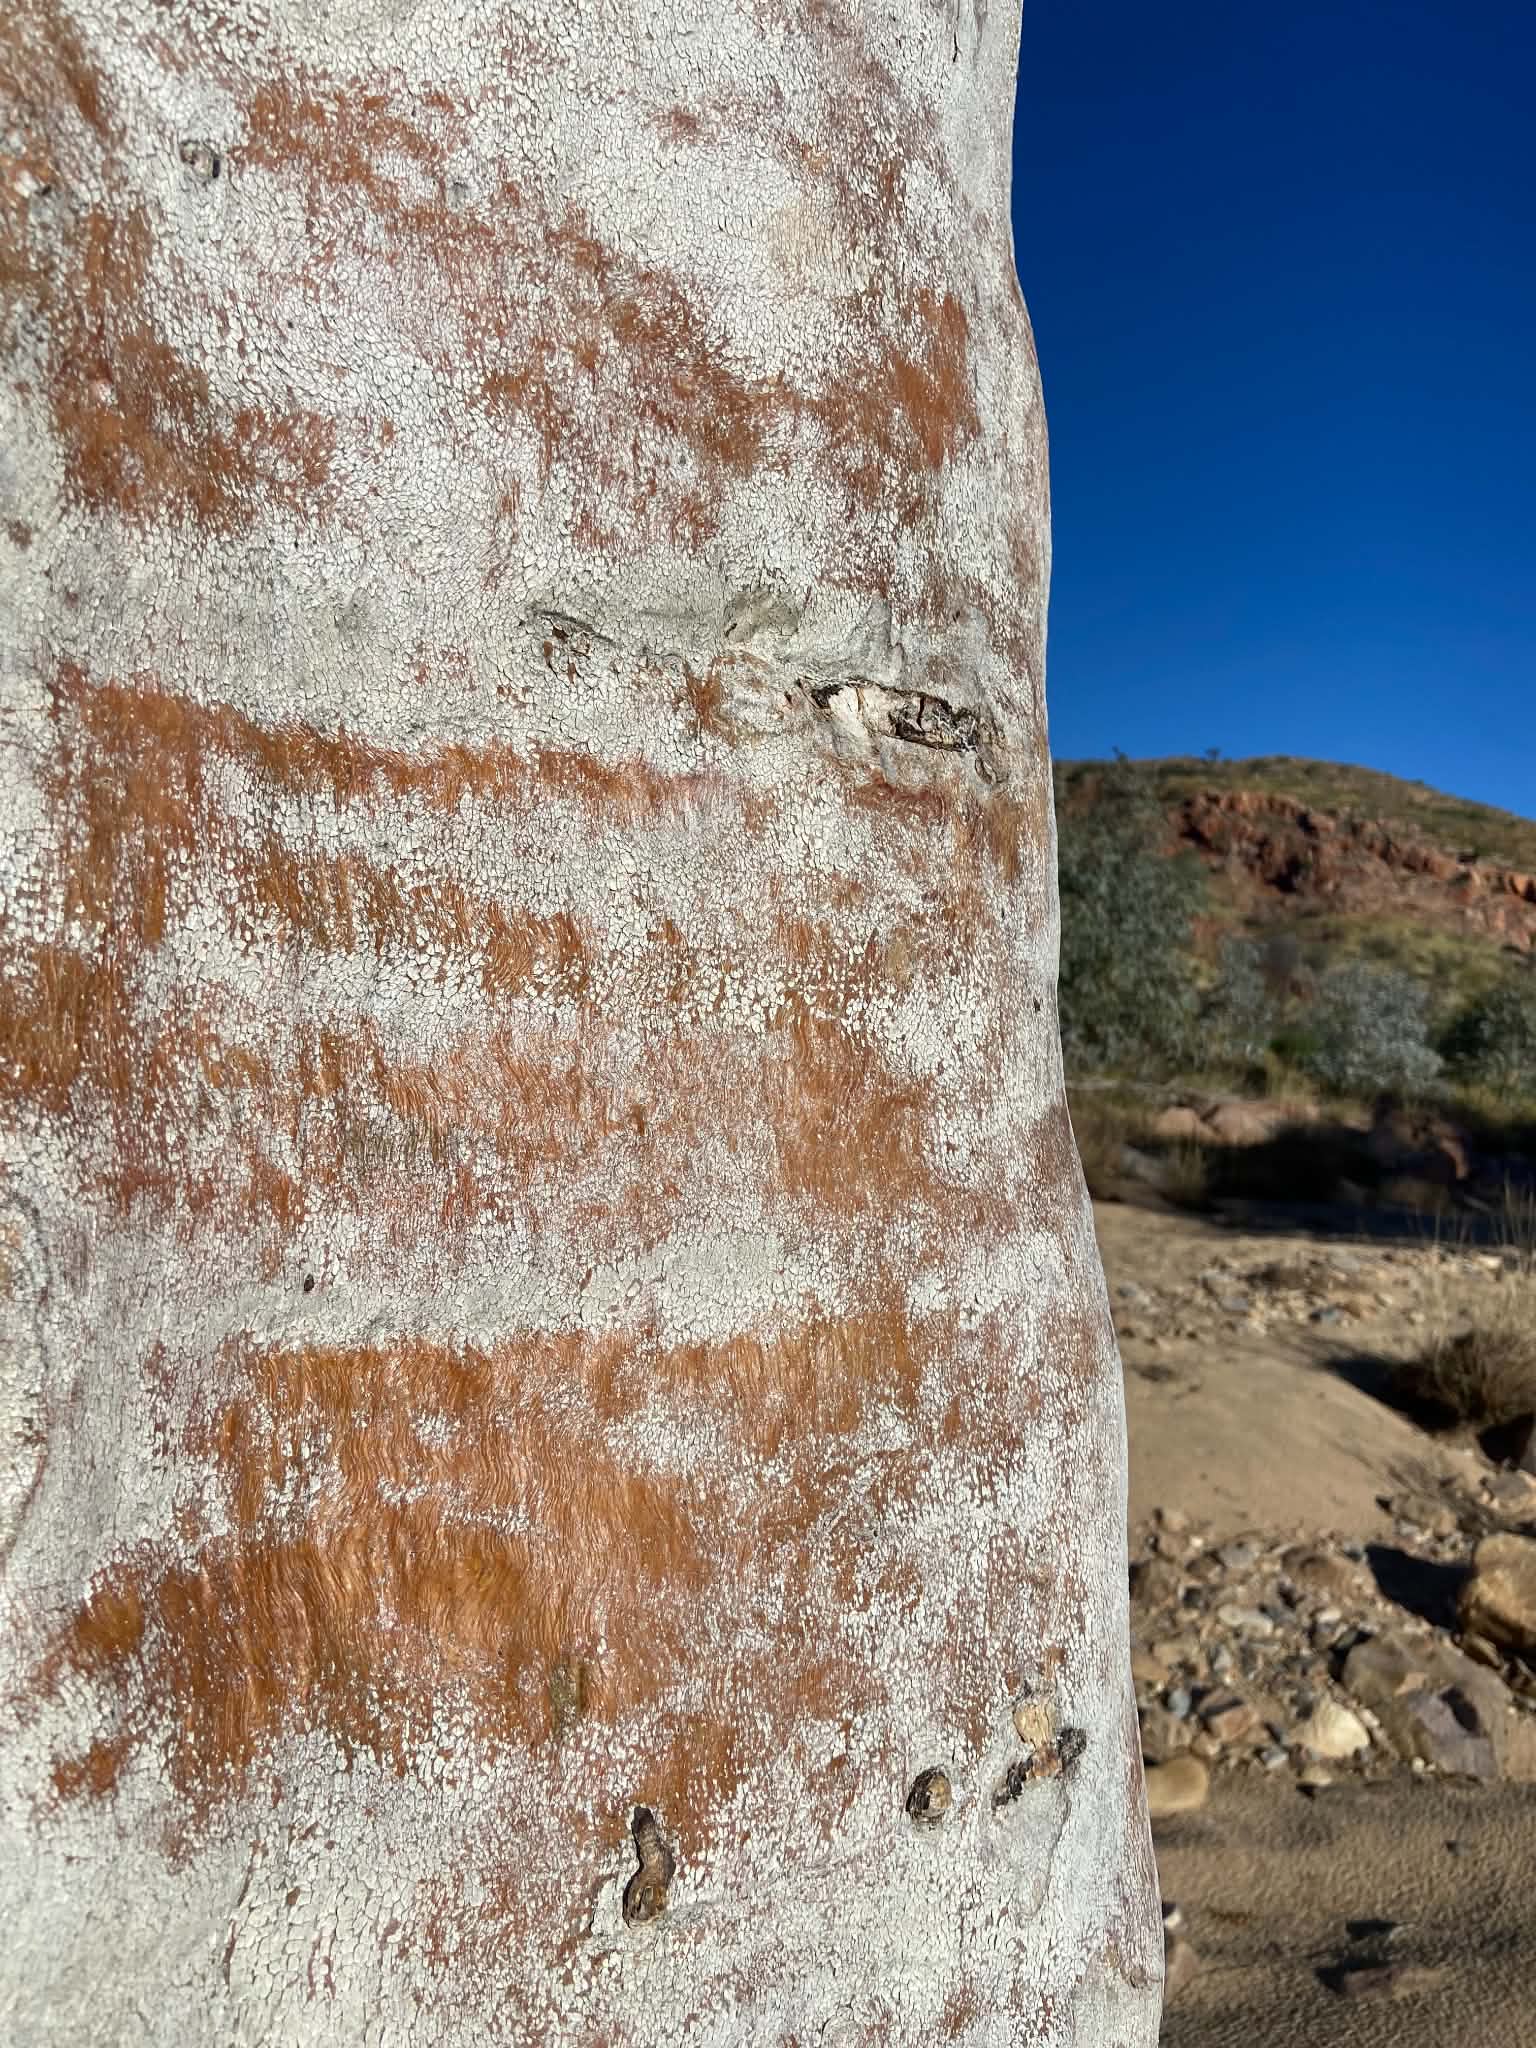
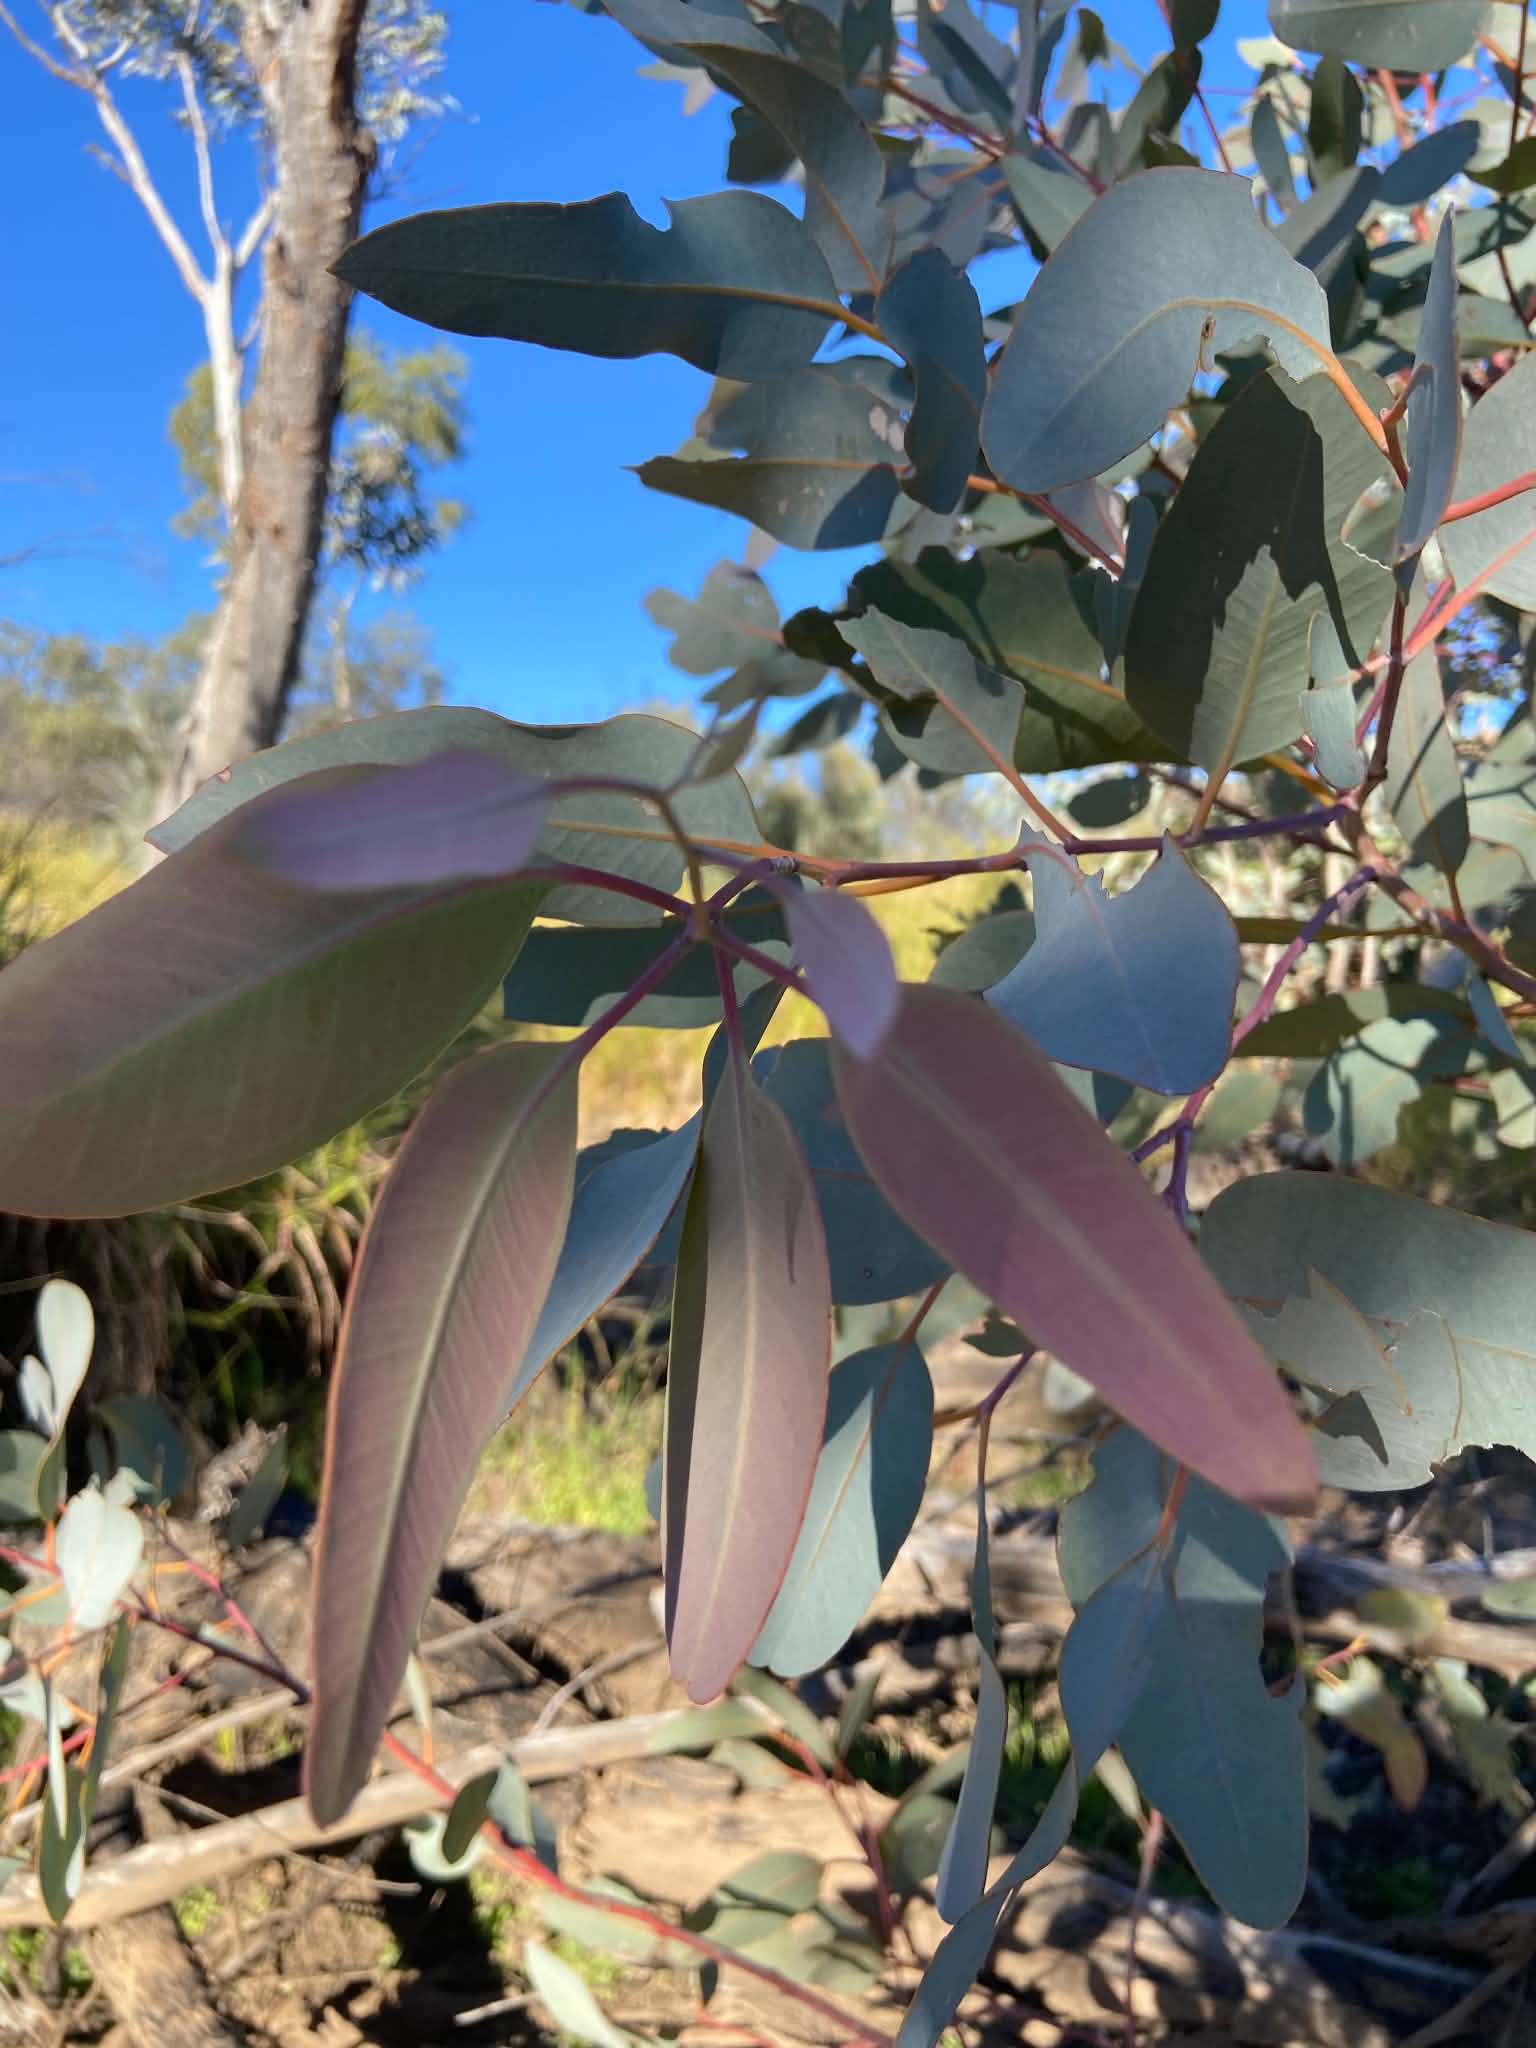
The trail then follows the creek for some time, and it is fairly easy walking along a woodland track. Being back to heavy packs after the food drop, and having walked much of the day on hard rock, the feet were in a lot of pain. I was at the point of crying in the final few kilometers from the pain. It was around here that we first encountered the 3 Canberran boys, one of which was maybe a spy. This was a helpful distraction, as while we didn’t chat for long, Jo and I had a good debrief about our interesting interaction for the next few kilometers.
We eventually emerged at 4/5 Junction, which is also Birthday Junction campsite. We opted to walk down into the gorge and camp on the sand which made for a lovely sleep, and we suspected less mice away from the campsite. We took shoes off ASAP and I had two black toenails, and the underside of my foot had large blisters.
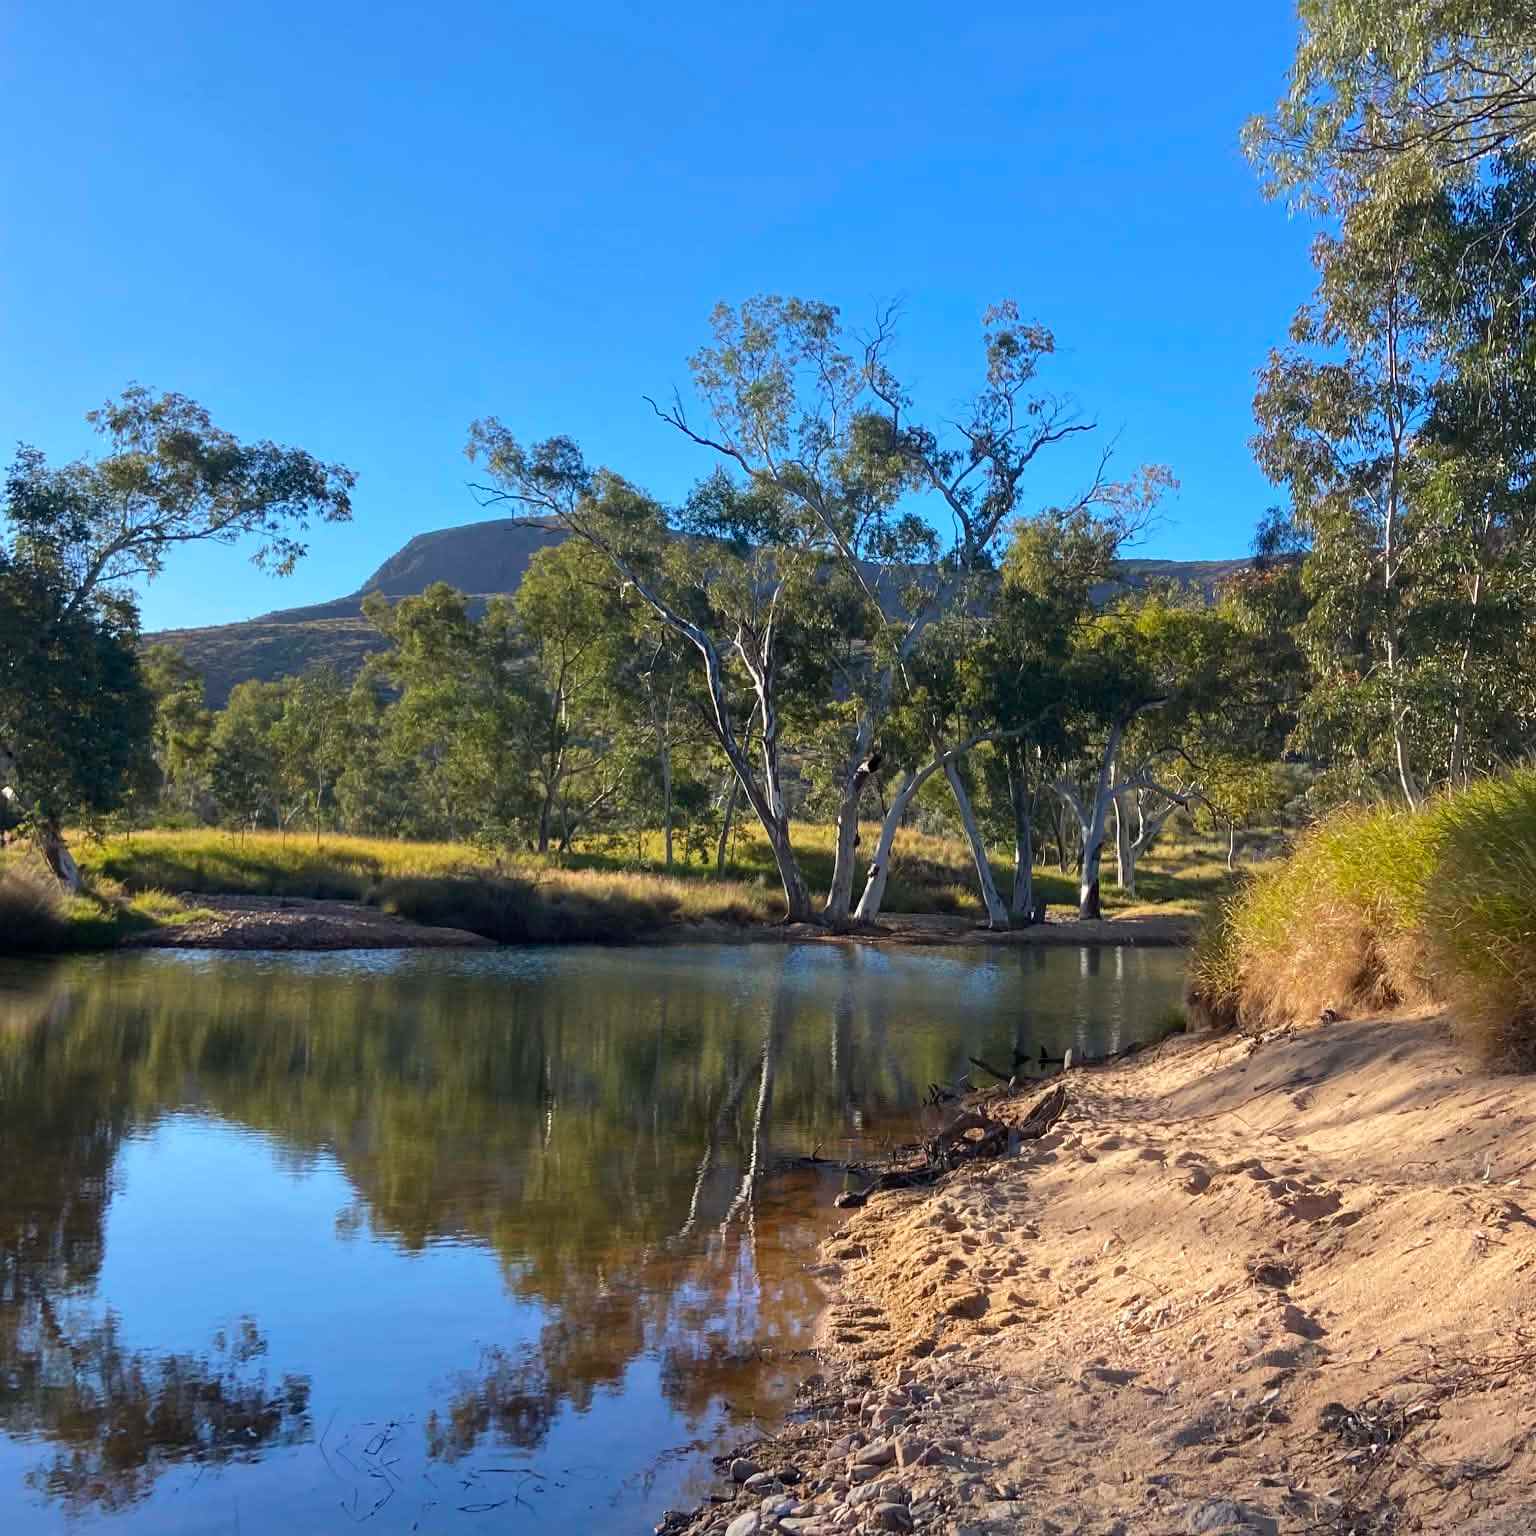
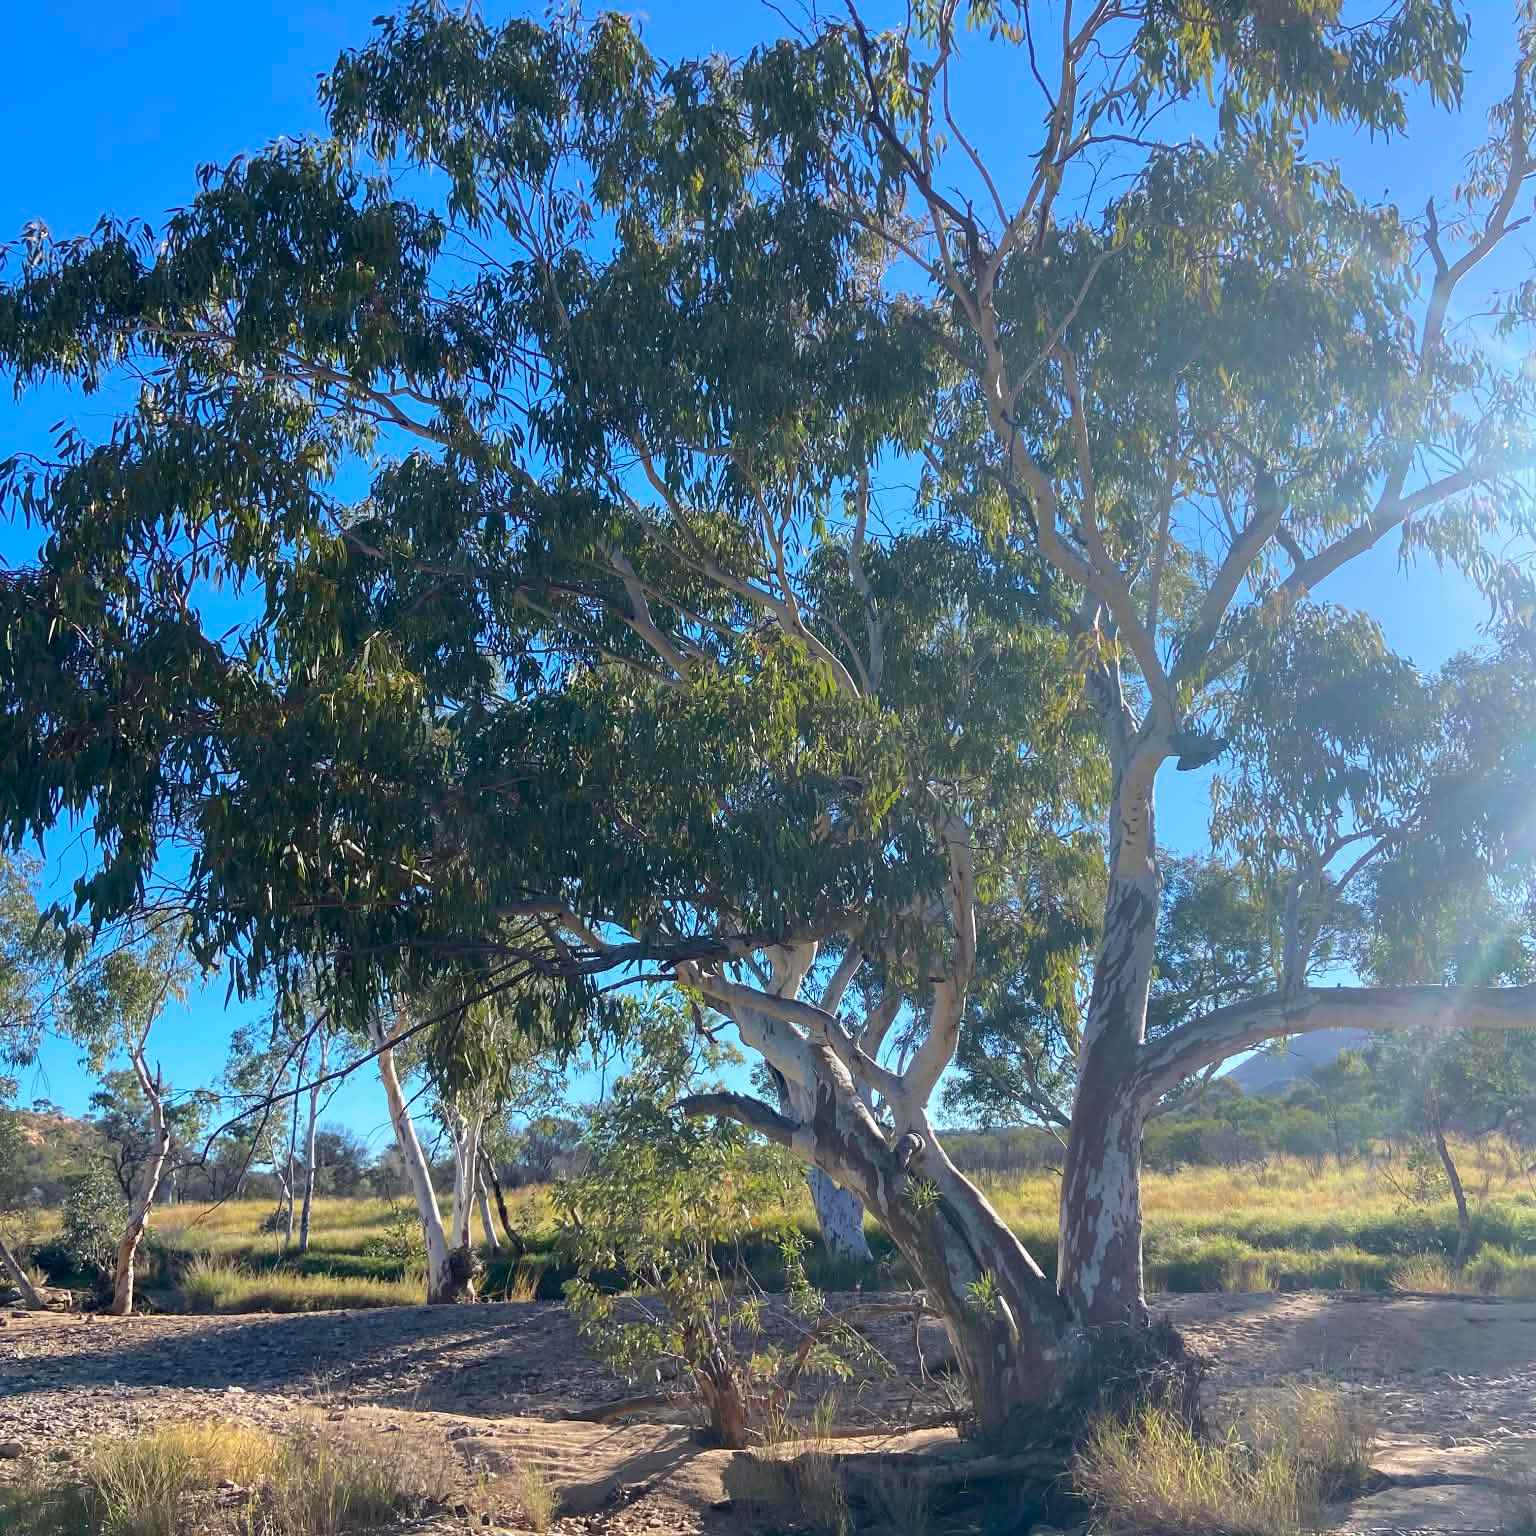
We set up camp before continuing walking along the creek bed to Birthday Waterhole. This is a magical fresh water billabong where you can swim and there is beautiful birdlife. It is 4WD accessible, so there were some day campers down the end, but having a swim was the most amazing and refreshing experience after another tough day of walking.
We had Mex beans and mash to celebrate another big day and debriefed on our peaks and pits before an early bed.
Peaks & Pits:
Peak: Swim at Birthday waterhole
Pit: Slog of the last 4km and scary heights
Day 5: Birthday Junction to Hugh Gorge
Distance: 15.3km (16km as per Garmin)
Duration: 9hrs (including breaks)
Highlights: Spencer Gorge, Razorback Ridge, Hugh Gorge
We’d been both optimistic and apprehensive about this day, as we knew there was a water crossing at Hugh Gorge that would require some strategy, but we were excited to be walking back in the gorges (really our strong suit).
Day 5 started with a short but steep climb before taking a winding descent through scrubby bush. Eventually we came out at a creek bed, turning right towards Spencer Gorge. We were minding our own business, rock-hopping along when we caught sight of movement ahead and a bushy dingo appeared! She was so beautiful and very different to the dingoes we’d seen on K’Gari (much healthier, bushier tail). She seemed interested but apprehensive and kept her distance. It was incredible to watch her moving effortlessly through the gorge.
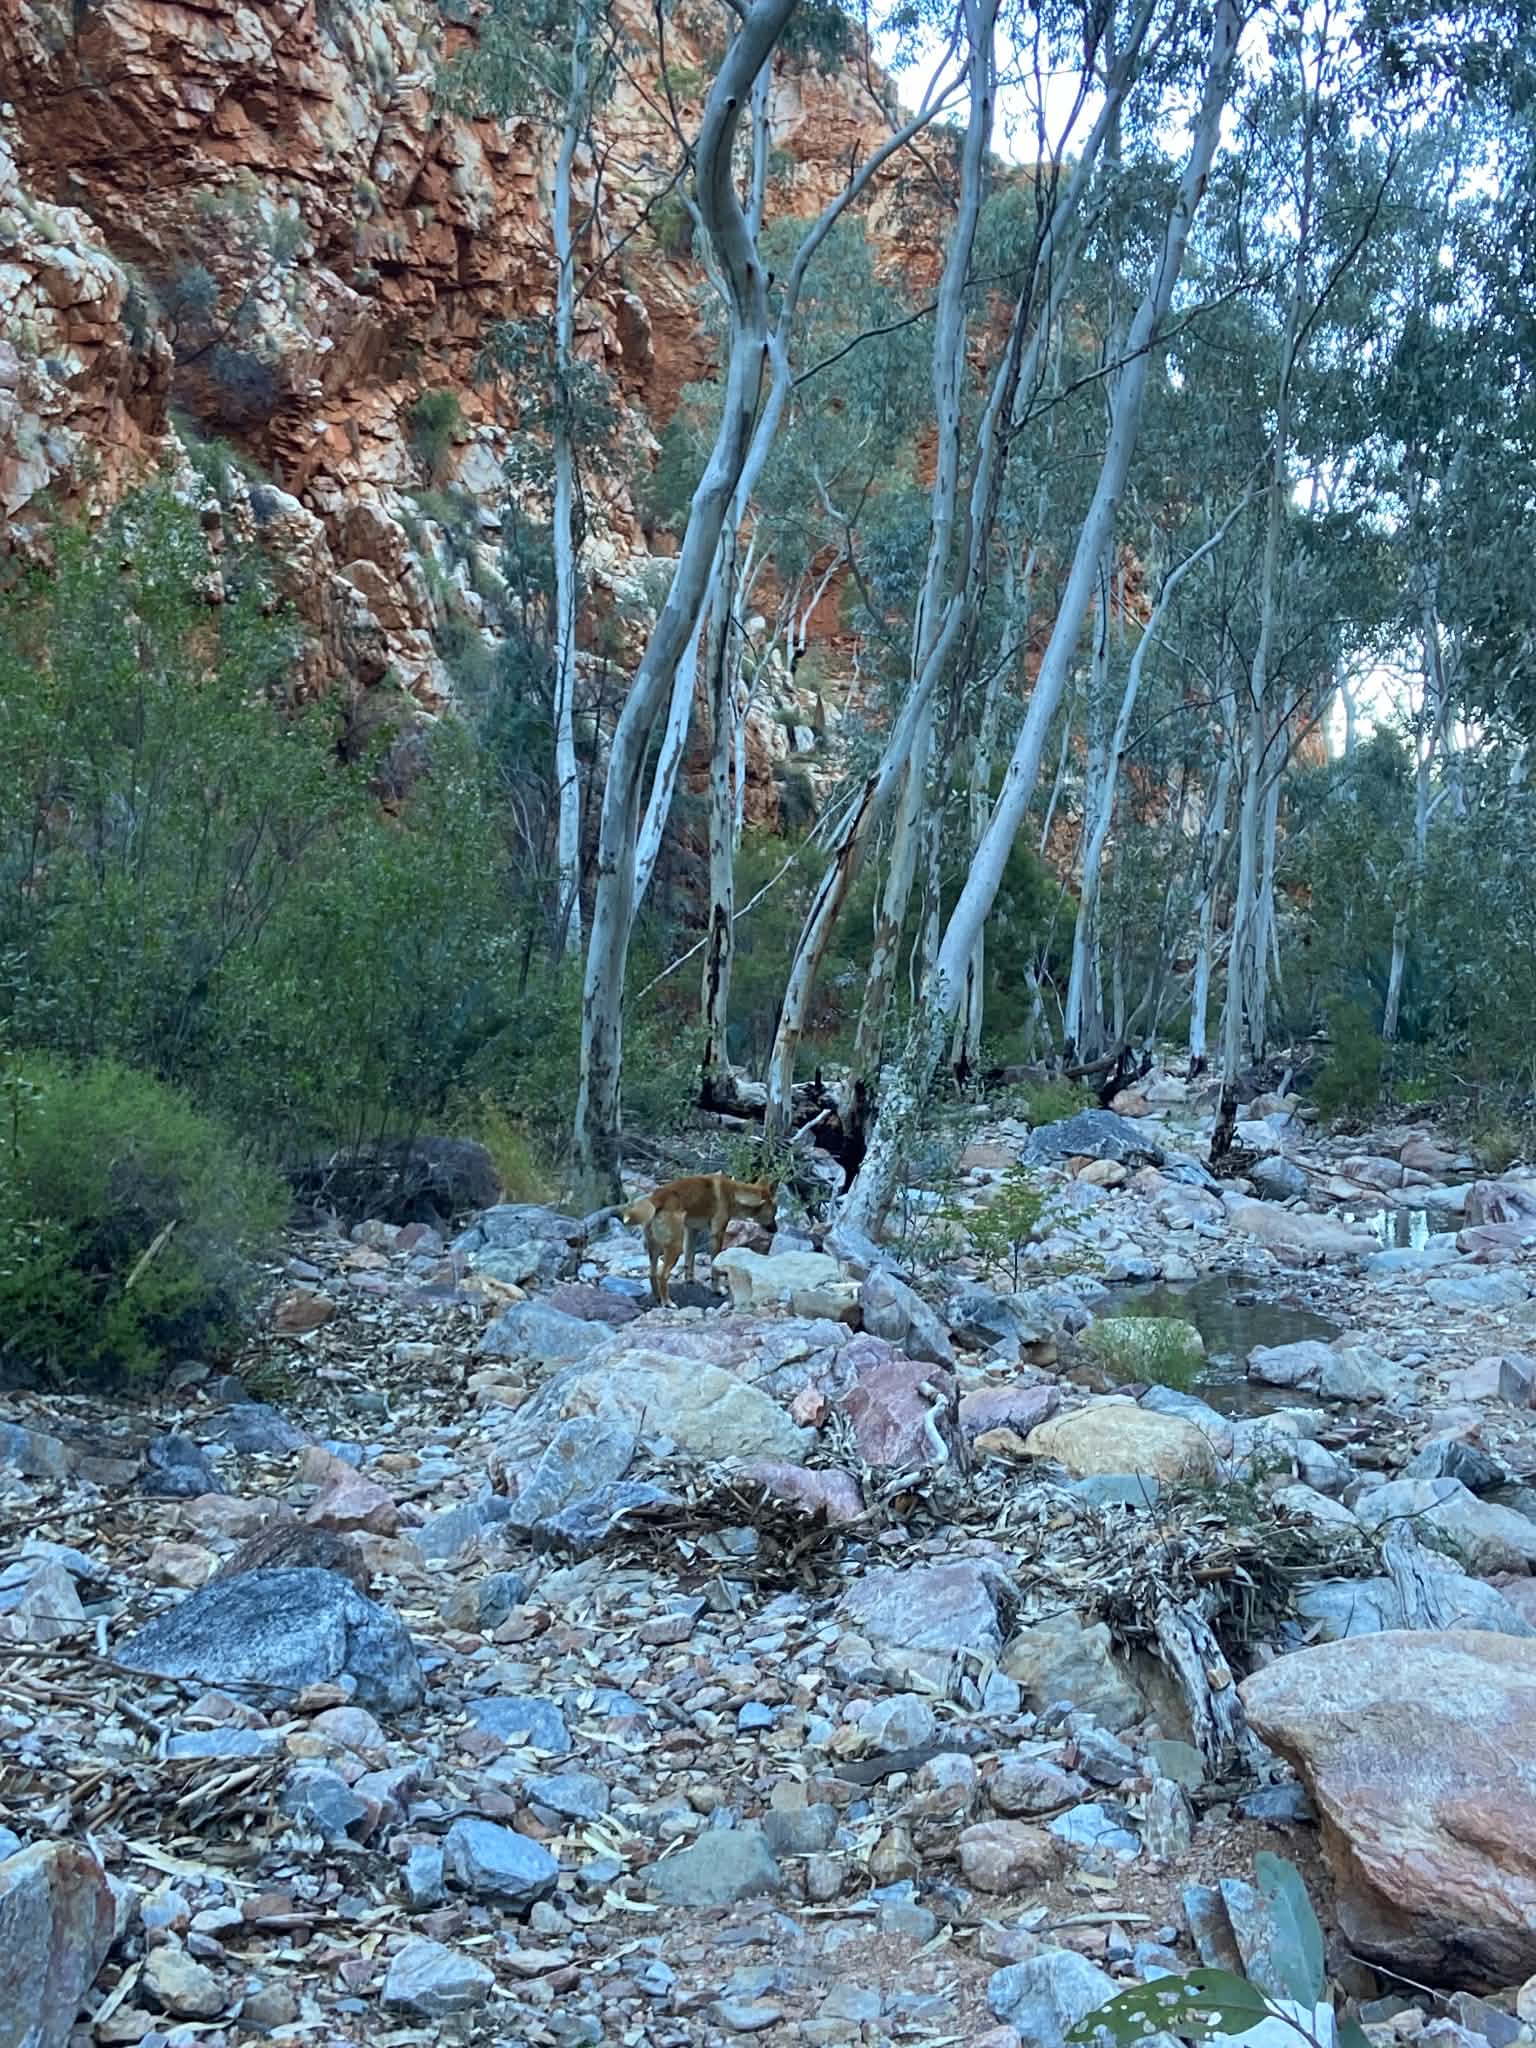
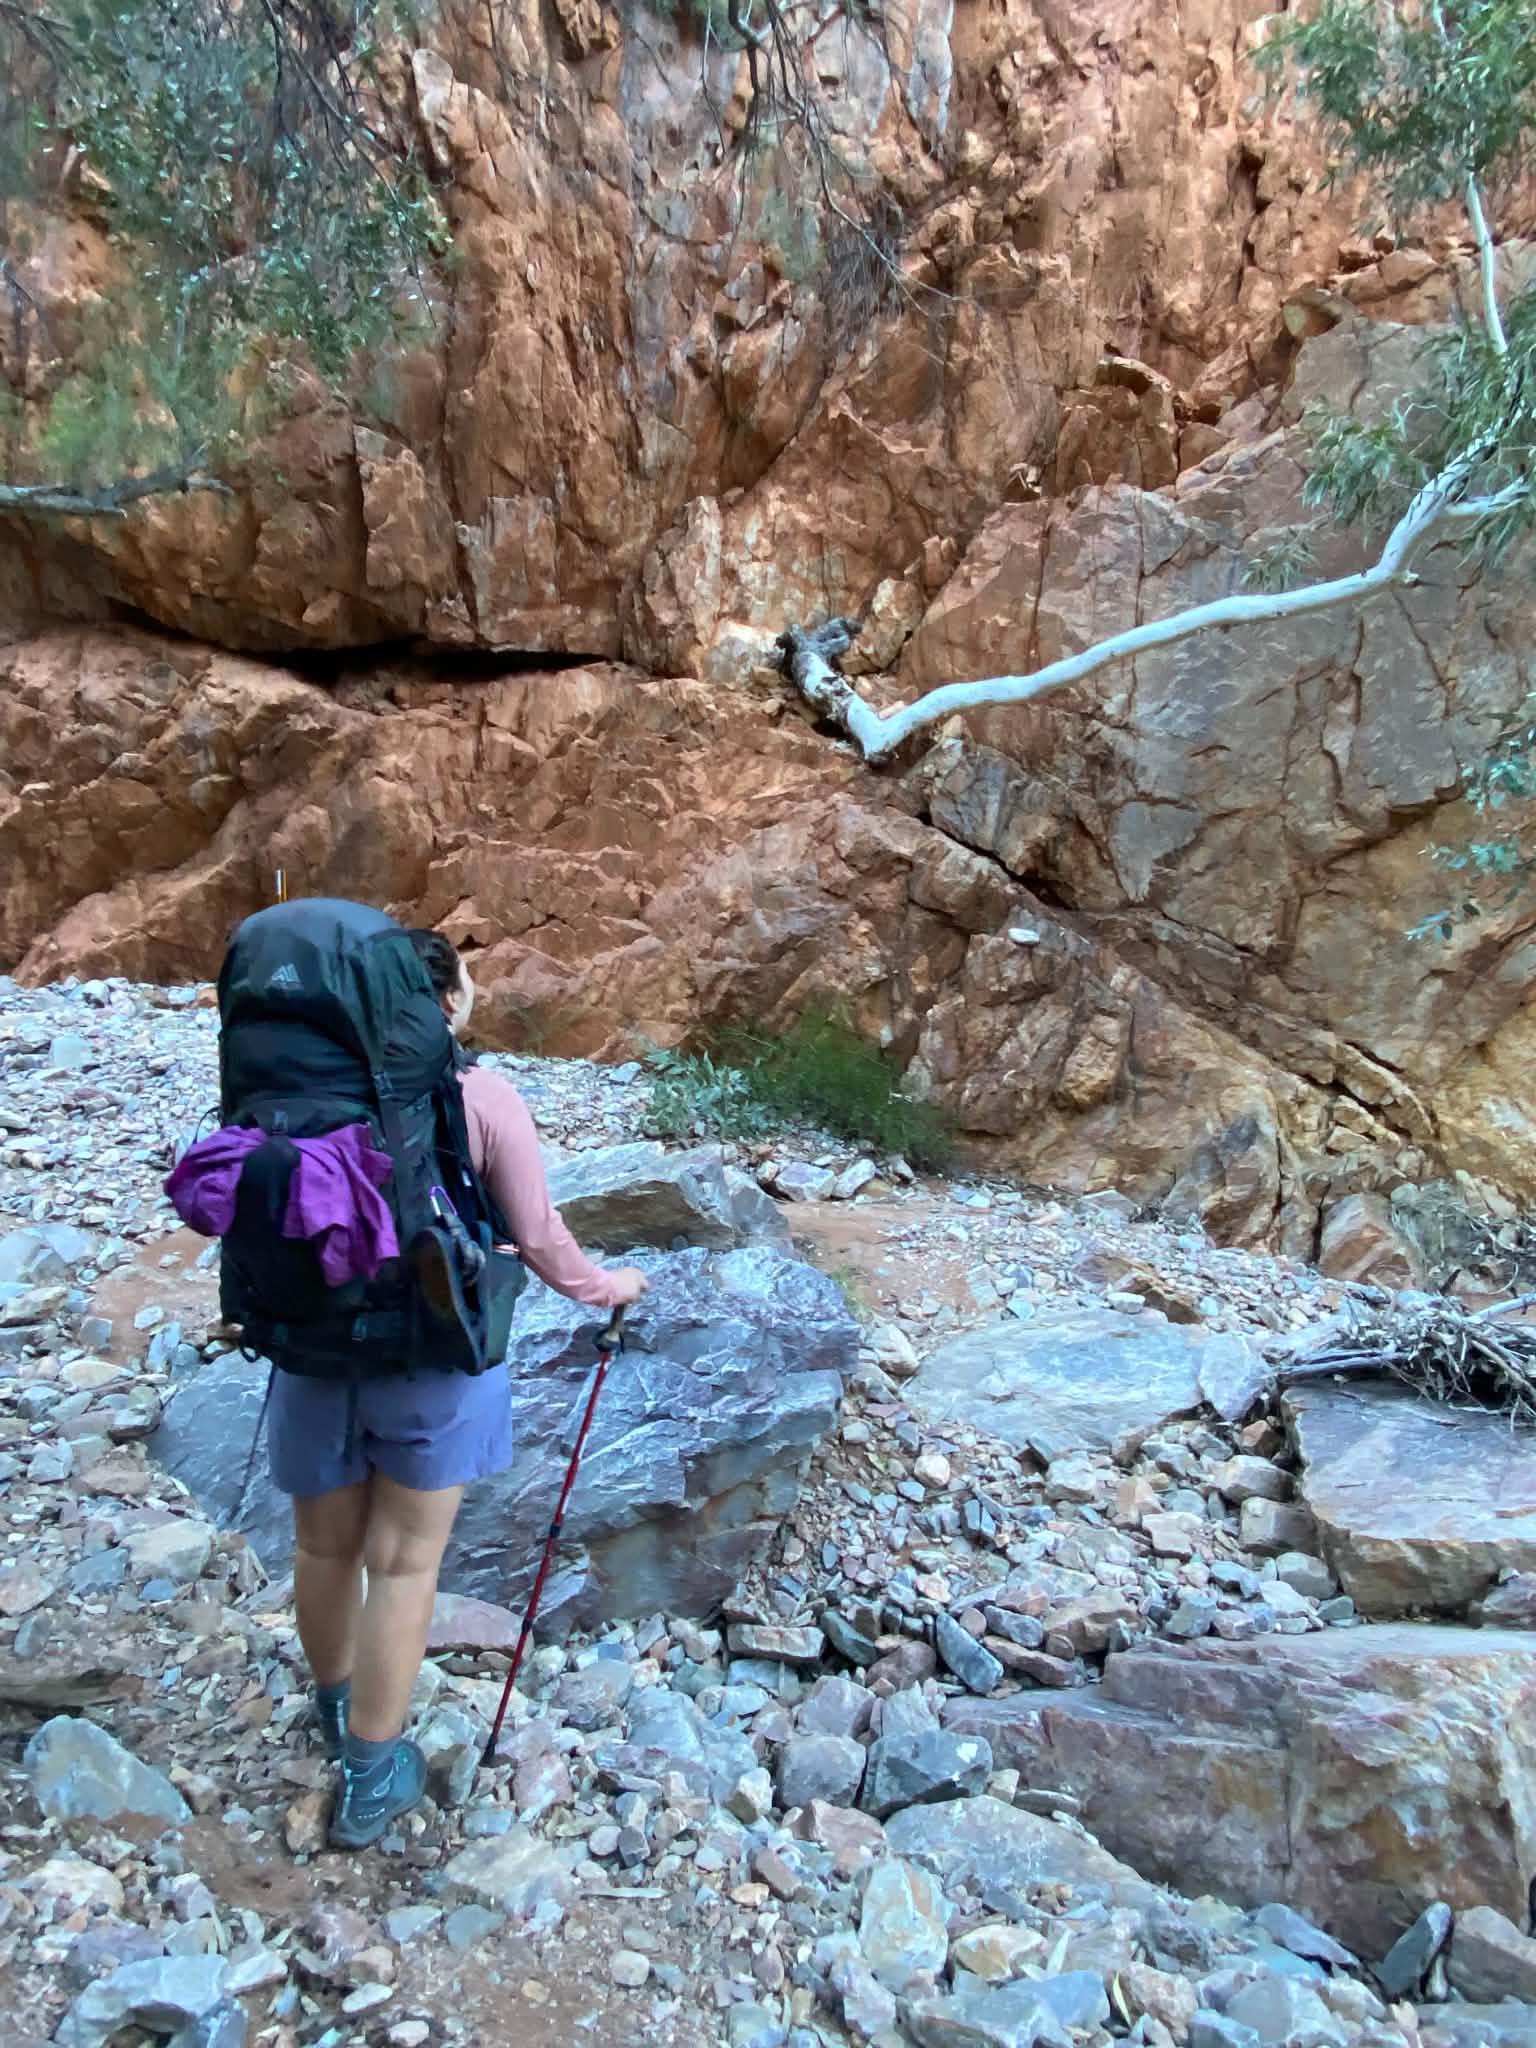
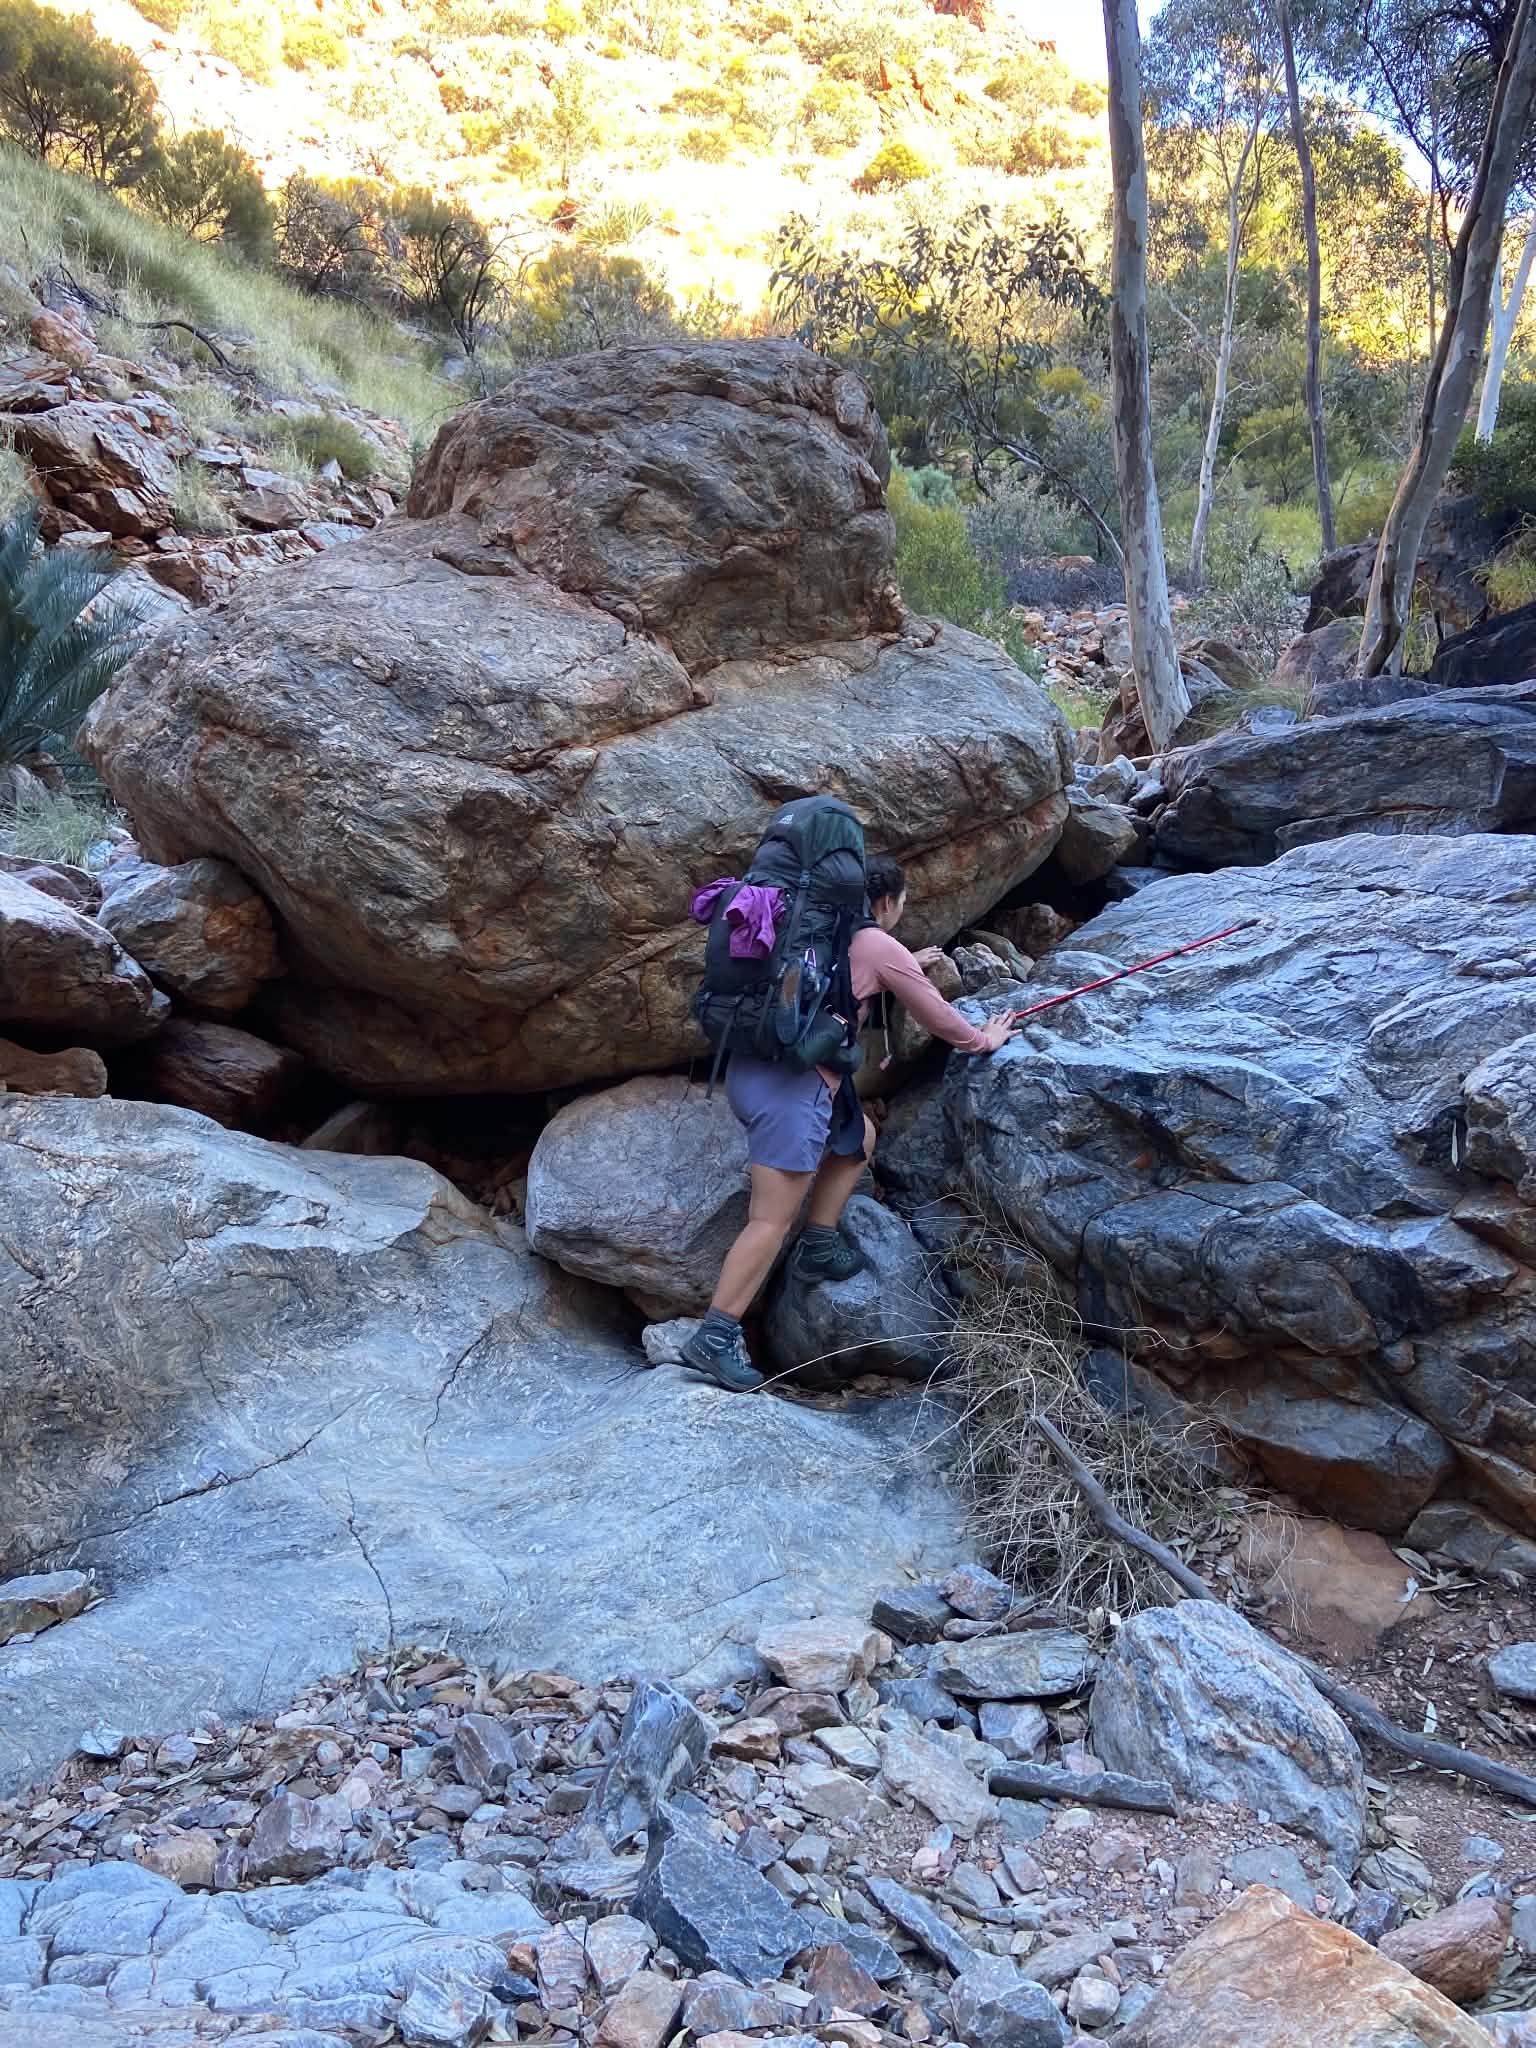
We loved this section! It was lots of scrambling and climbing over boulders. The walking was interesting and varied which helped ease some pain in the feet and the mental games. Here we ran into 2/5 of the Victorians who were on their first multi-day hike, and had a quick chat with them. While we loved this section, I think it is a bit of love or hate. Lots of others seemed to find this section much less enjoyable and a lot slower; if you are slower when scrambling then you may want to overestimate the time here.
We eventually passed the famed Rocky Talus and continued the scrambly climb. The track eventually comes to a split in the creeks and we kept left before the trail starts to climb towards Windy Saddle. This section is steep and zig zags, but has a great view at the top. This would be a nice break spot, although we did accidentally get a bit lost here momentarily. Here we ran into the family boys’ trip, who were also lost, and recounted our steps together before finding the trail again.
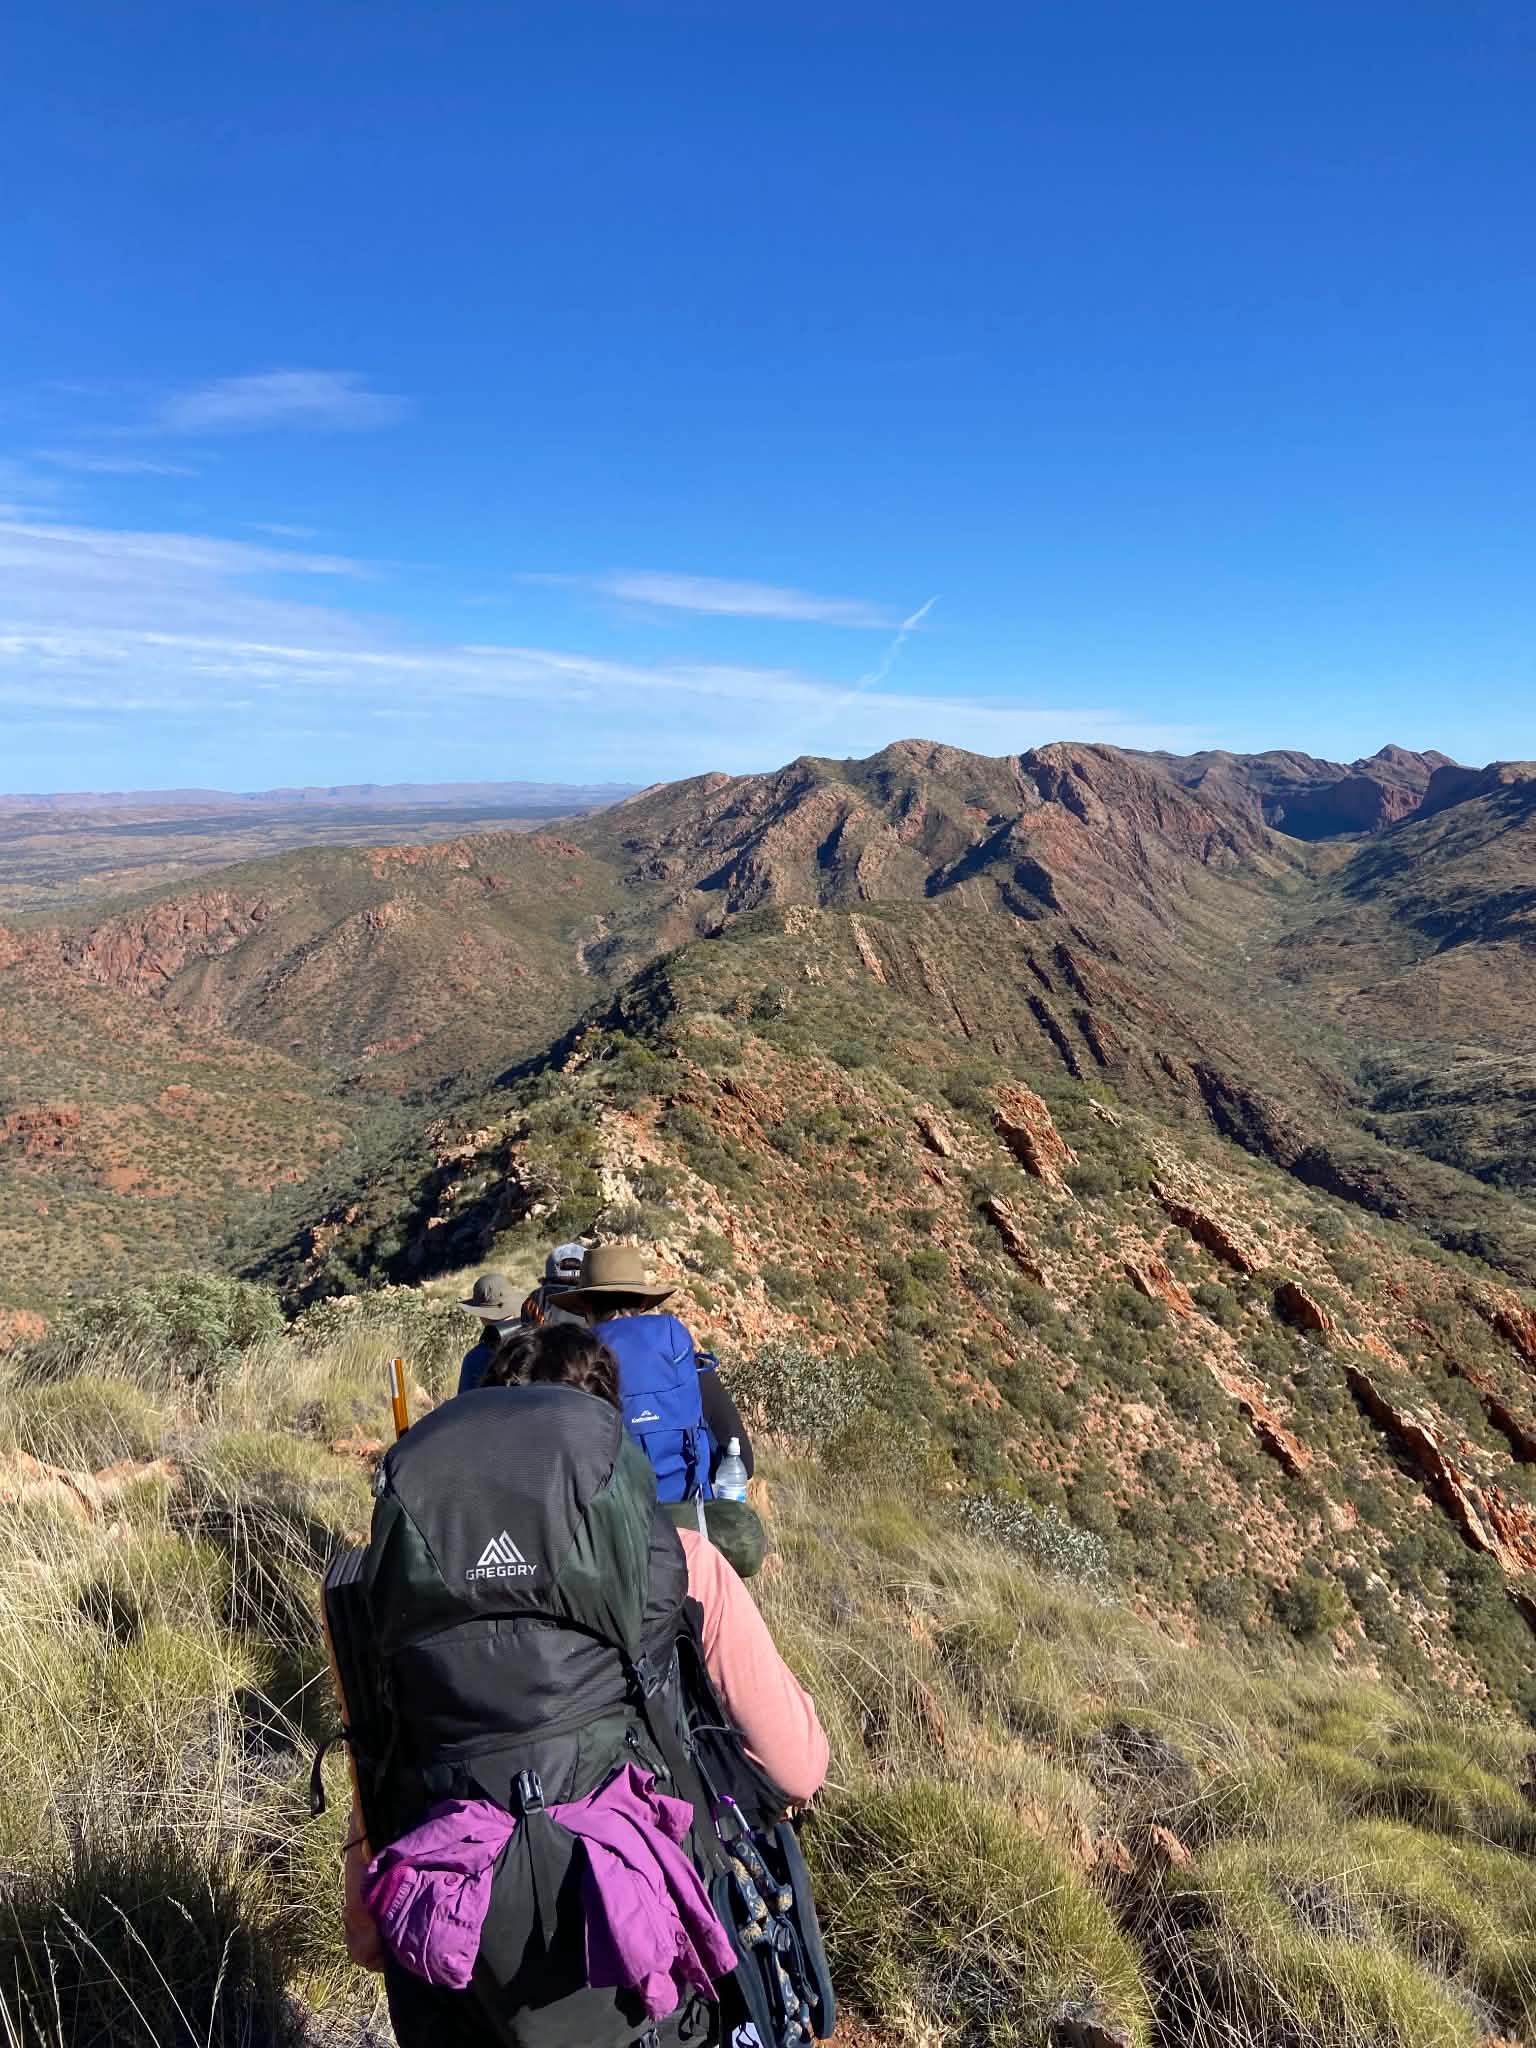
The path then sidles along Razorback Ridge which is aptly named and was another of my favourite sections. This section is exposed and involves some scramble, but overall easier/less scary than the ridge section along Brinkley. I was amazed by the jagged shards of rock here like teeth along the ridgeline, and the views are epic. There are some lovely camp spots here, but no amenities. I think this is an under appreciated camp site and would make for a great sunrise/sunset camp.
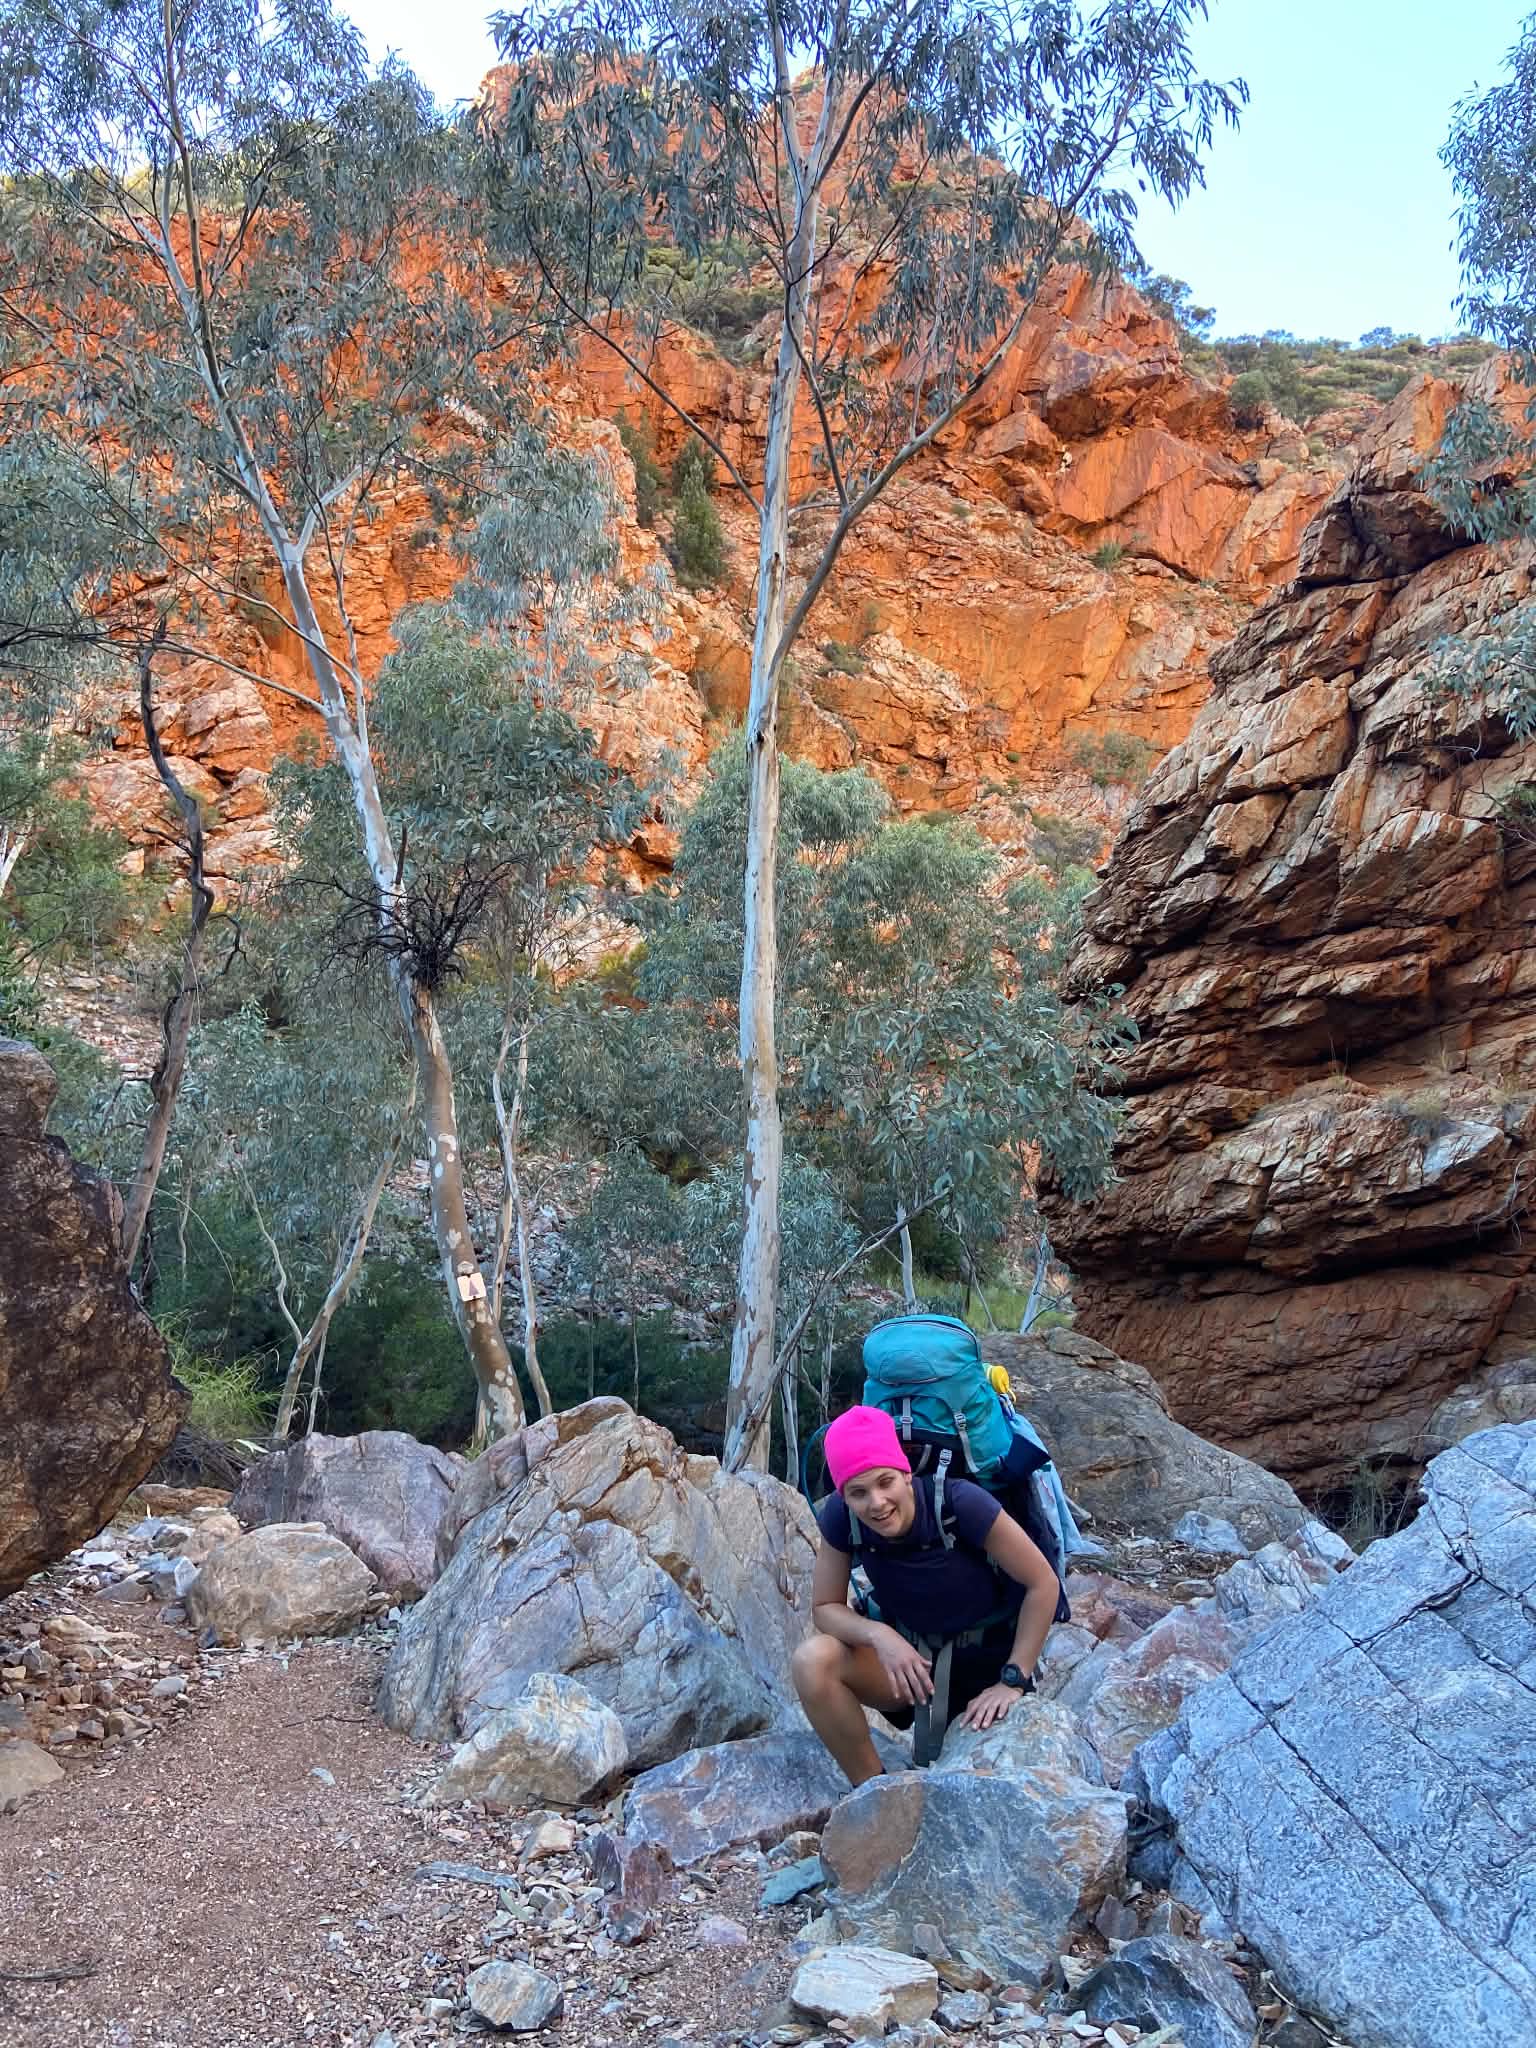
From Razorback Ridge you can see the trail descending before you and offers a visual goal for the rest of the day. After a short break, the trail descends to Fringe Lily Creek. This is also a nice campsite with shade and water access from a pond, but no amenities. The trail follows the stoney creek bed for what feels like a looong (1.5km) time. This section is sore on the feet and ankles, and is slow going as there are lots of obstacles and the ground is unstable. The trail then turns off to the right to begin the climb up over the saddle. The turn off is very easy to miss, and we saw a trail sign further along the creek bed. We’re not sure if this was a mistake or whether you can walk the creekbed the whole way up the climb, but that would be very slow and difficult – so try not to miss the turn off.
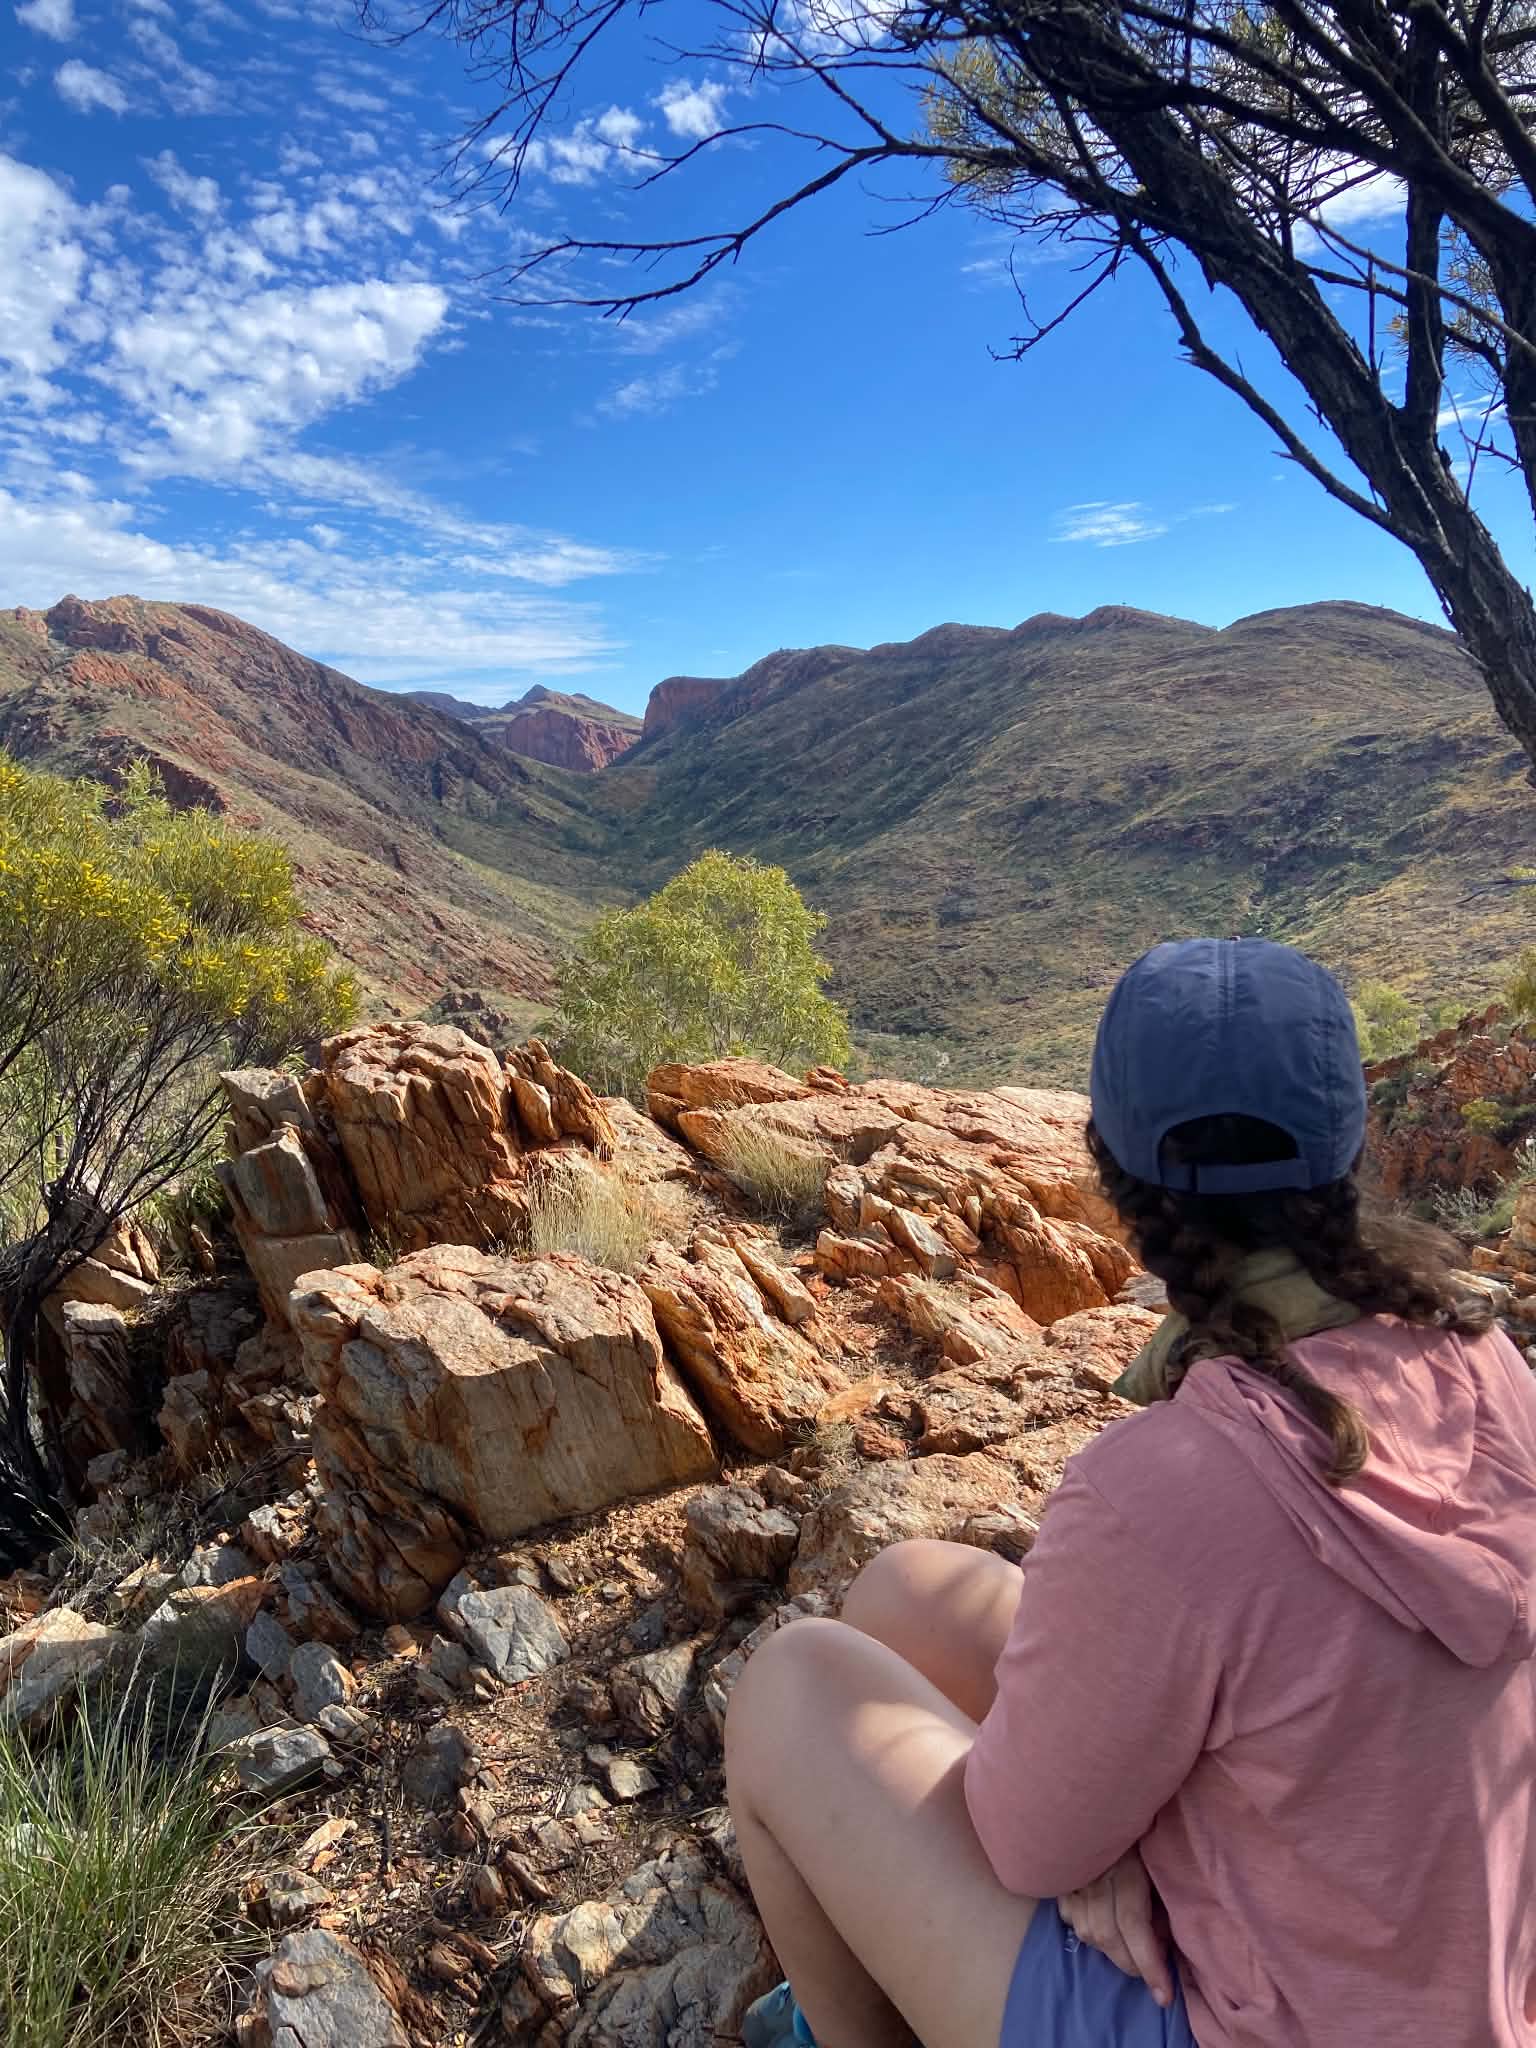
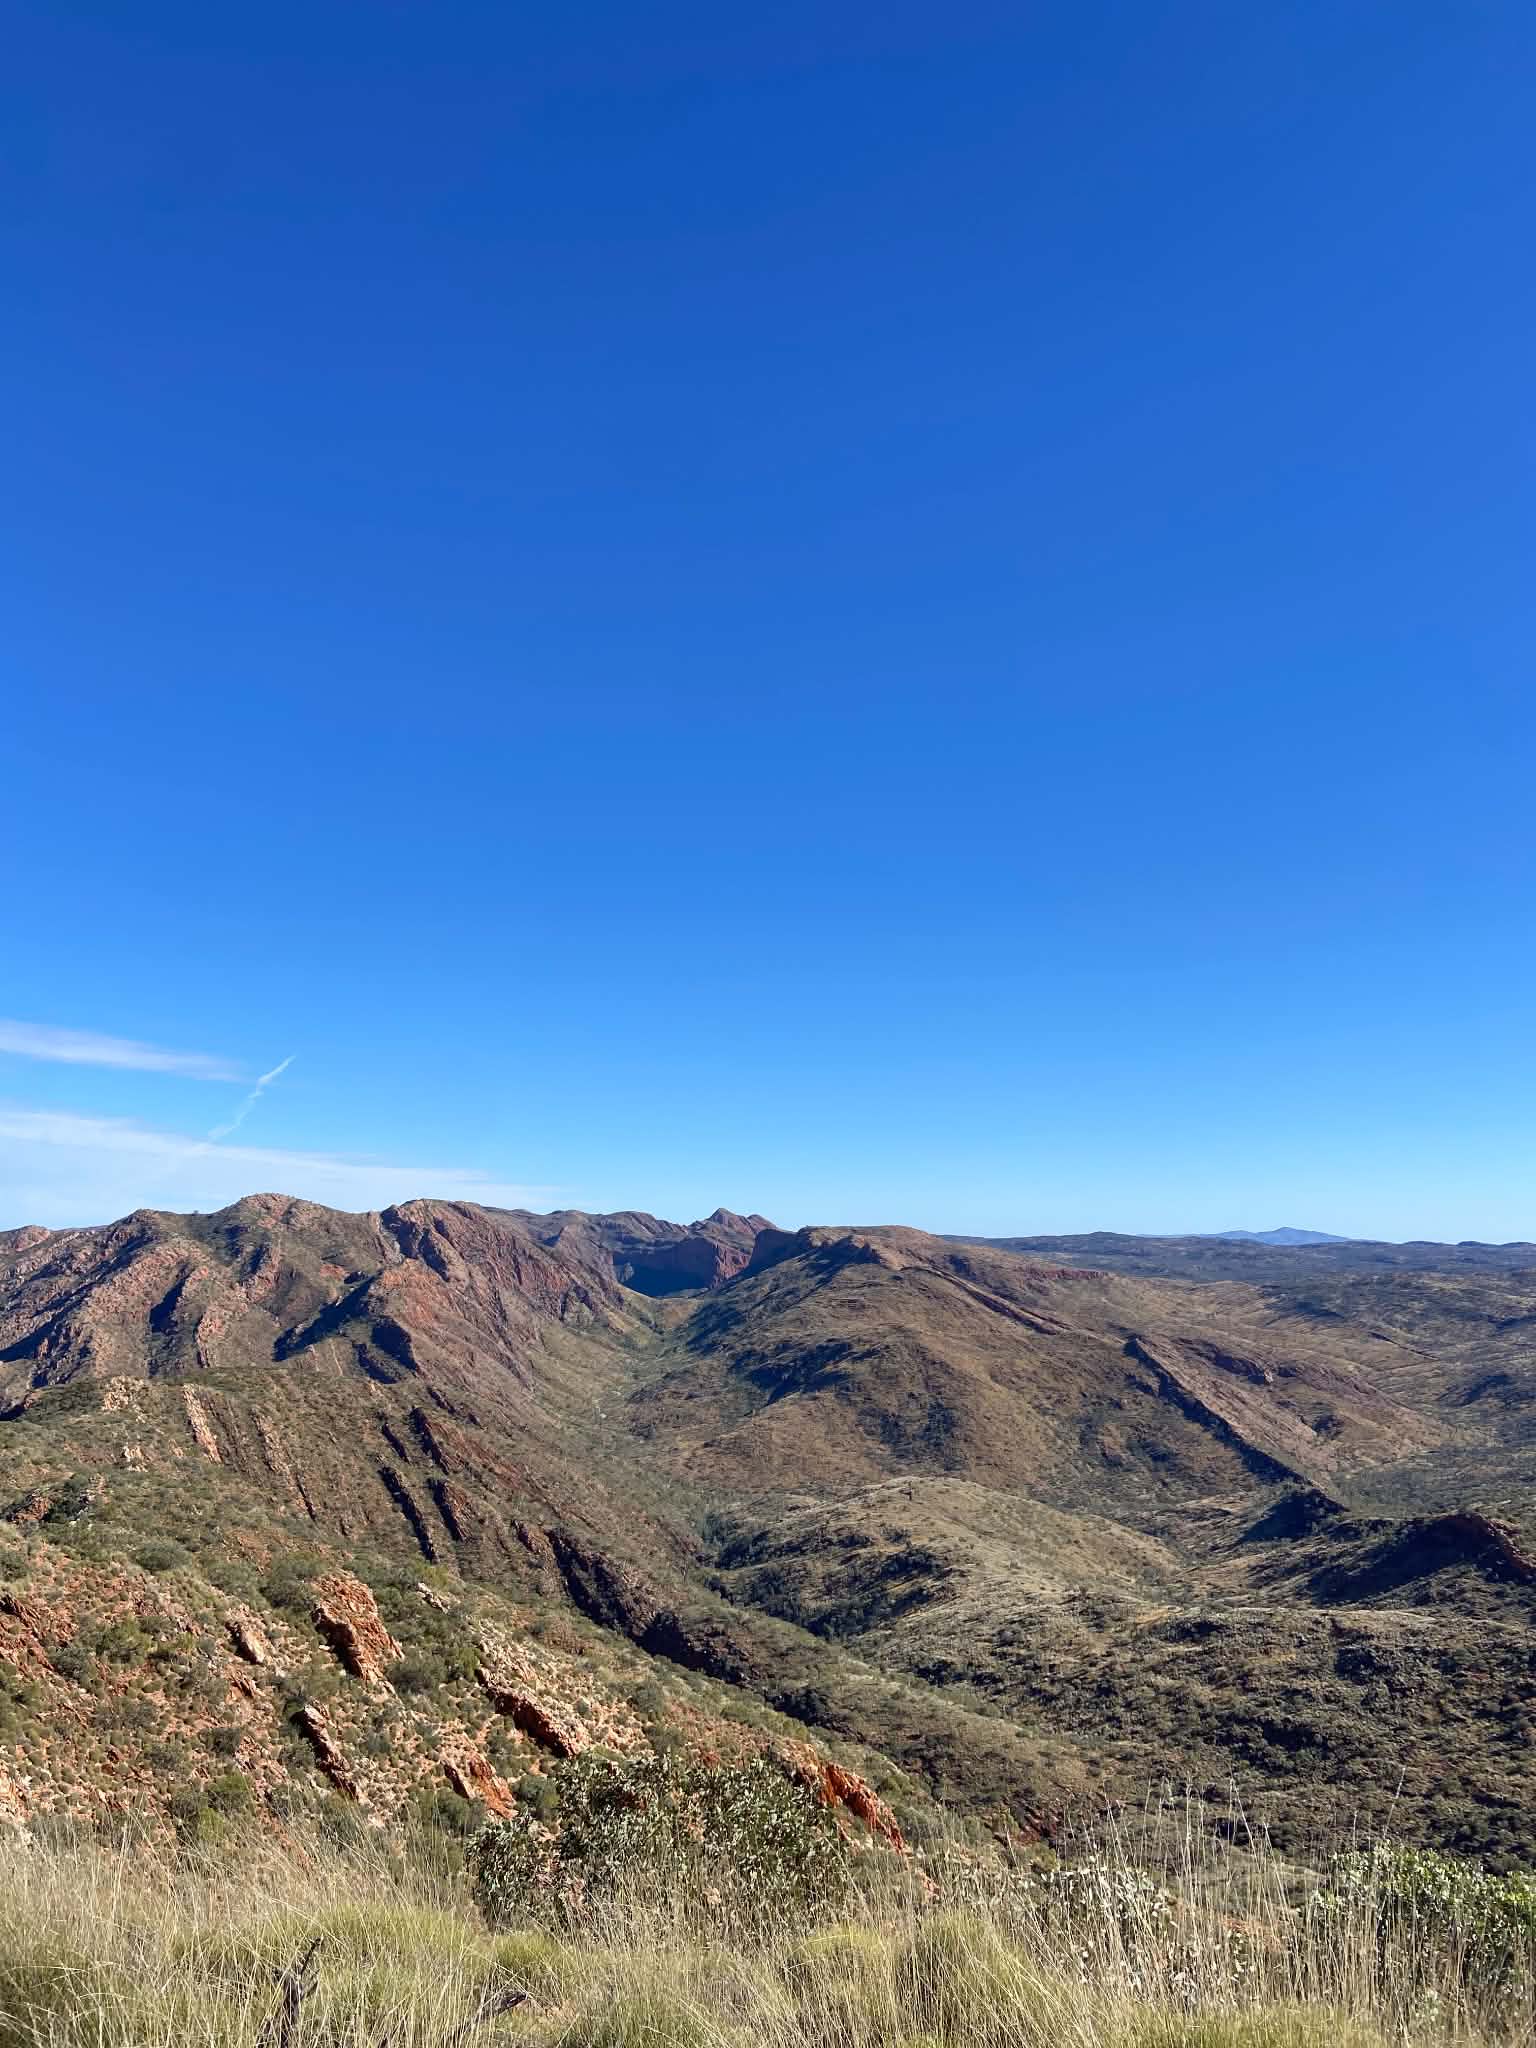
The climb zig zags and has some steep sections. It doesn’t offer much shade so this is a long, hot stretch. Once at Rocky Saddle, we began the descent to Hugh Junction where there is also a campsite. This camp is nice, but I would suggest continuing on to Hugh Gorge if you can (also depends on time of day as you will have the water crossing on the between Hugh Junction and Hugh Gorge).
From the junction, we followed the creek bed to Hugh Gorge. The valley begins to expand which offers beautiful views of the gorge, but is also slow-going and difficult walking on the stoney creek bed. There is no marked track, so you need to keep and eye out for markers and cross over the creek numerous times . There is some scramble here and it takes time to figure out the best route around the rocks. Eventually you come to a point that is unpassable without a wade. We stuck to the right hand side of the gorge. From here we took packs off, and one person lowered themselves into the water from a low shelf on the left-hand side and then waded a couple of meters to under the ledge. From here, the person on the ledge lowered the bags to the person below who could then carry the bags over to safety (water is about mid-thigh here). This would be difficult to do by yourself, and you may need to wait for someone to arrive, use a stick or apparently some people float their packs on their blow-up mattress. The water is icy even in the heat of the day so doing this in early morning or later afternoon would be extra cold, and we couldn’t see anyway to avoid getting wet (unless you boulder?).
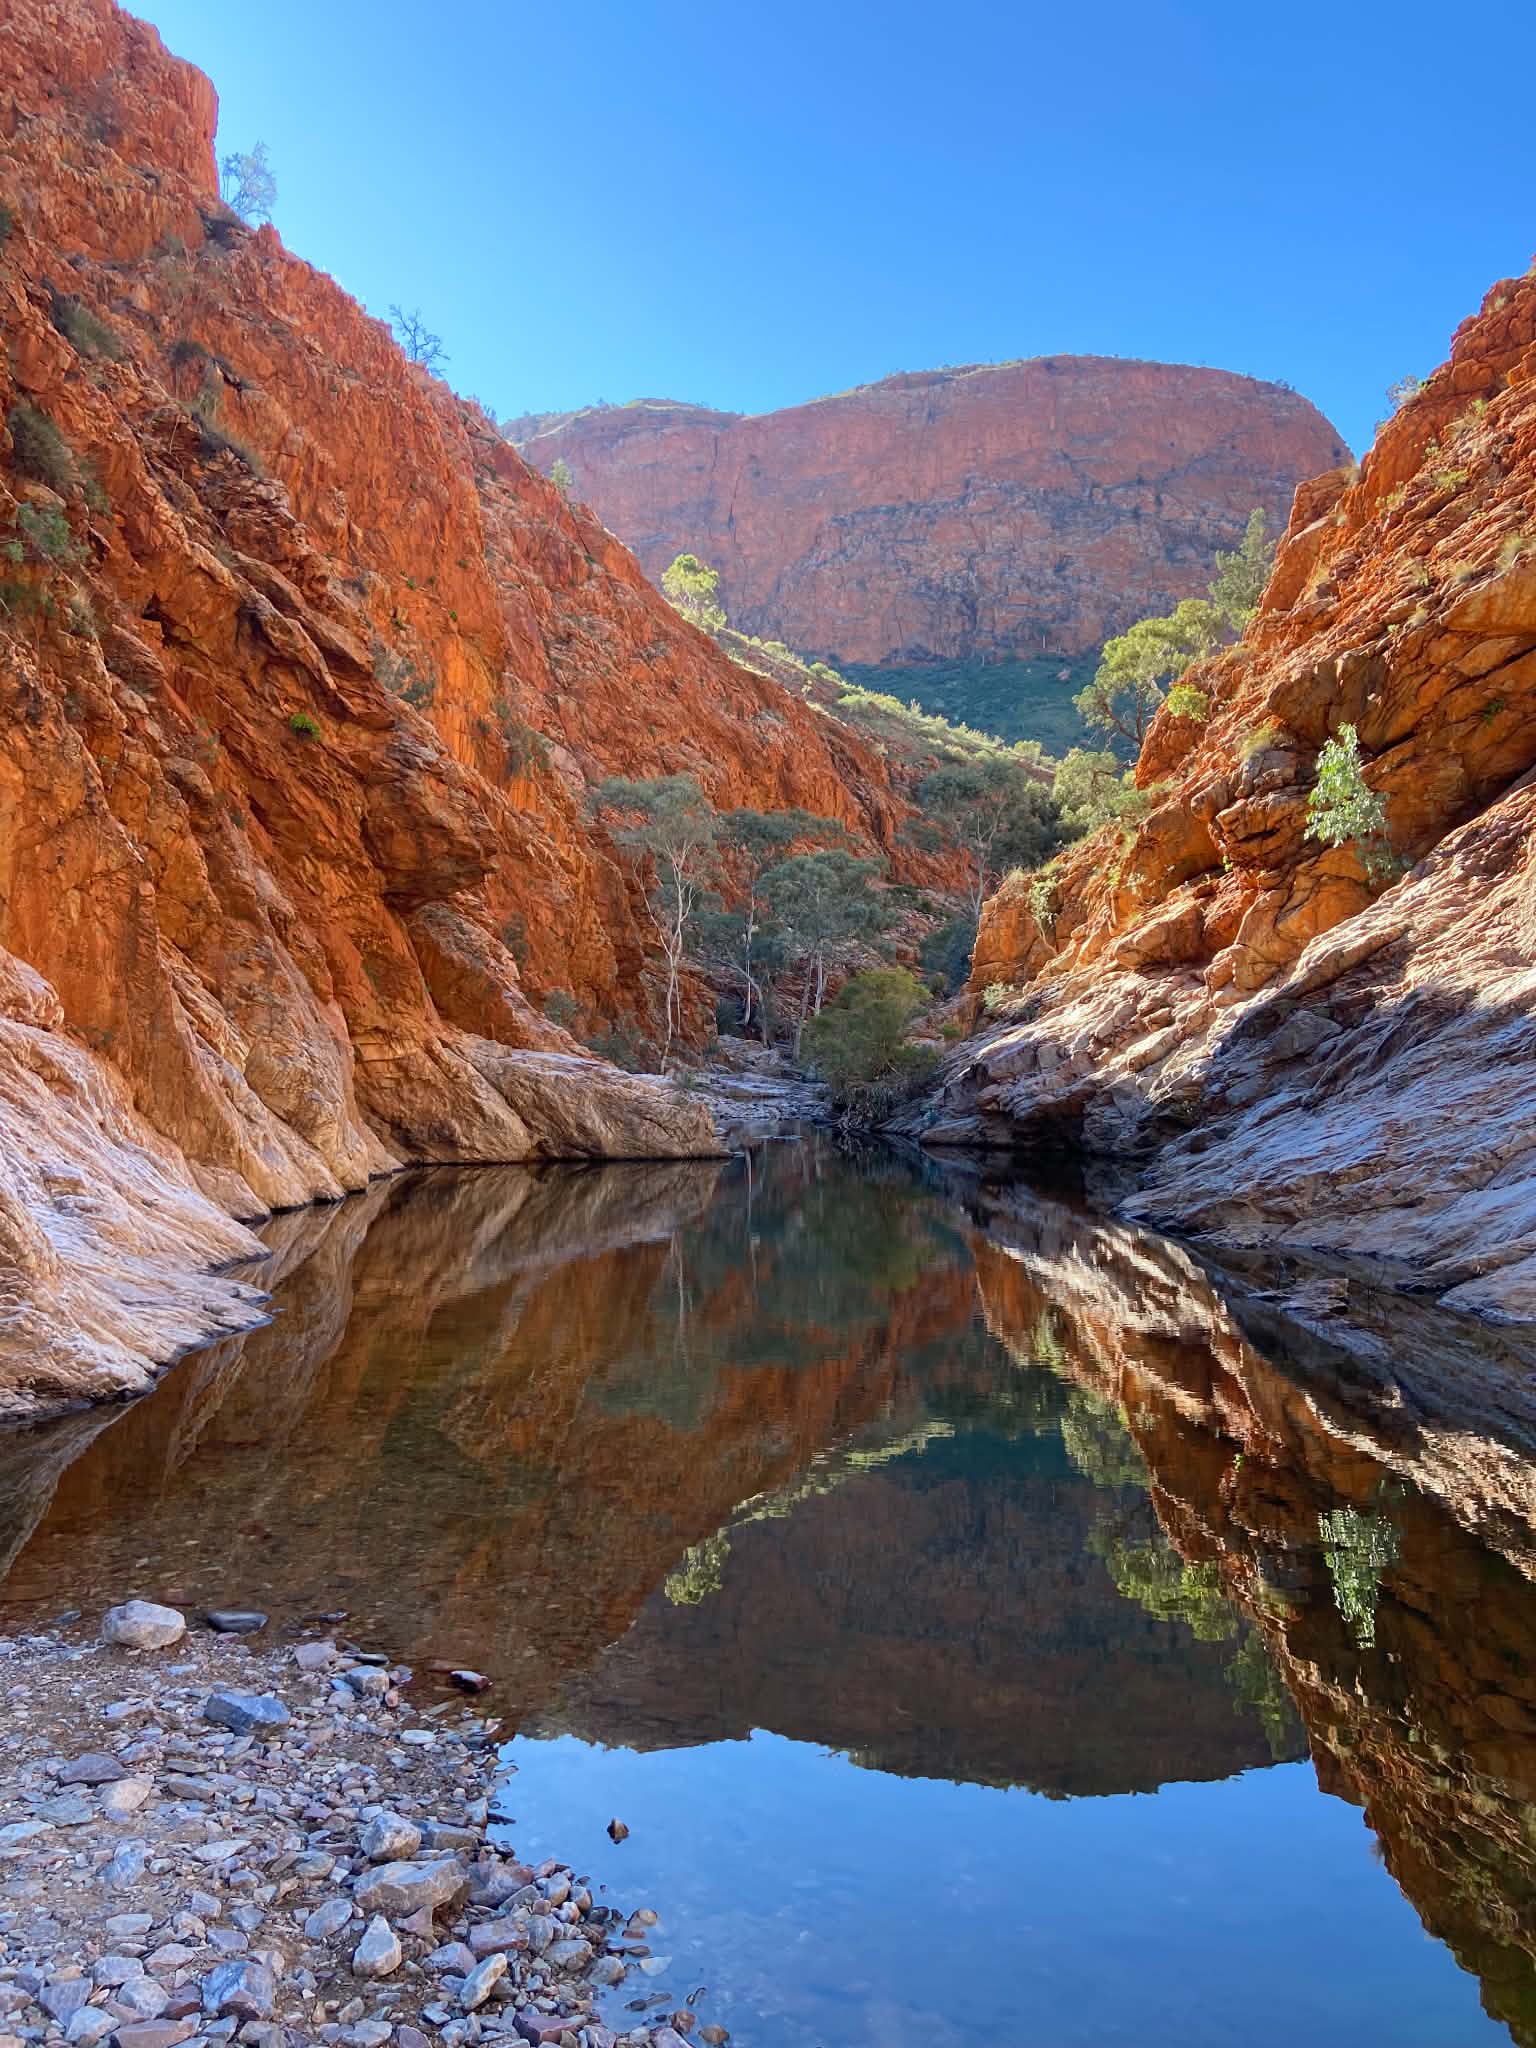
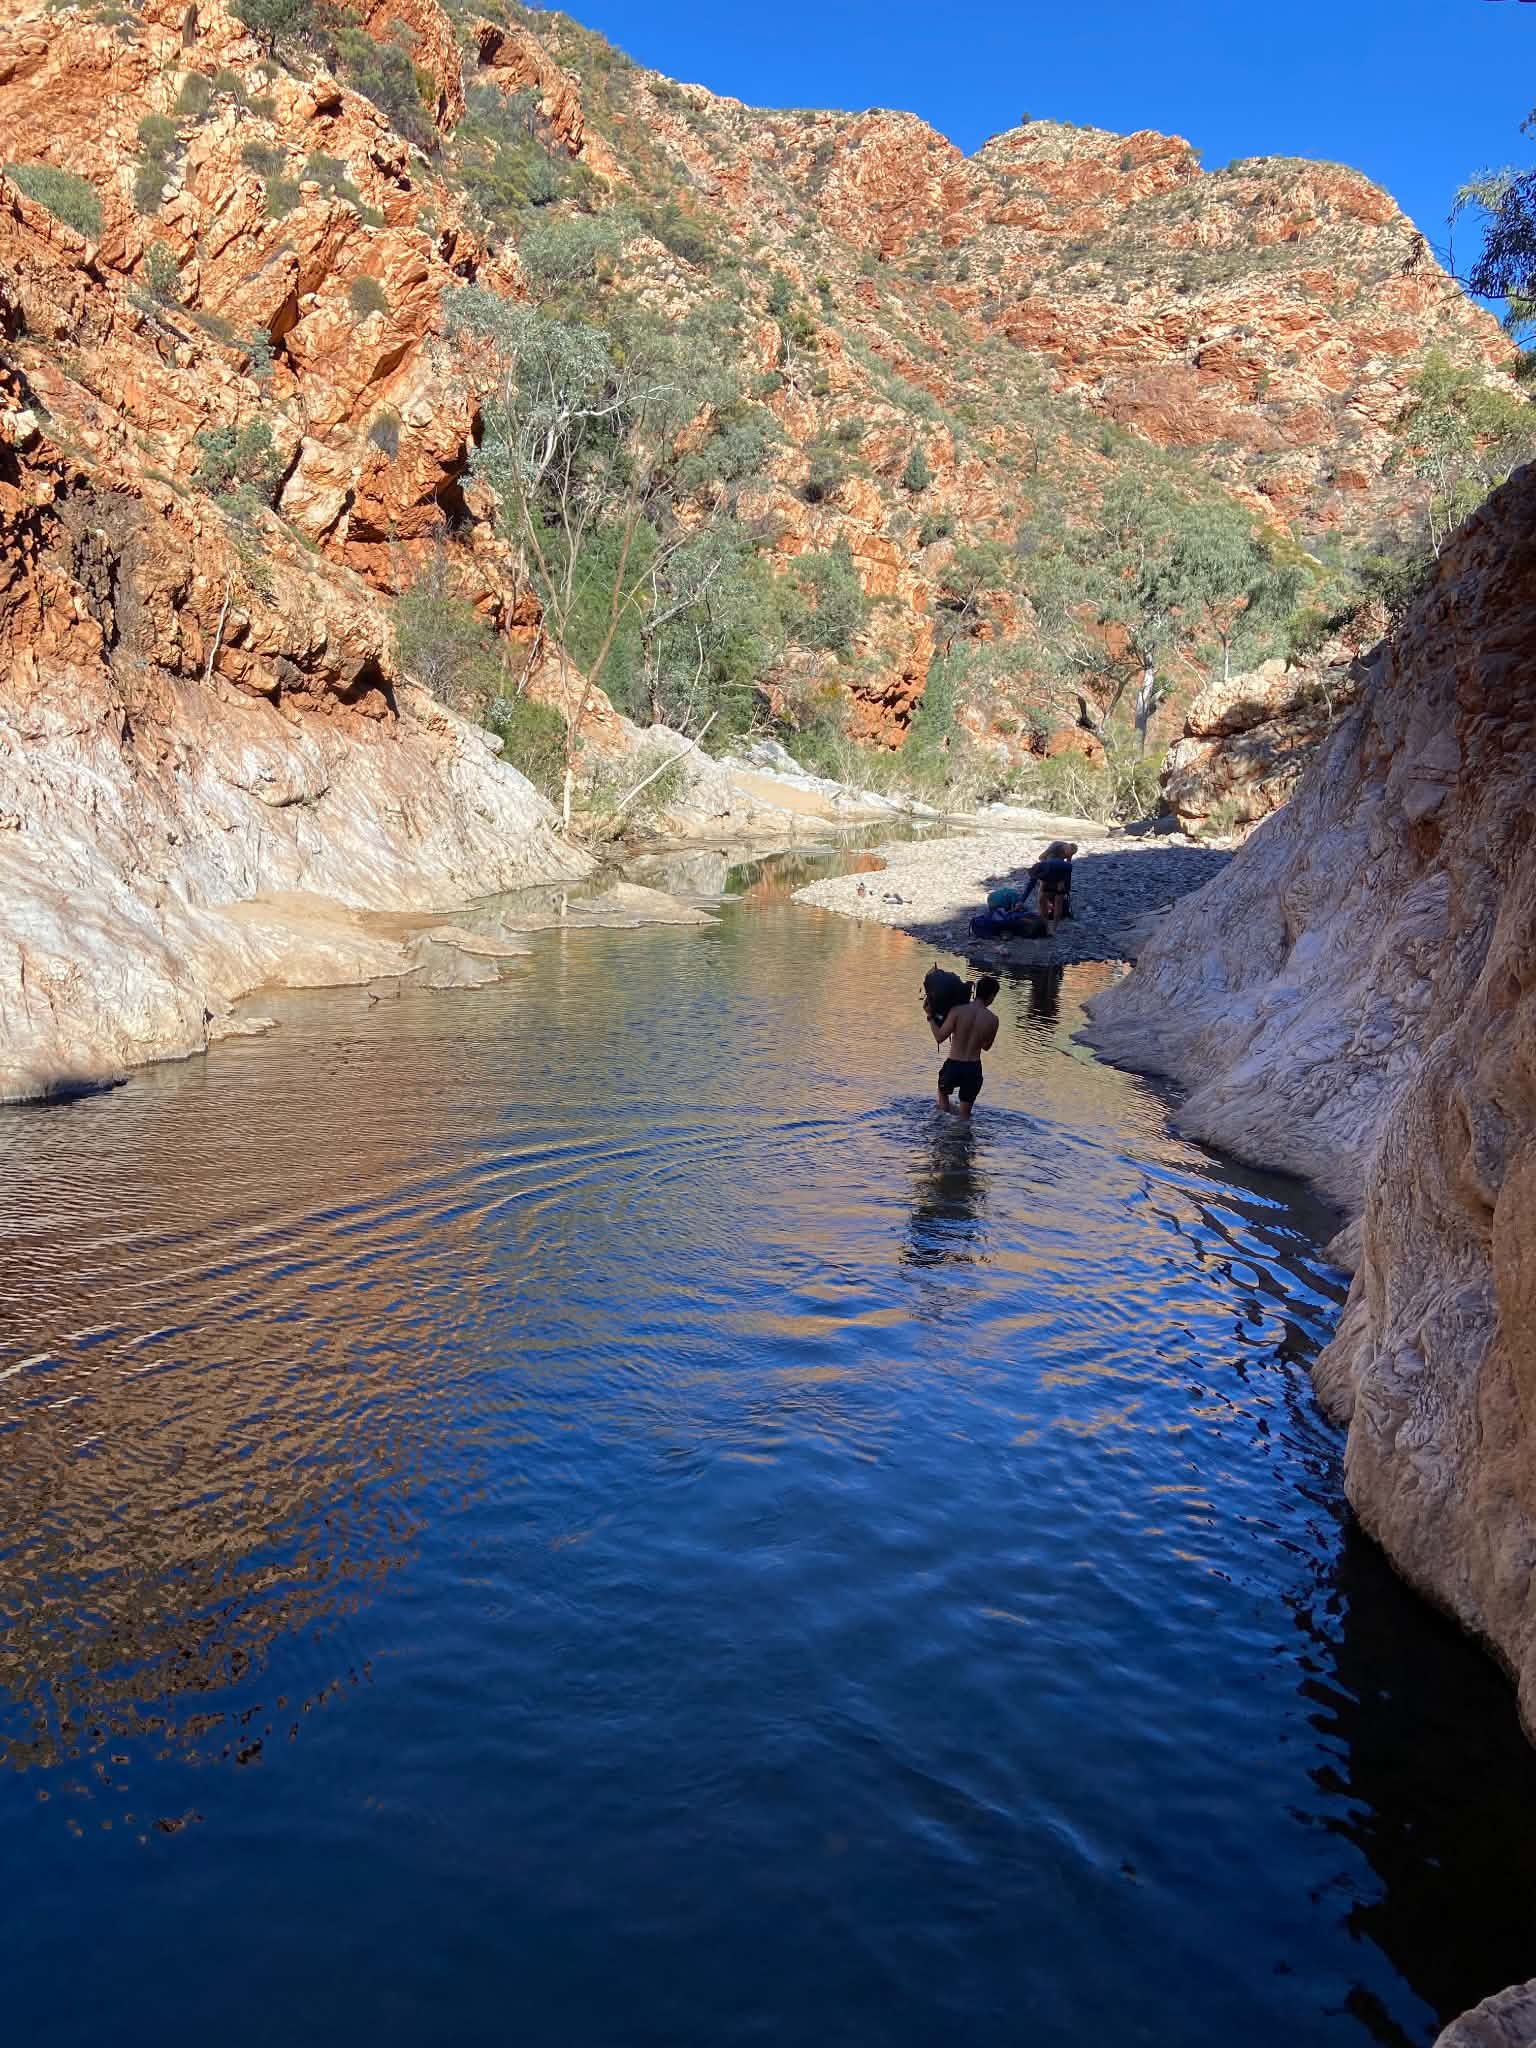
From here, it’s a bit of a slog along stony creek bed to get to camp. Hugh Gorge Camp has a shelter, toilet and water tanks. We didn’t love this campsite as much as others, however we heard dingoes howling and running up and down the gorge at night which was exciting. We spent the last hour of daylight healing our blisters and cooking minestrone for dinner before an early night.
Peaks & Pits:
Peak: Dingoes, swim in Hugh Gorge
Pit: Blisters and the final 2km slog
Day 6: Hugh Gorge to Rocky Gully
Distance: 15.3km
Duration: 5.5hrs (including breaks)
Highlights: Views of Chewings Range, wildflowers
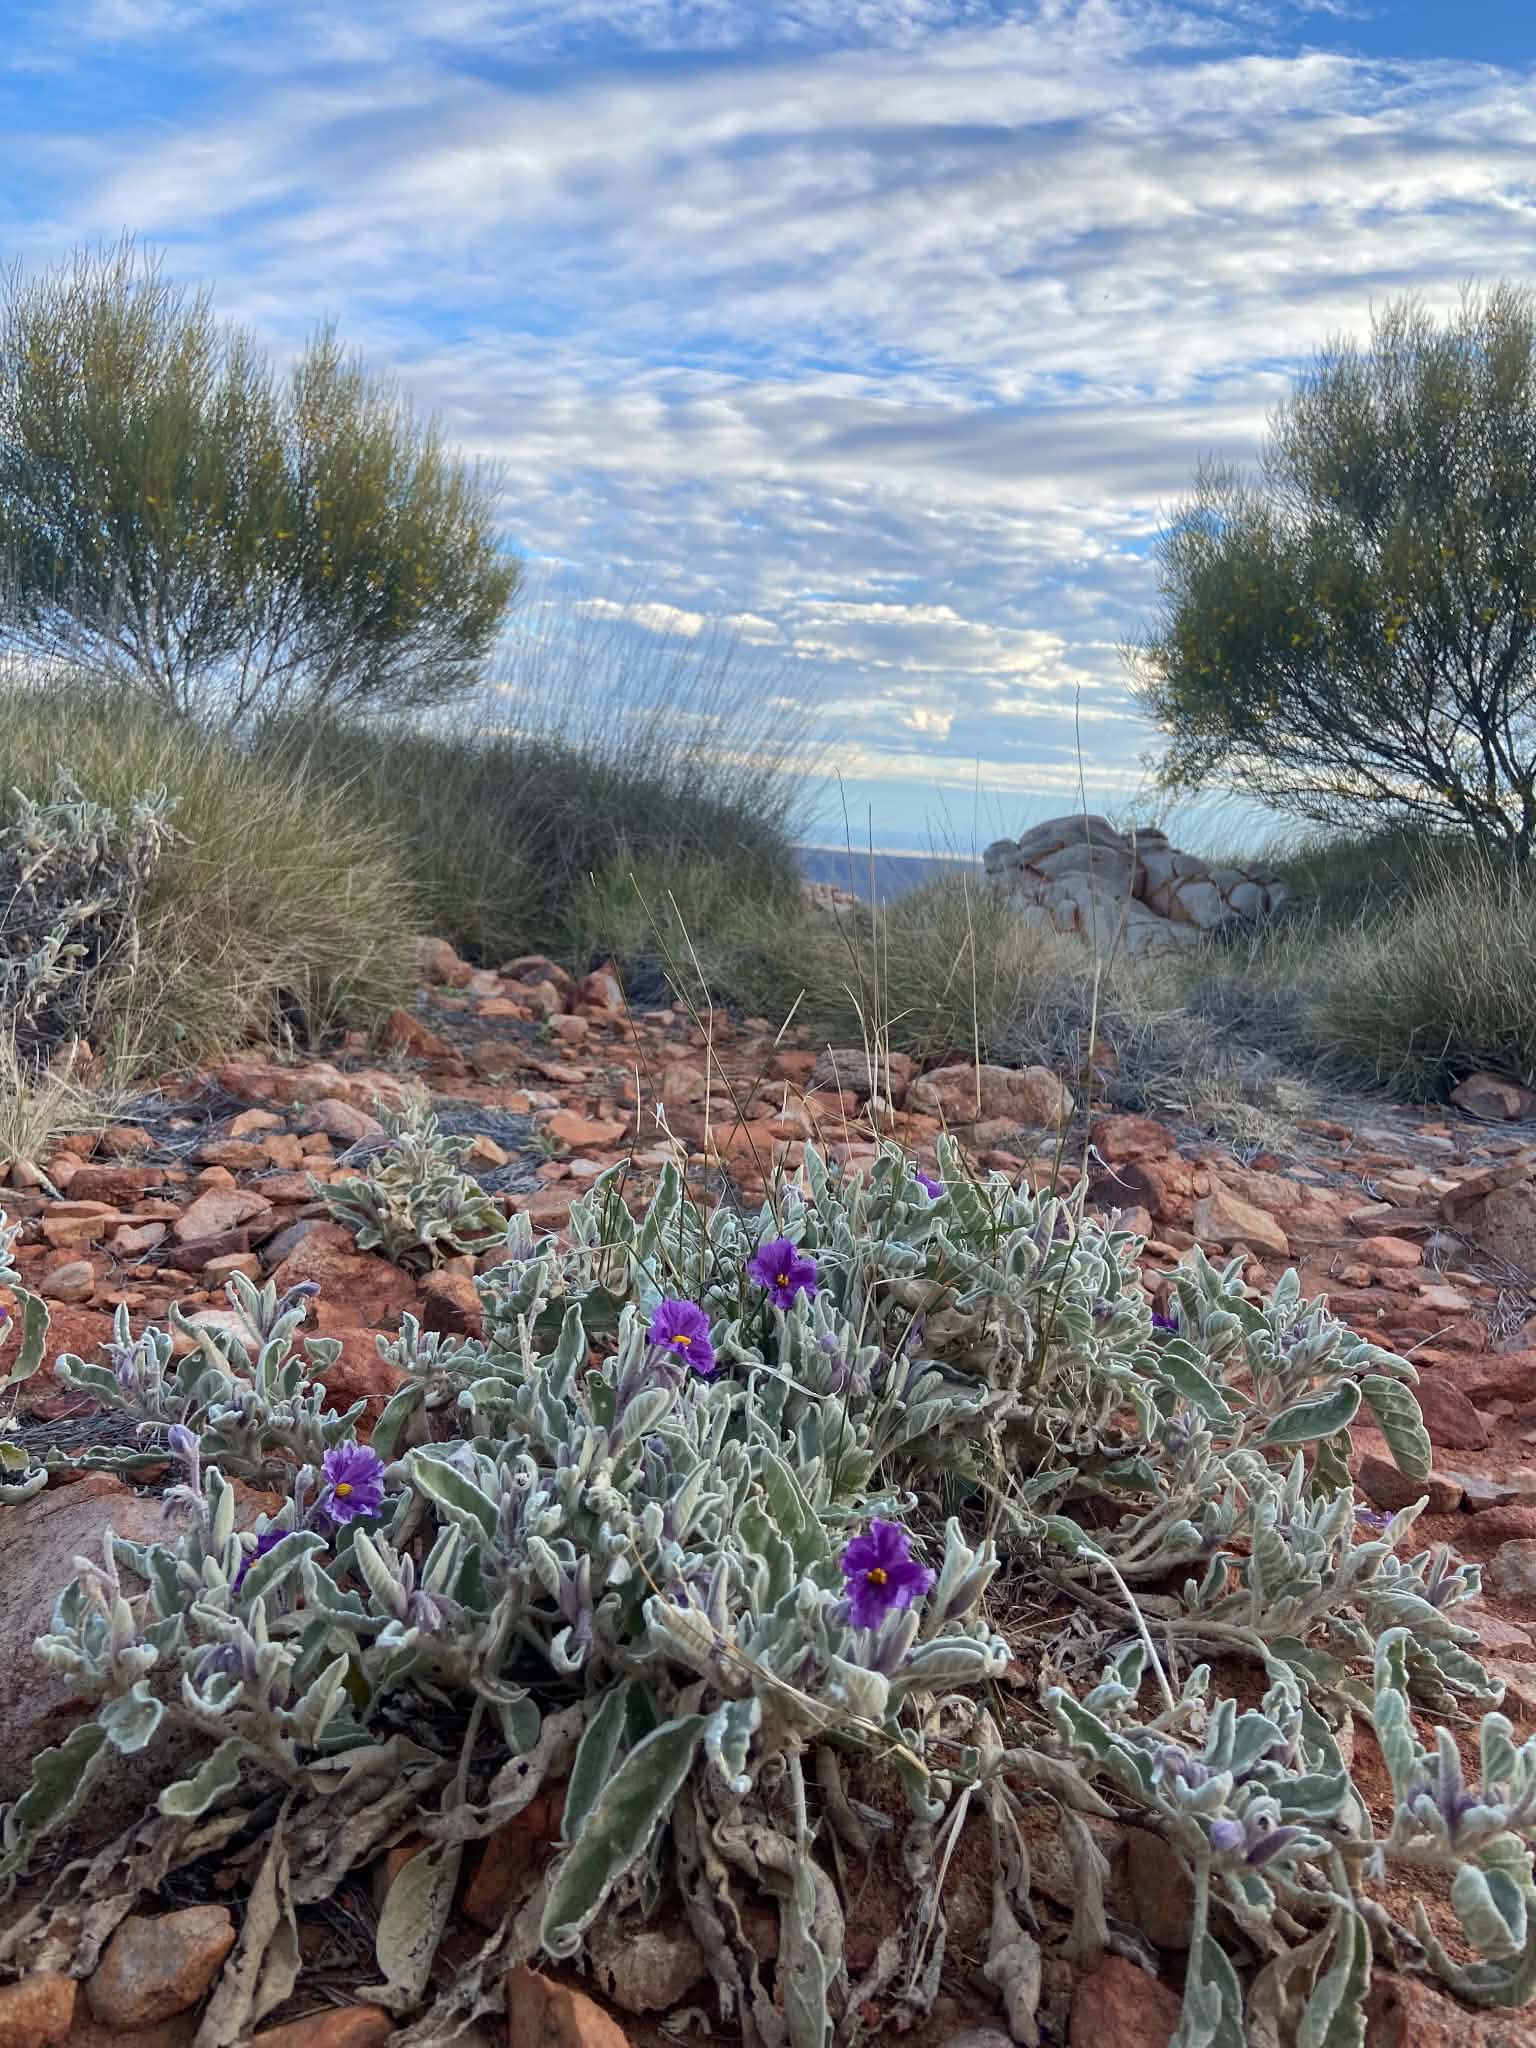
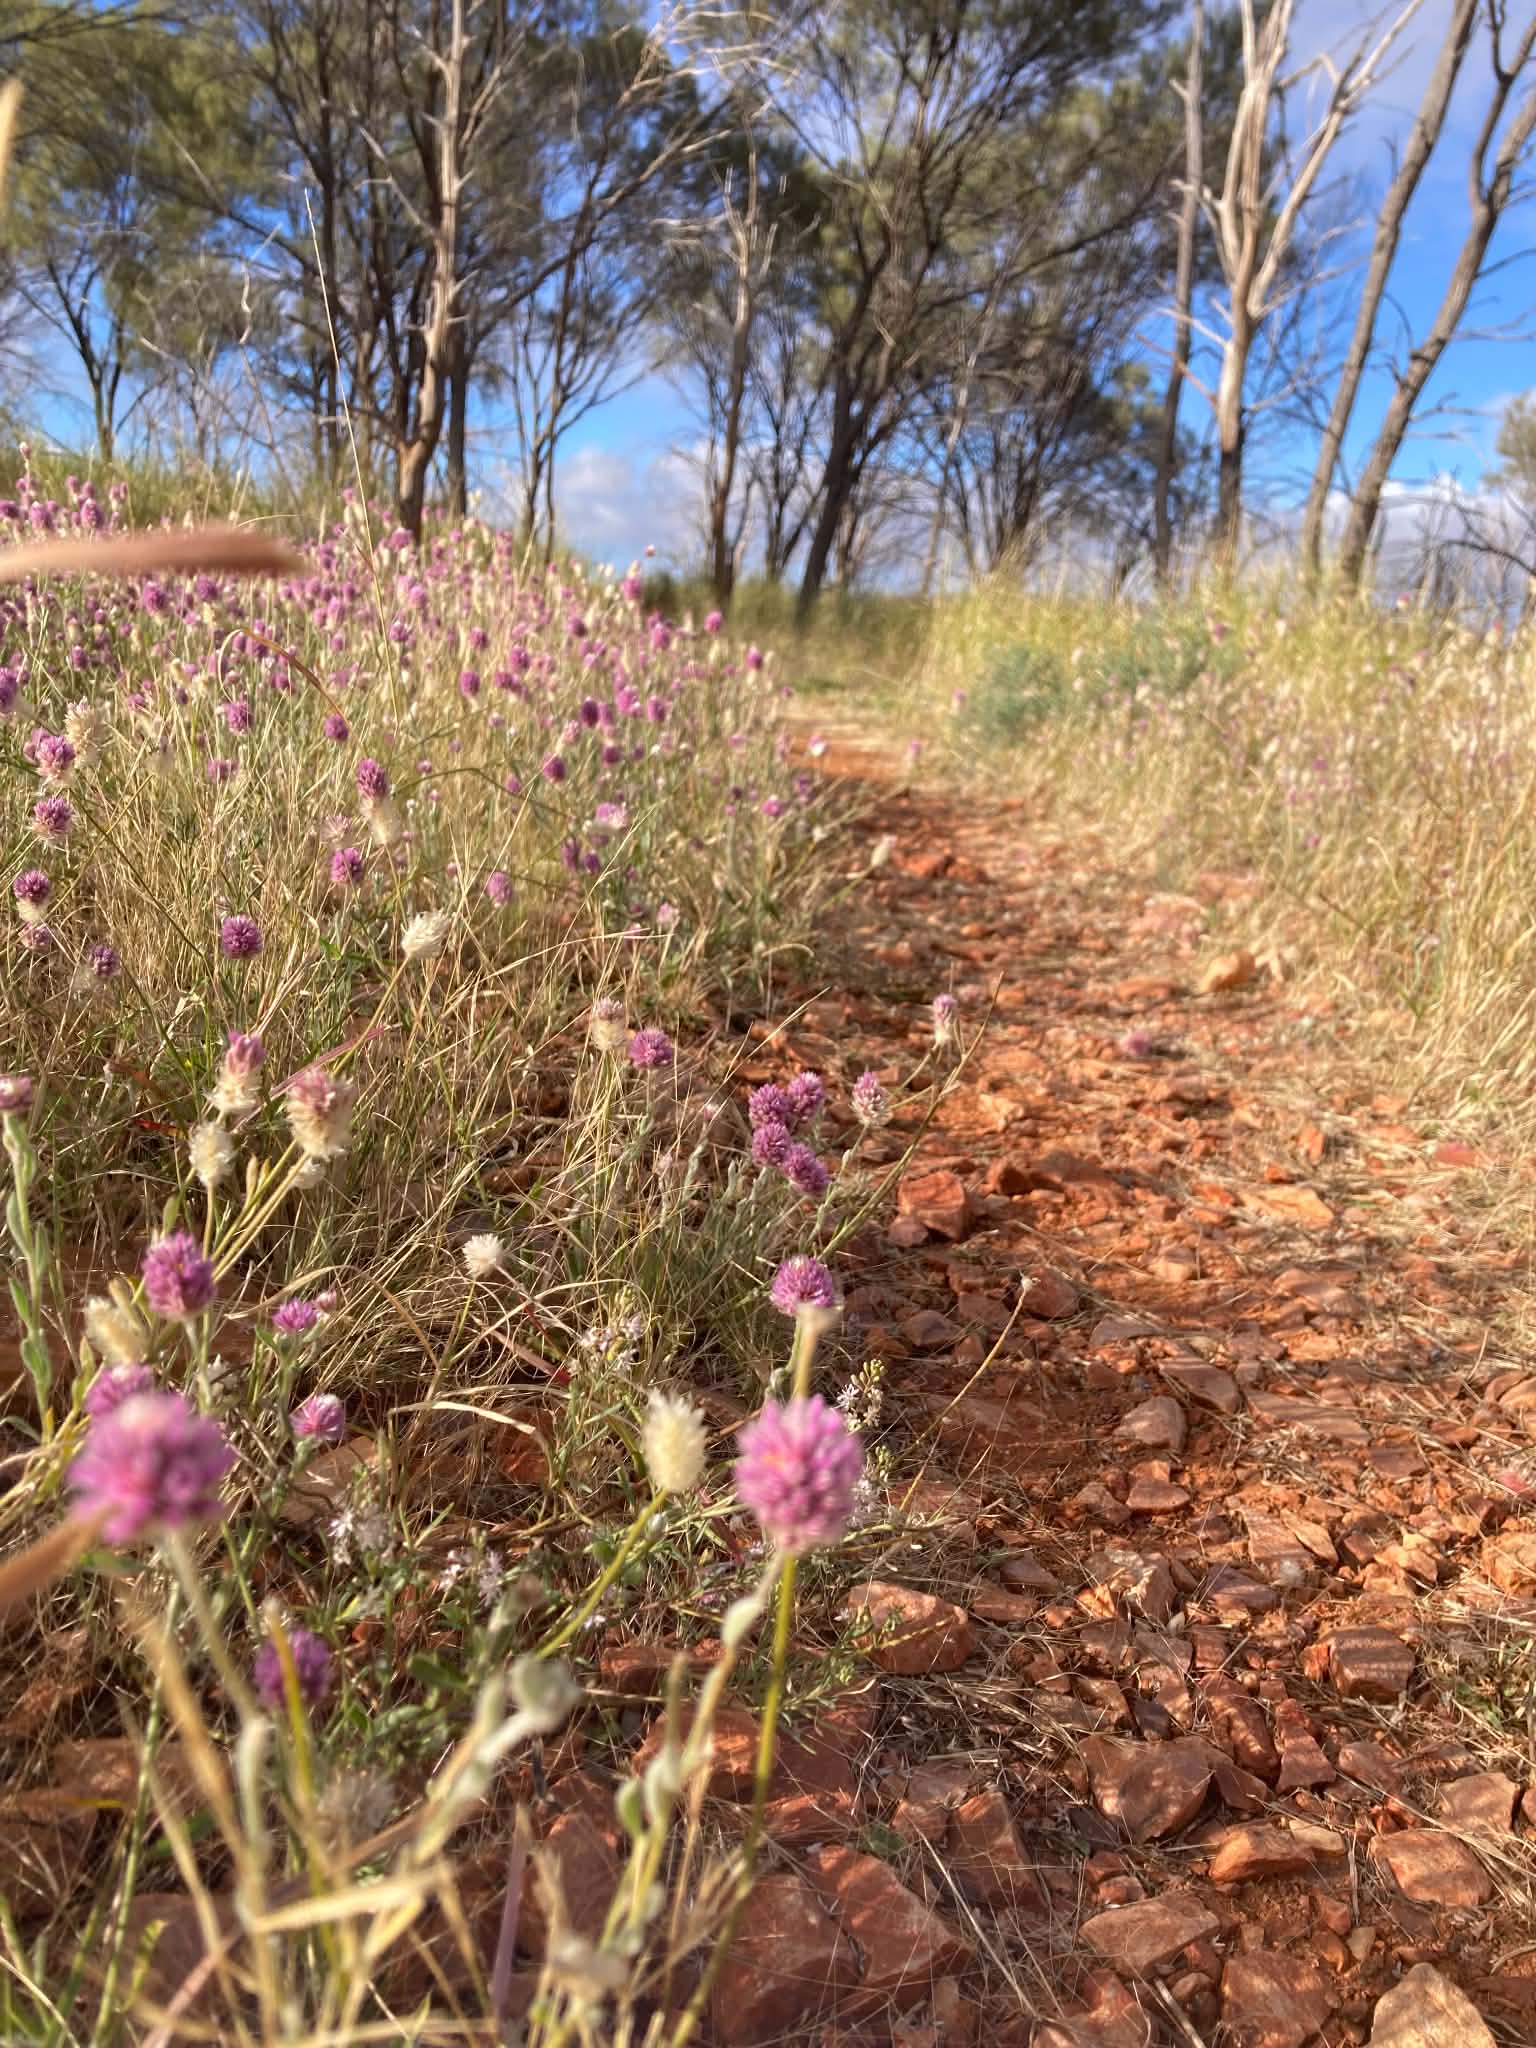
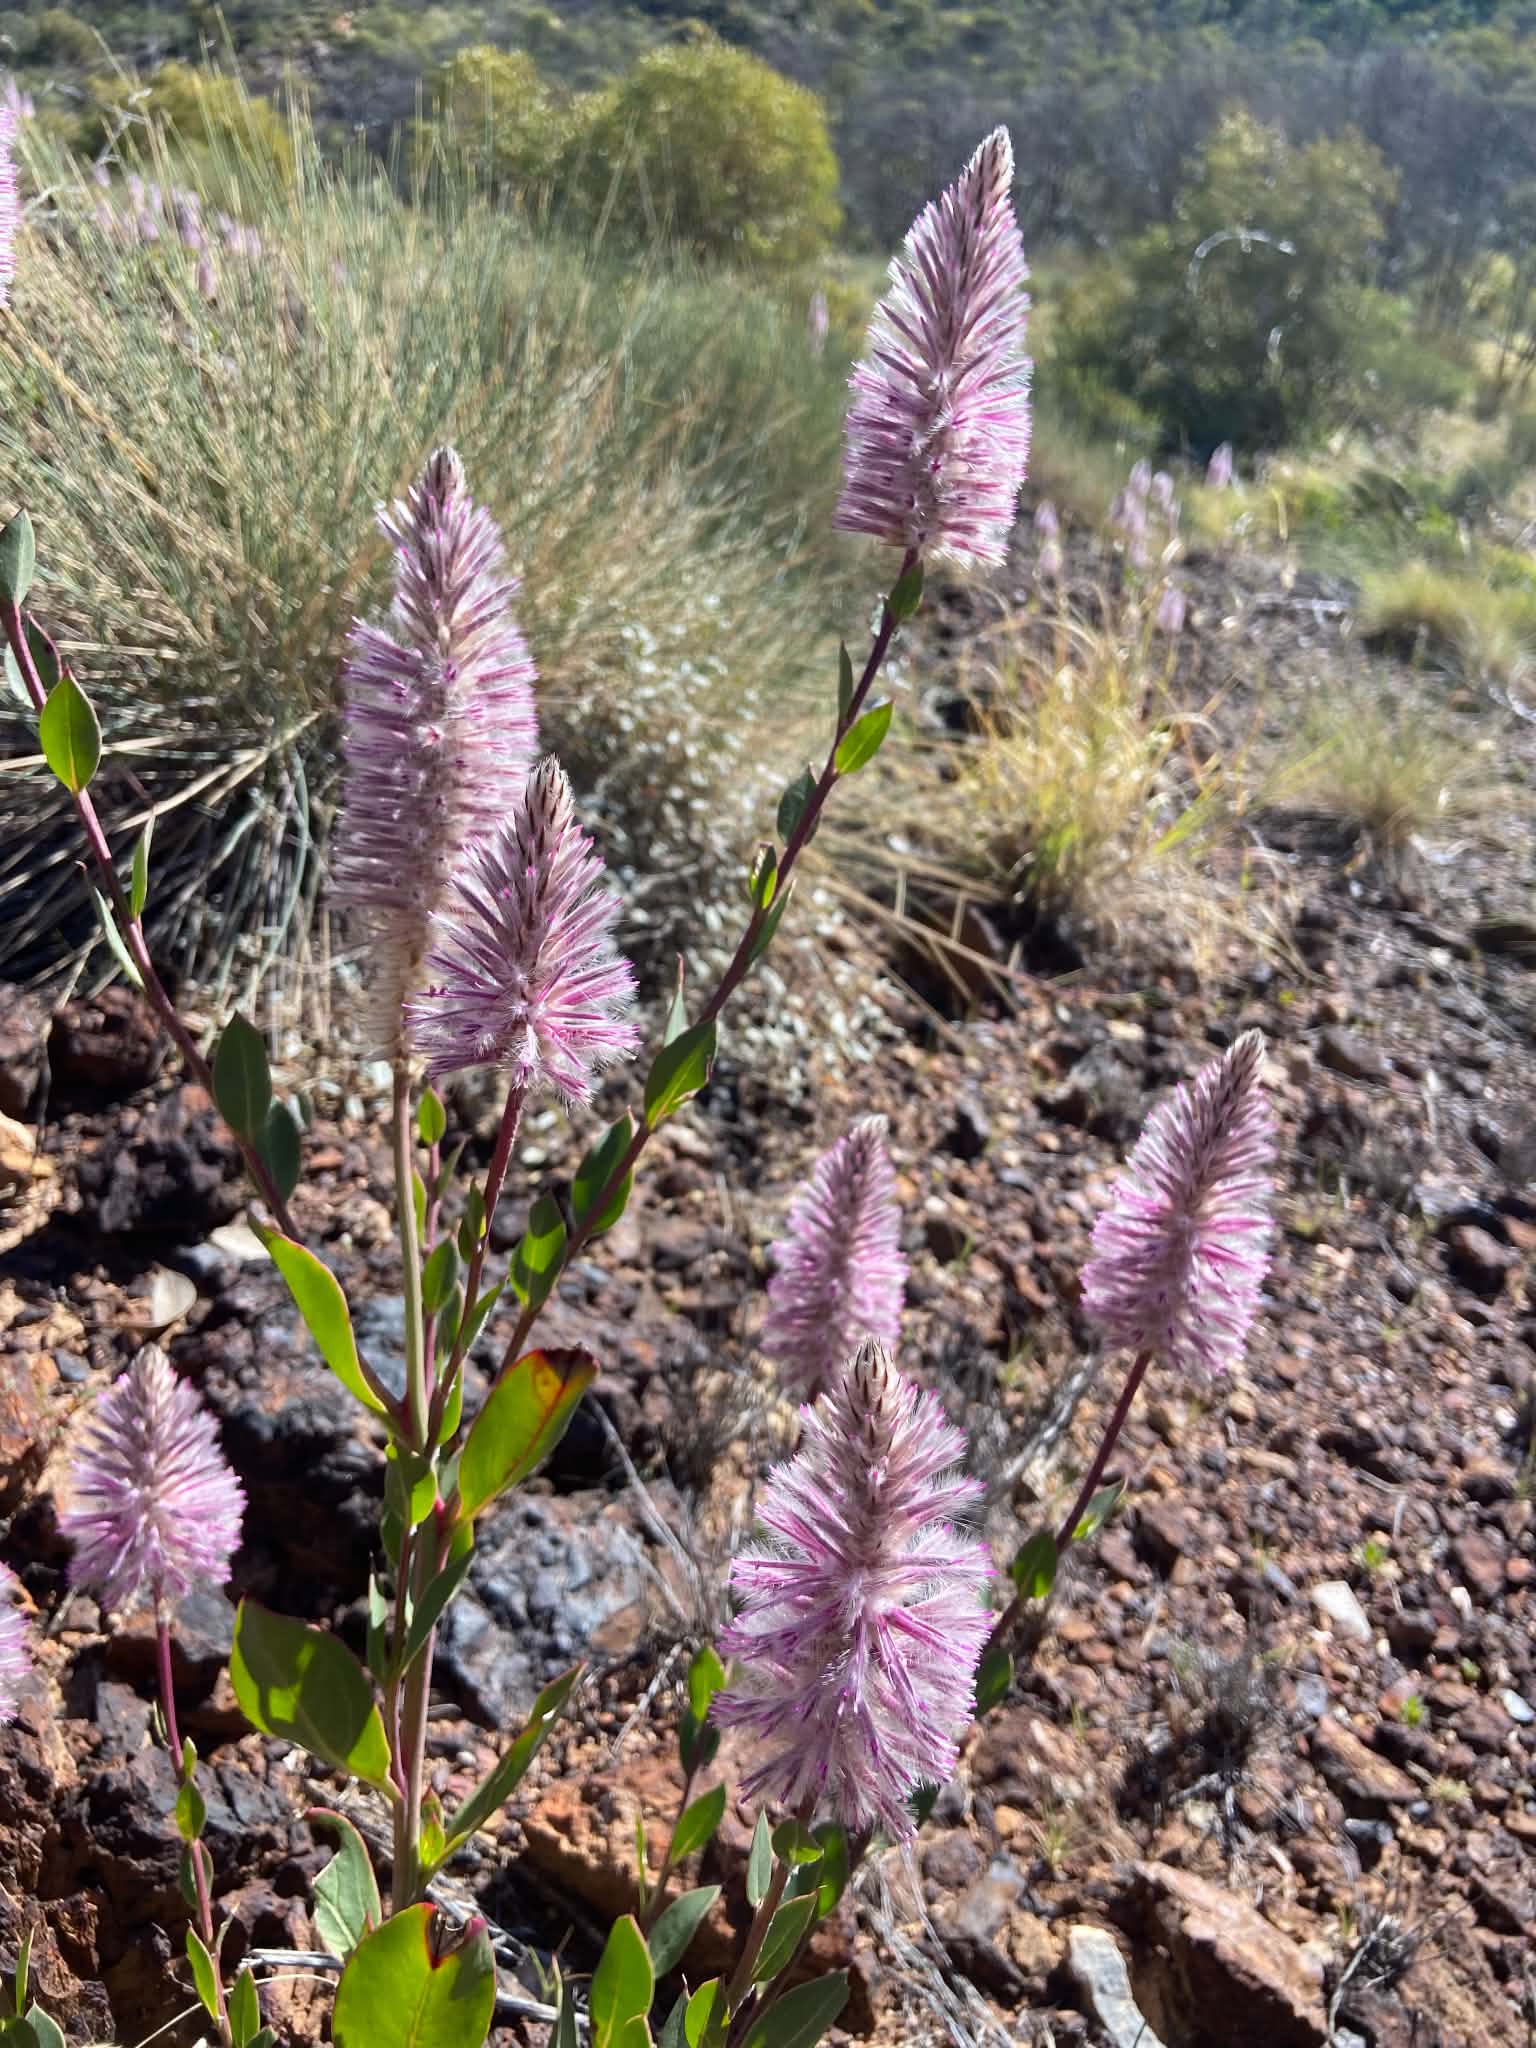
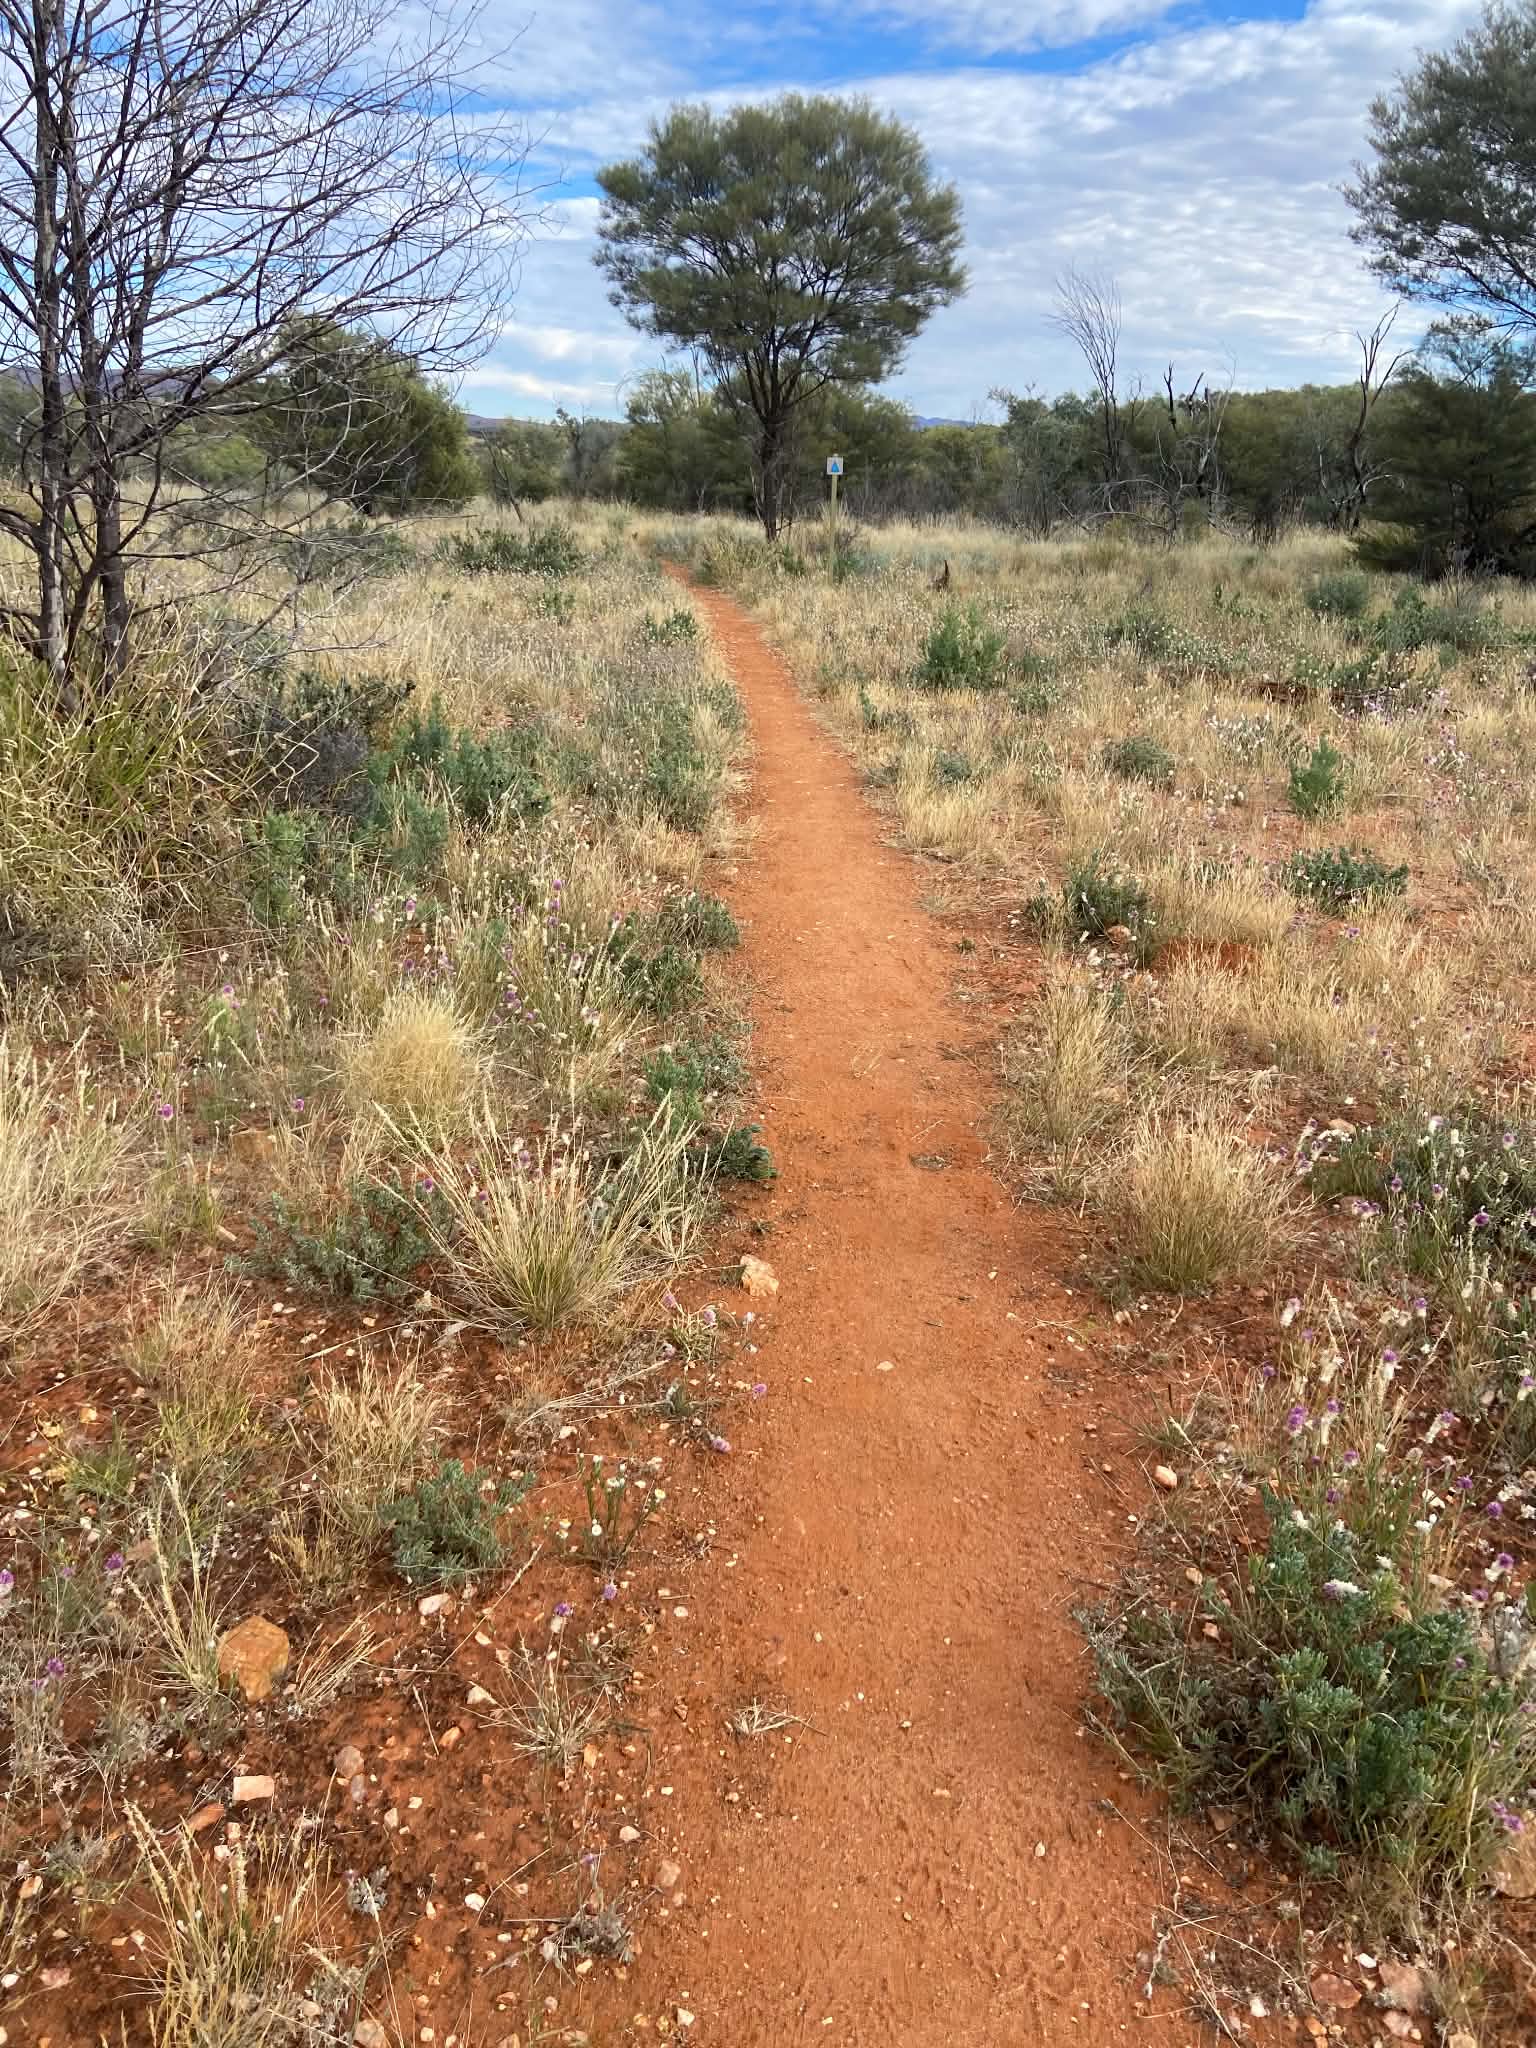
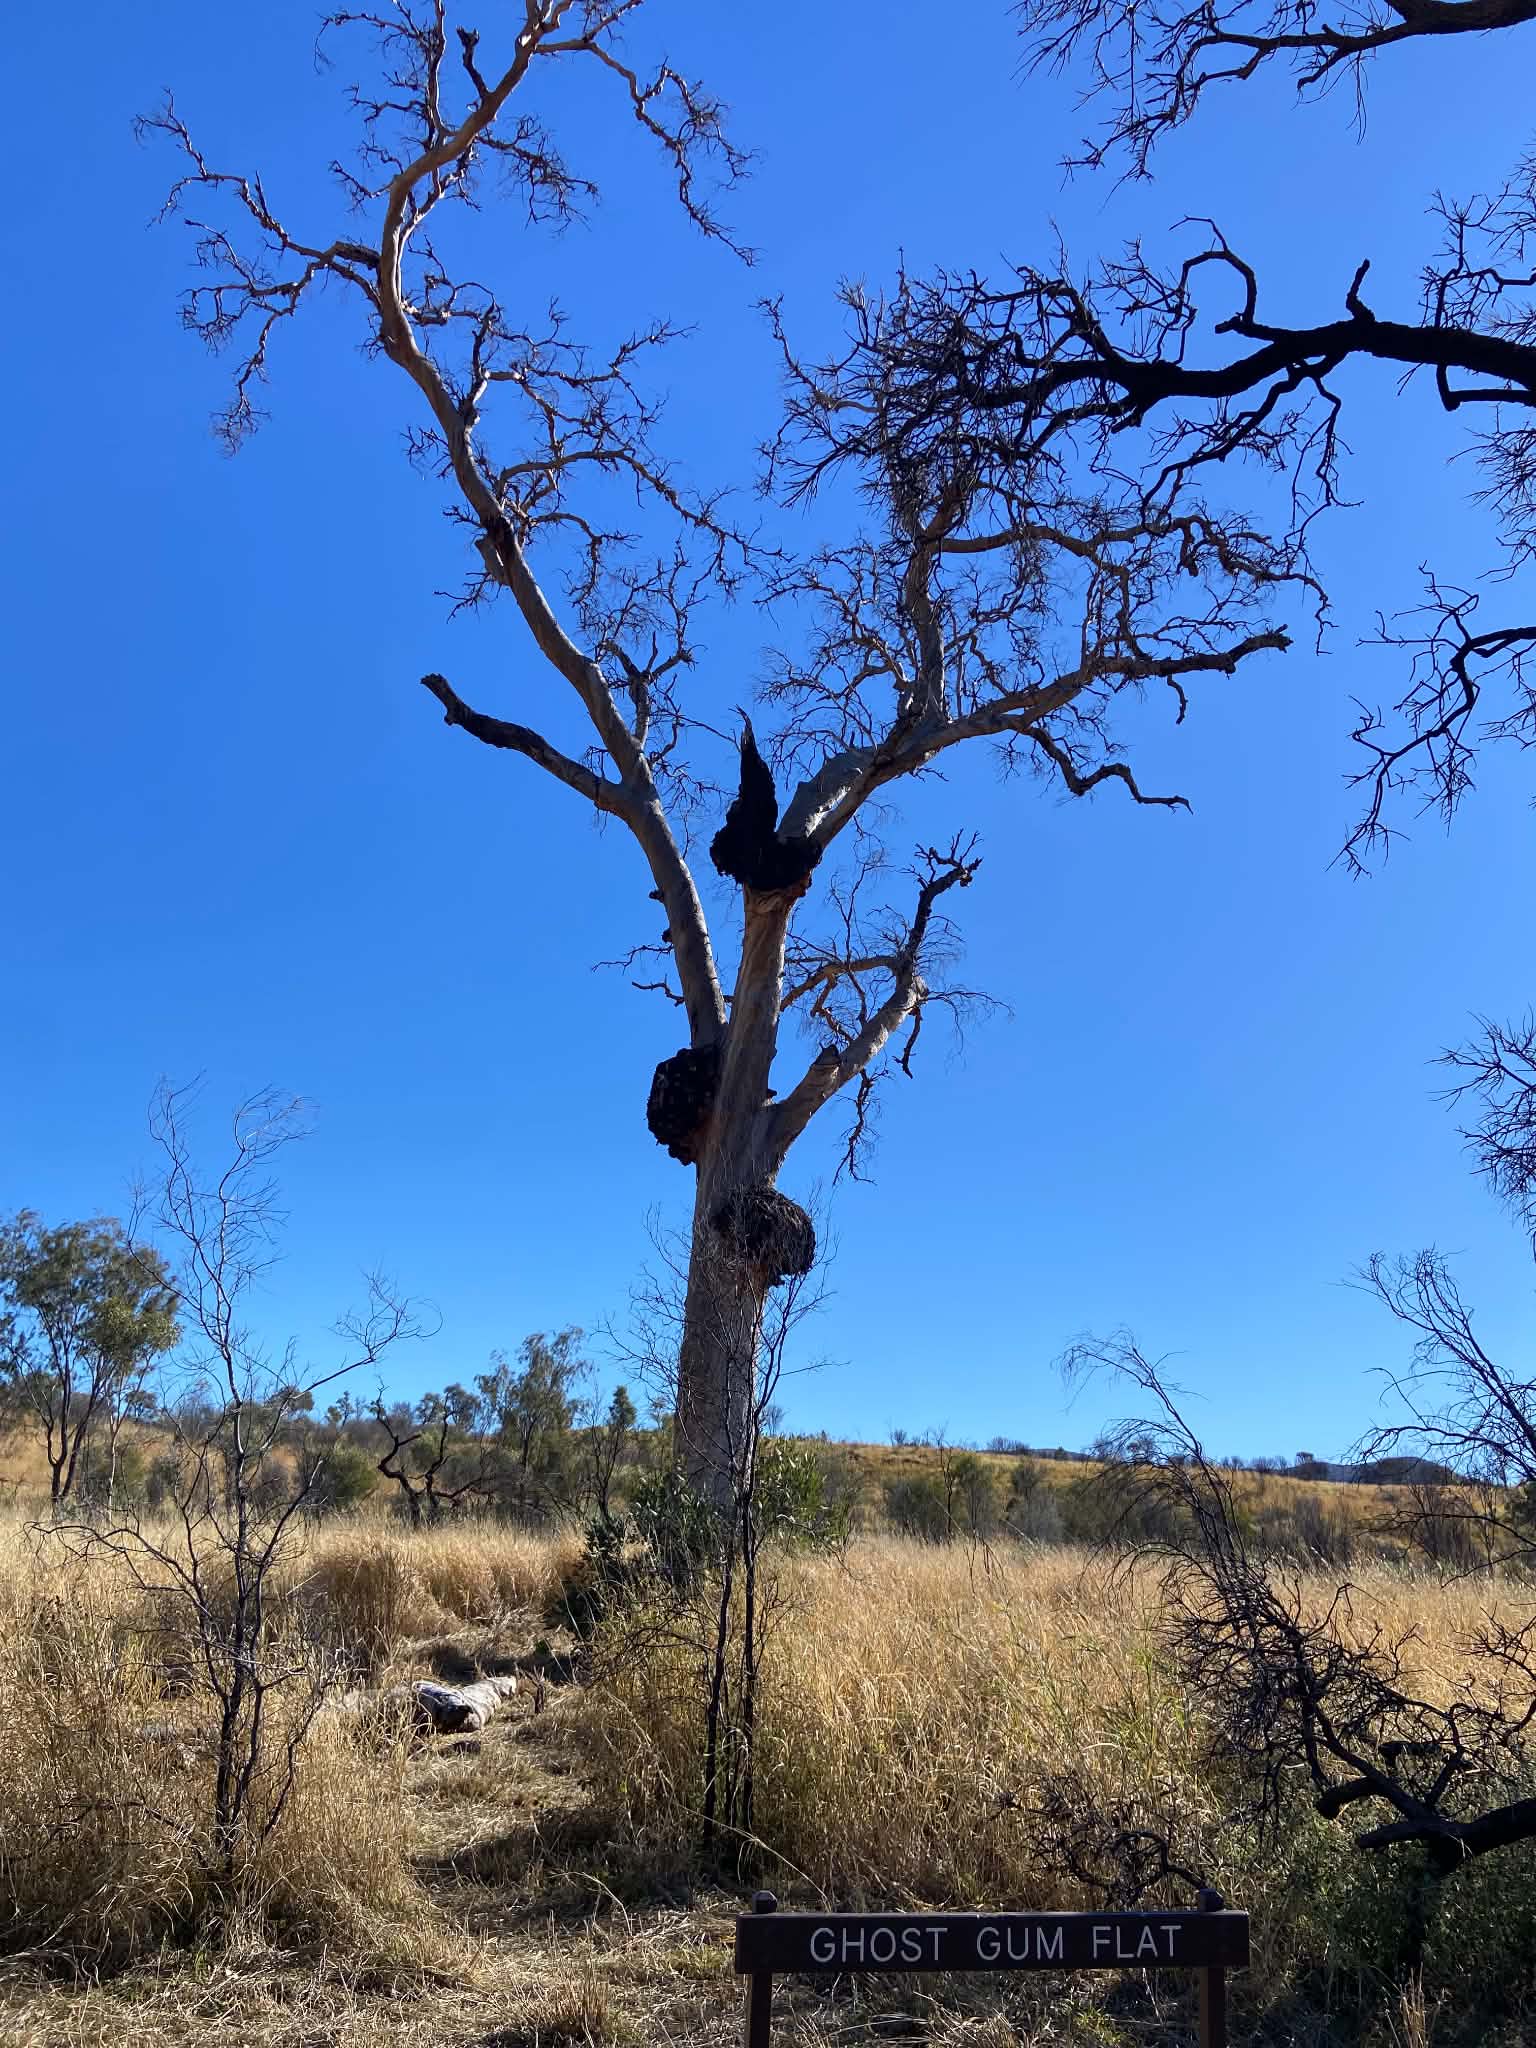
Day 6 was steady walking with mostly flat terrain, but very hot and exposed. There were beautiful wildflowers and native tomatoes along the way, with some views of the Chewings Range. The trail is winding with some gentle up and down early in the day. Ghost Gum flat is about halfway to Rocky Gully camp and there is some shade here and a table. This campsite is ok but wouldn’t recommend unless you need to stop there to break up distance.
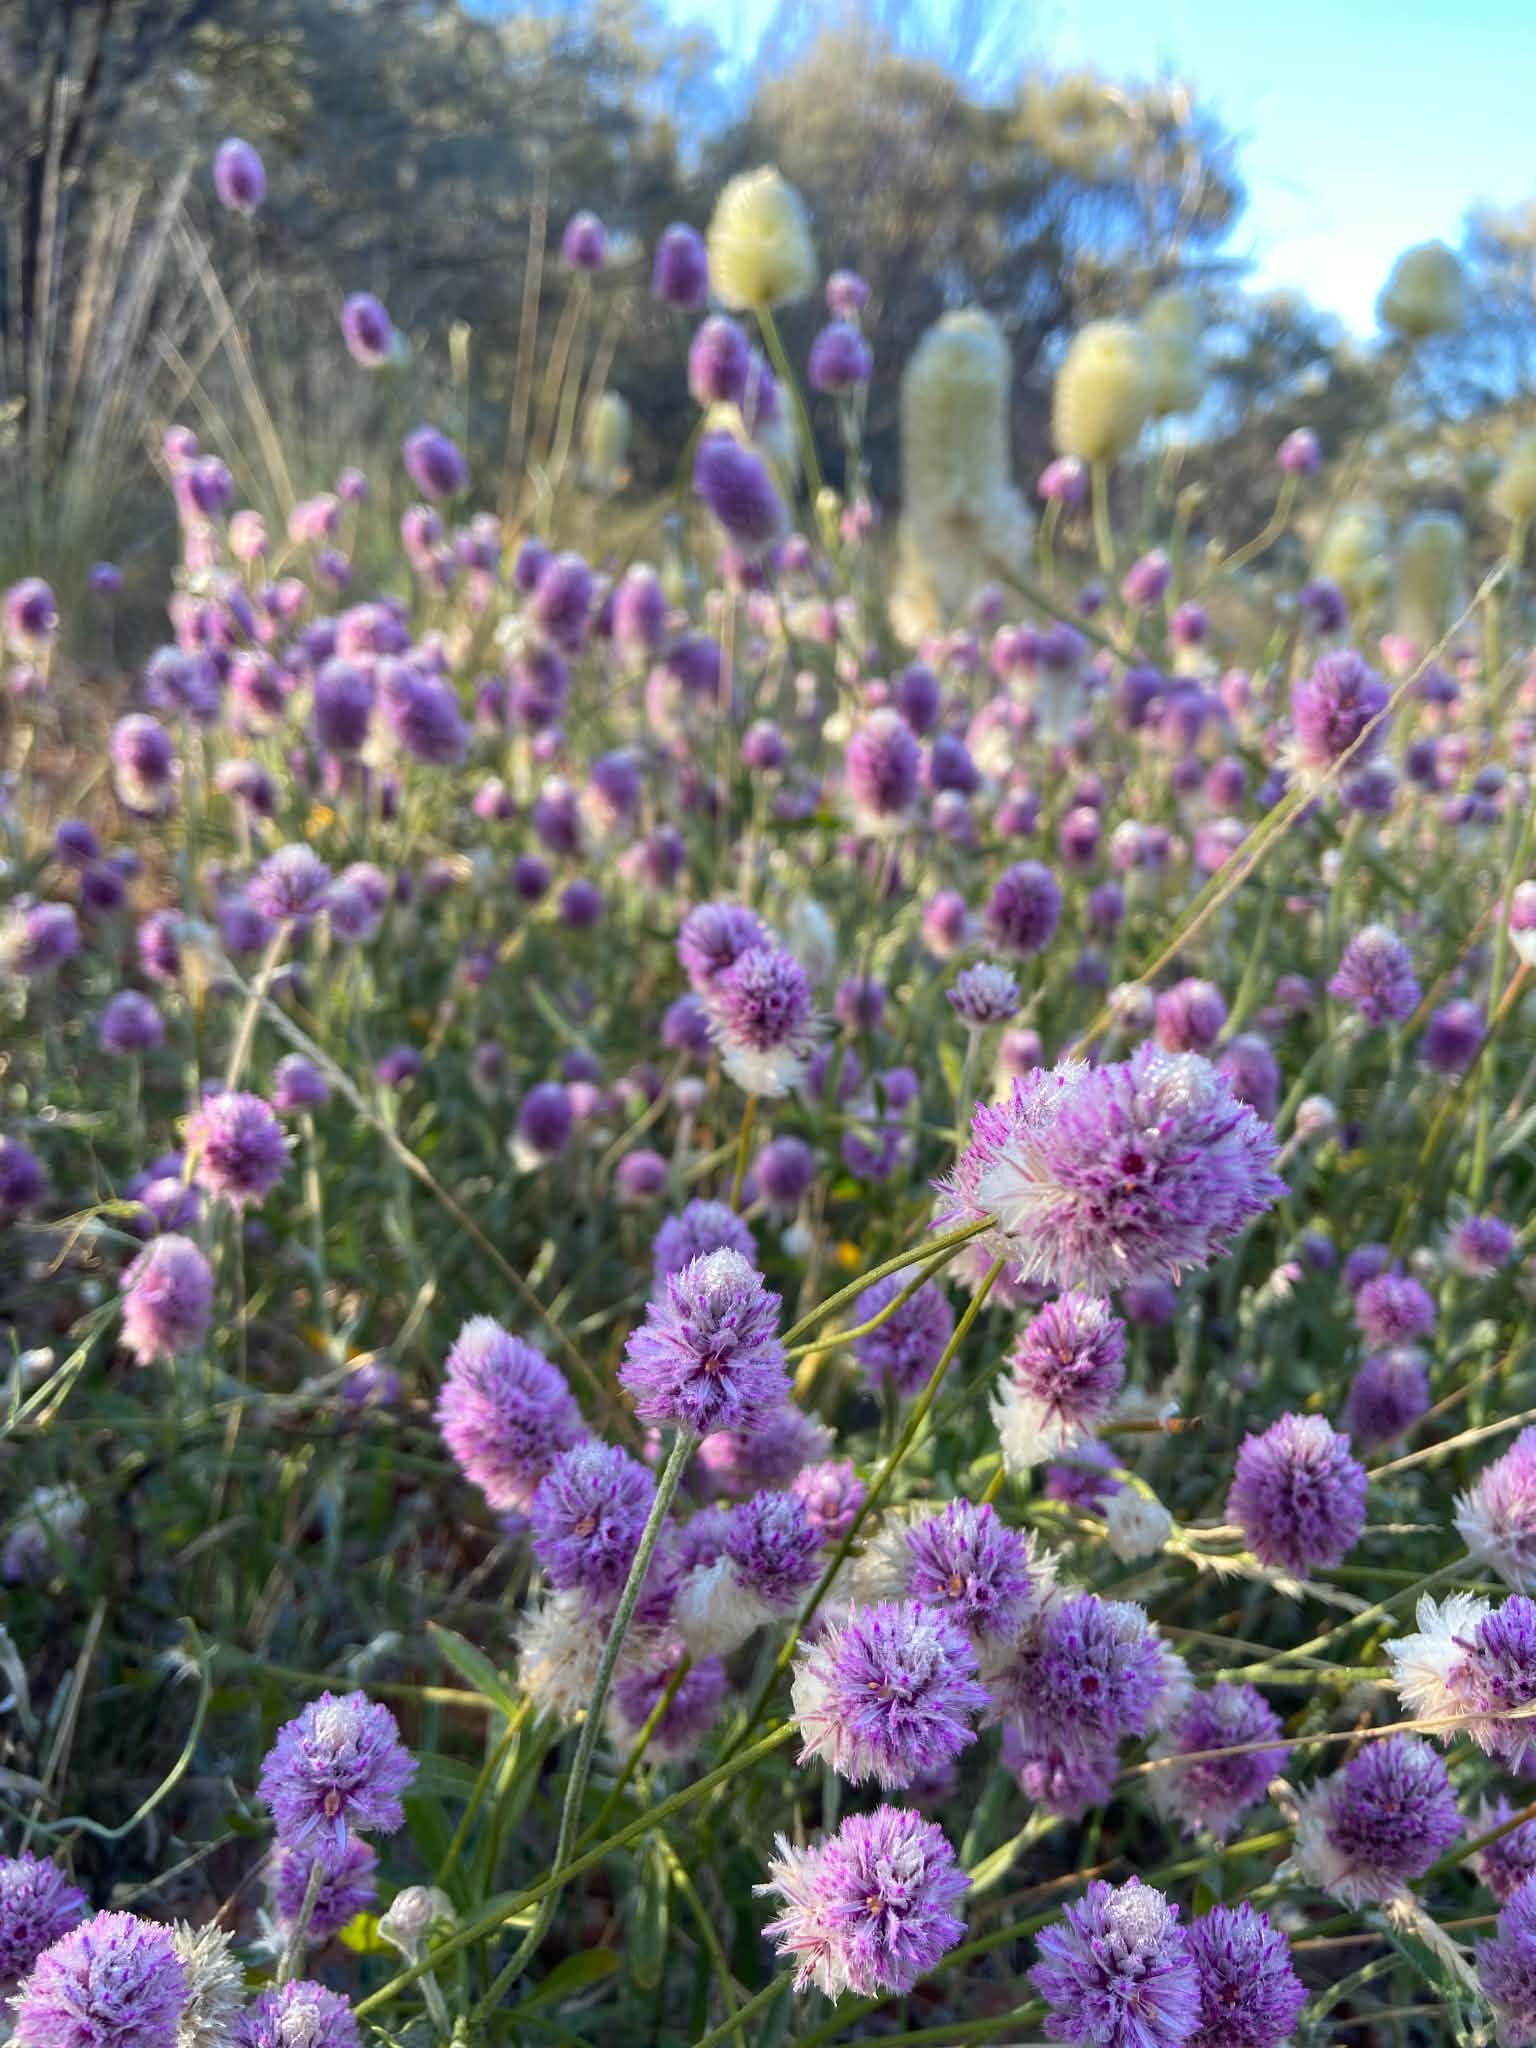
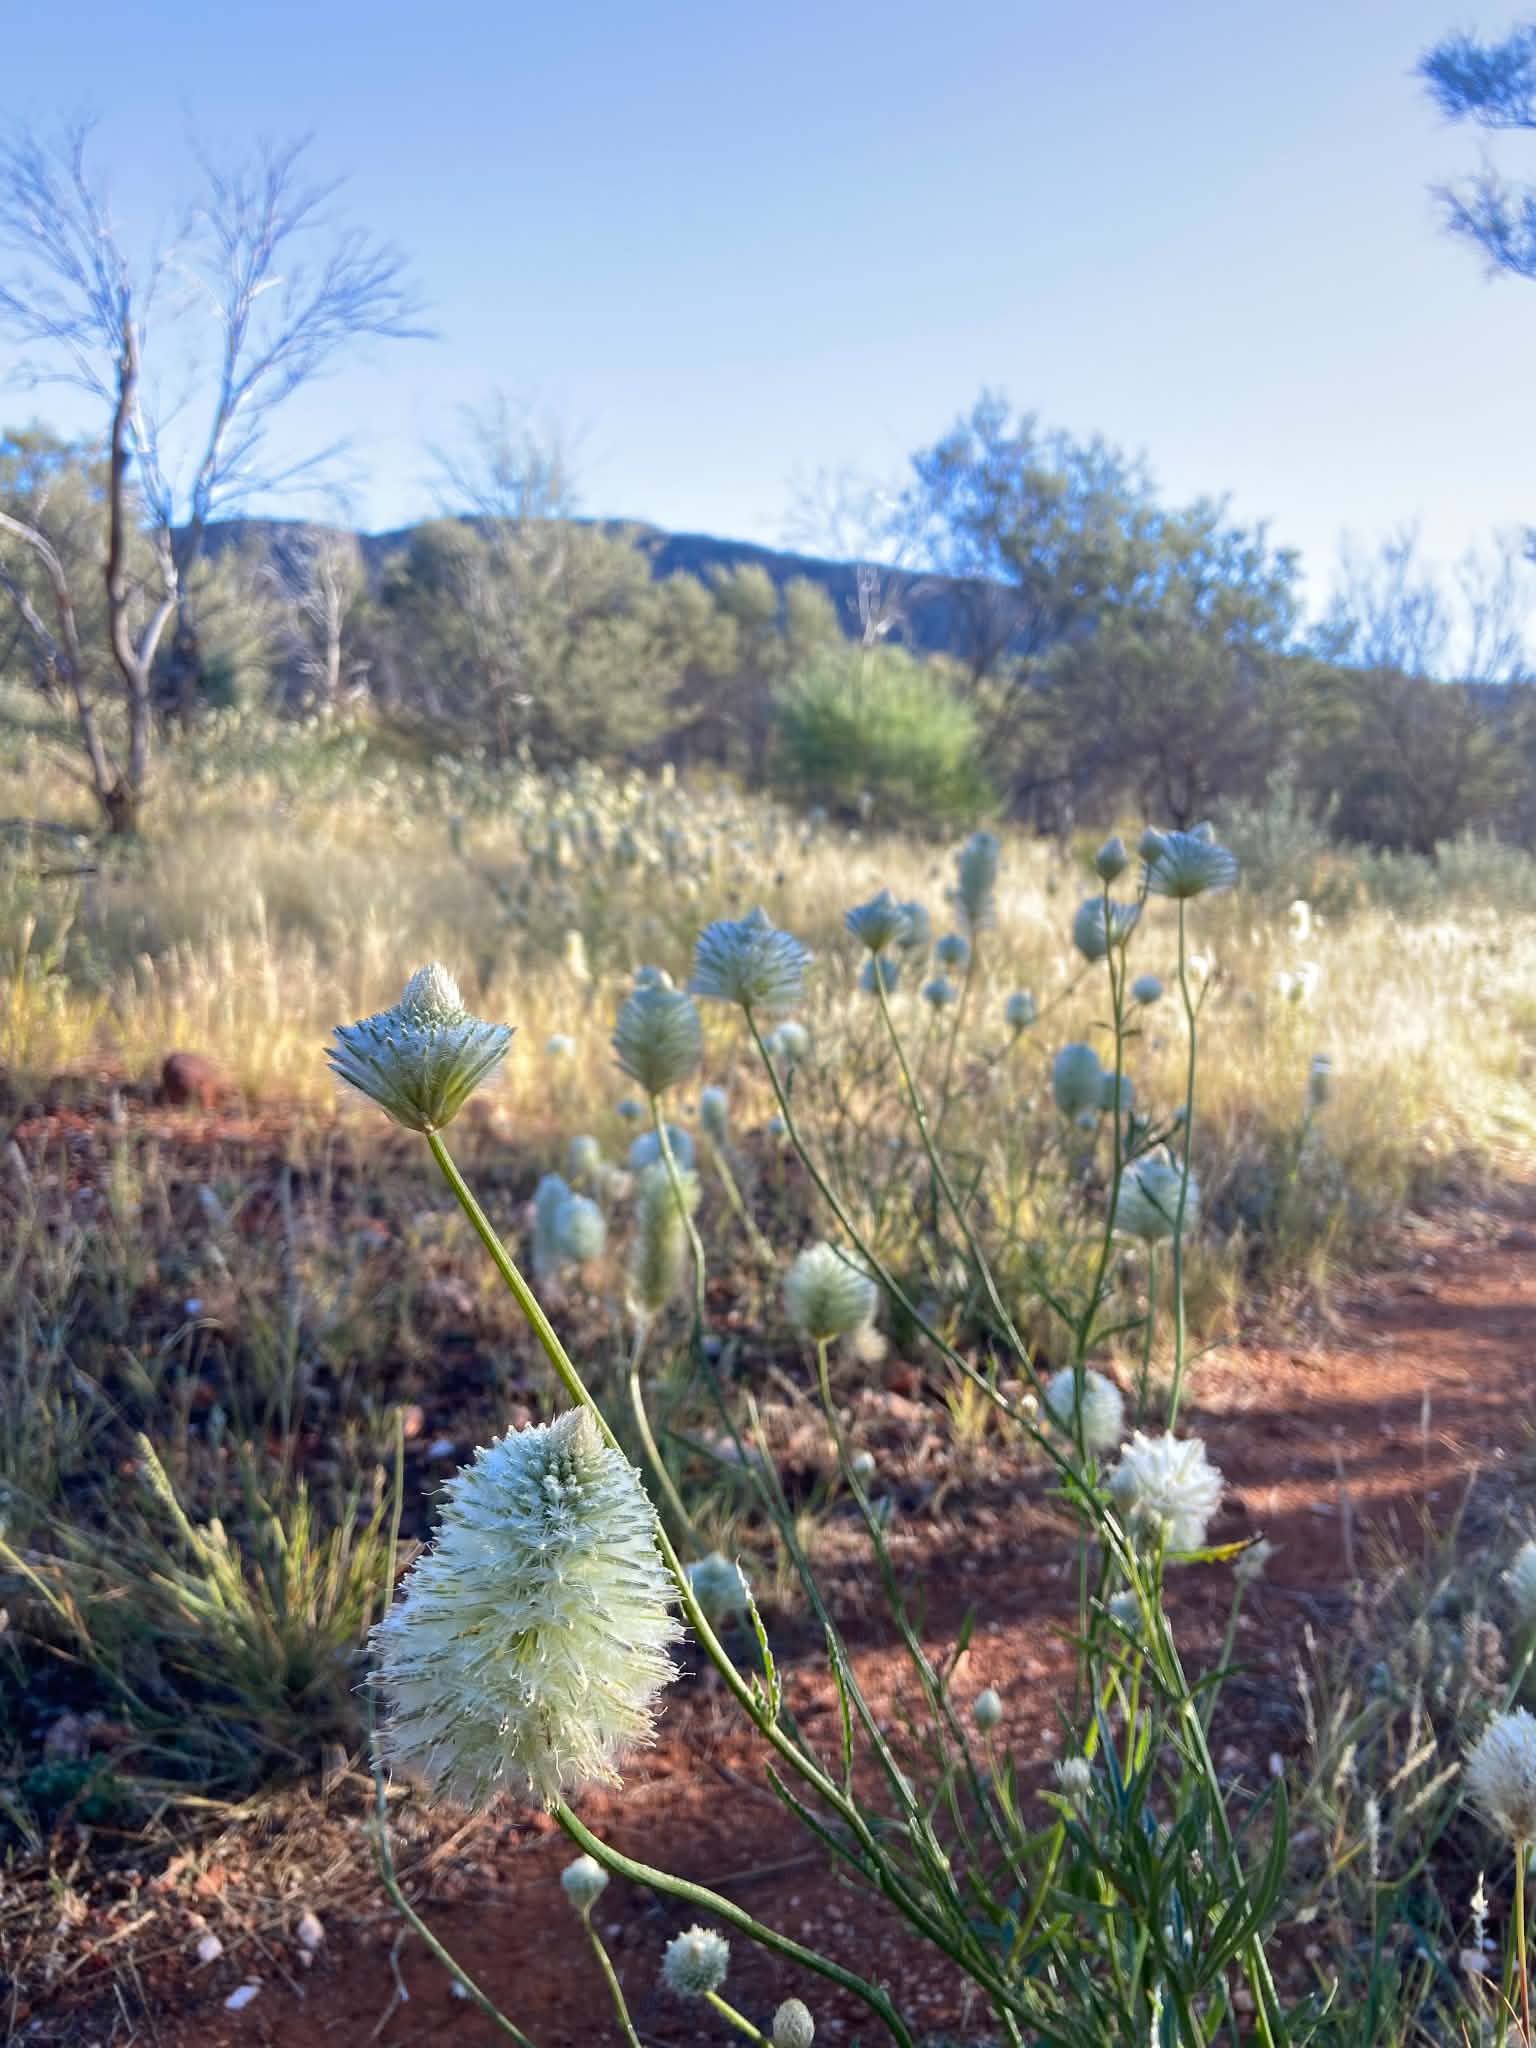
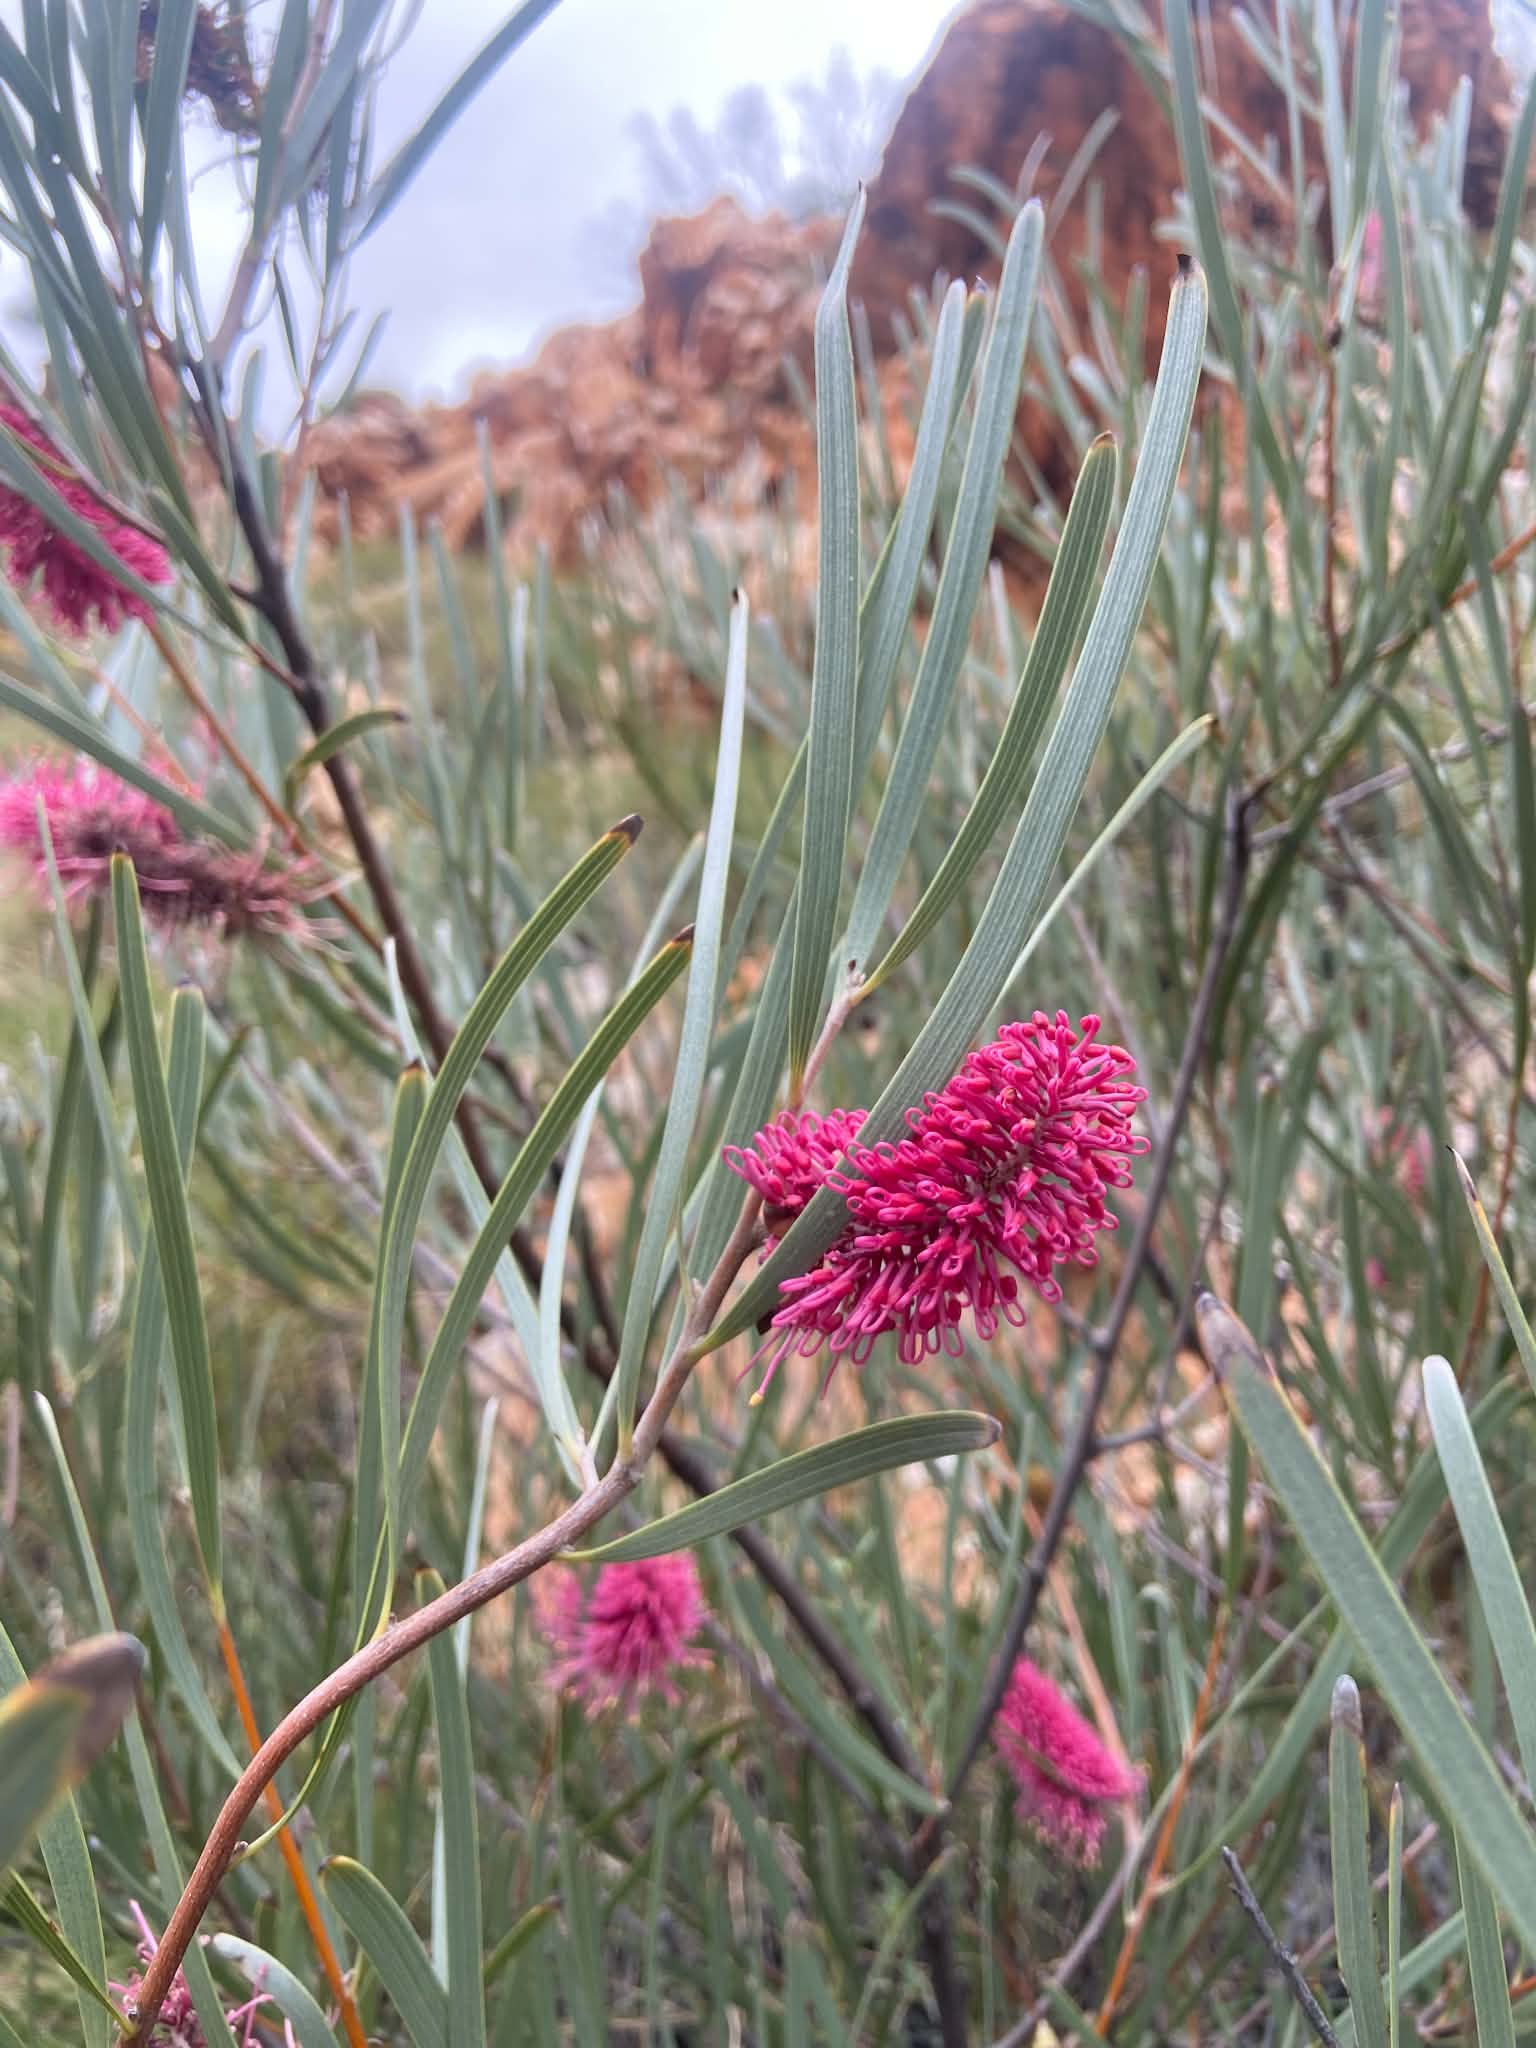
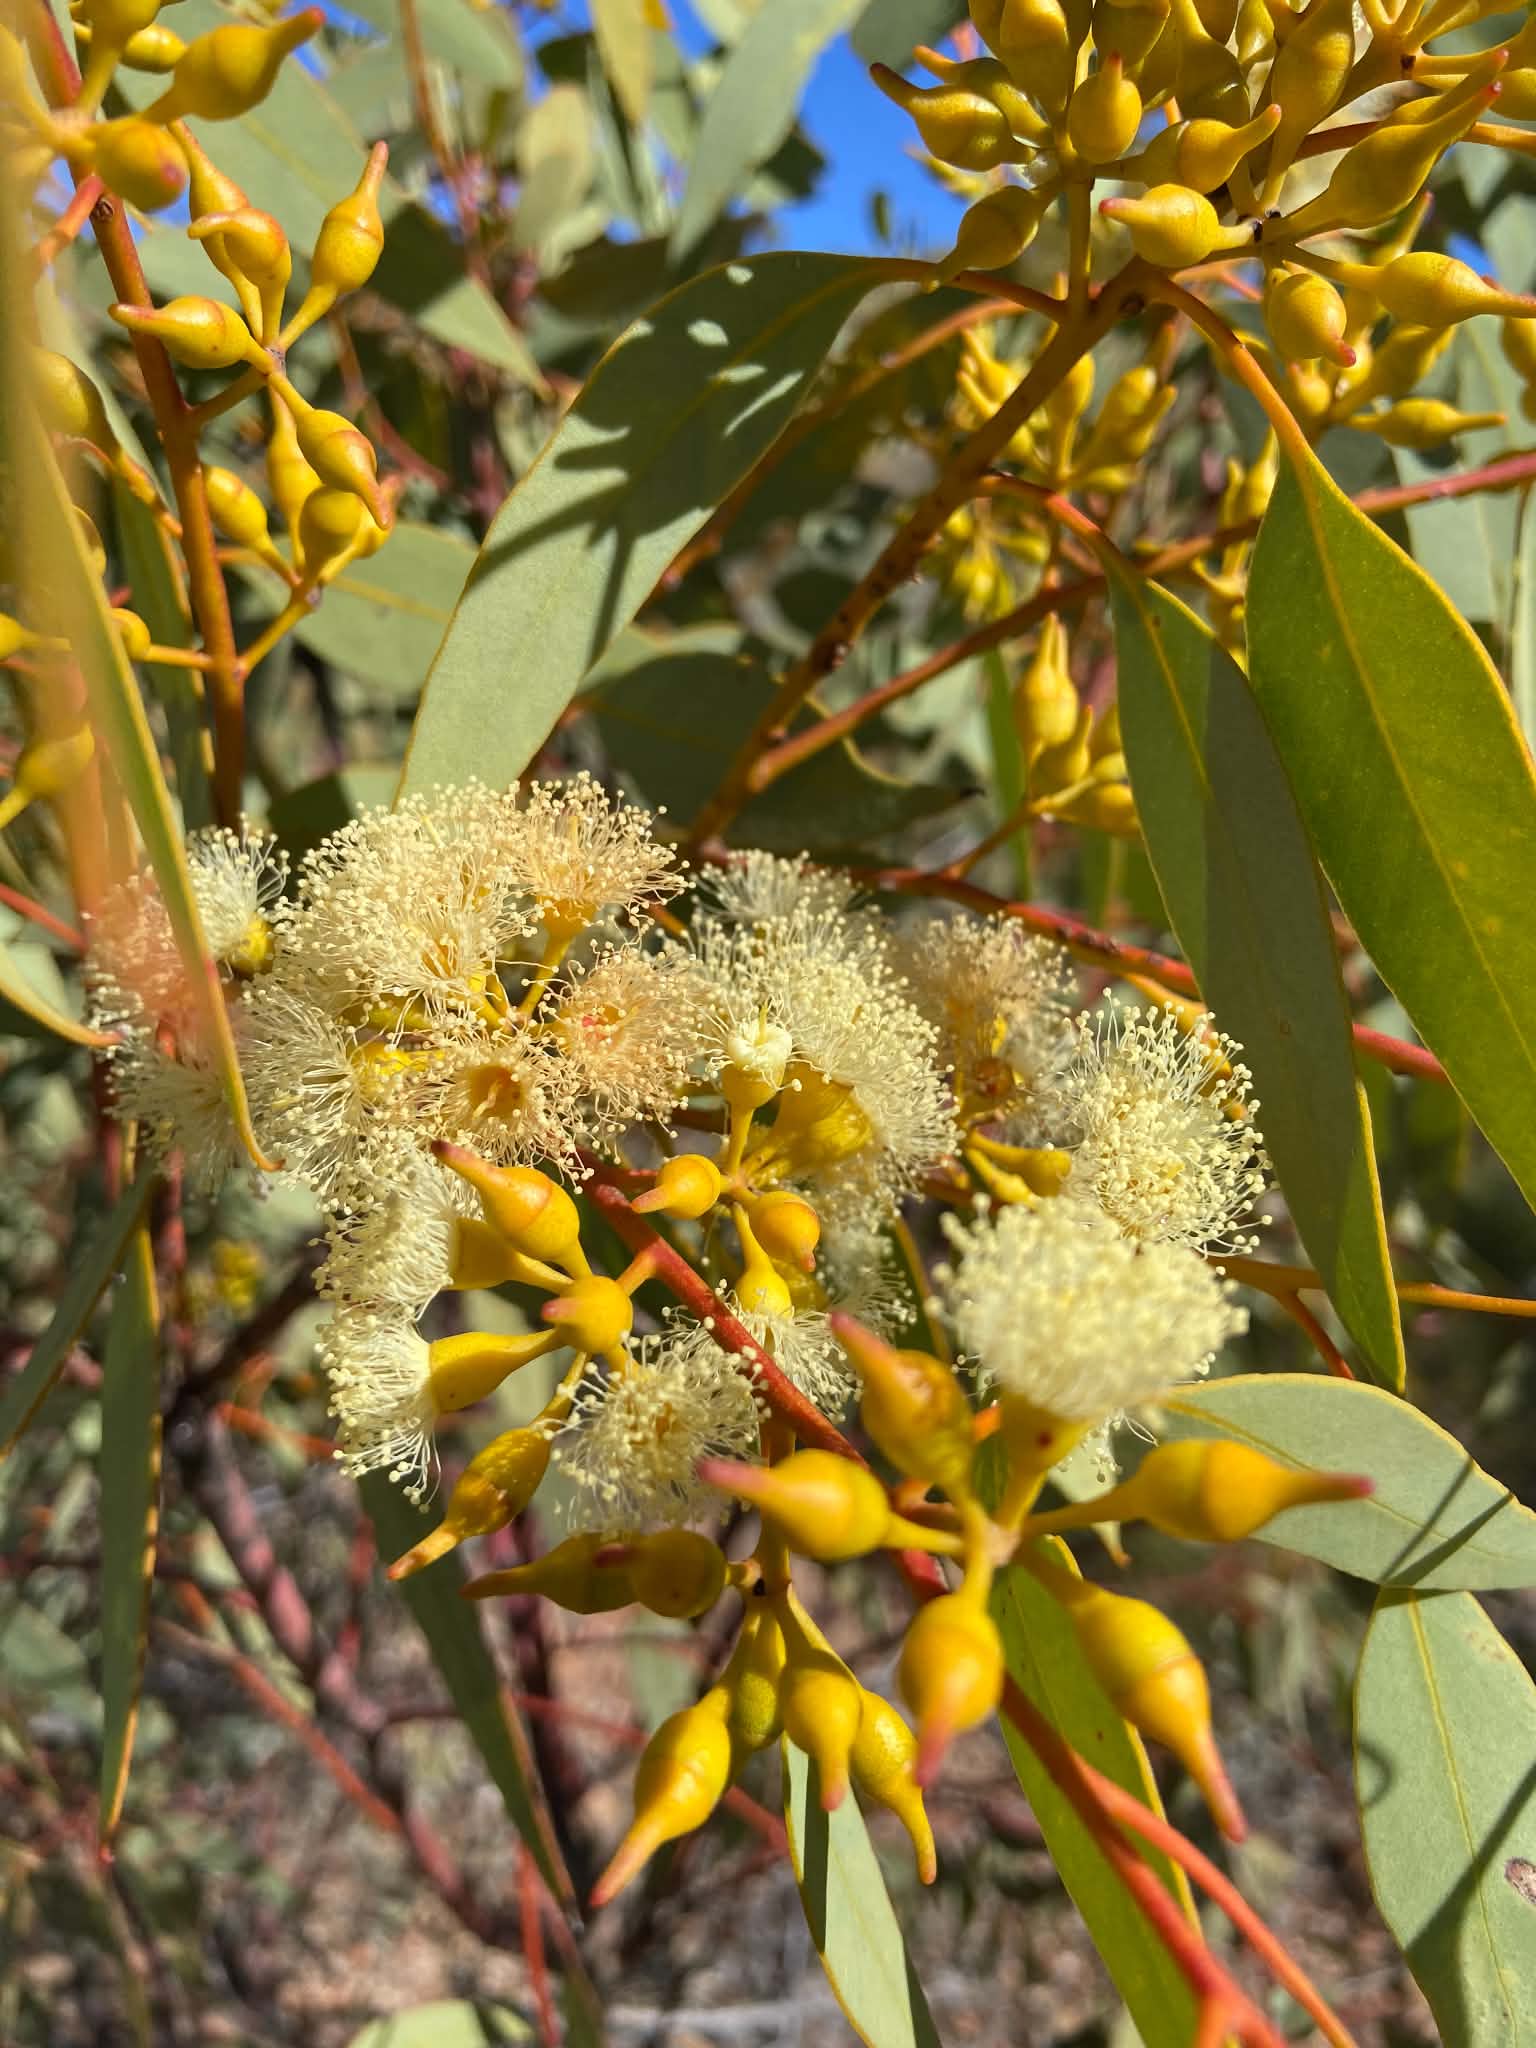
From Ghost Gum, the trail is slow and hot but easy walking. This day is in stark contrast to the gorge-walking from days prior, with a very exposed trail through the desert. Eventually the track descends to Rocky Gully Creek, and the campsite is down the creek.
This was one of our busiest campsites, and we think it is probably popular to help break up the otherwise long day from Hugh Gorge to Ellery Creek North/South. It’s worthwhile trying to get here early to get a camp spot with shade, and to lay claim on the two pool chairs. This was one of our first shorter days where we could actually enjoy camp, and we spent the afternoon reading, enjoying the sunshine and speaking with some walkers travelling the opposite direction. Everyone who arrived at camp was struggling with heat on this day, and the camp has limited shade.
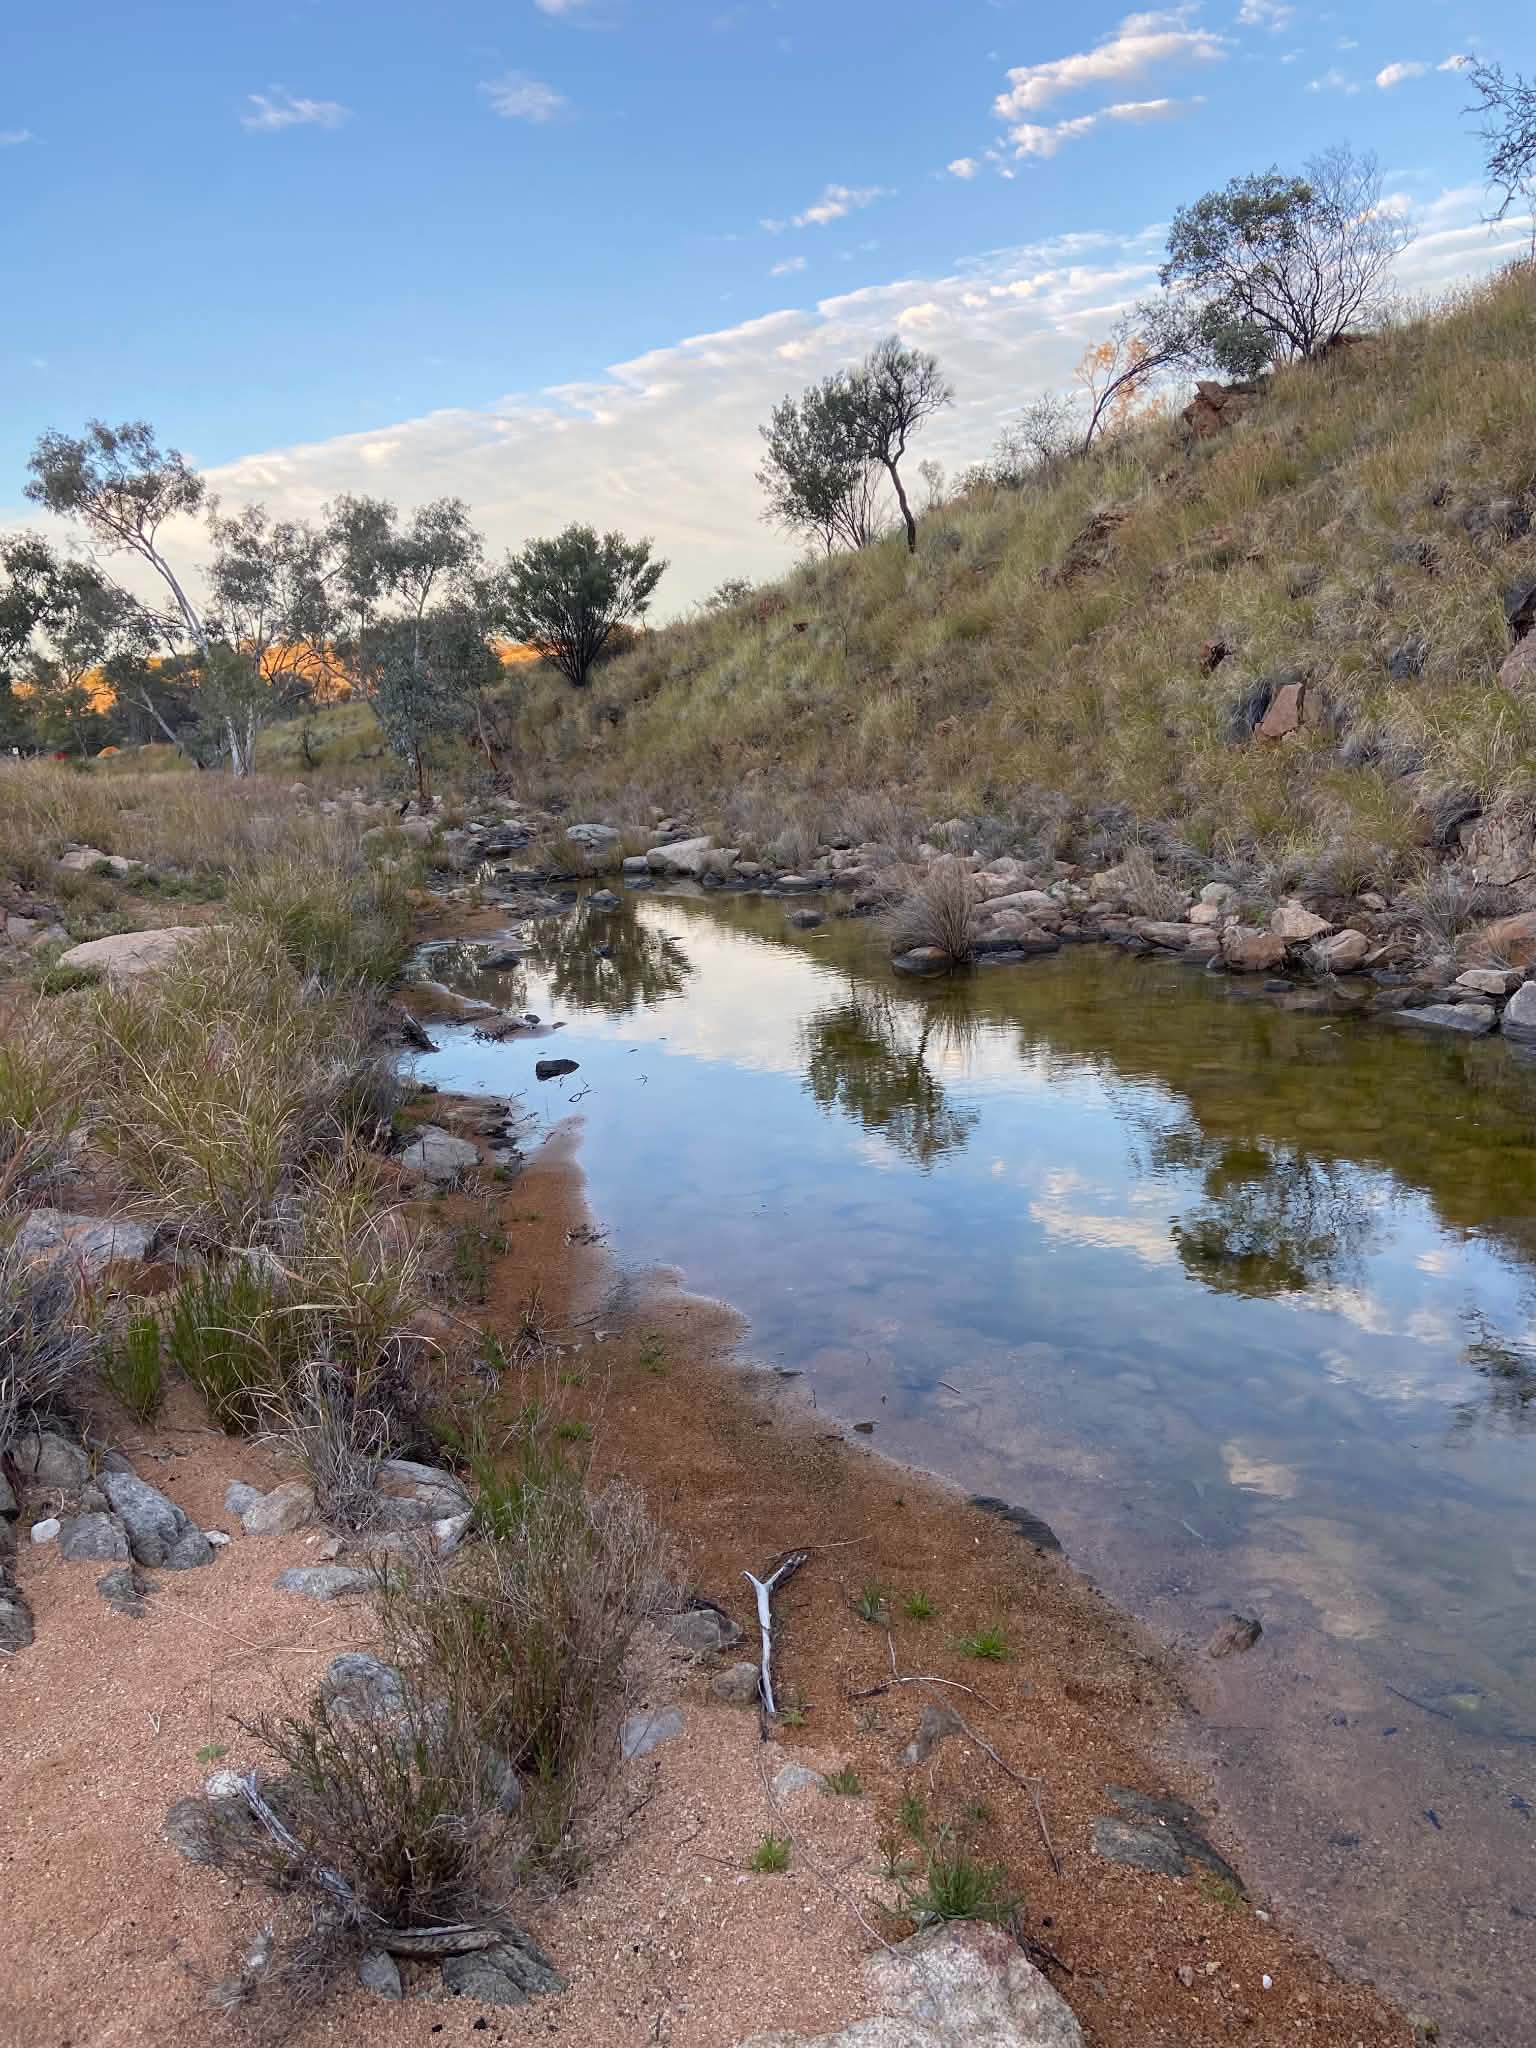
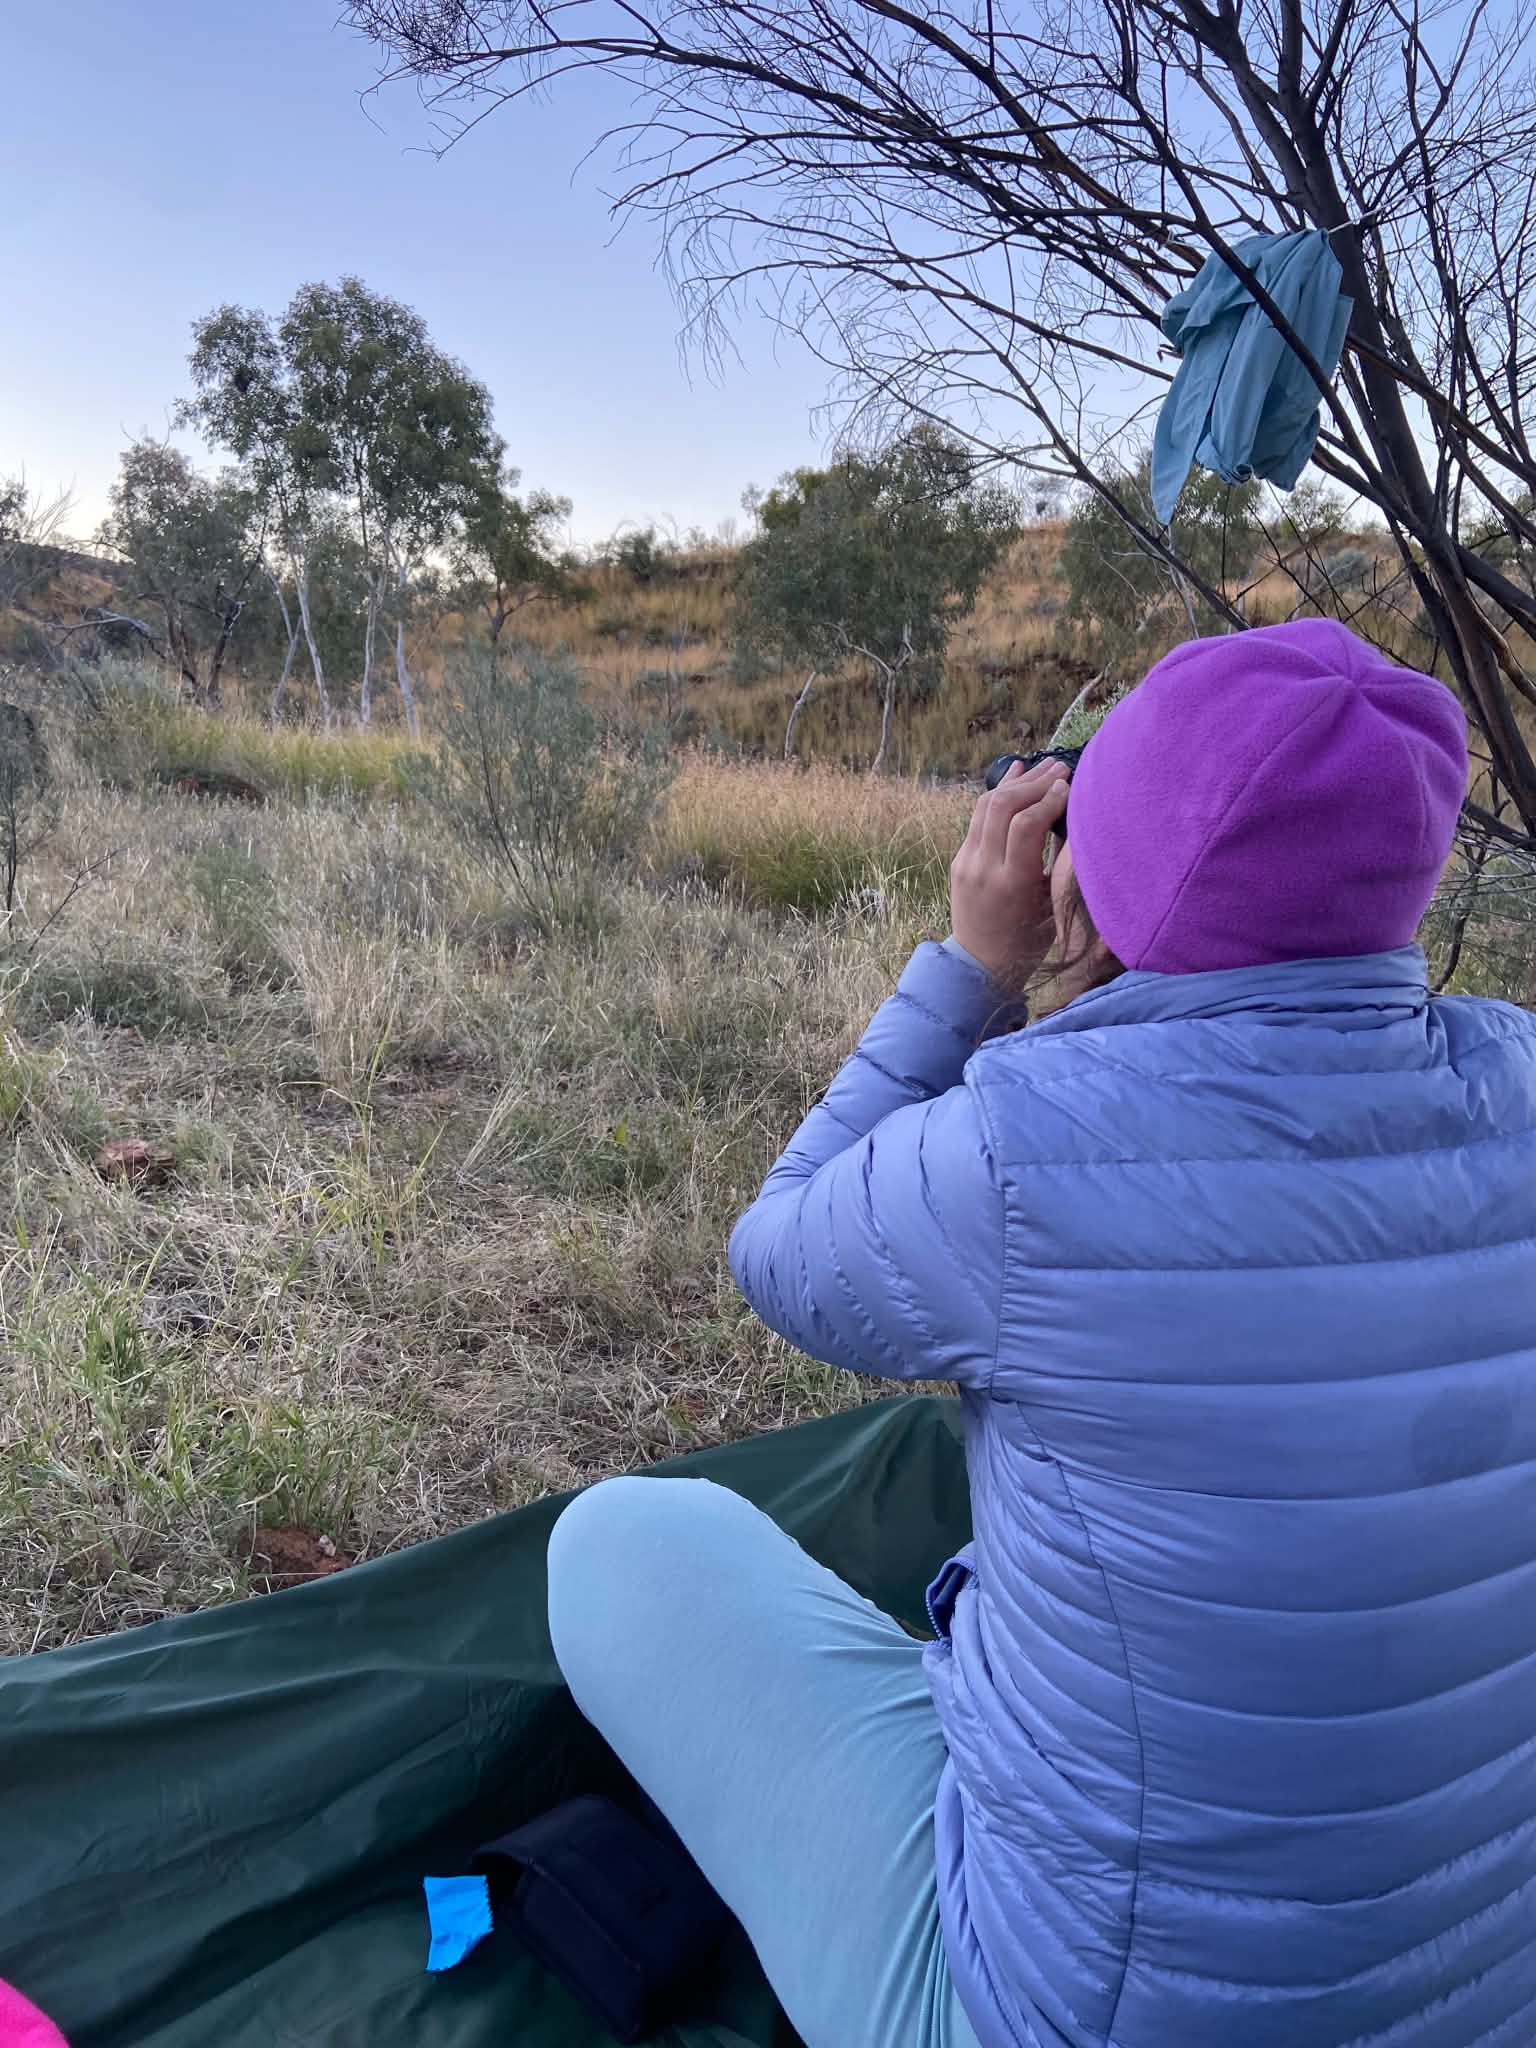
We met 2 women from Sydney who were doing the whole trail including every side trip in 21 days! We had beans and mash for dinner which was a smashing success. Rocky Gully was thick with mice and it was an interrupted sleep as we woke to find them climbing up our tent mesh! Luckily, none ventured inside.
Peaks & Pits:
Peak: Afternoon at camp
Pit: Mouse attack
Day 7: Rocky Gully to Ellery Creek North
Distance: 13.8km
Duration: 4.75hrs (including breaks)
Highlights: Ellery Creek
Day 7 was again a meandering up and down track, exposed but with incredible views of the Alice Valley. We took breaks when we found shade which was few and far between on this section. The walking is easy but hot, and we found this to be one of the less interesting days. At about the 7km mark the trail crossed an access management track and we came to the junction. Think carefully at the junction! Here the trail to the left heads towards Ellery Creek South, while the trail to the right heads towards Ellery Creek North. South and North are at opposite ends of the gorge at Ellery Creek, and you cannot directly get from one to the other. The water is very cold and while it looks a short distance, people have apparently drowned here from hypothermia when trying to swim across.
At the junction, we ran into 5/5 Victorian friends and had a good chat with them. This was fortunate timing and offered a much-needed boost of morale to make it to camp. We turned right at the junction and continued along the meandering track. Passing several dry creeks, we knew we were getting closer and eventually came to the larger Ellery Creek. It was about mid-thigh depth to directly cross, or you can walk parallel to the creek and cross further down where you won’t have to get wet – however this is in long snaky grass.
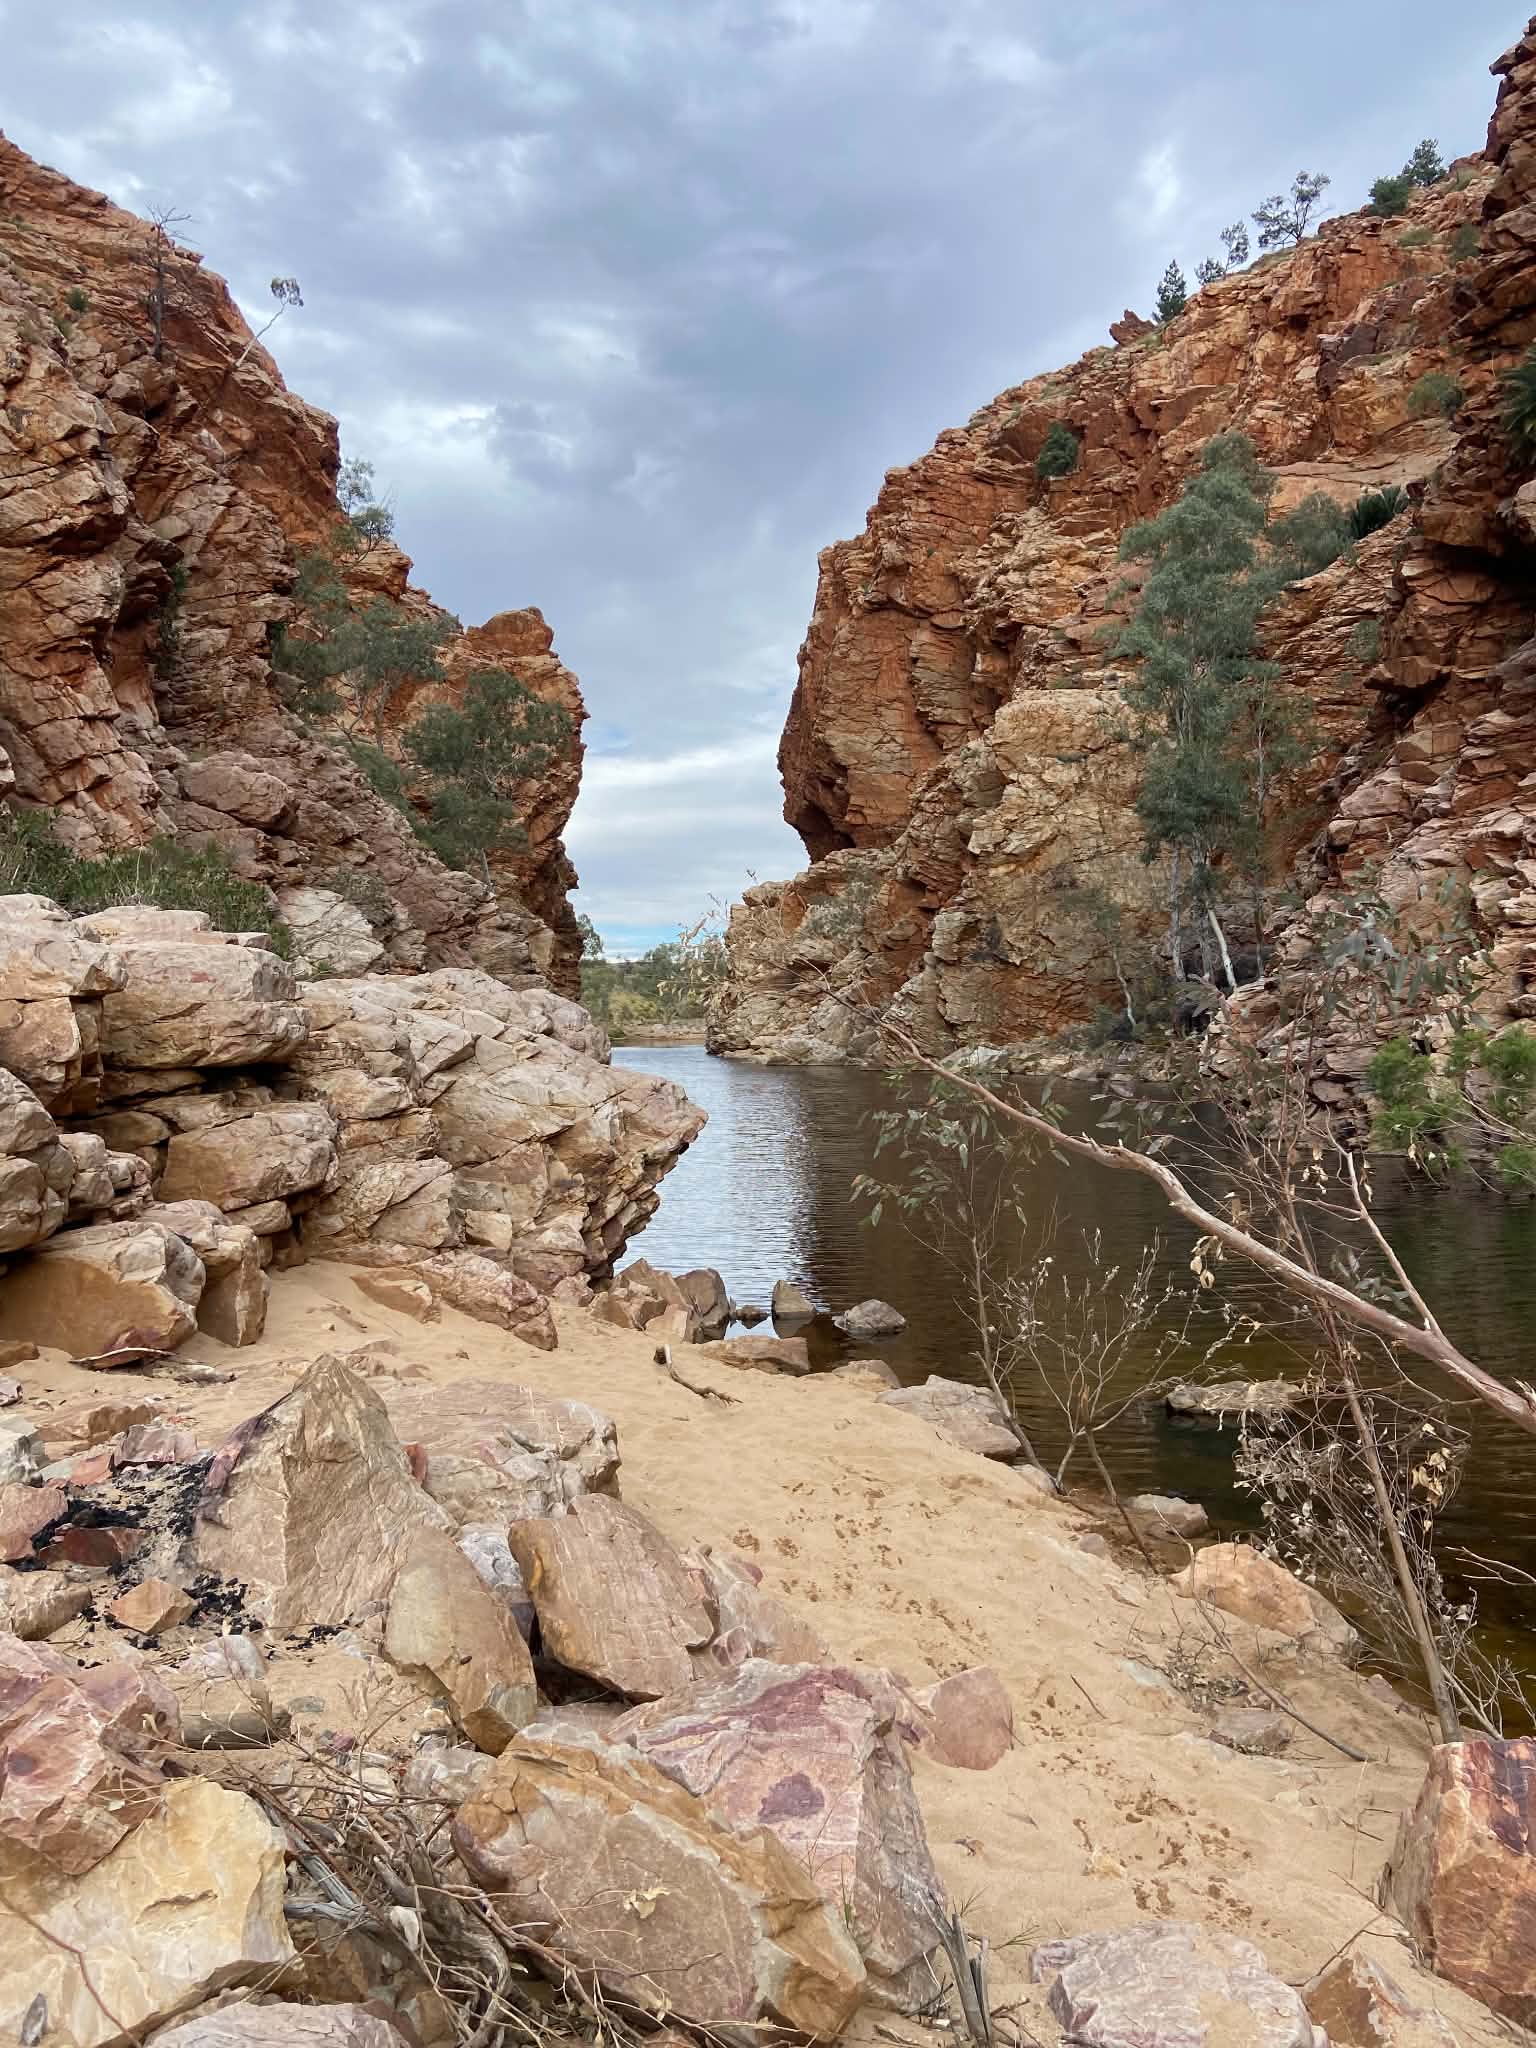
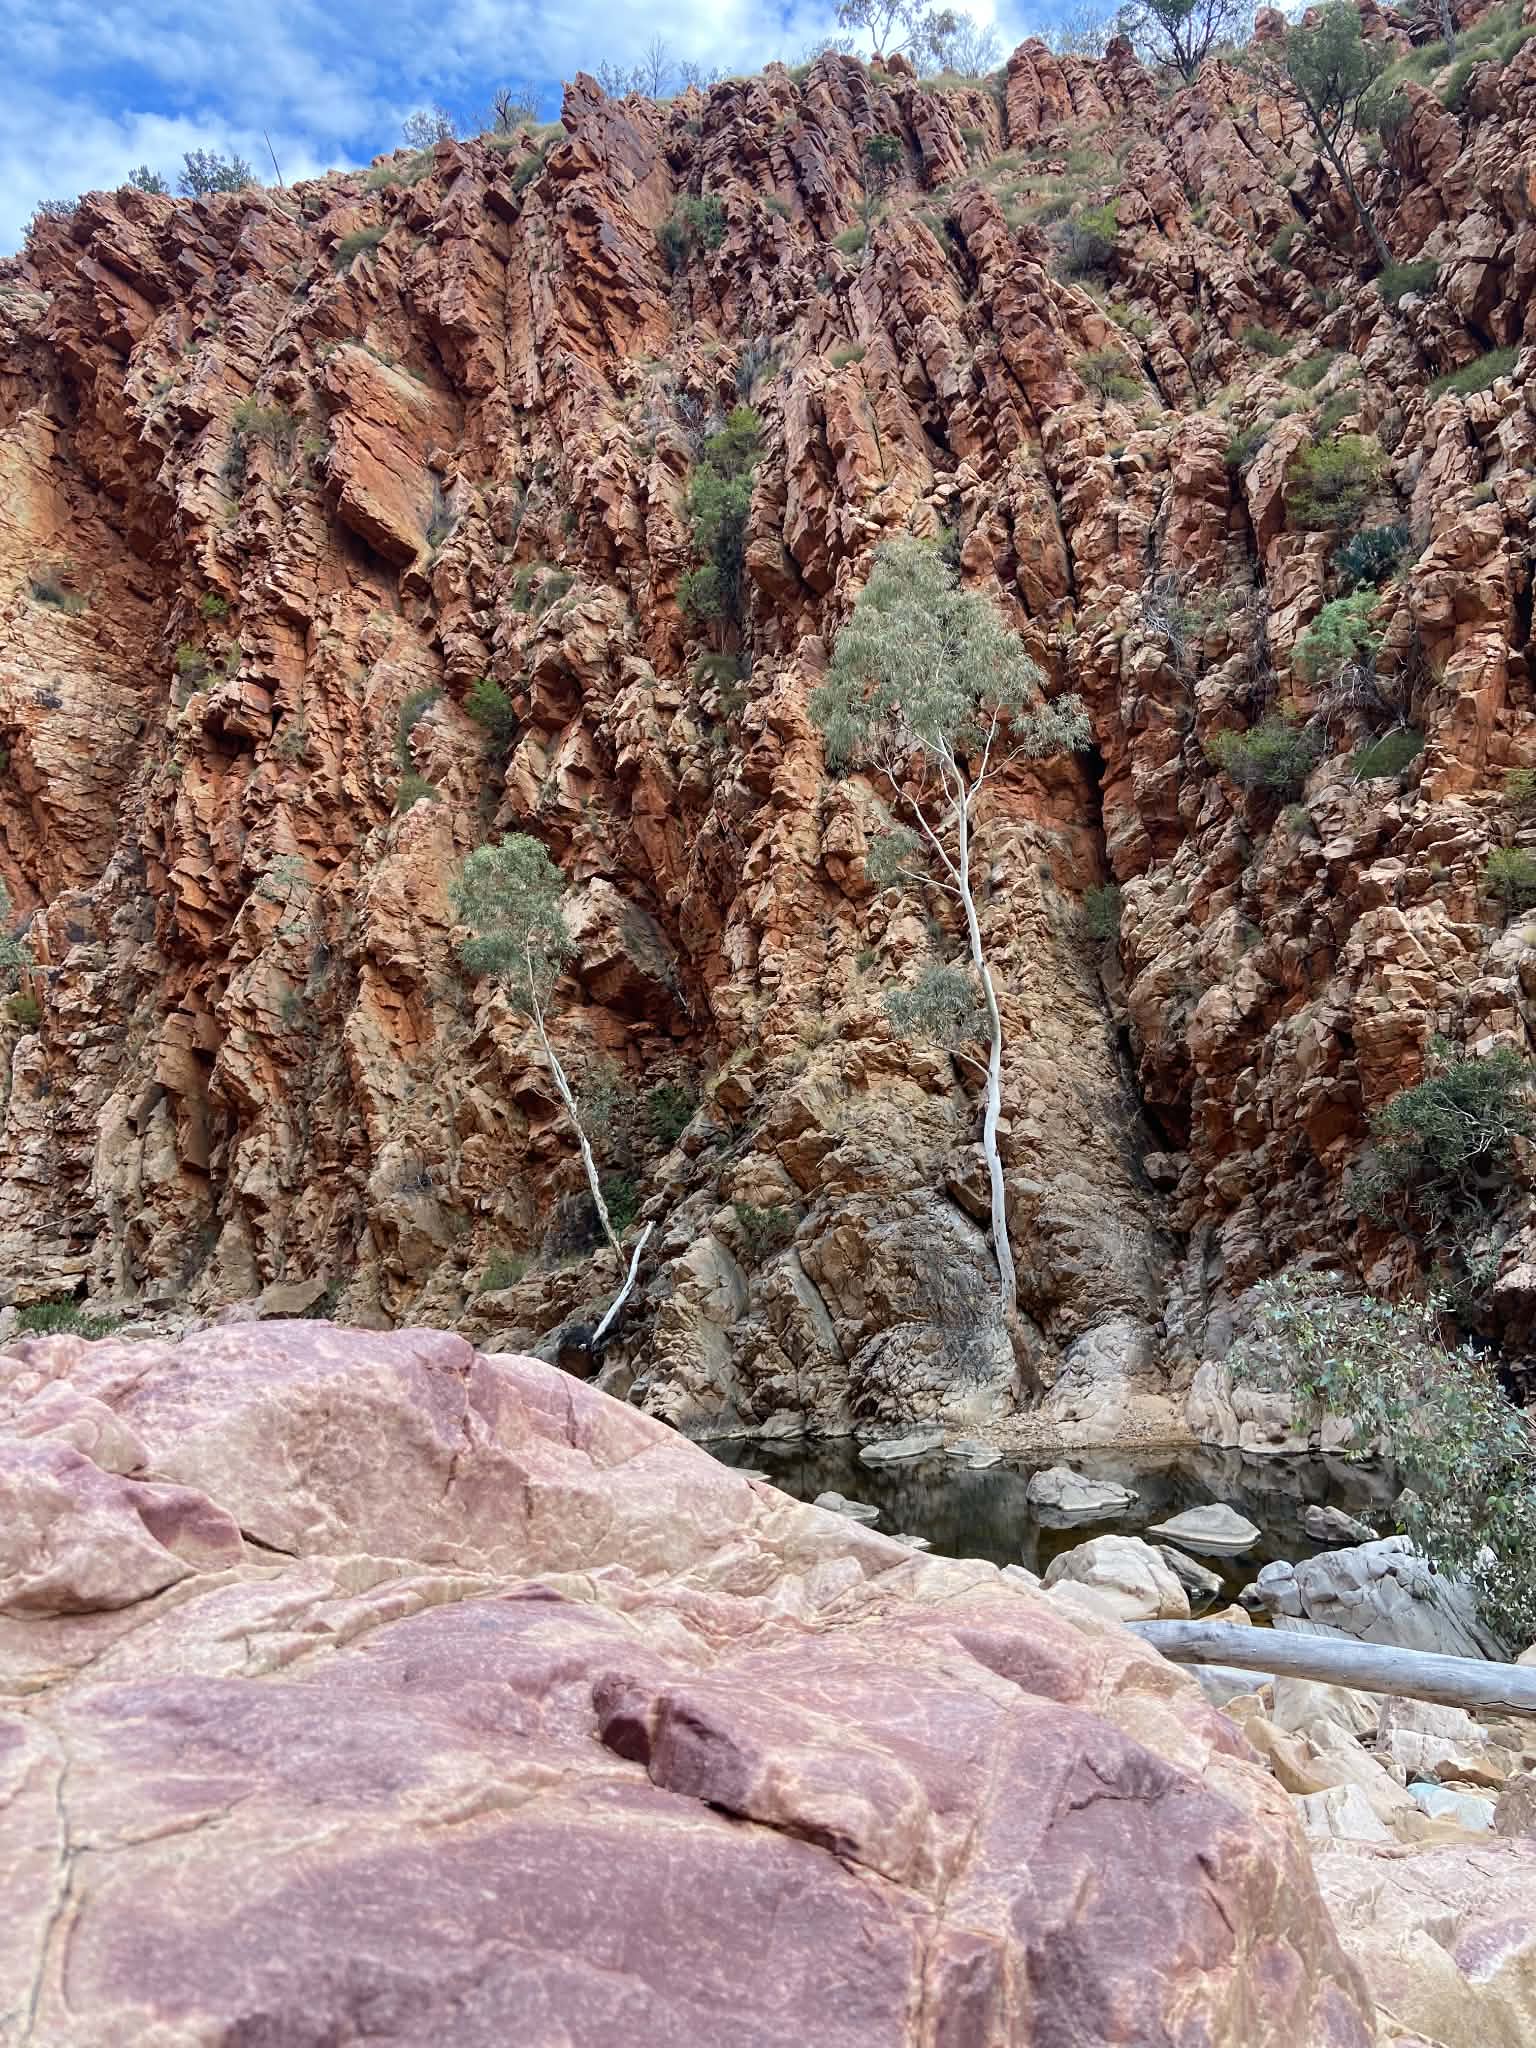
Camp is just across the river and has a shelter, toilet and water tanks. We weren’t long at camp before a weary Sydney group of 4 trudged into camp. It was by chance that someone mentioned Ellery Creek North, and suddenly the group realised they’d made a mistake and were meant to be at Ellery Creek South where their shuttle bus was due to pick them up first thing the next morning. That was now over 7km away and a heartbreaking realisation as they donned their packs and headed back down the trail.
While the camp itself wasn’t our favourite, the gorge was stunning! We saw falcons flying through the gorge and we went for a freezing but refreshing dip. This ended up being one of our favourite spots and we were lucky to see a beautiful owl at camp. There were again a lot of mice at Ellery Creek North, but the shelter had some cages to protect food under the platforms which worked for us.
We enjoyed our first ever home-dehydrated ramen which was incredible! We shared some of our leftovers and received rapturous applause from our fellow walkers. Jo was also called on to perform surgery (supported by 2 nurses from the Sydney trio) for a blister victim from the WA 4 group which drew a crowd.
Peaks & Pits:
Peak: Swim at Ellery Creek gorge
Pit: Hot (and a little bit boring) walking
Day 8: Ellery Creek North to Serpentine Camp
Distance: 12km (12.6km as per Garmin)
Duration: 4hrs (including breaks)
Highlights: Views of Heavitree and Chewings ranges, Serpentine Gorge
Serpentine Gorge camp was our planned rendeavouz location with our friends who had left the walk earlier in the trip. We’d had no reception since Standley Chasm and were wondering whether the rendeavouz would come off.
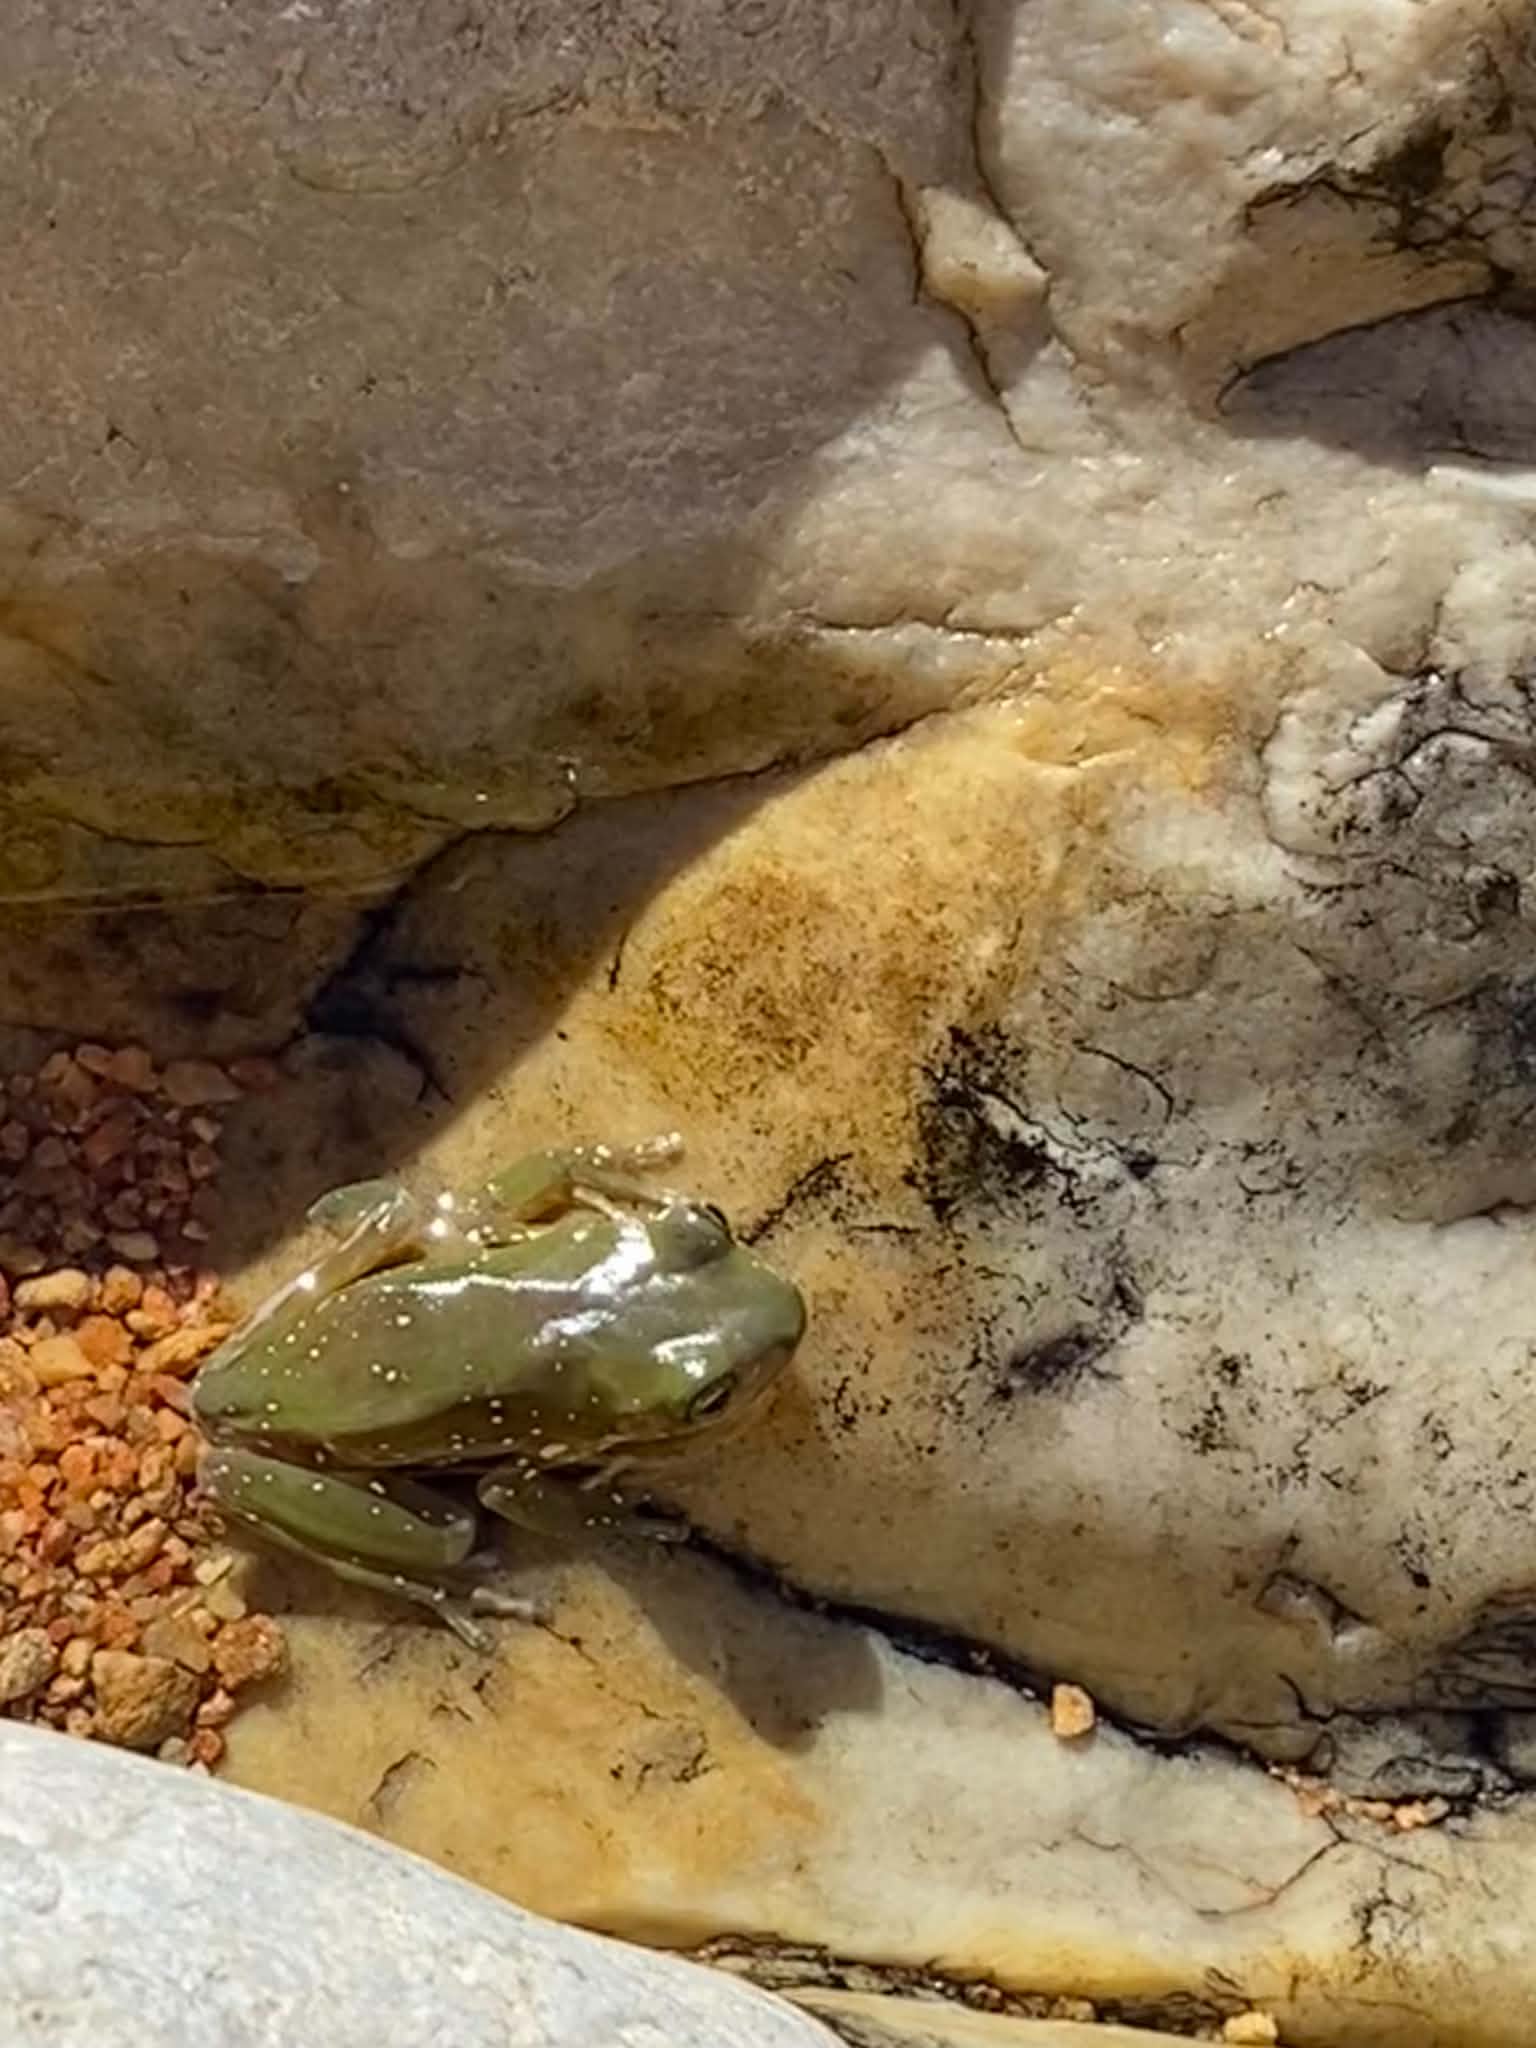
With this in mind, we headed off from camp along the base of Heavitree Range. The trail was very overgrown and we got briefly lost amongst the deceptive spinifex. The track had several small climbs, but was overall a gentle meandering track. The track was again very exposed for most of the day and we quickly felt the effects of the heat, and several days of walking with limited shade. About 3.6km from camp there was a short gorge (and a tiny scramble) which offered relief of shade and was a good rest spot. We spotted a little green frog here as well as lots of birdlife.
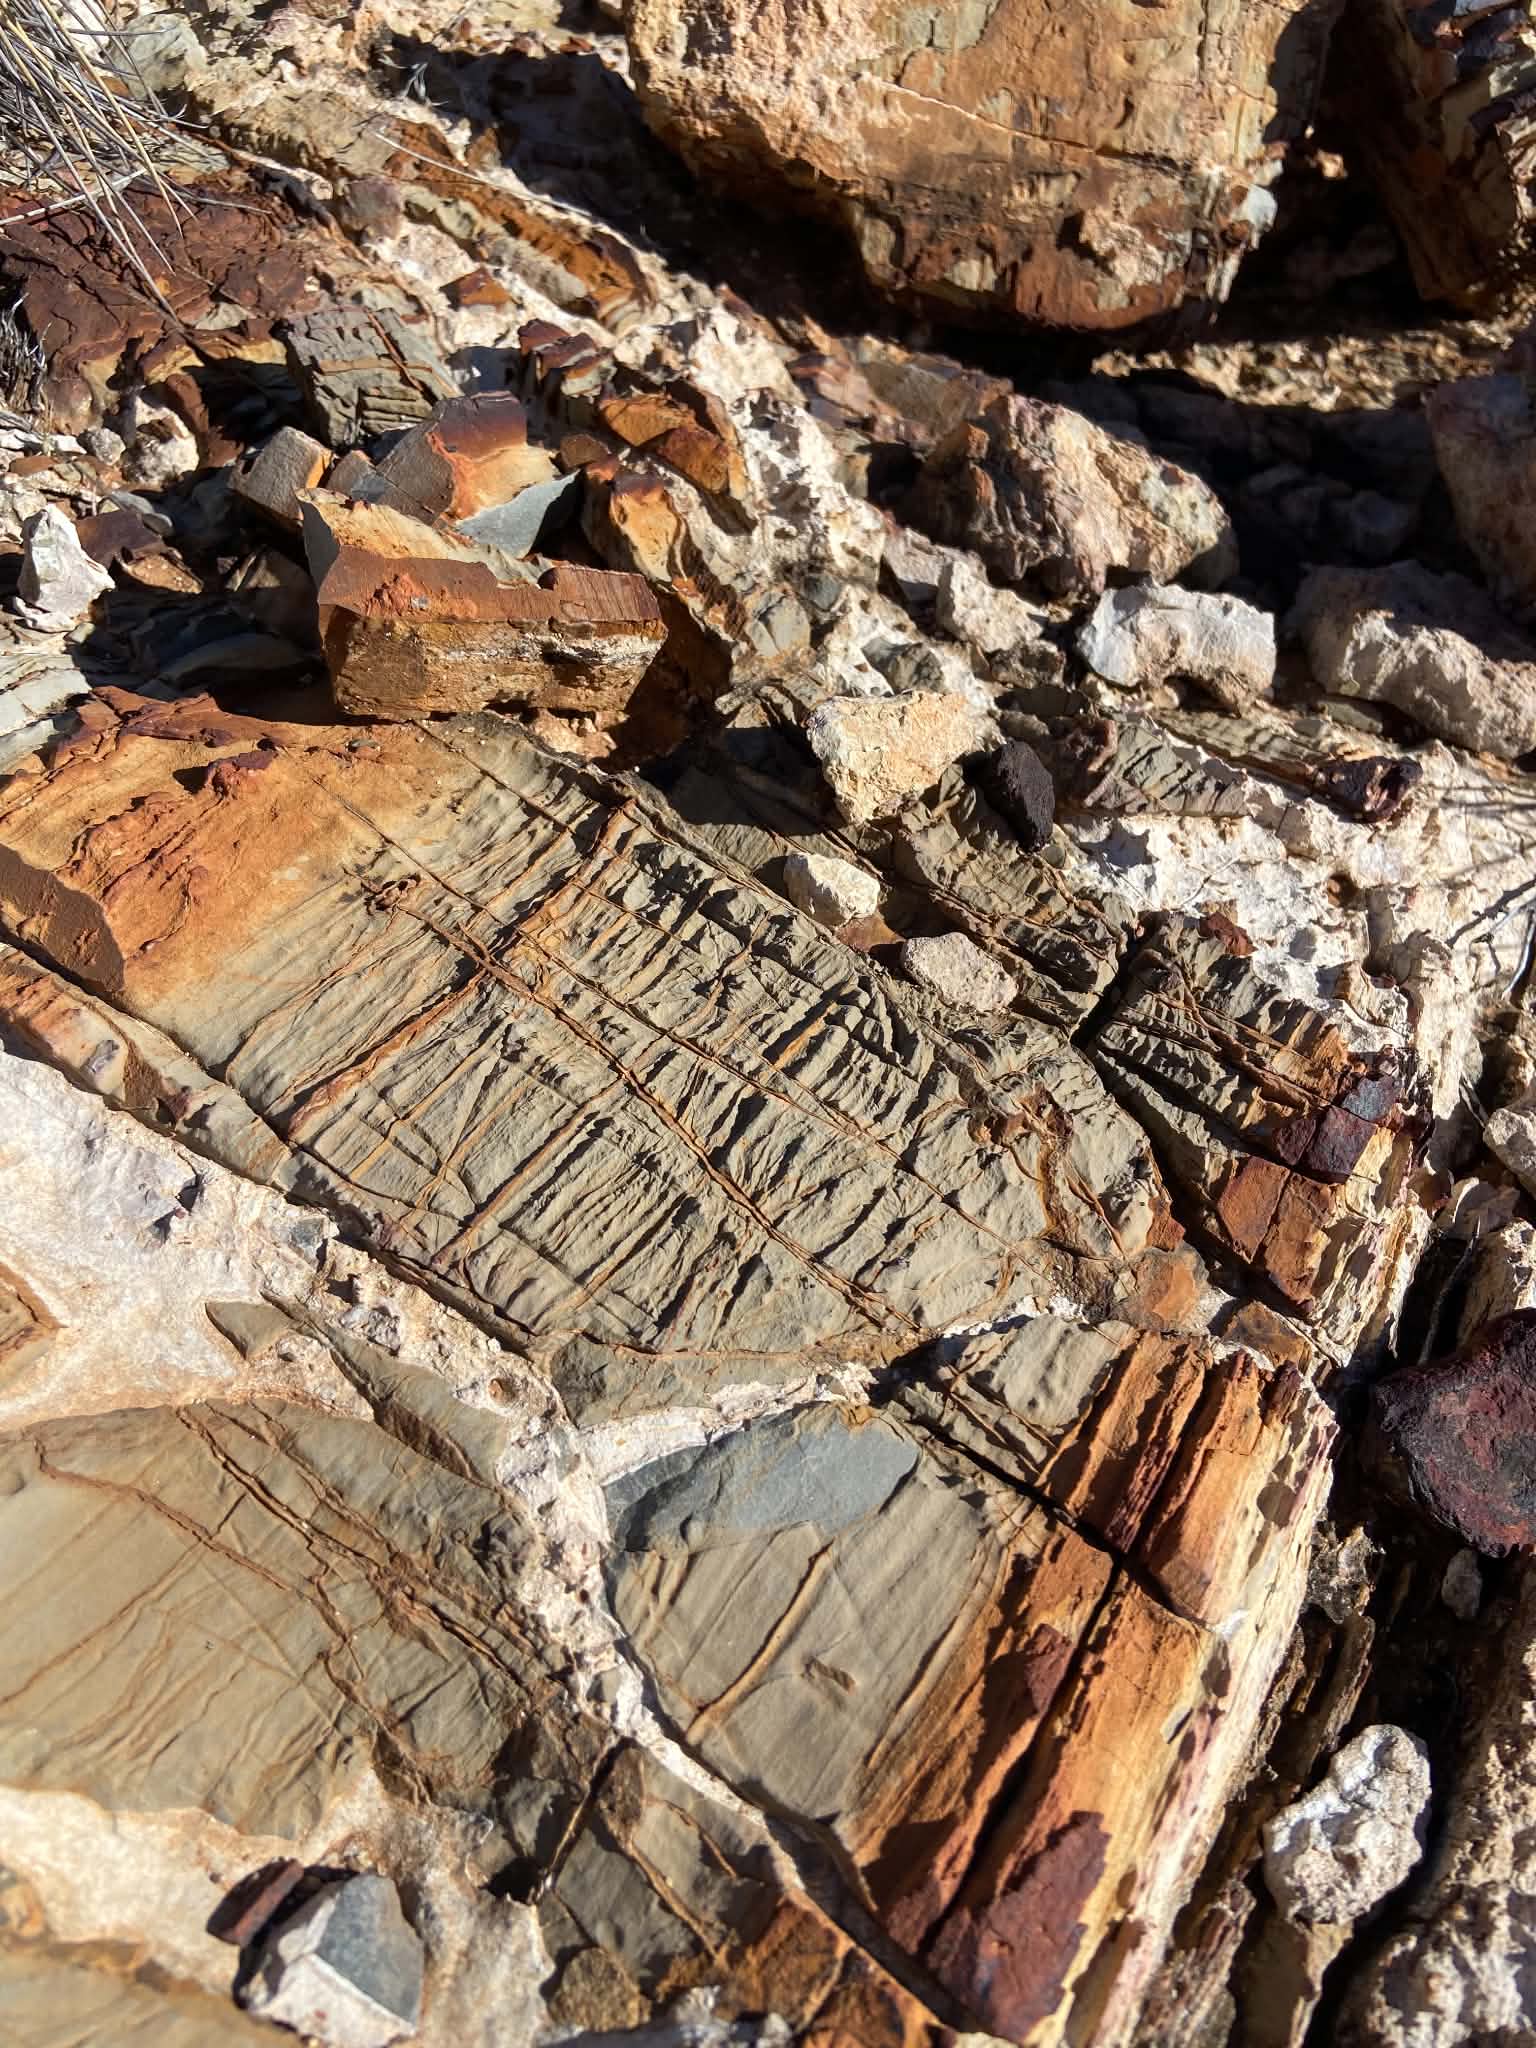
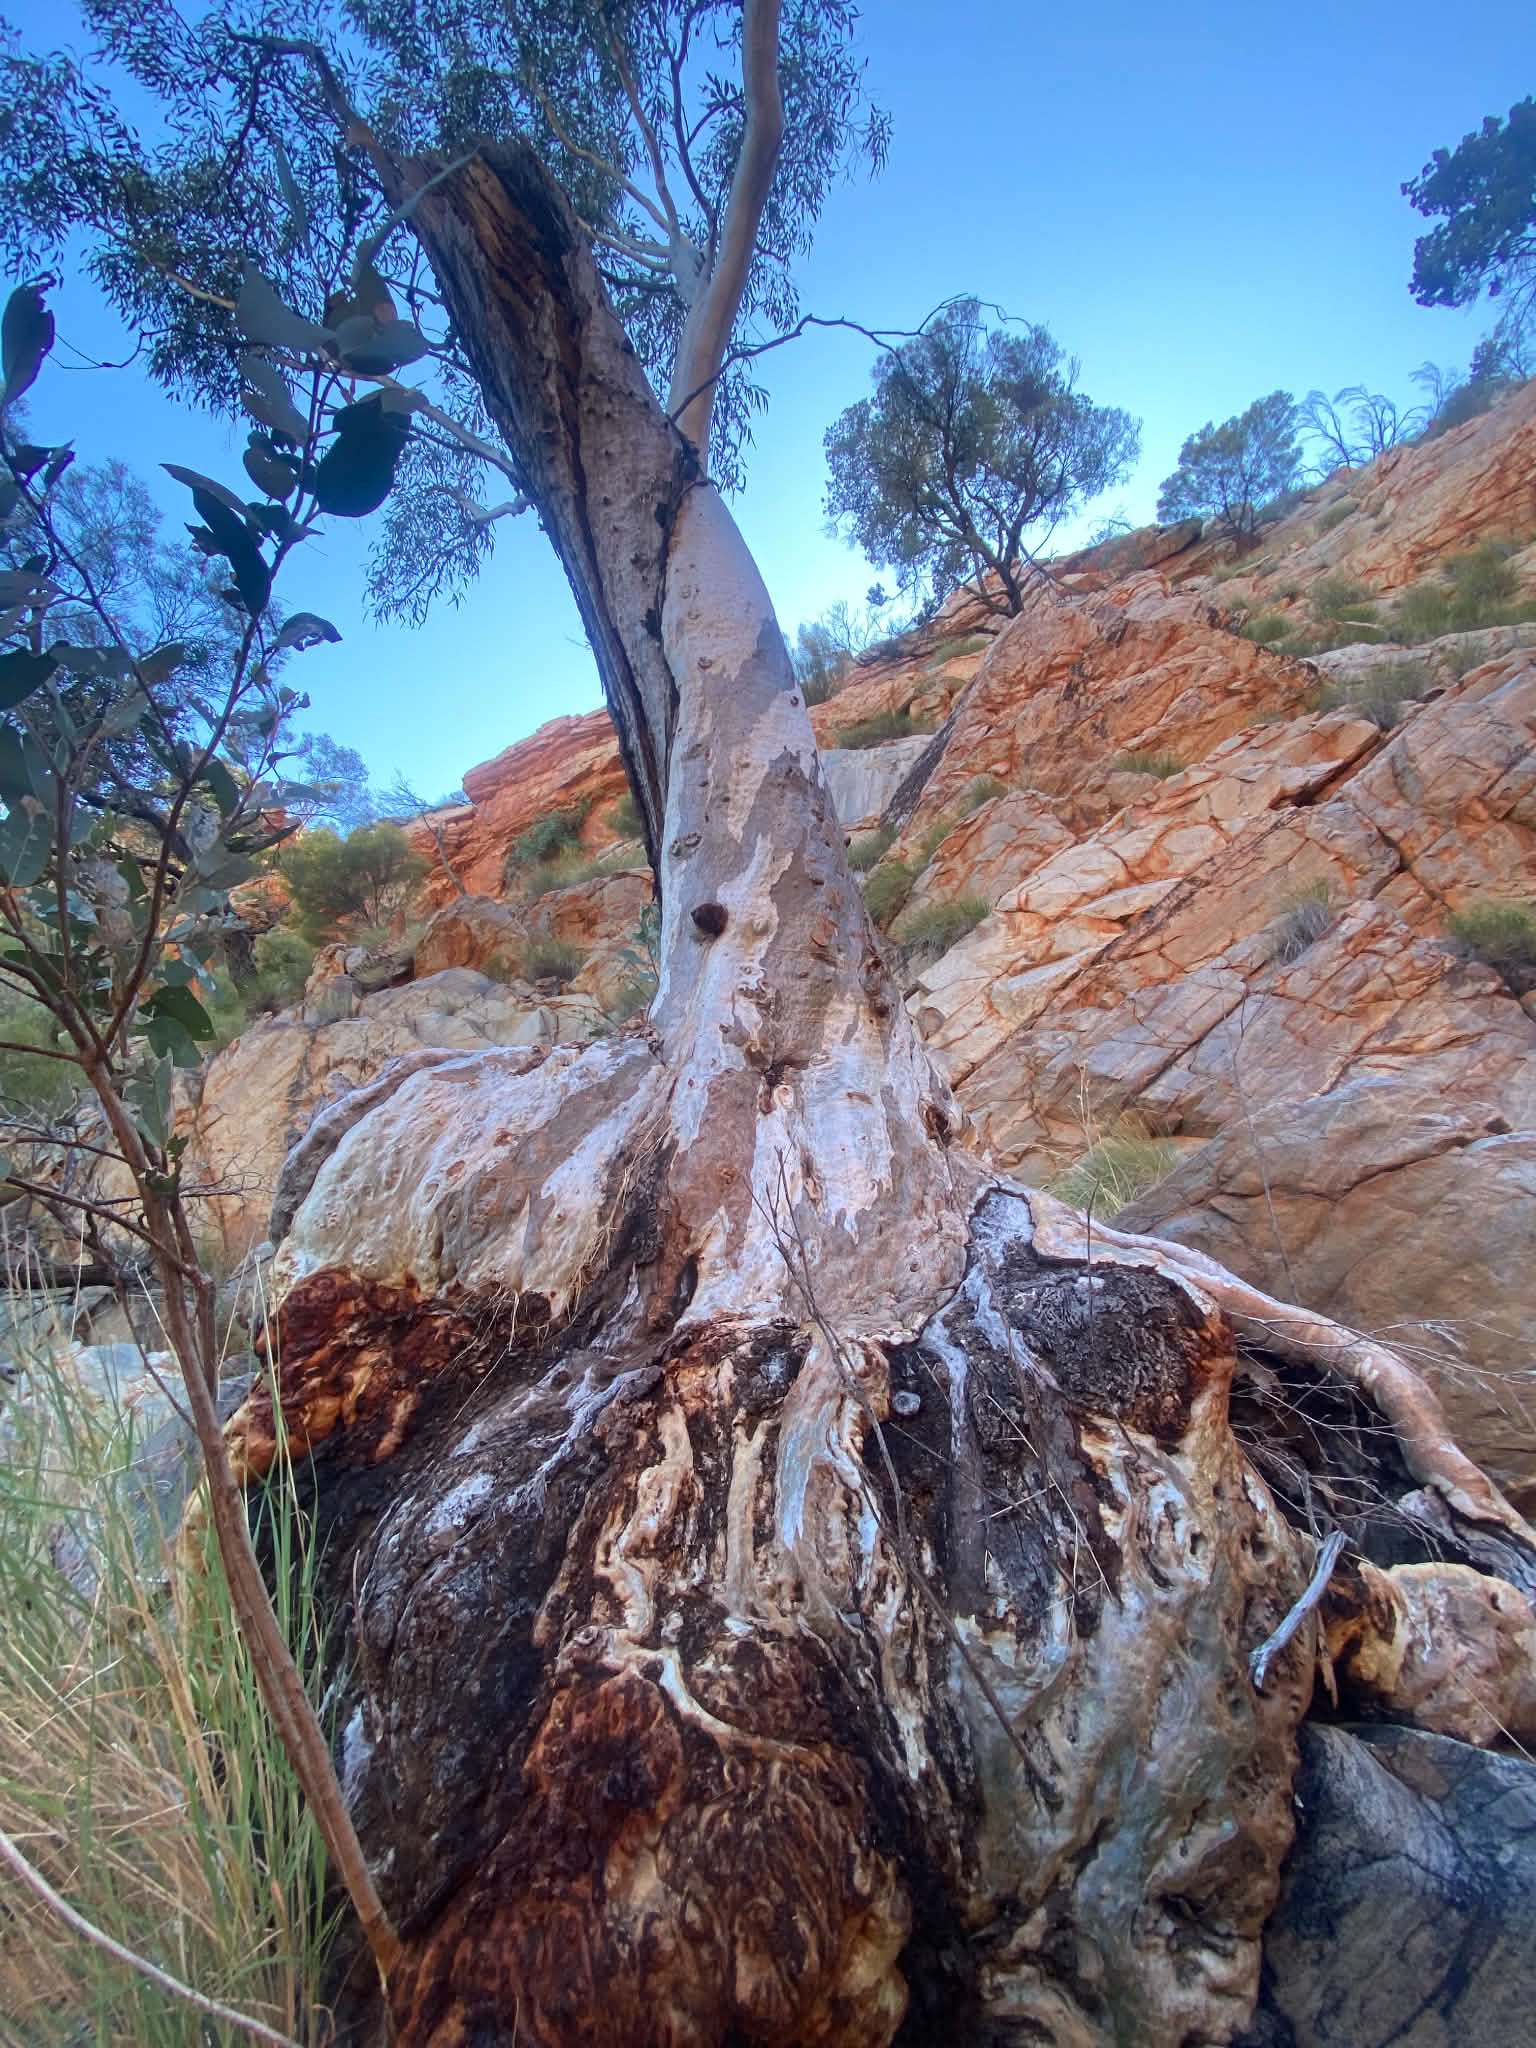
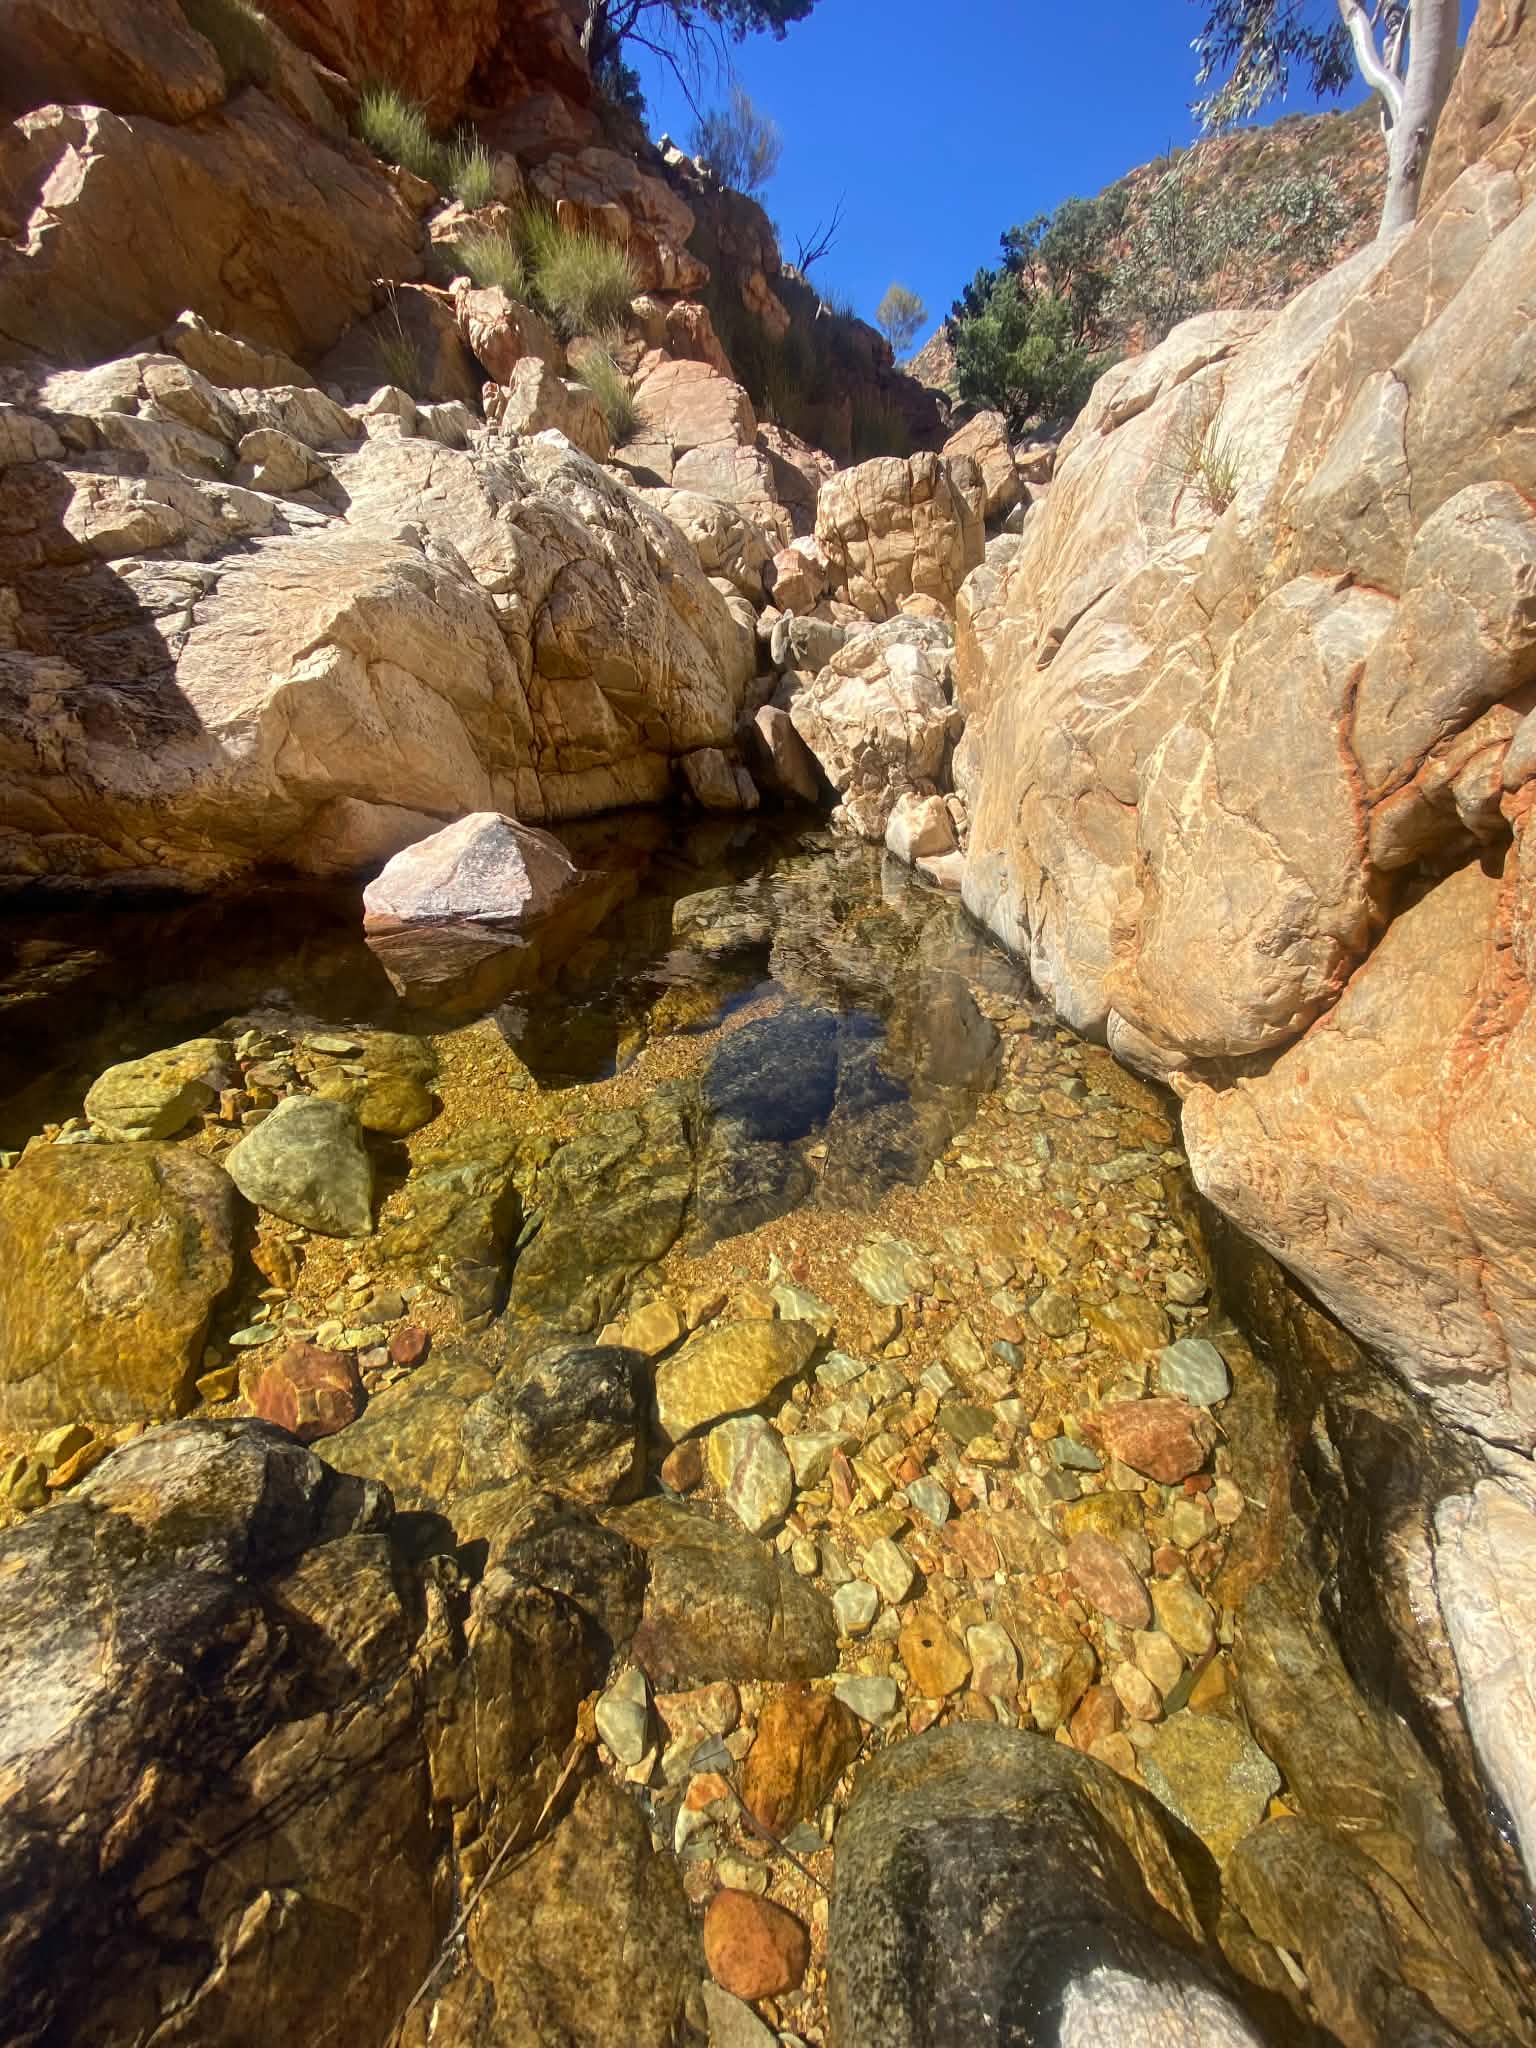
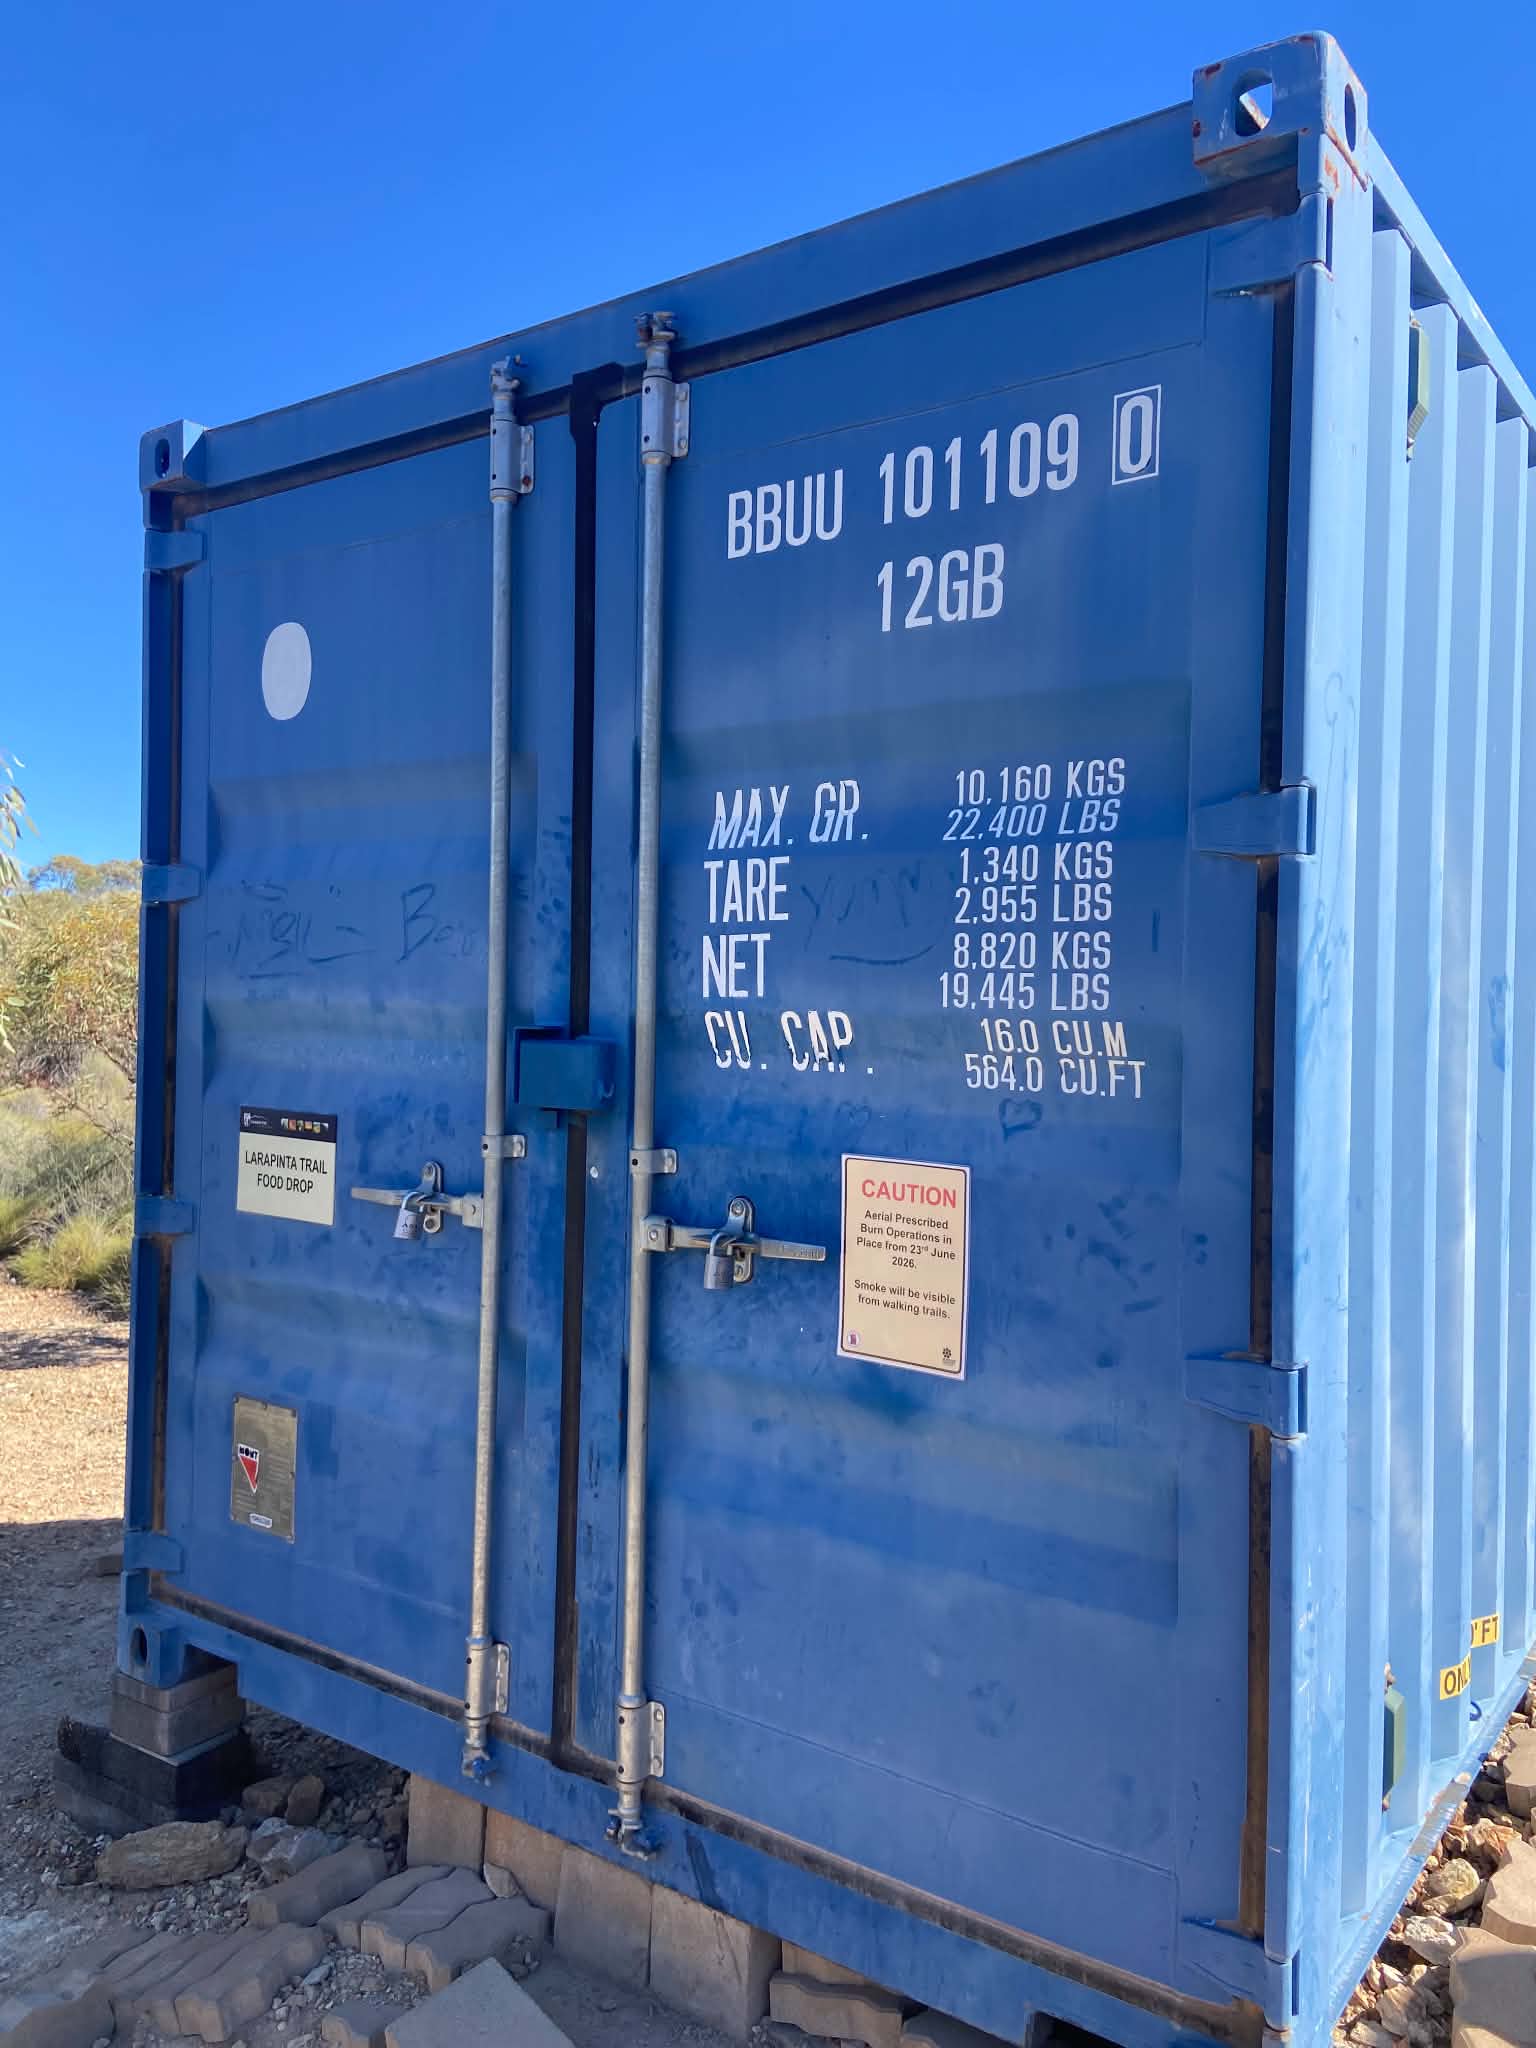
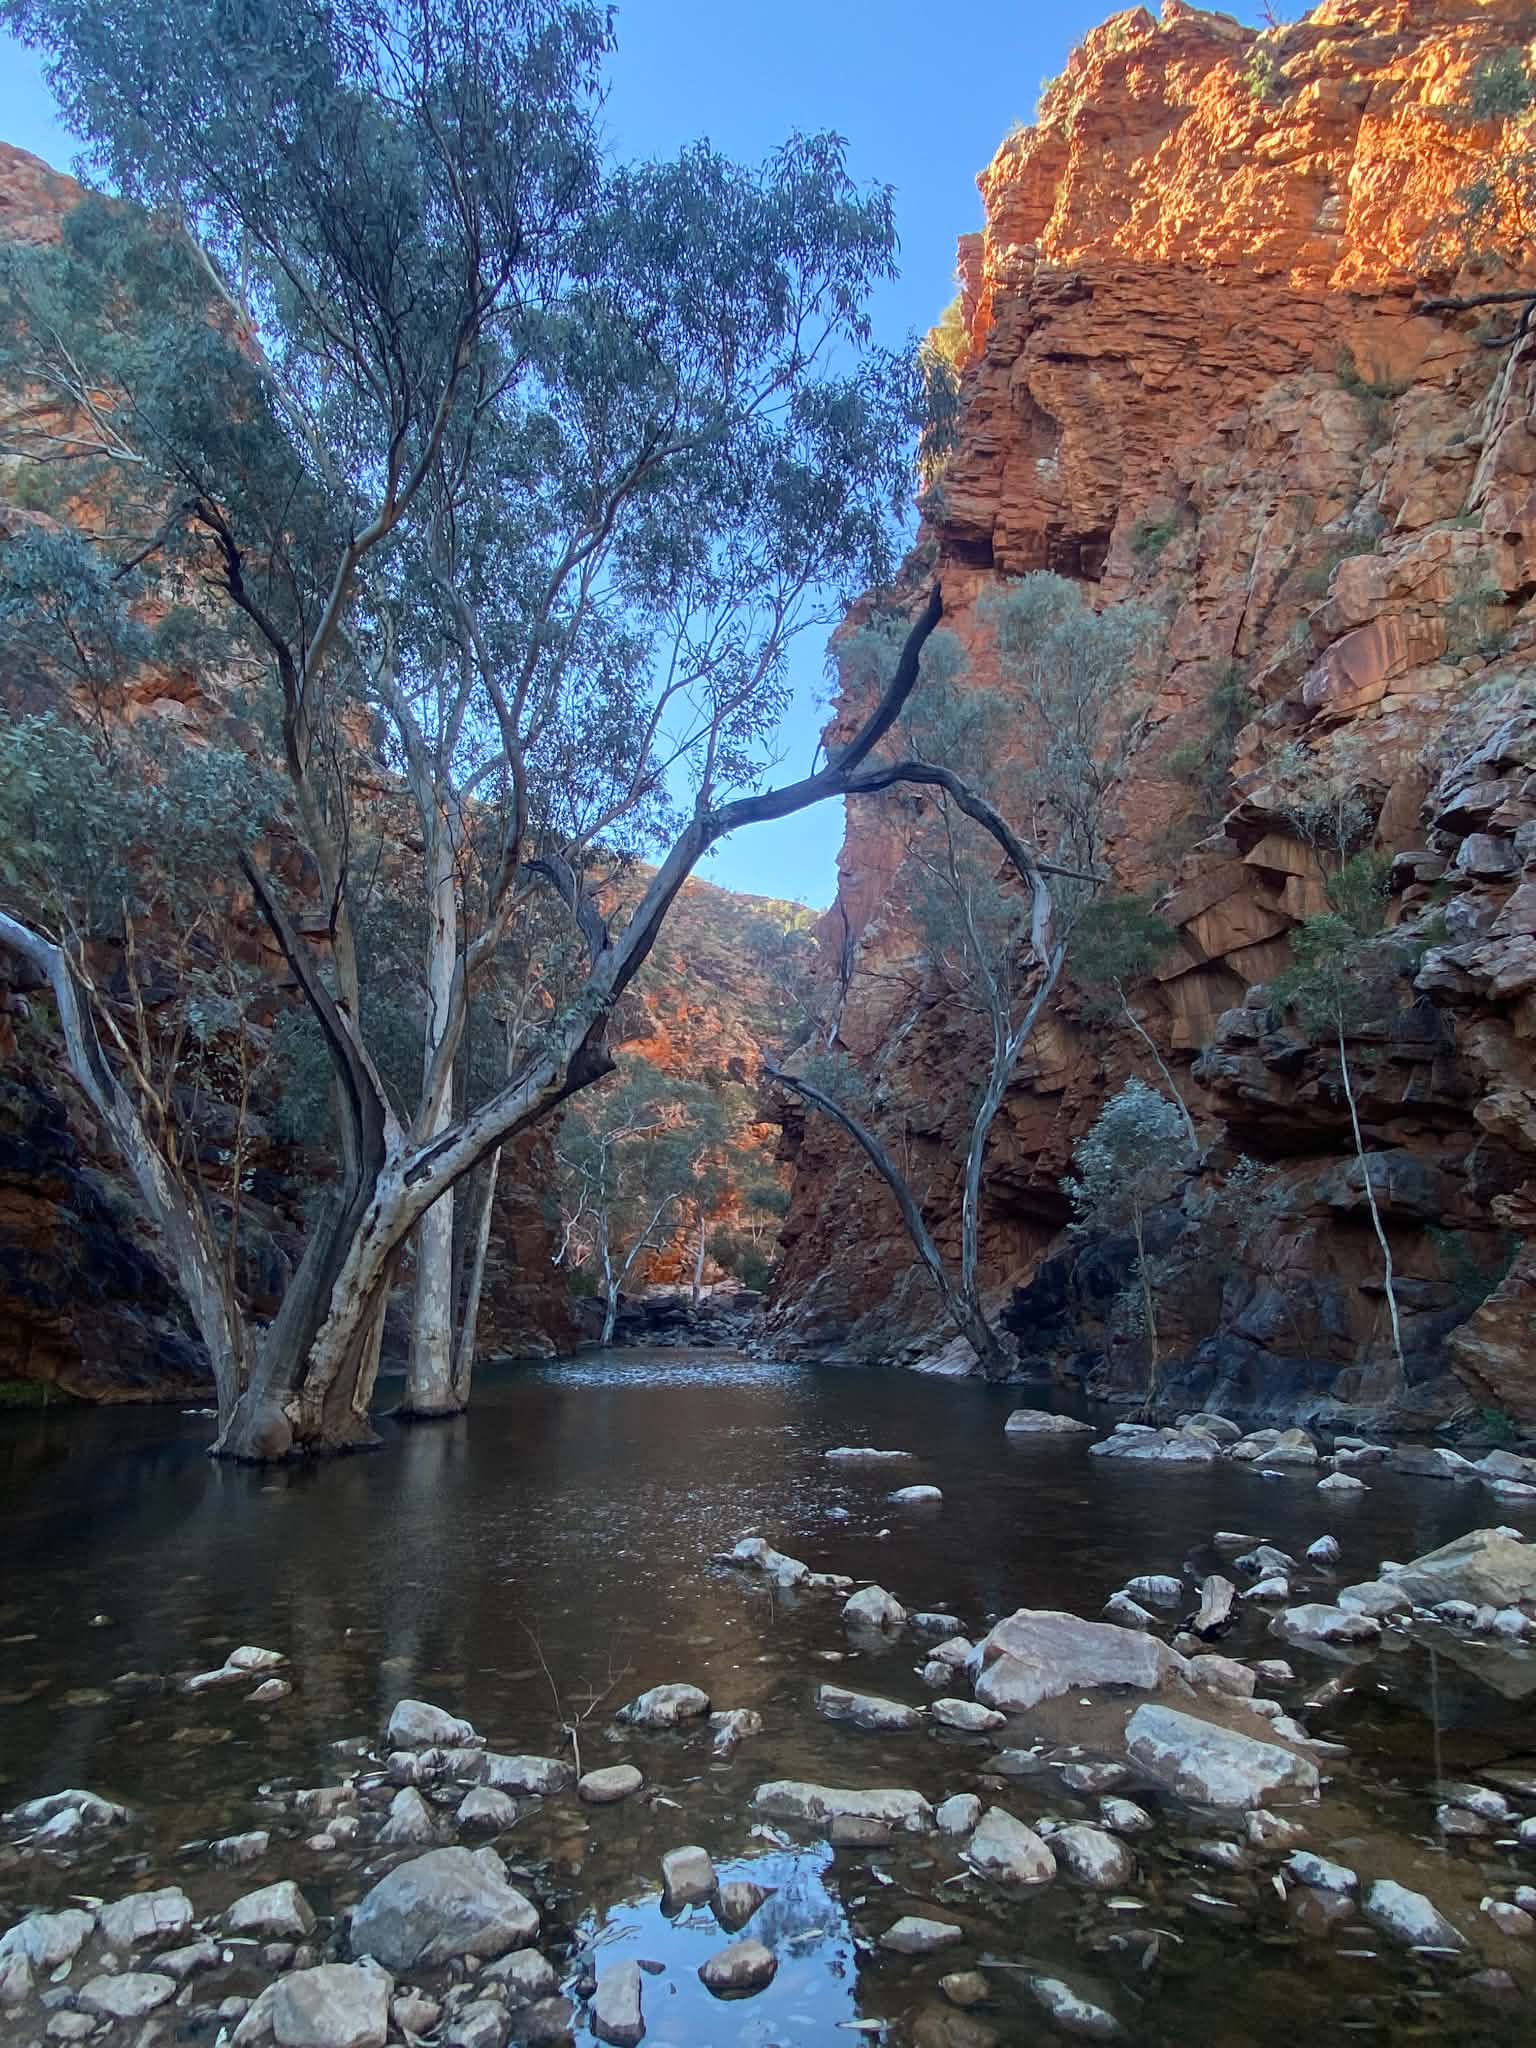
The final few kilometers were winding track, easy walking but hot. We saw a little knoll with plenty of trees and it turned out this was hiding Serpentine Camp. The camp is bushy, has a good deal of shade and is a bird-watcher’s dream. It was again a very busy camp and quickly ran out of campsites so it was good to arrive early. We walked down the hill to the carpark, then took a short trail to collect our food drop from the shipping container. We carried our box back up to camp given that our next day was a rest day, and the box also helped protect food from mice attacks.
As the sun was starting to go down and we still hadn’t seen our friends, we weren’t sure if they were going to make it, but we eventually heard familiar voices and were reunited! We had a good catch-up, shared a celebratory dinner of dhal and naan.
Peaks & Pits:
Peak: Reunited with friends!
Pit: Hot (and a little bit boring) walking
Day 9: Serpentine Camp Rest Day
Distance: N/A
Duration: N/A
Highlights: Serpentine Gorge
After being reunited with our friends, a rest day was needed to catch up on all the stories from the past week (tales of the infamous Alice Springs beanie festival and Uluru). We spent the day hanging around camp, bird watching, enjoying our food drop and checking out Serpentine Gorge. We also walked back along the track from the day prior to the small gorge to enjoy the colours and cool temperature of the gorge. We had our celebratory spag bog dinner and enjoyed the spoils of the food drop, as well as some gifts from our friends.
Peaks & Pits:
Peak: Ginger beer and juice boxes from the food drop!
Pit: No beer
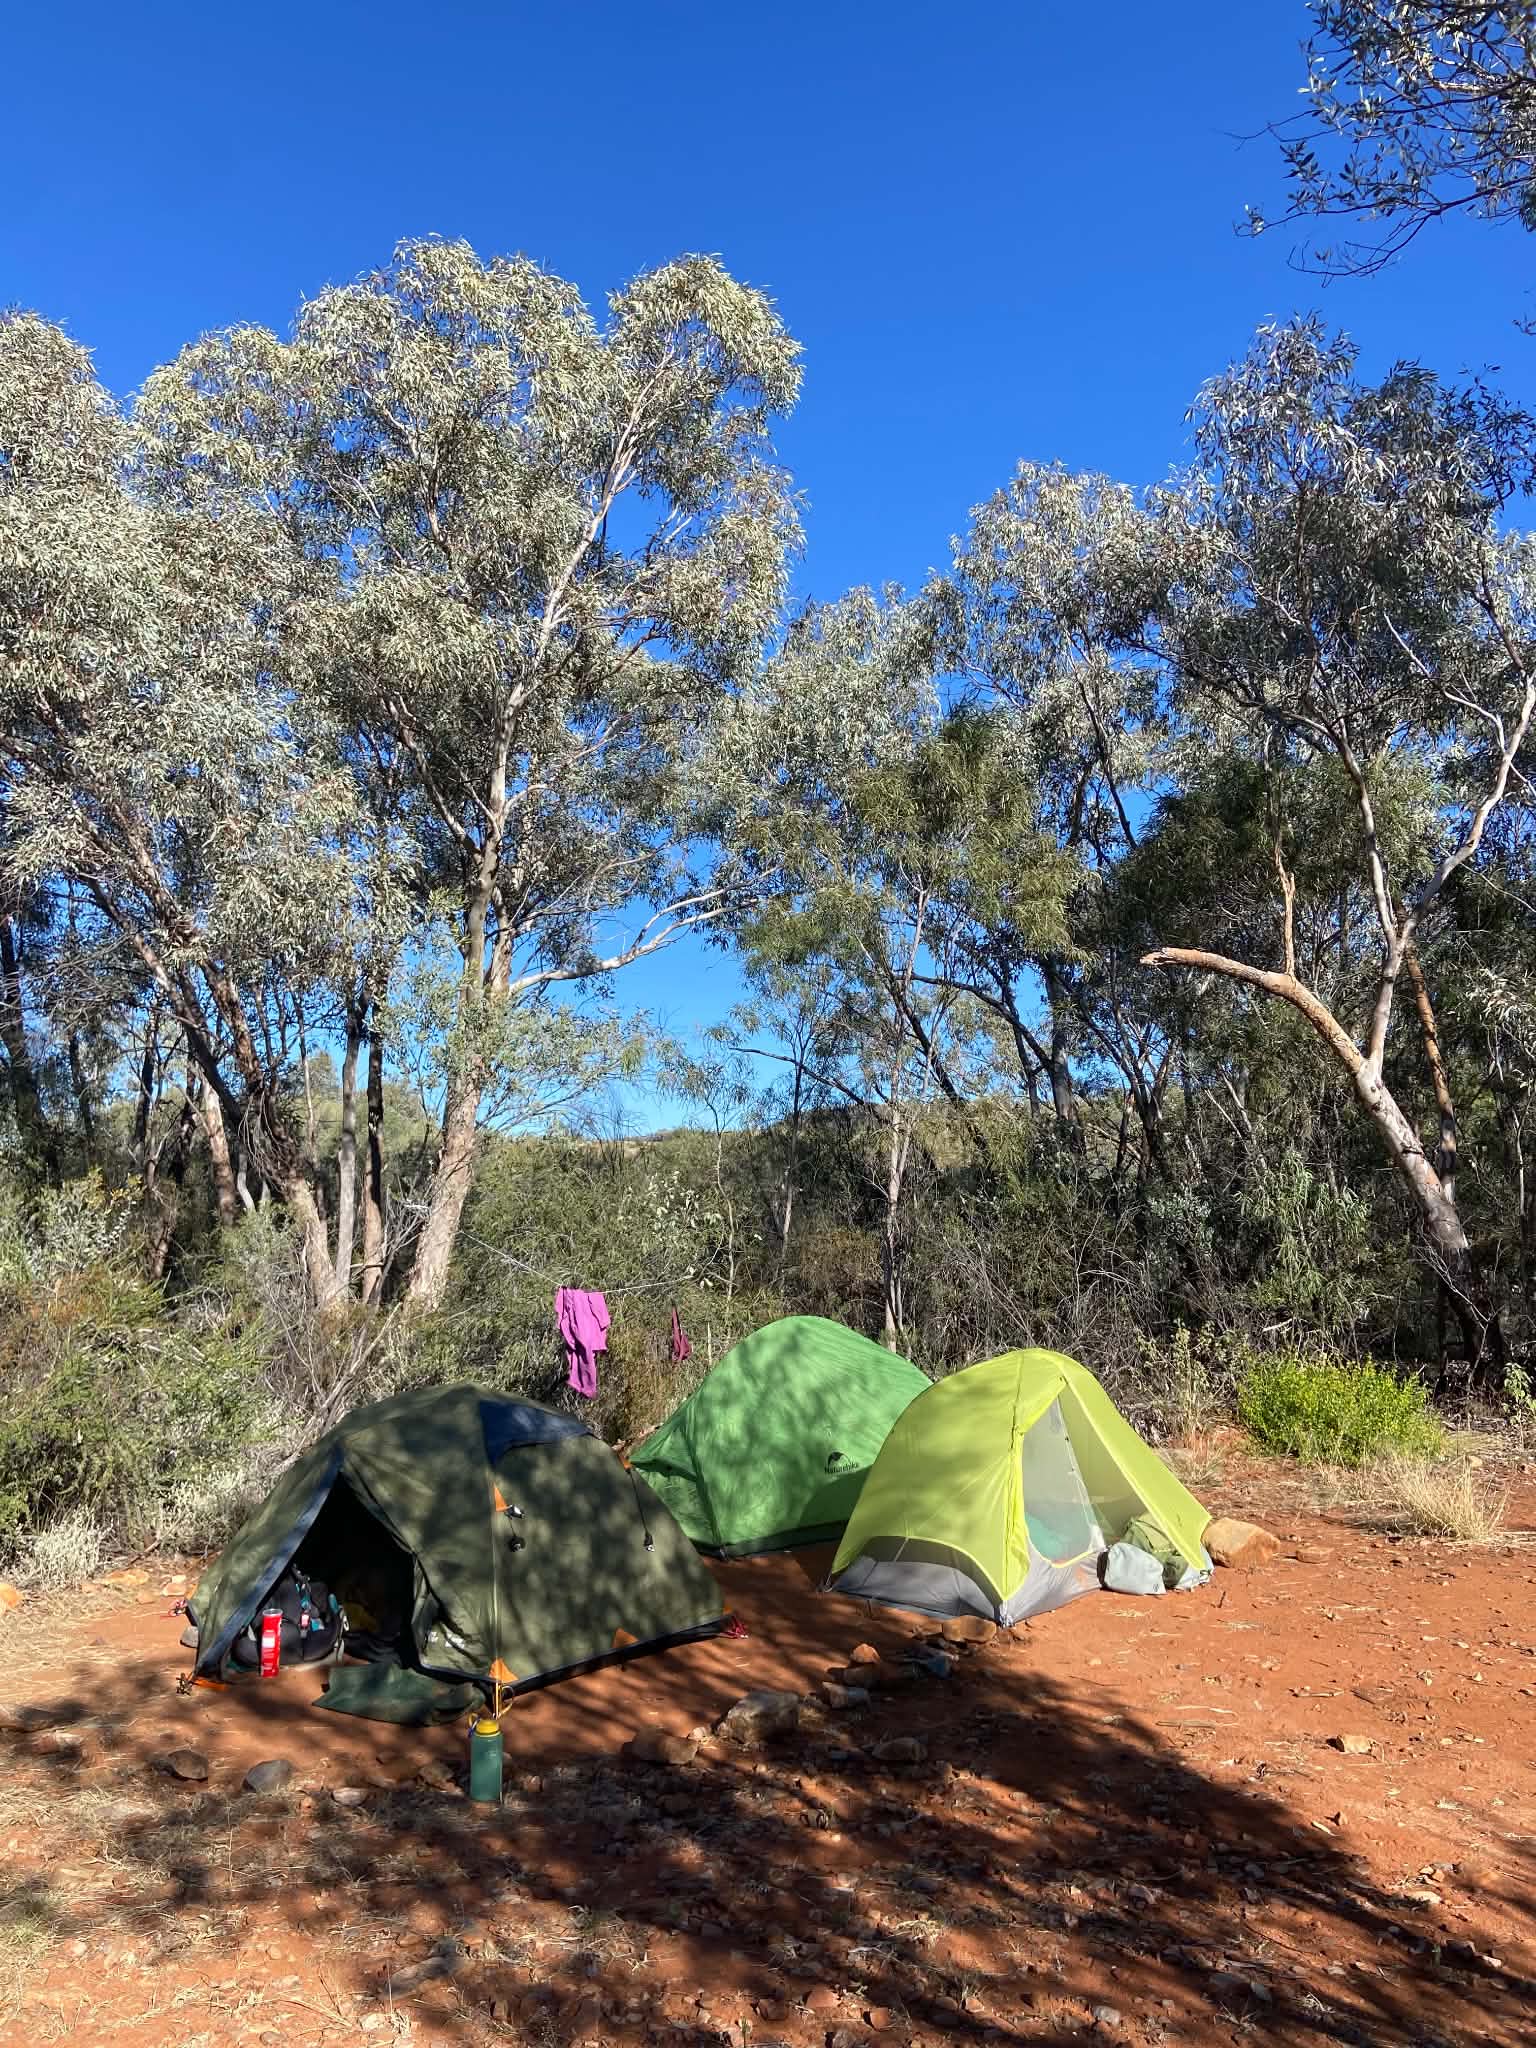
Day 10: Serpentine Camp to Serpentine Chalet Dam
Distance: 13.8km (15.75km as per Garmin)
Duration: 6hrs (including breaks)
Highlights: Counts Point, walking the ridgeline, ancient water ripples, Serpentine Chalet Dam
We parted ways with our comrades in the morning and started the climb towards Counts Point. With 5 days to go, we were feeling the mental game as we watched our friends drive away in their car. It is a long steep climb up the Heavitree range with sections of steps. There are several small makeshift campsites on the way up, eventually arriving at Eagles Landing where there is another small campsite.
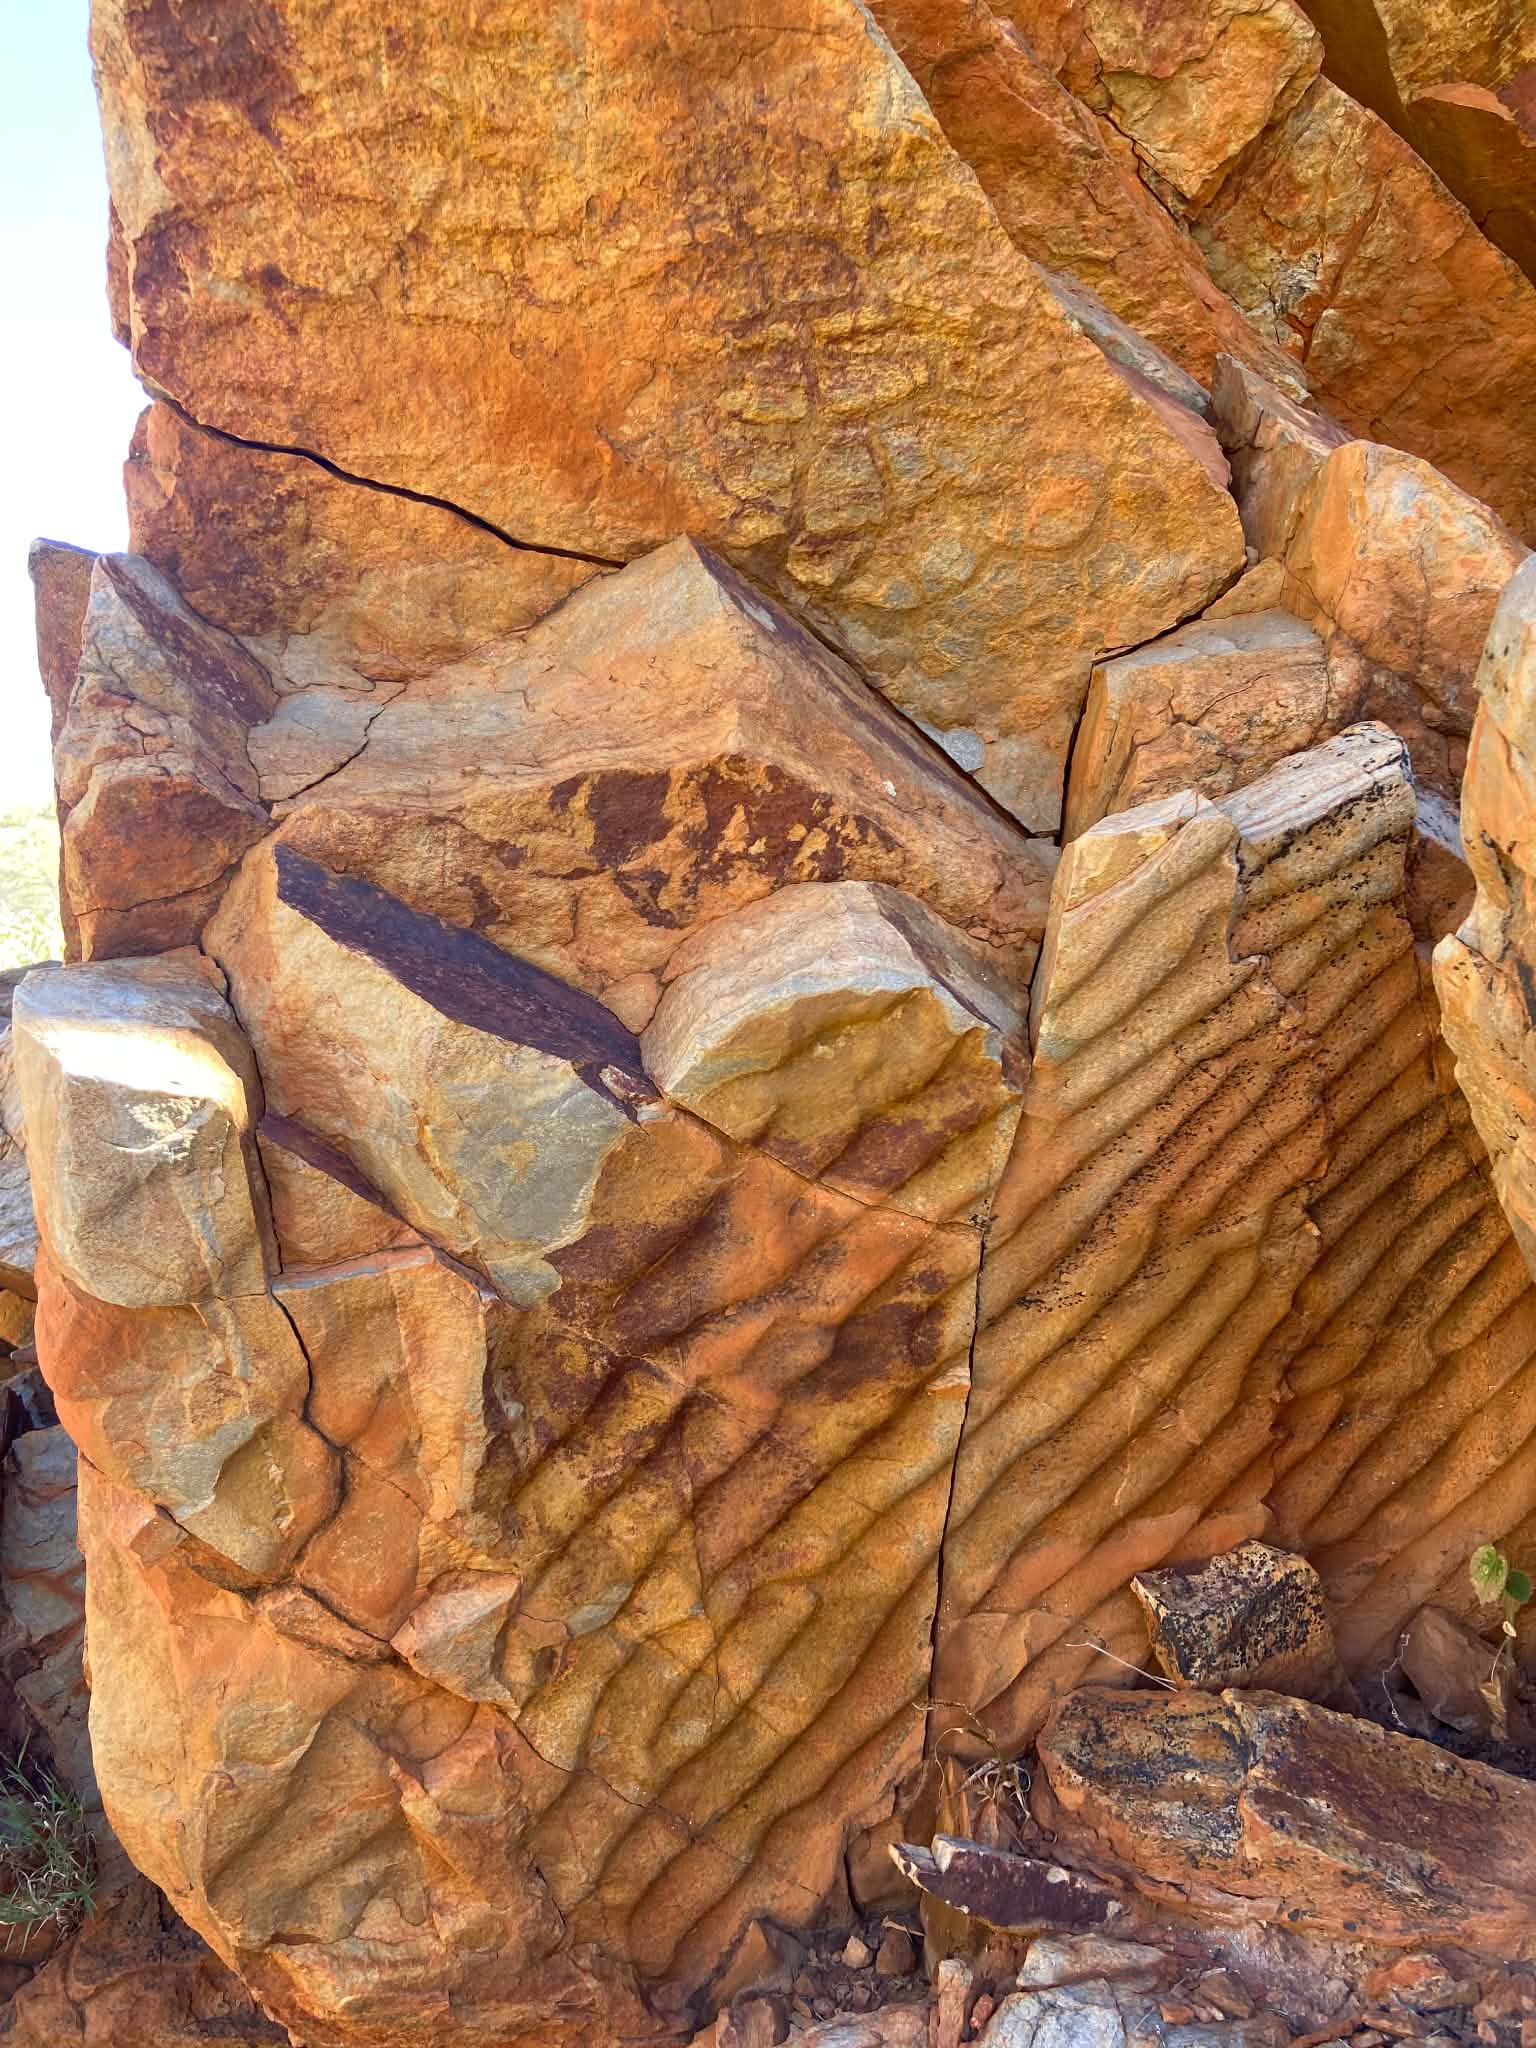
The views are very dramatic, and the drama continued as we summited the climb and then walked along the ridge for approx 3.5km to the junction. There are panoramic views along this whole section, and the trail is very exposed and windy. Walking along the ridgeline was a welcome reprieve from the climb, and the views, flat walking and wild weather made this section go quickly. The ridgeline also has some of the best examples of the ancient seabed ‘ripples’ on the whole Larapinta Trail – evidence of the the ancient ocean waves that once existed here (hard to believe when you’re standing on a mountain in the semi-arid desert!).
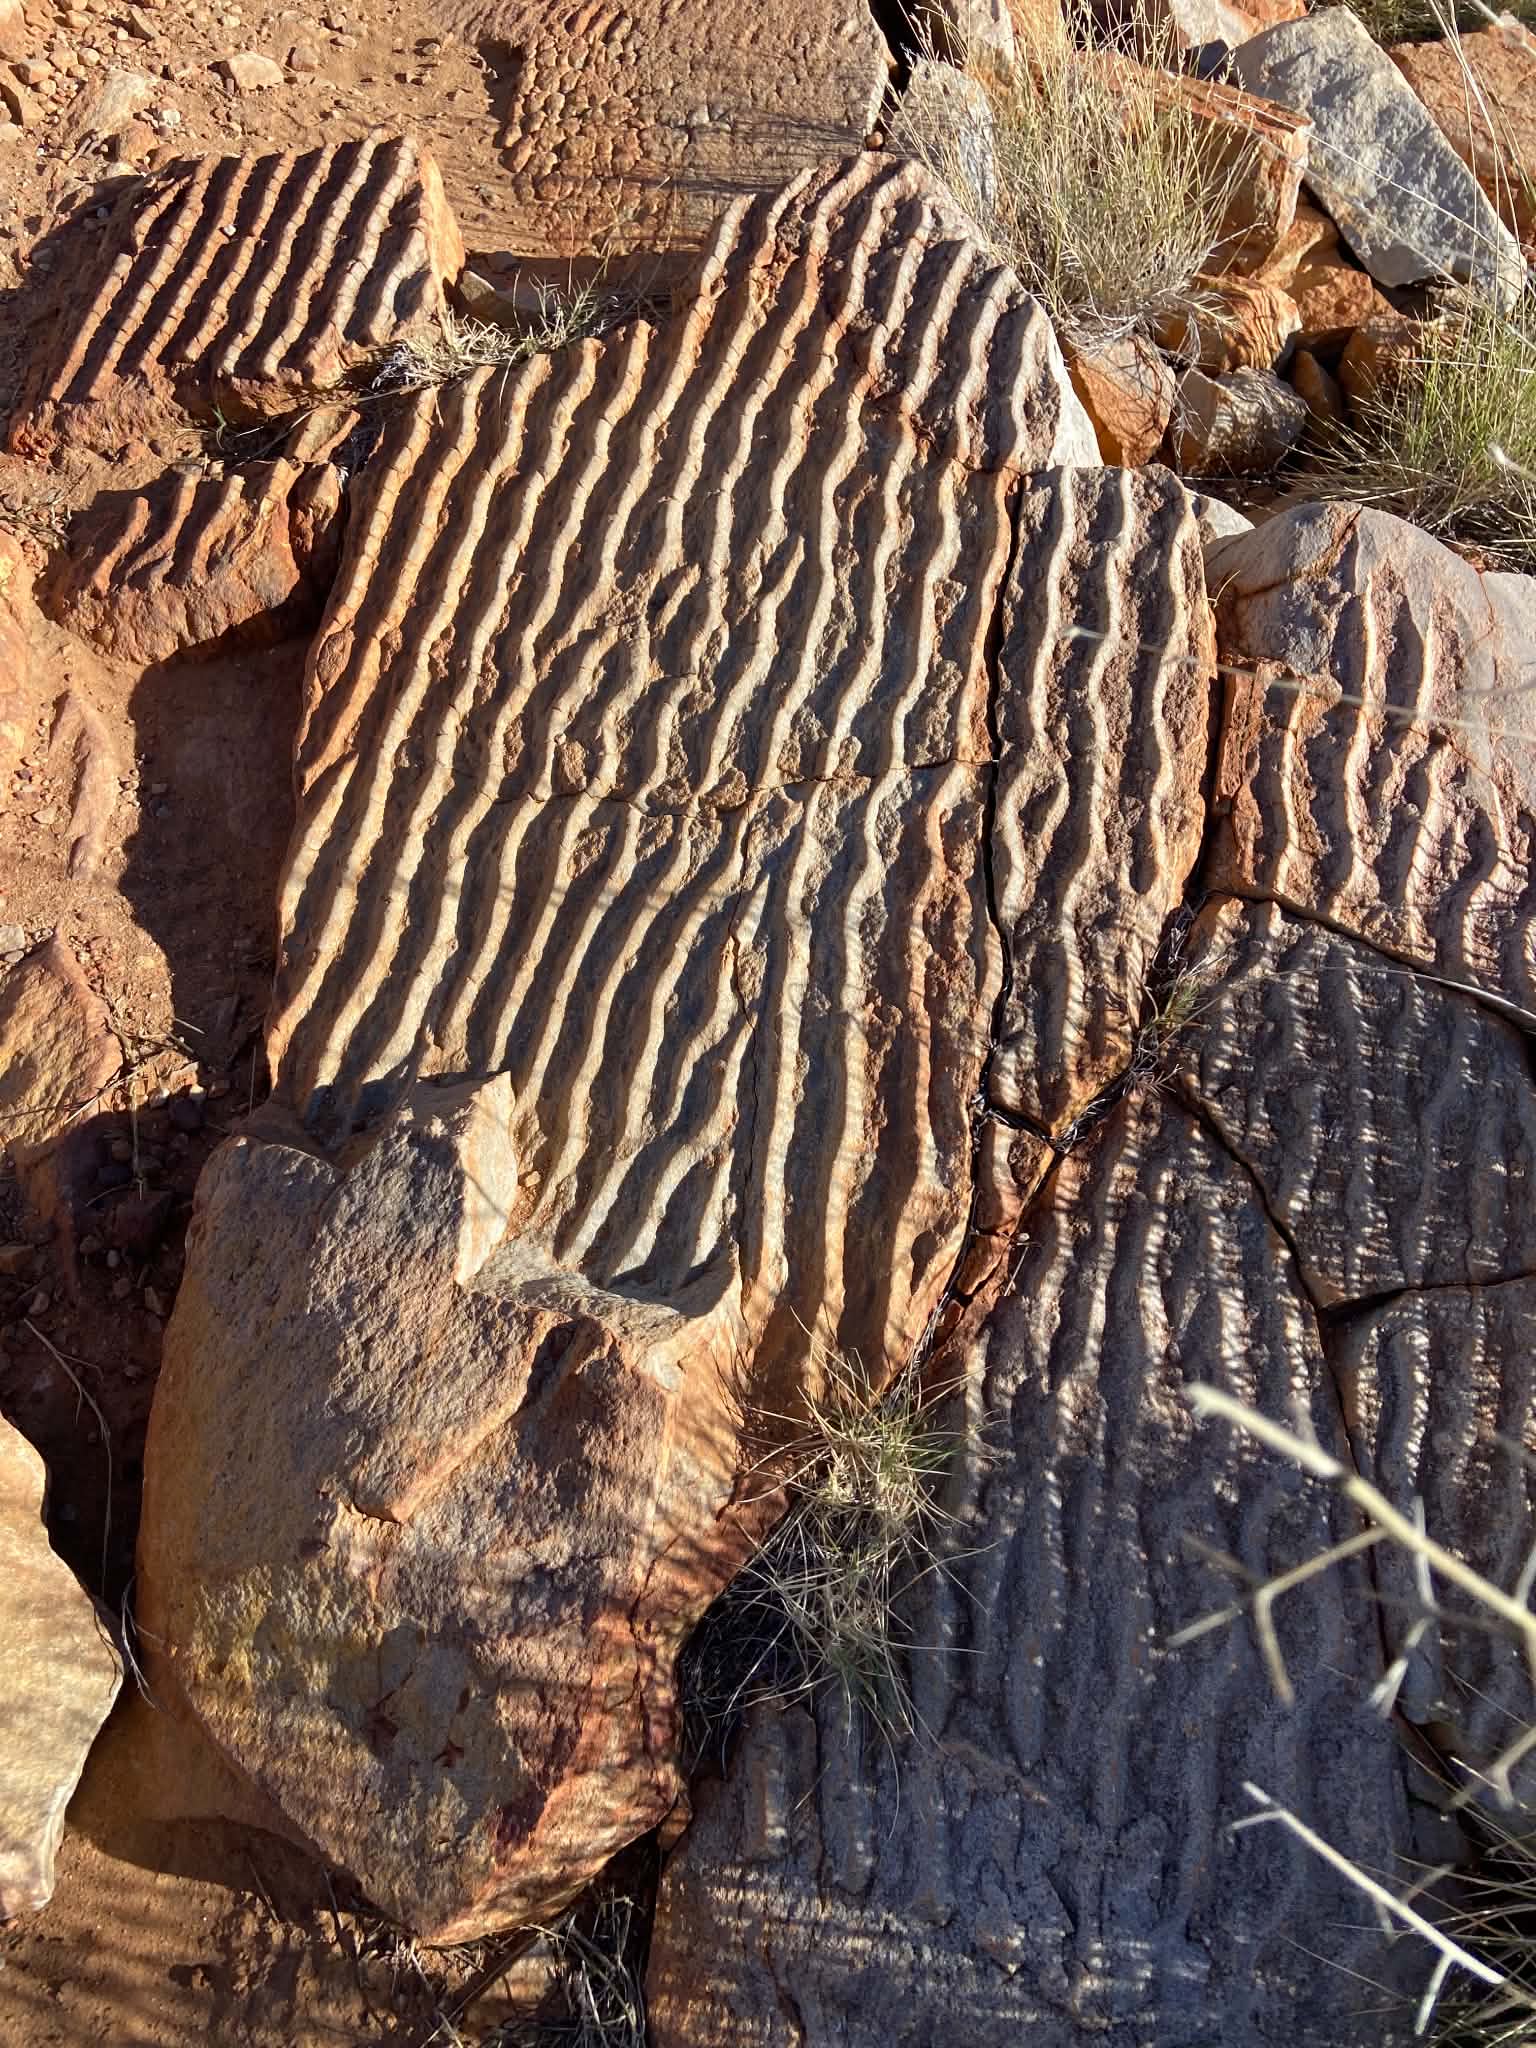
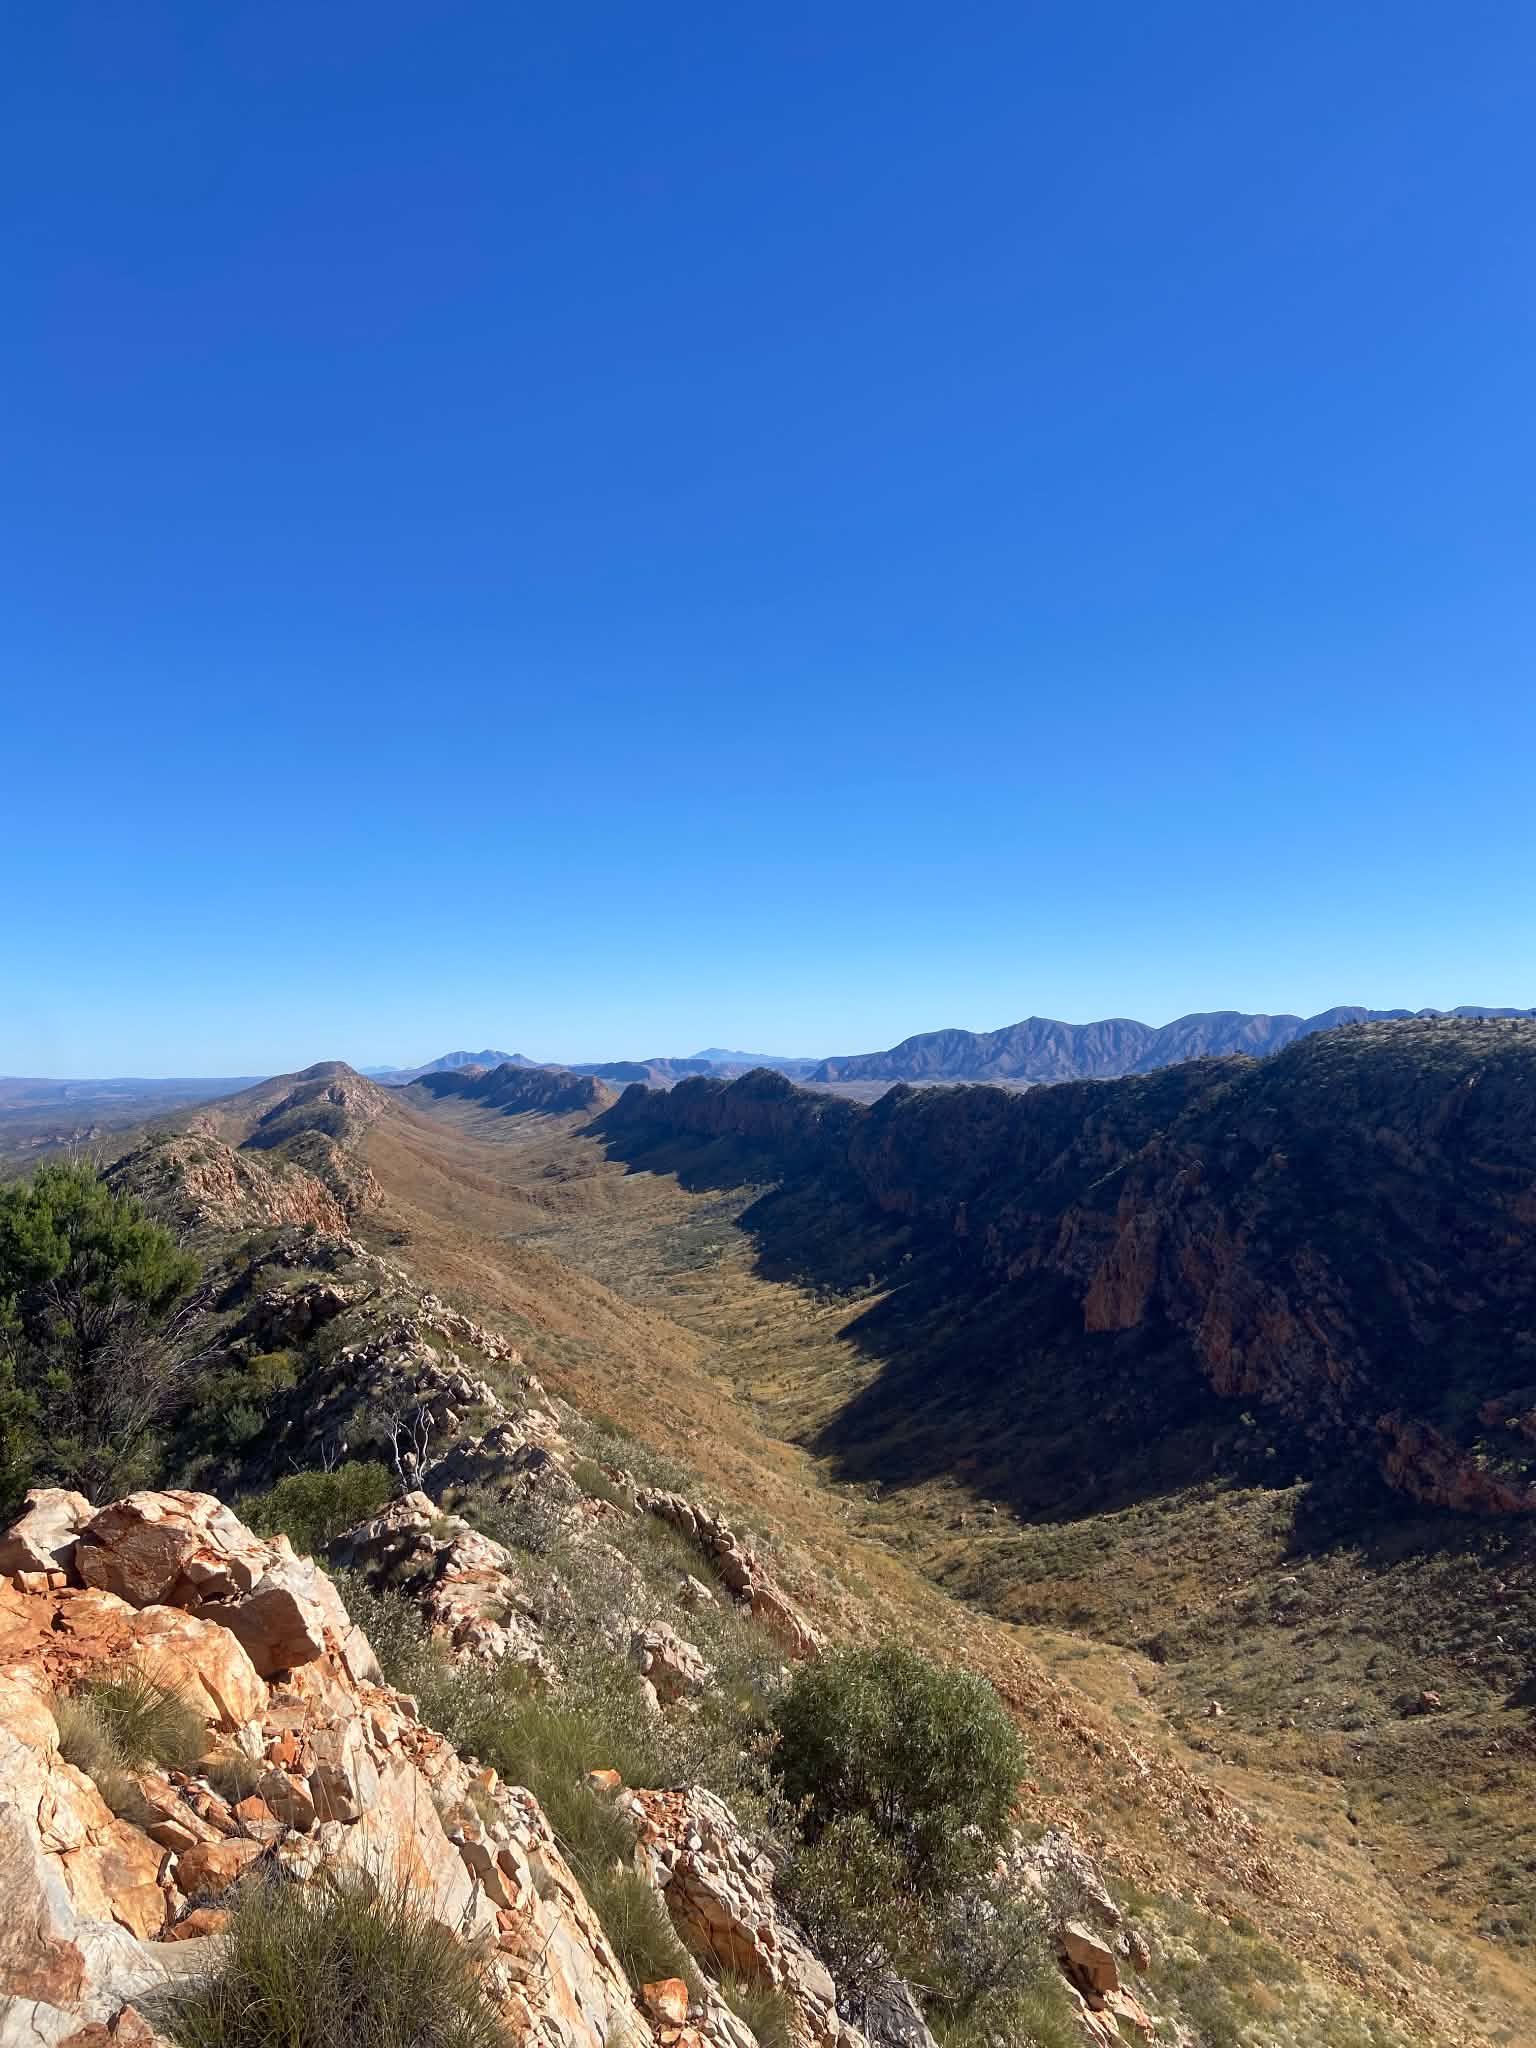
At the junction, we dropped our bags and opted to do the 1.4km return to Counts Lookout. This is a little bit sketchy for those with fear of heights, but the views are worth it and there are several campsites at the lookout (as well as a bench seat!) which would make for an incredible camp.
From the junction, we turned left to head downhill and commenced our descent. There are several campsites on the descent which has some steep sections and zig zags. The descent passes through Lomandra Gully, named after the native grass plant found here. At the base of the range there is some mulga woodland offering shade, but overall it is a very exposed trail to Serpentine Chalet Dam. The last few kilometers dragged and we were suffering from the heat, but the trail is generally flat and windy.
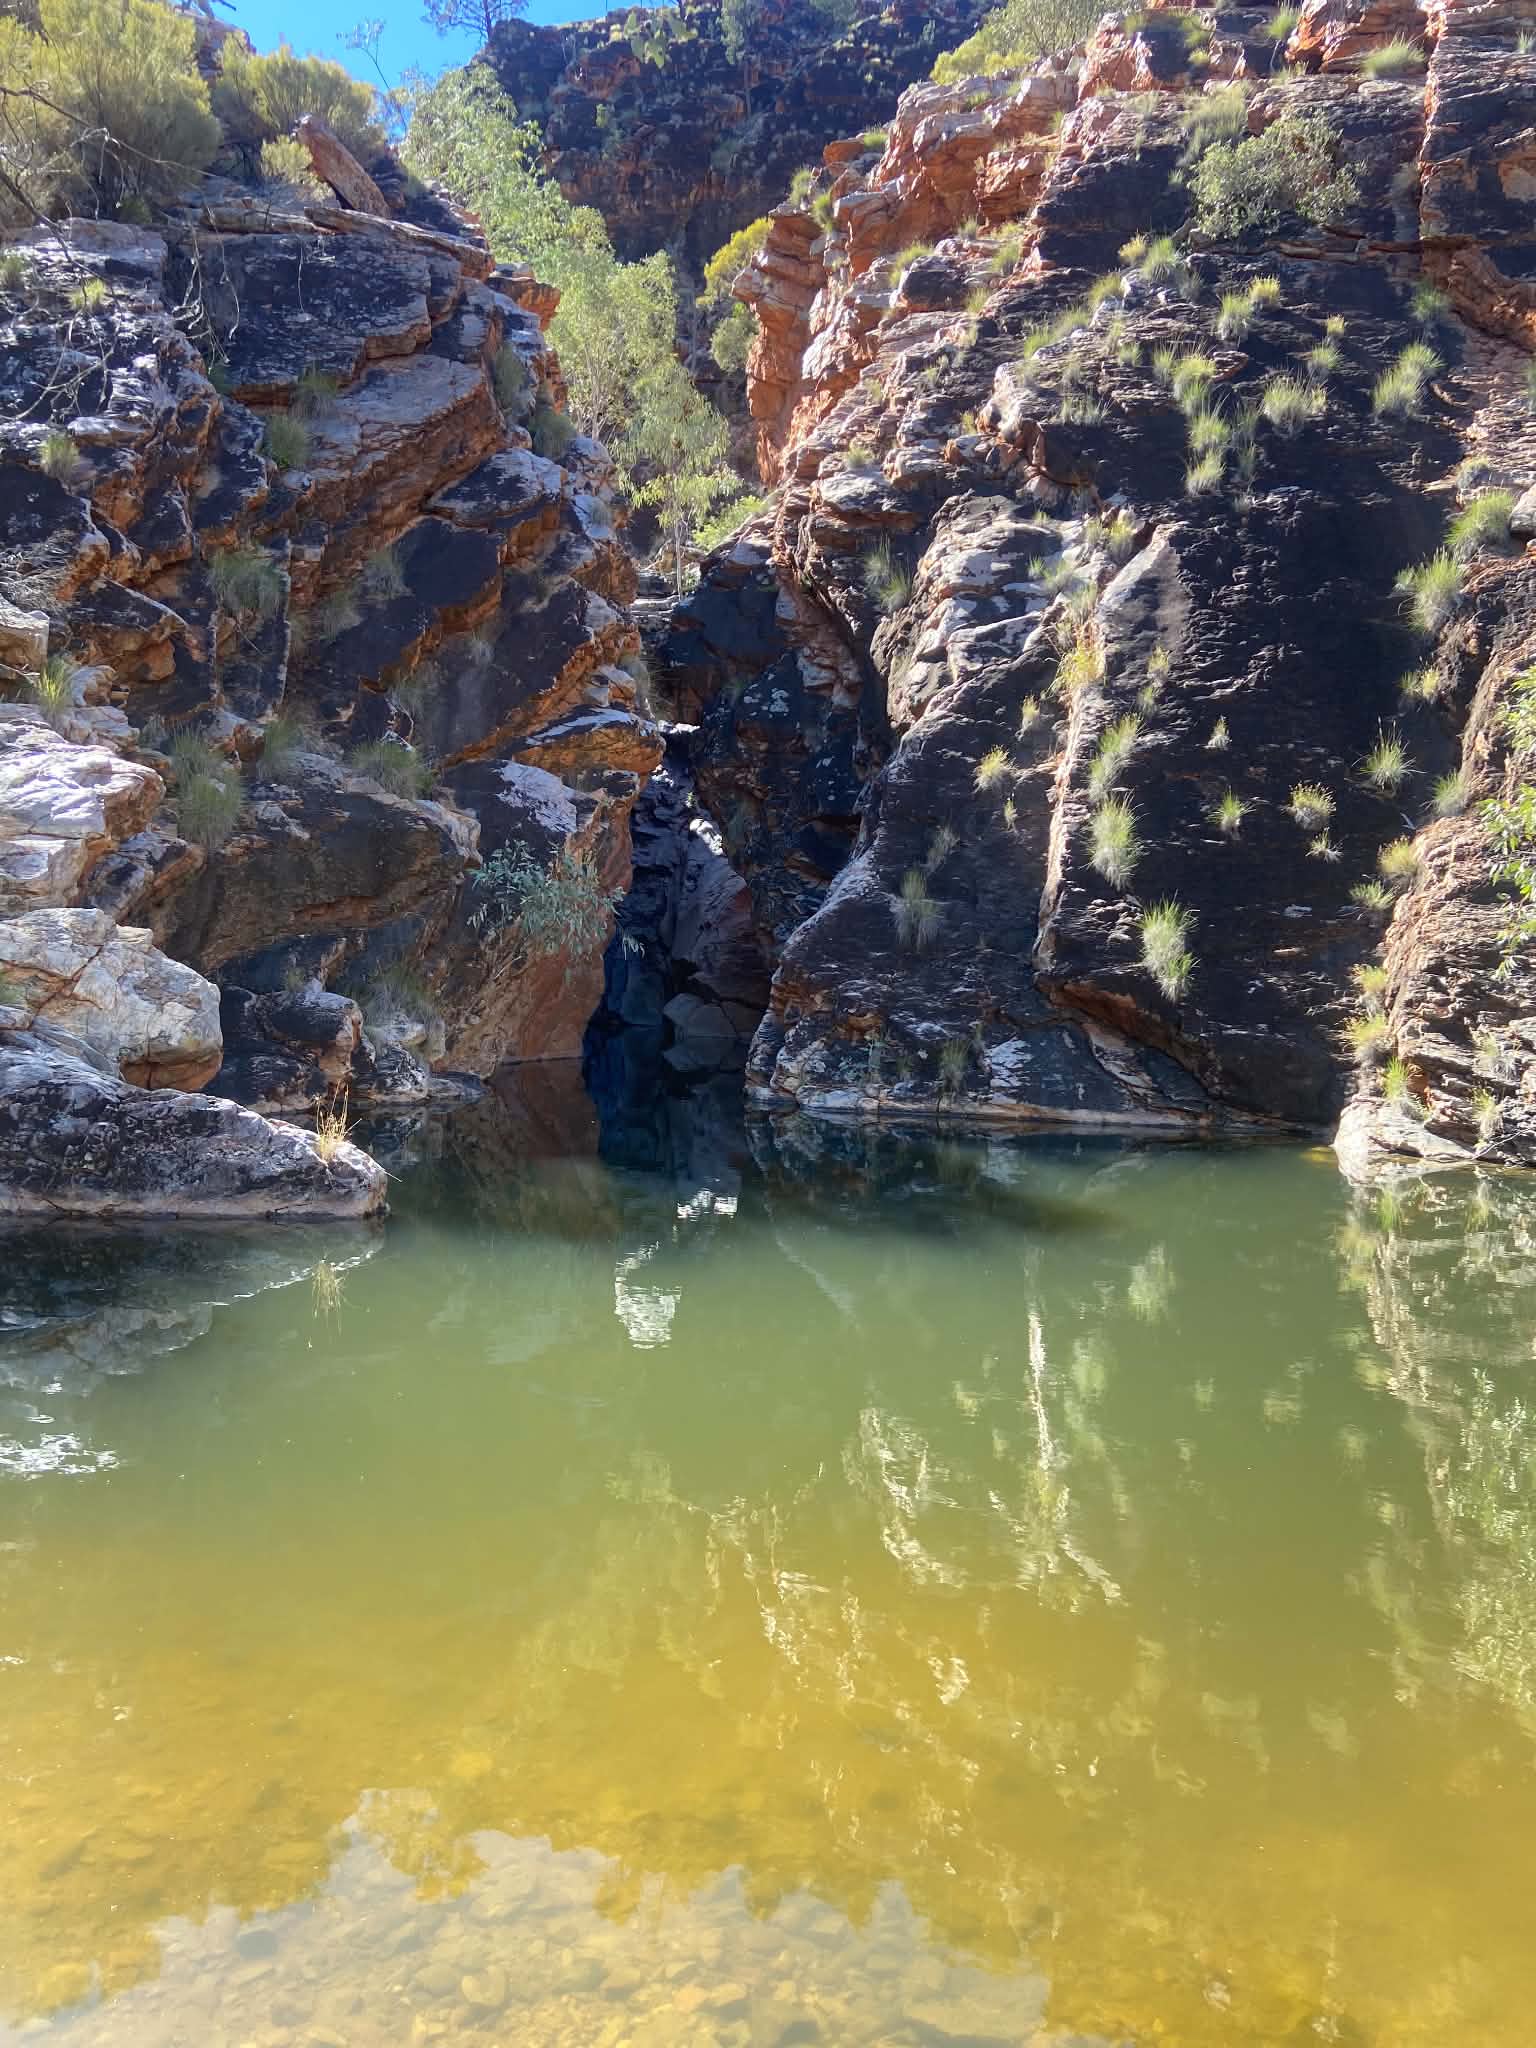
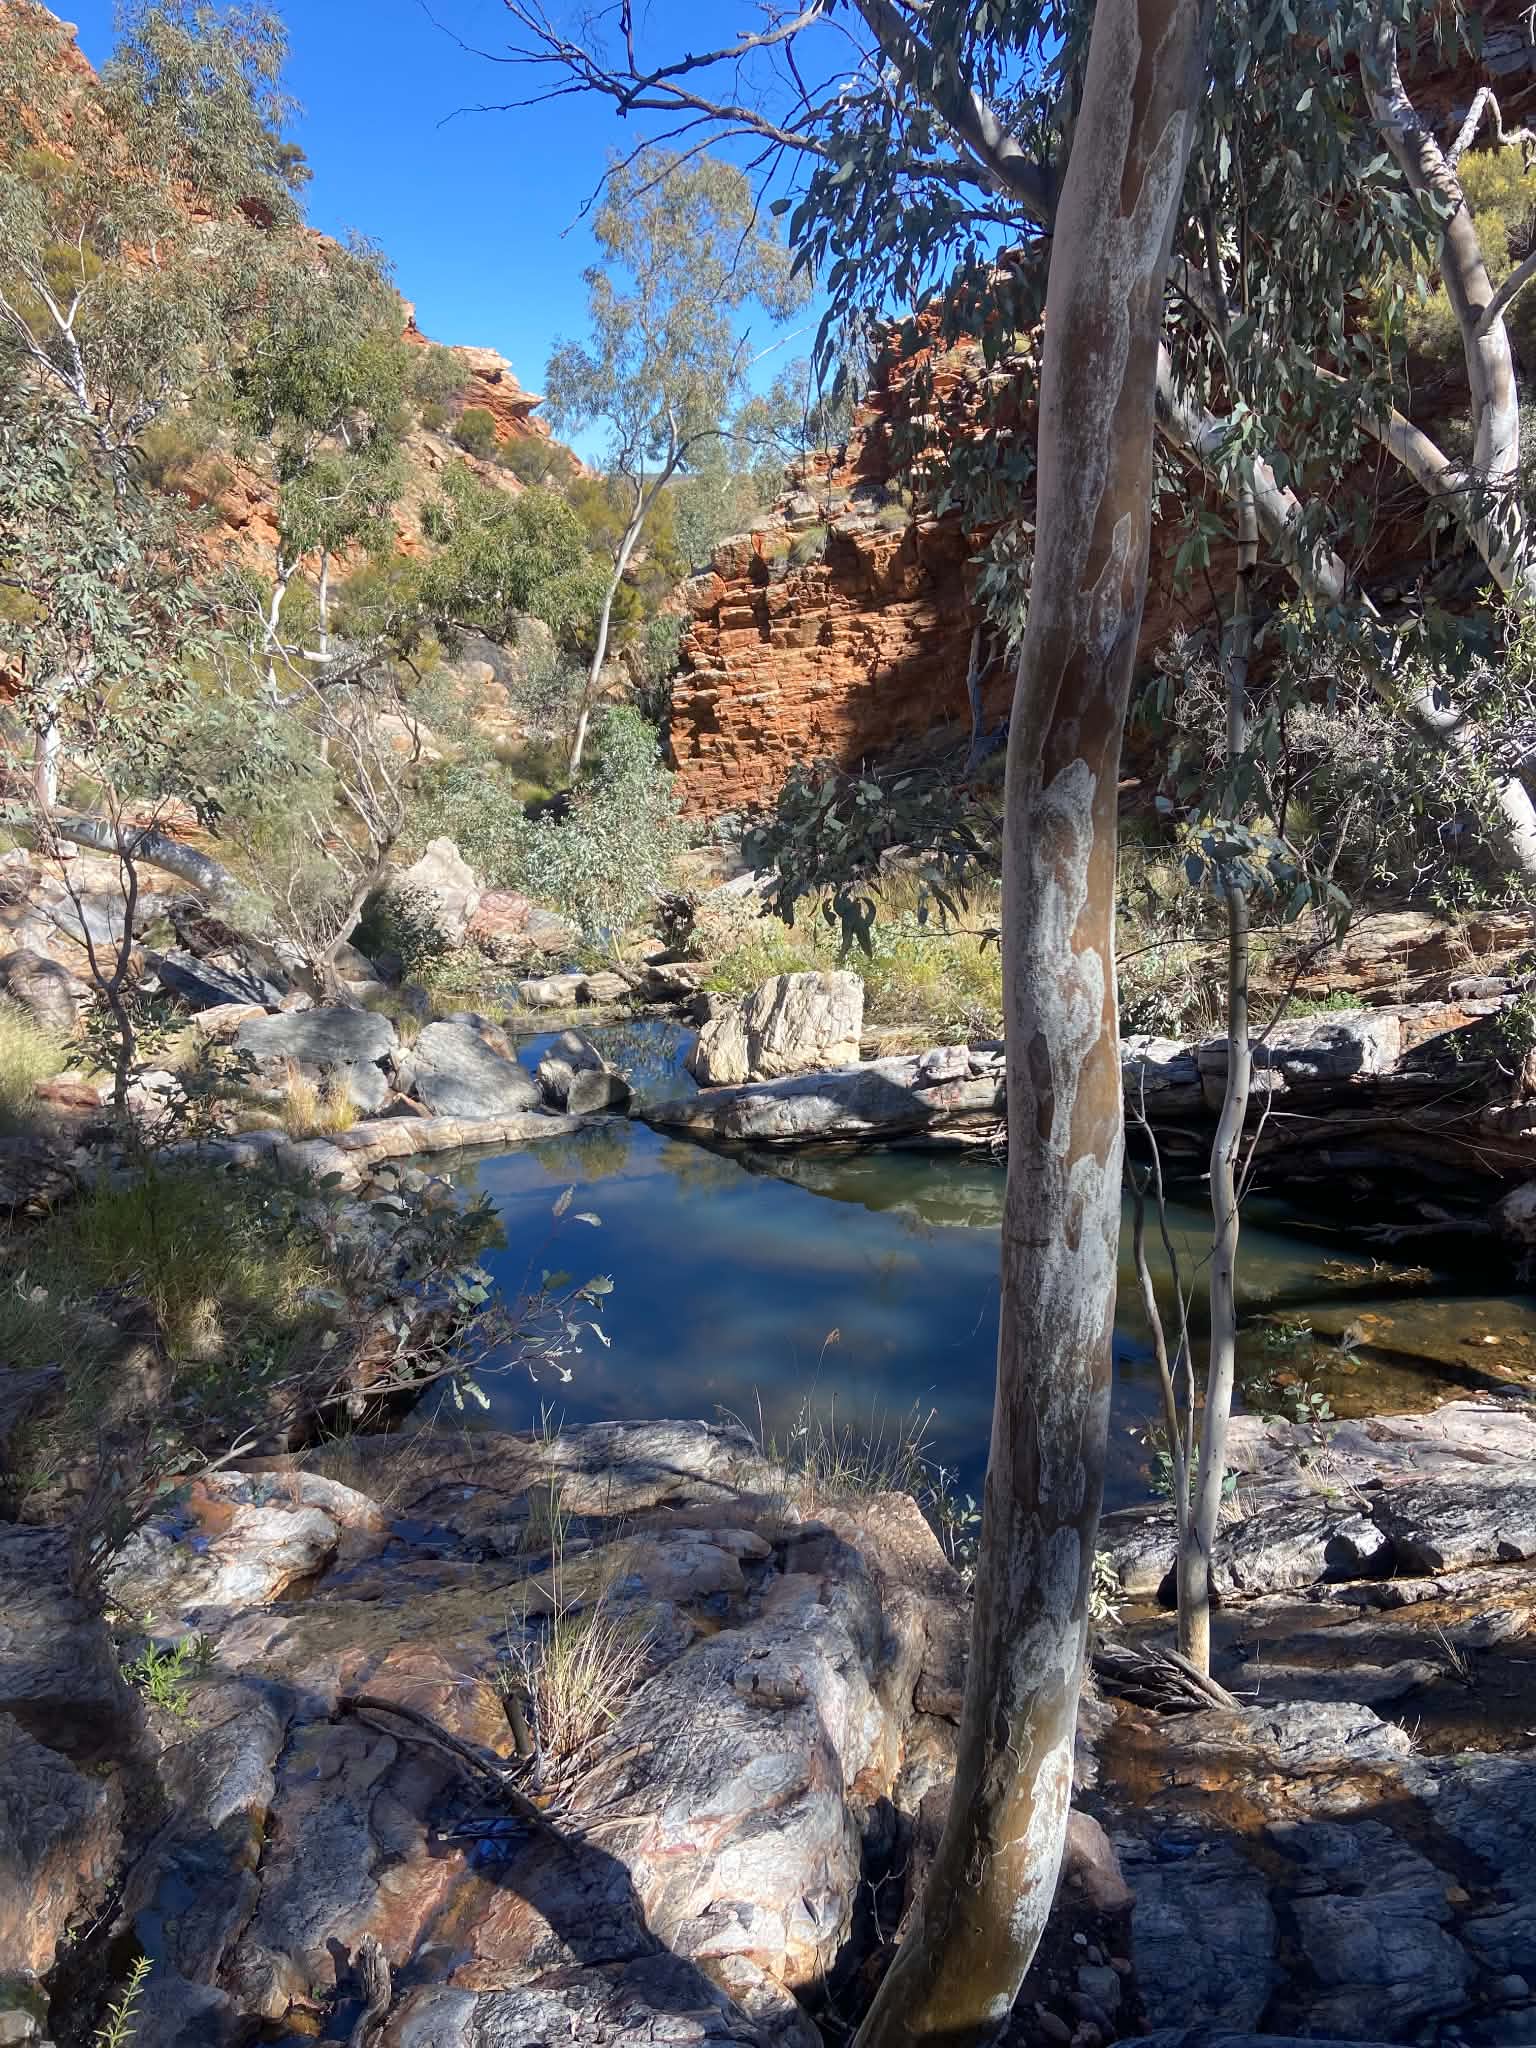
Serpentine Chalet Dam was one of our favourite campsites for its swimming hole – a special treat after an especially hot day of walking. Just a few hundred meters from camp, we followed the creek to find the dam, a relic from the 1960 tourist hotspot Serpentine Chalet. The chalet was abandoned shortly after construction, but fortunately the dam remains and is a welcome sight for weary walkers.
Here we met a duo taking part in an ultra marathon relay across the entire Larapinta trail! The mere hours they would take to complete this was a rude comparison to our 15 days – but we cheered their baton exchange regardless. Dinner was our Japanese curry before an early bed. This campsite was a bush mouse’s dream; we woke in the night to mice climbing up the sides of the tent! In sheer instinct, I punched a mouse and watched as it flew back in utter horror.
Peaks & Pits:
Peak: Swim at Serpentine Chalet Dam
Pit: The oppressive heat
Day 11: Serpentine Chalet Dam to Hermit’s Hideaway
Distance: 16.5km
Duration: 6.5hrs (including breaks)
Highlights: Inarlanga Pass, Waterfall Gorge, Giles Lookout, views of Mt Sonder
With a plan to stay at a high camp overnight, we carried 8L water between the two of us to make it through the day’s walking, dinner, breakfast and tomorrow’s morning walking. The day started with some easy walking through the creek bed and Inarlanga Pass. This is a significant site to the traditional owners, and walkers have permission to respectfully pass here. The trail then starts to head upwards, with a short ascent at the northern end of the pass. The trail then descends to the Pioneer Creek which was a great spot for morning tea. There are a few nice small campsites here.
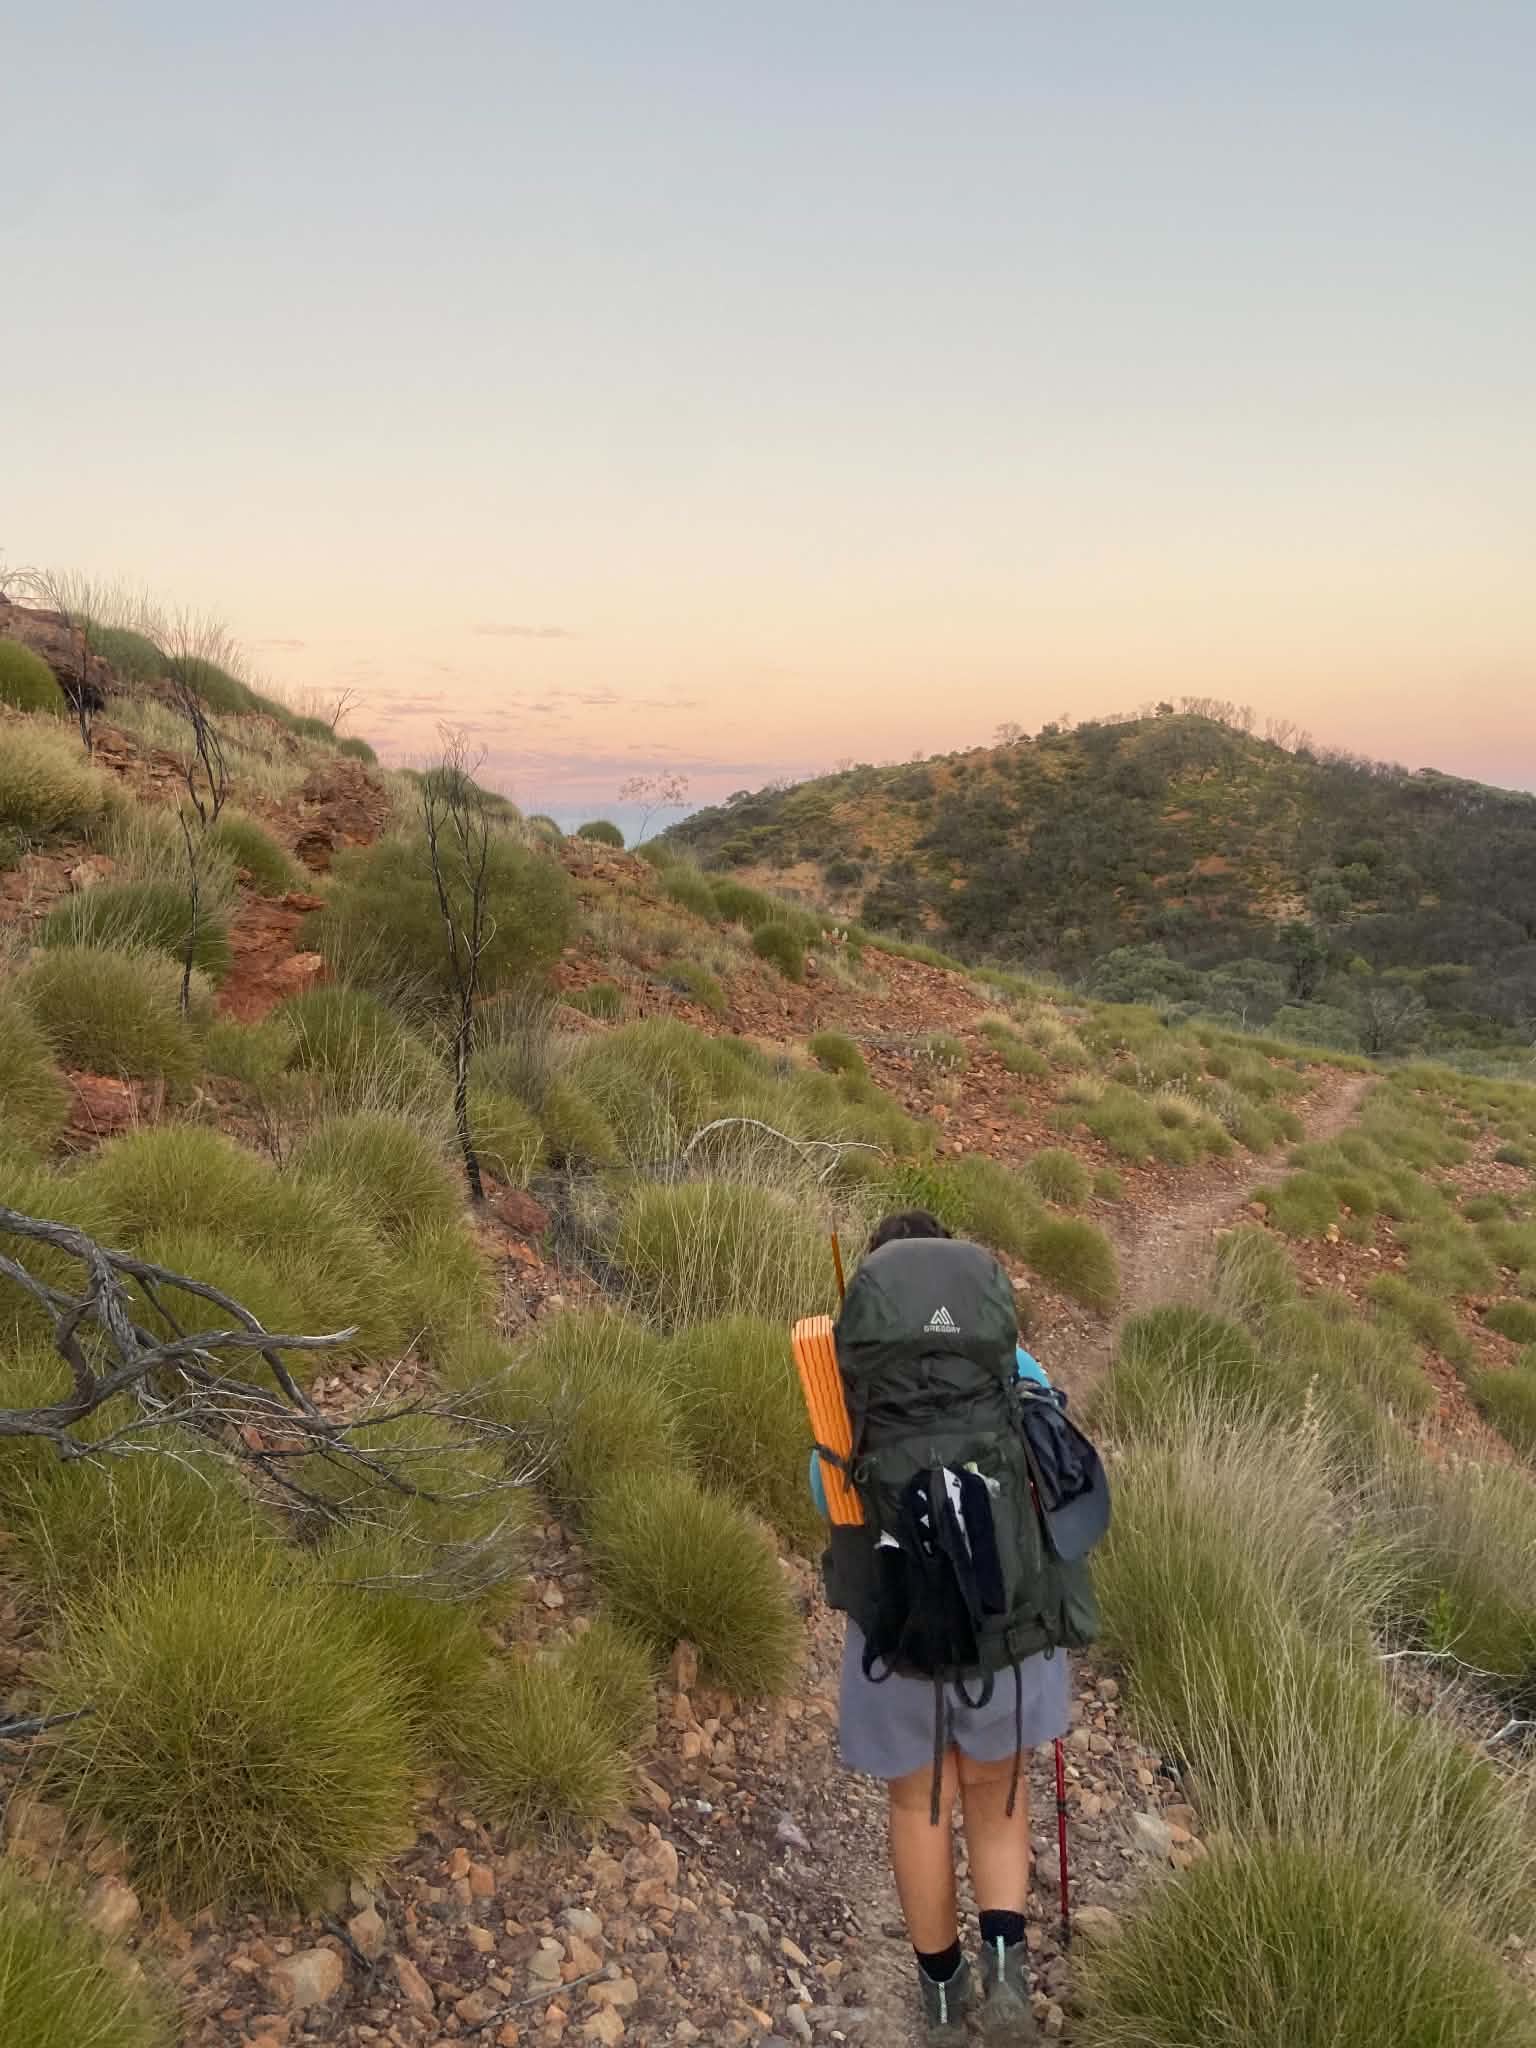
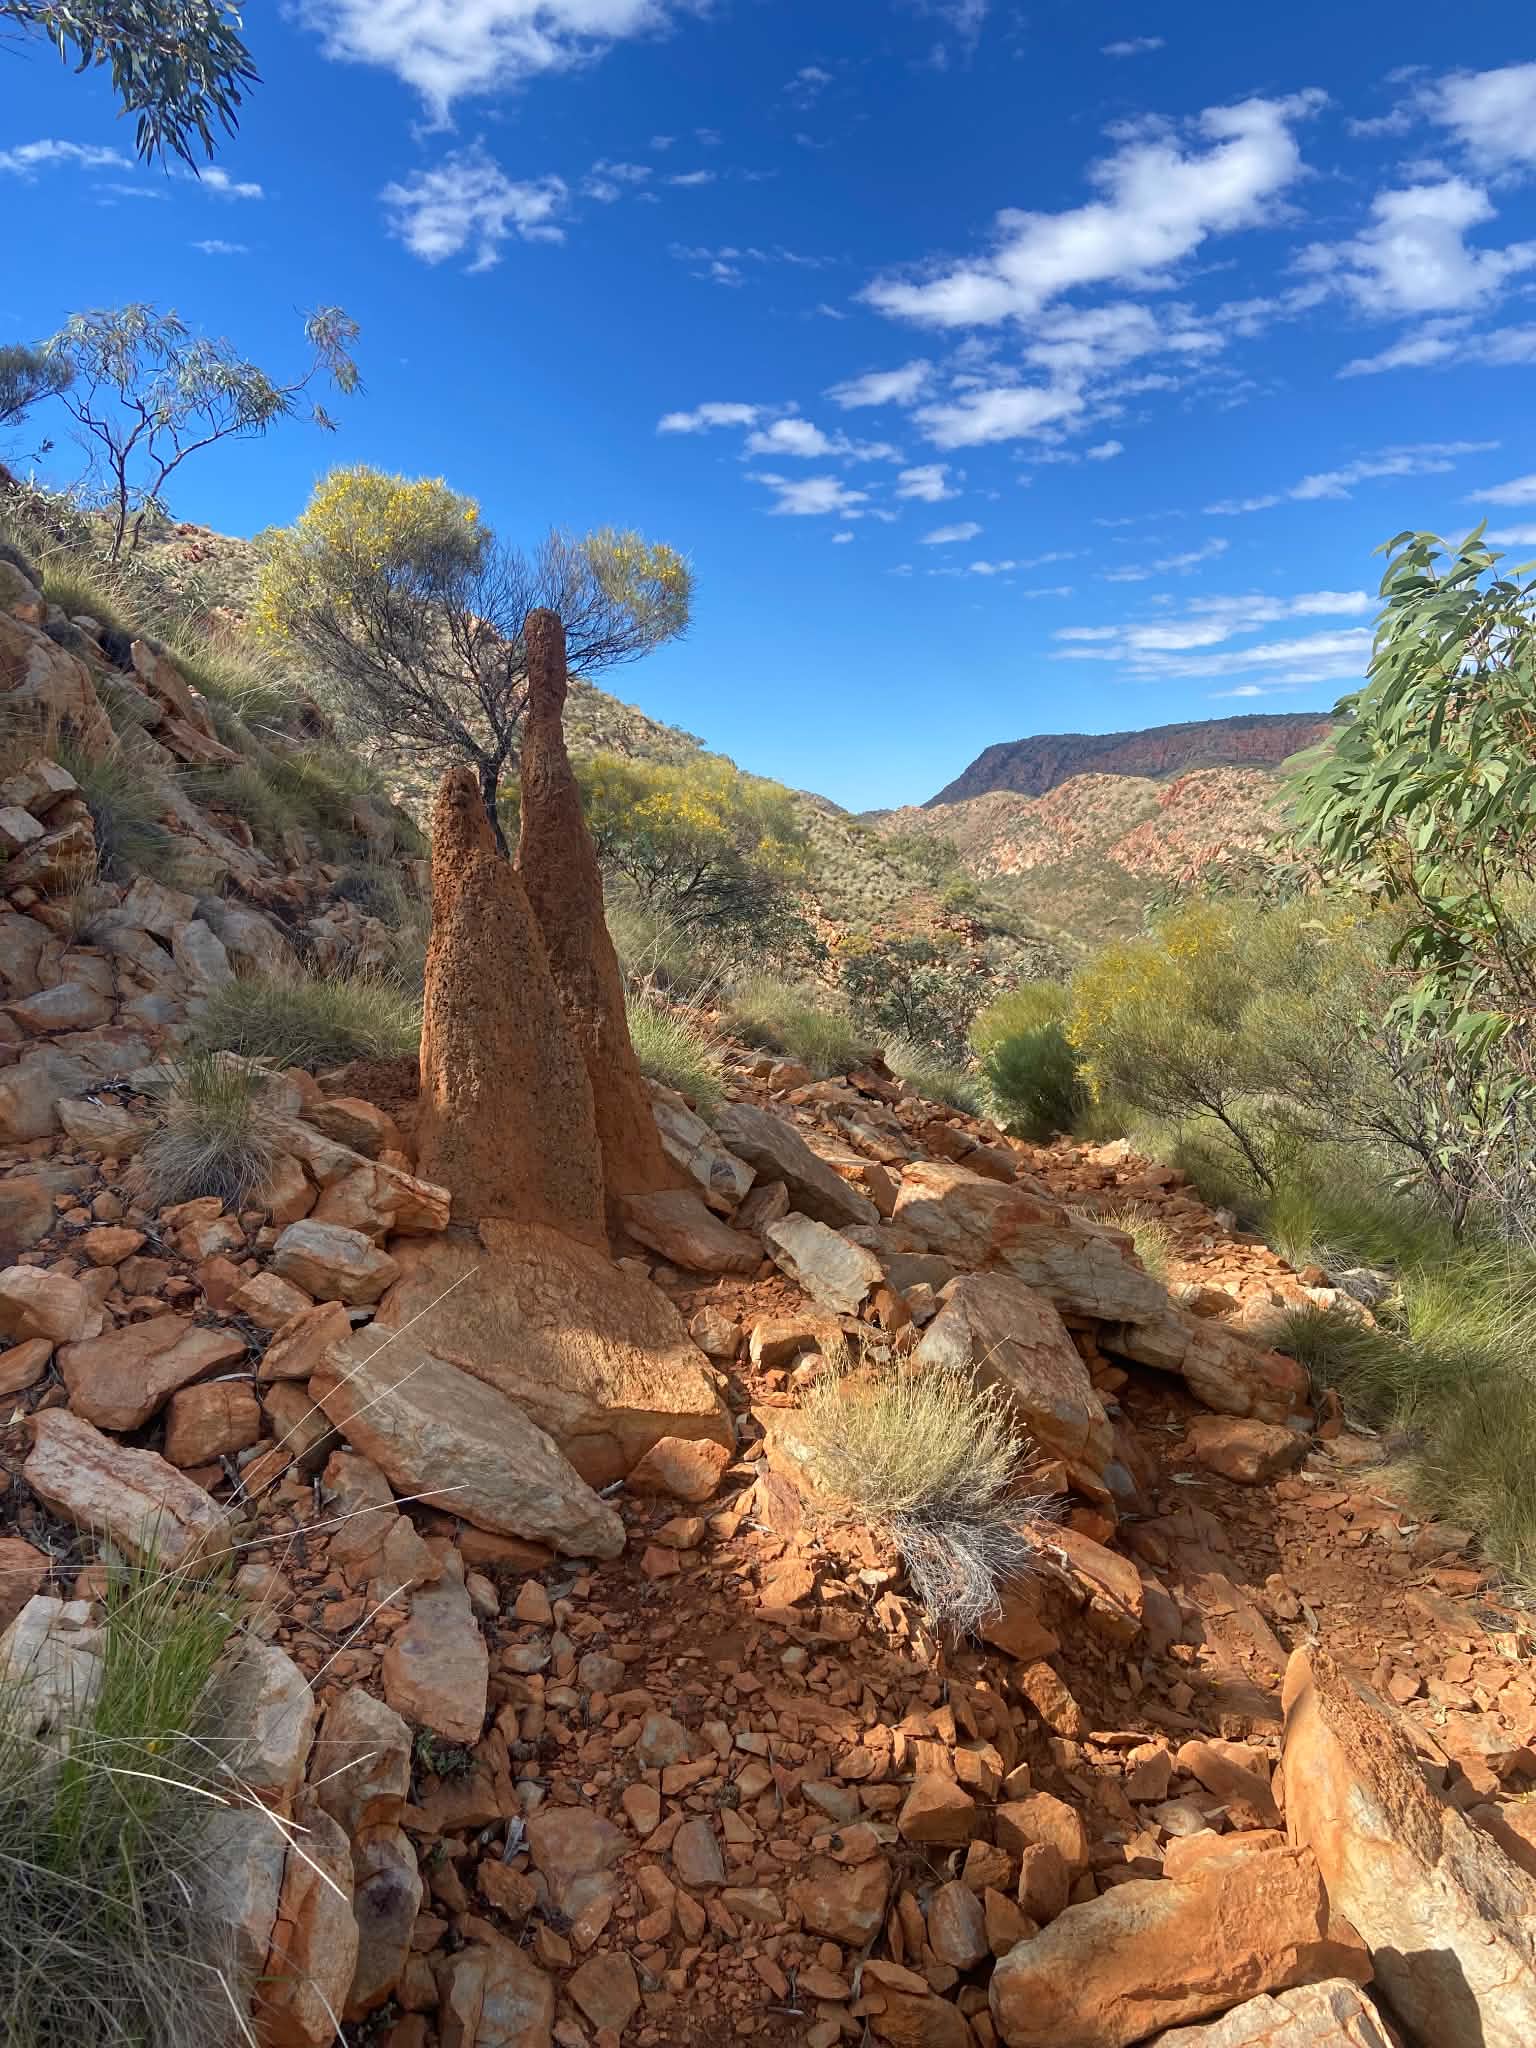
After crossing the creek, the trail continued uphill to the saddle which revealed the walk for the remainder of the day. The trail then takes on a familiar pattern of meandering up and over small saddles along the valley. This continues on for hours – maybe some of the most harrowing hours of walking. The endless trudging in the oppressive heat felt like we were living out a survival movie in an alternate universe. So many potential names. Valley of tears? Valley of broken dreams? Valley of endless nightmares?
On the plus side, views of Mt Sonder began to emerge and we eventually came to Waterfall Gorge. We descended down into the gorge before walking along the creek bed until the junction. There was no water at Waterfall Gorge, and we were thankful for our extra litres despite the extra weight. The track then turned to a steep climb to Mt Giles. This walk was a hot, steep and steady climb up rocky terrain. Arriving at Giles Lookout we had panoramic views! There are several camp sites and there is also apparently 3G connection here for those that are interested.
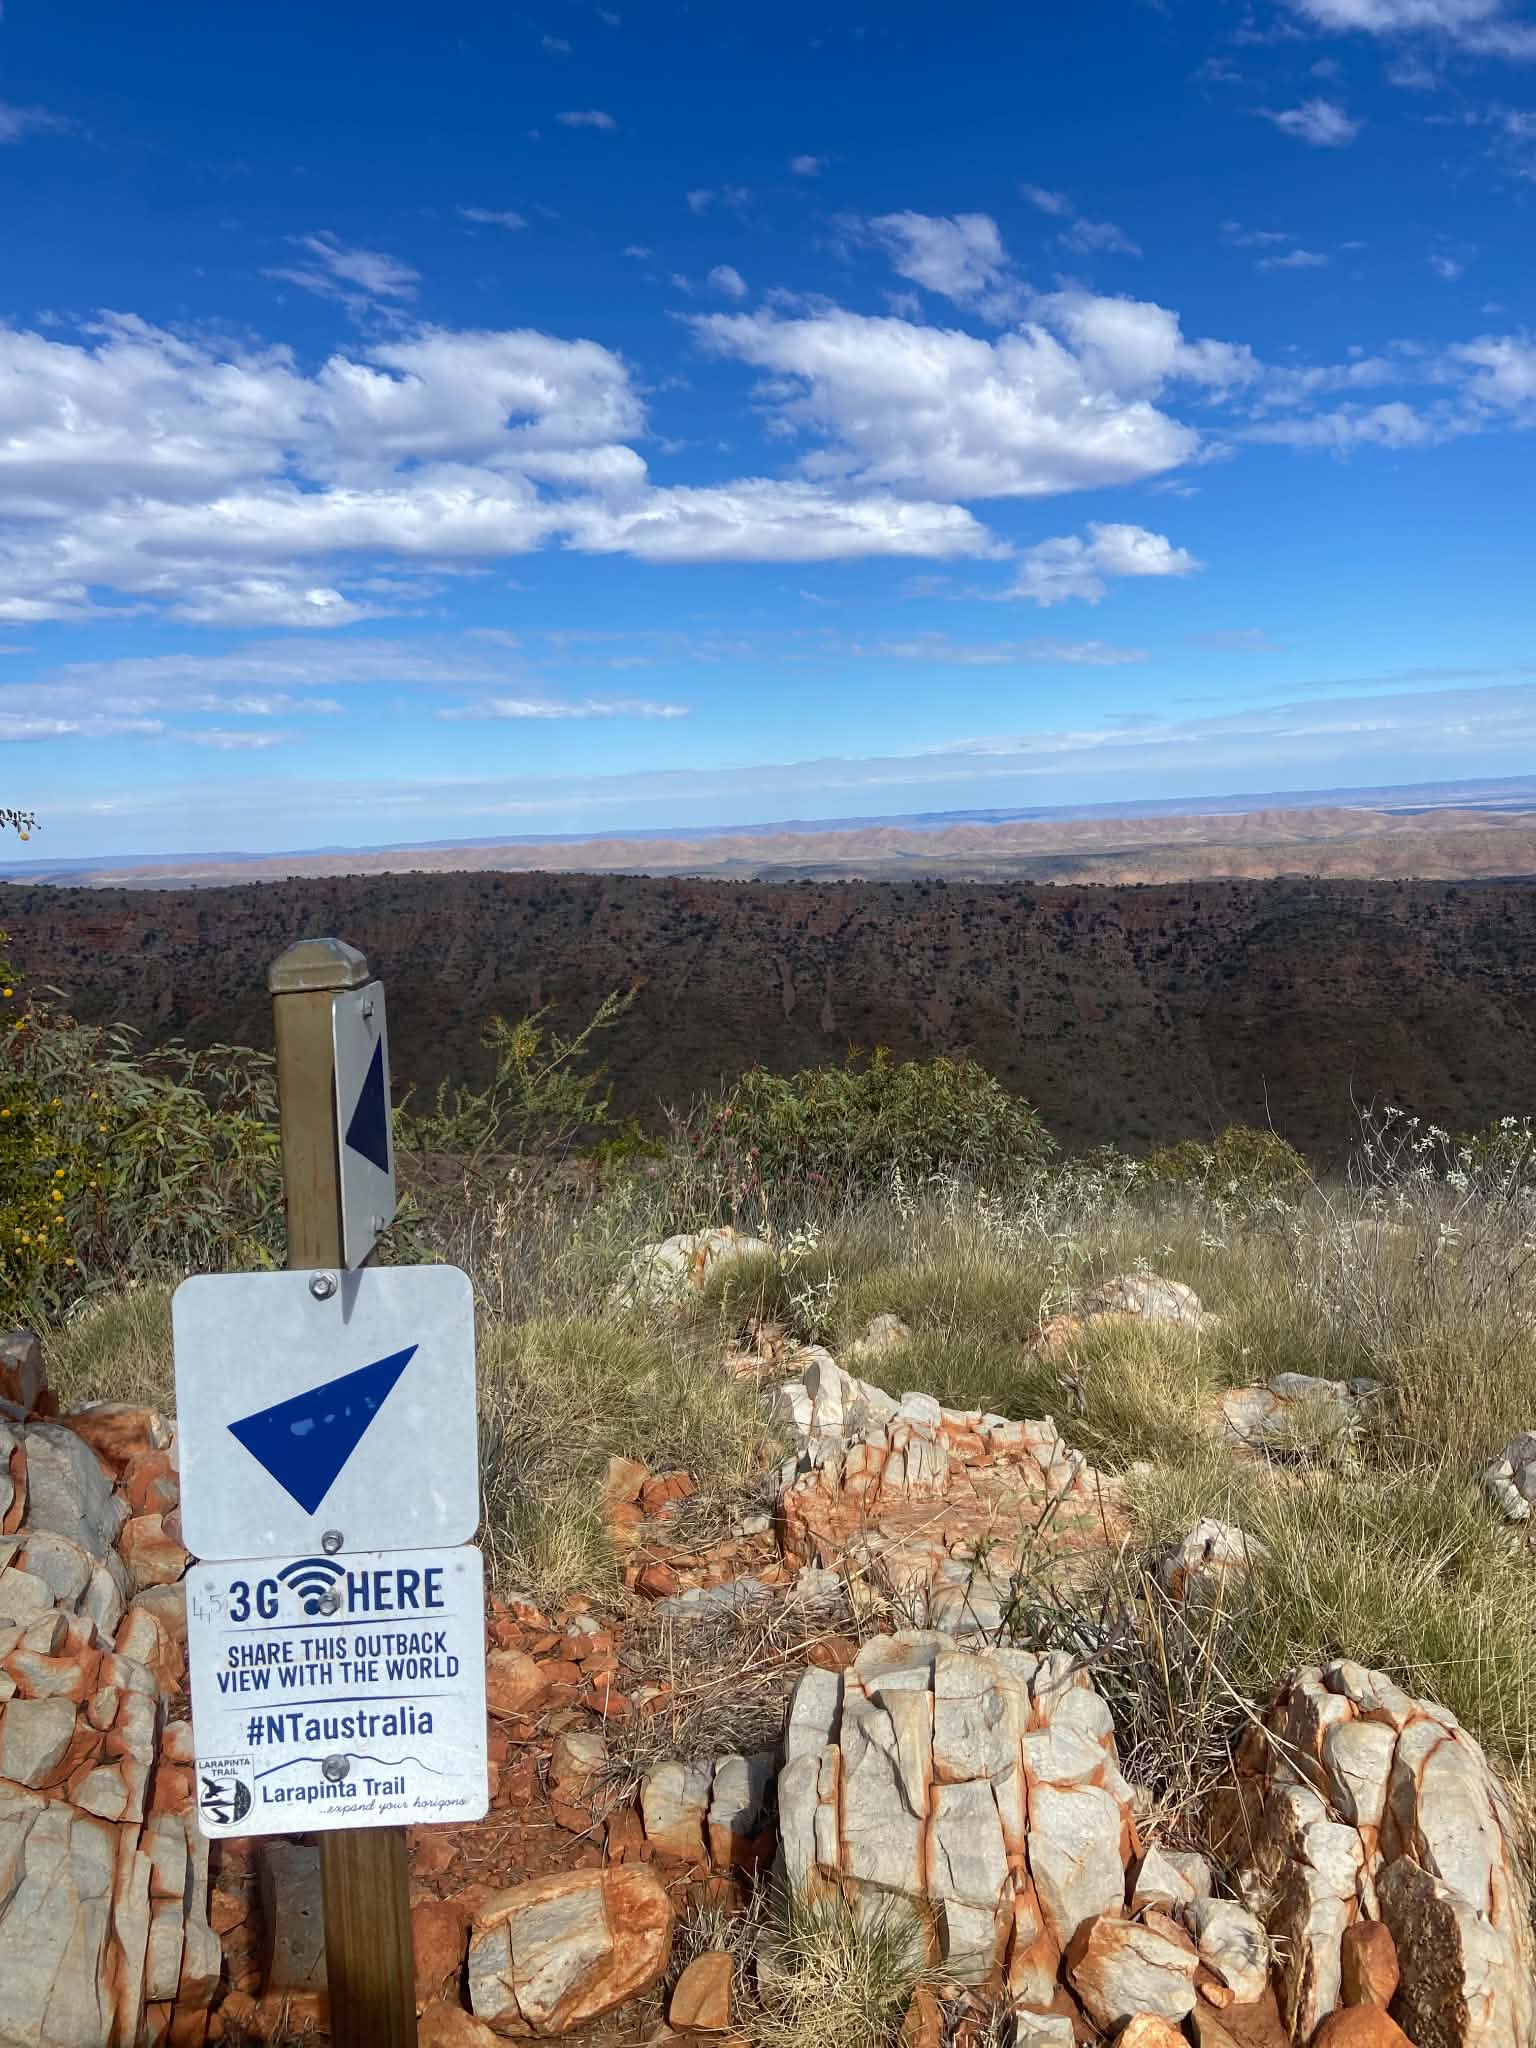
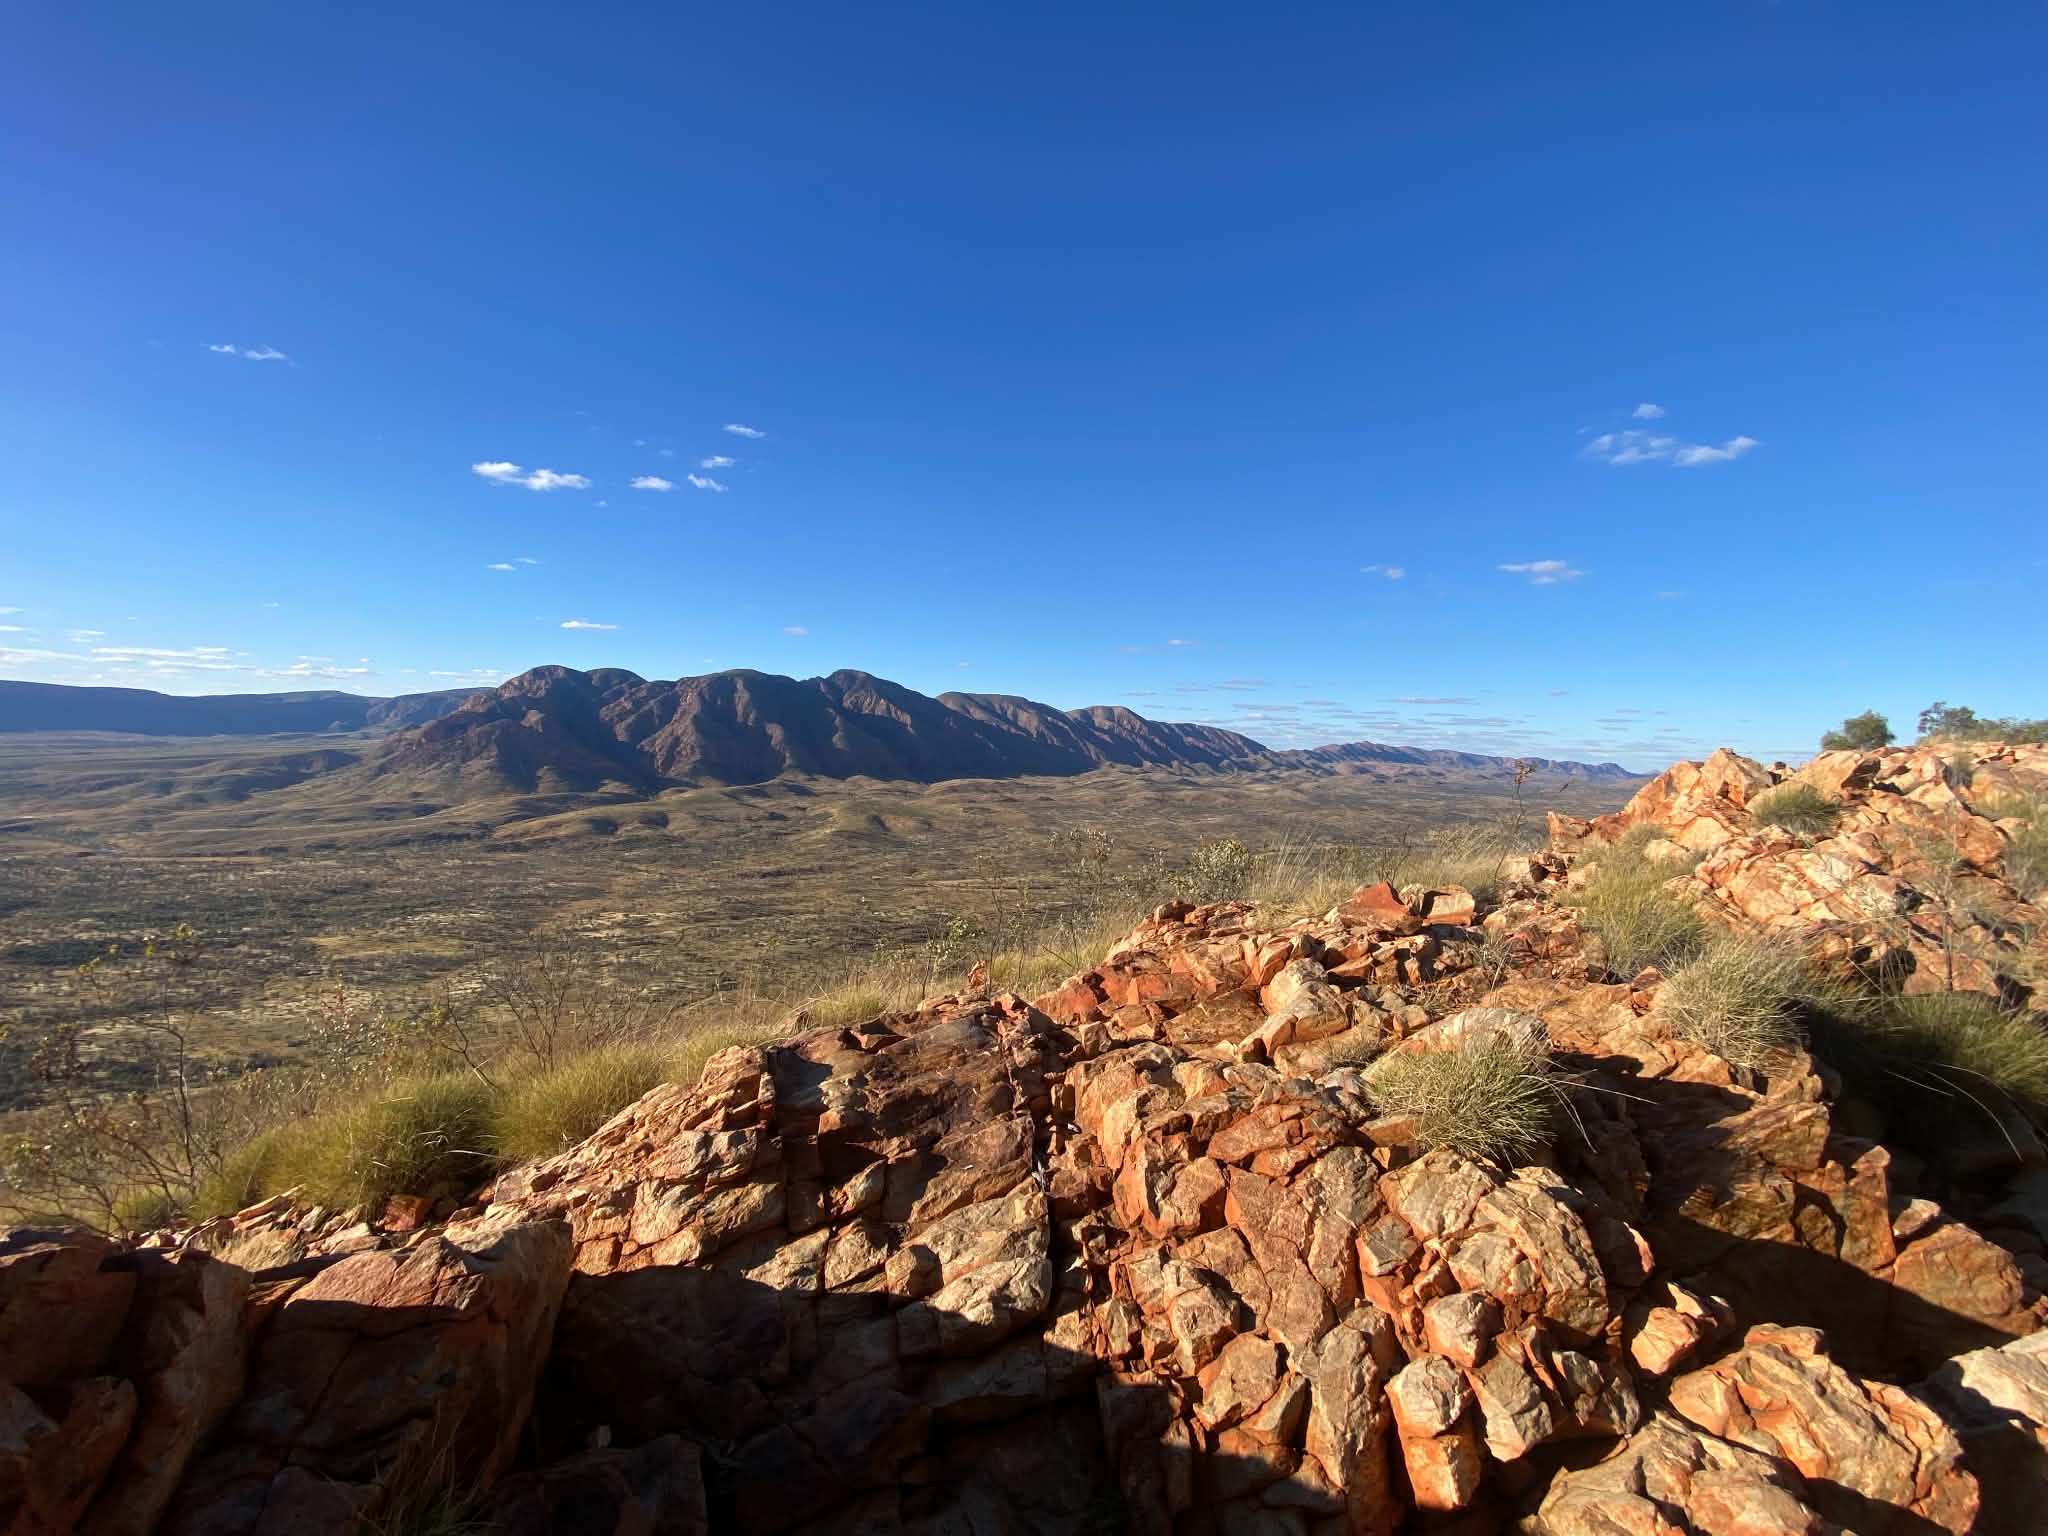
Giles Lookout is exposed, and we opted to continue along the ridgeline for approx another 1.5km to find Hermit’s Hideaway. This camp is much larger with more campsites available and more sheltered spots. Hermit’s was one of our favourite campsites and had incredible sunset/sunrise views. It was one of the only camps where there were a lot of flies, so we spent some of the afternoon hiding in the tent to read. We had home-dehydrated curry for dinner which we shared with the Canberra 3.
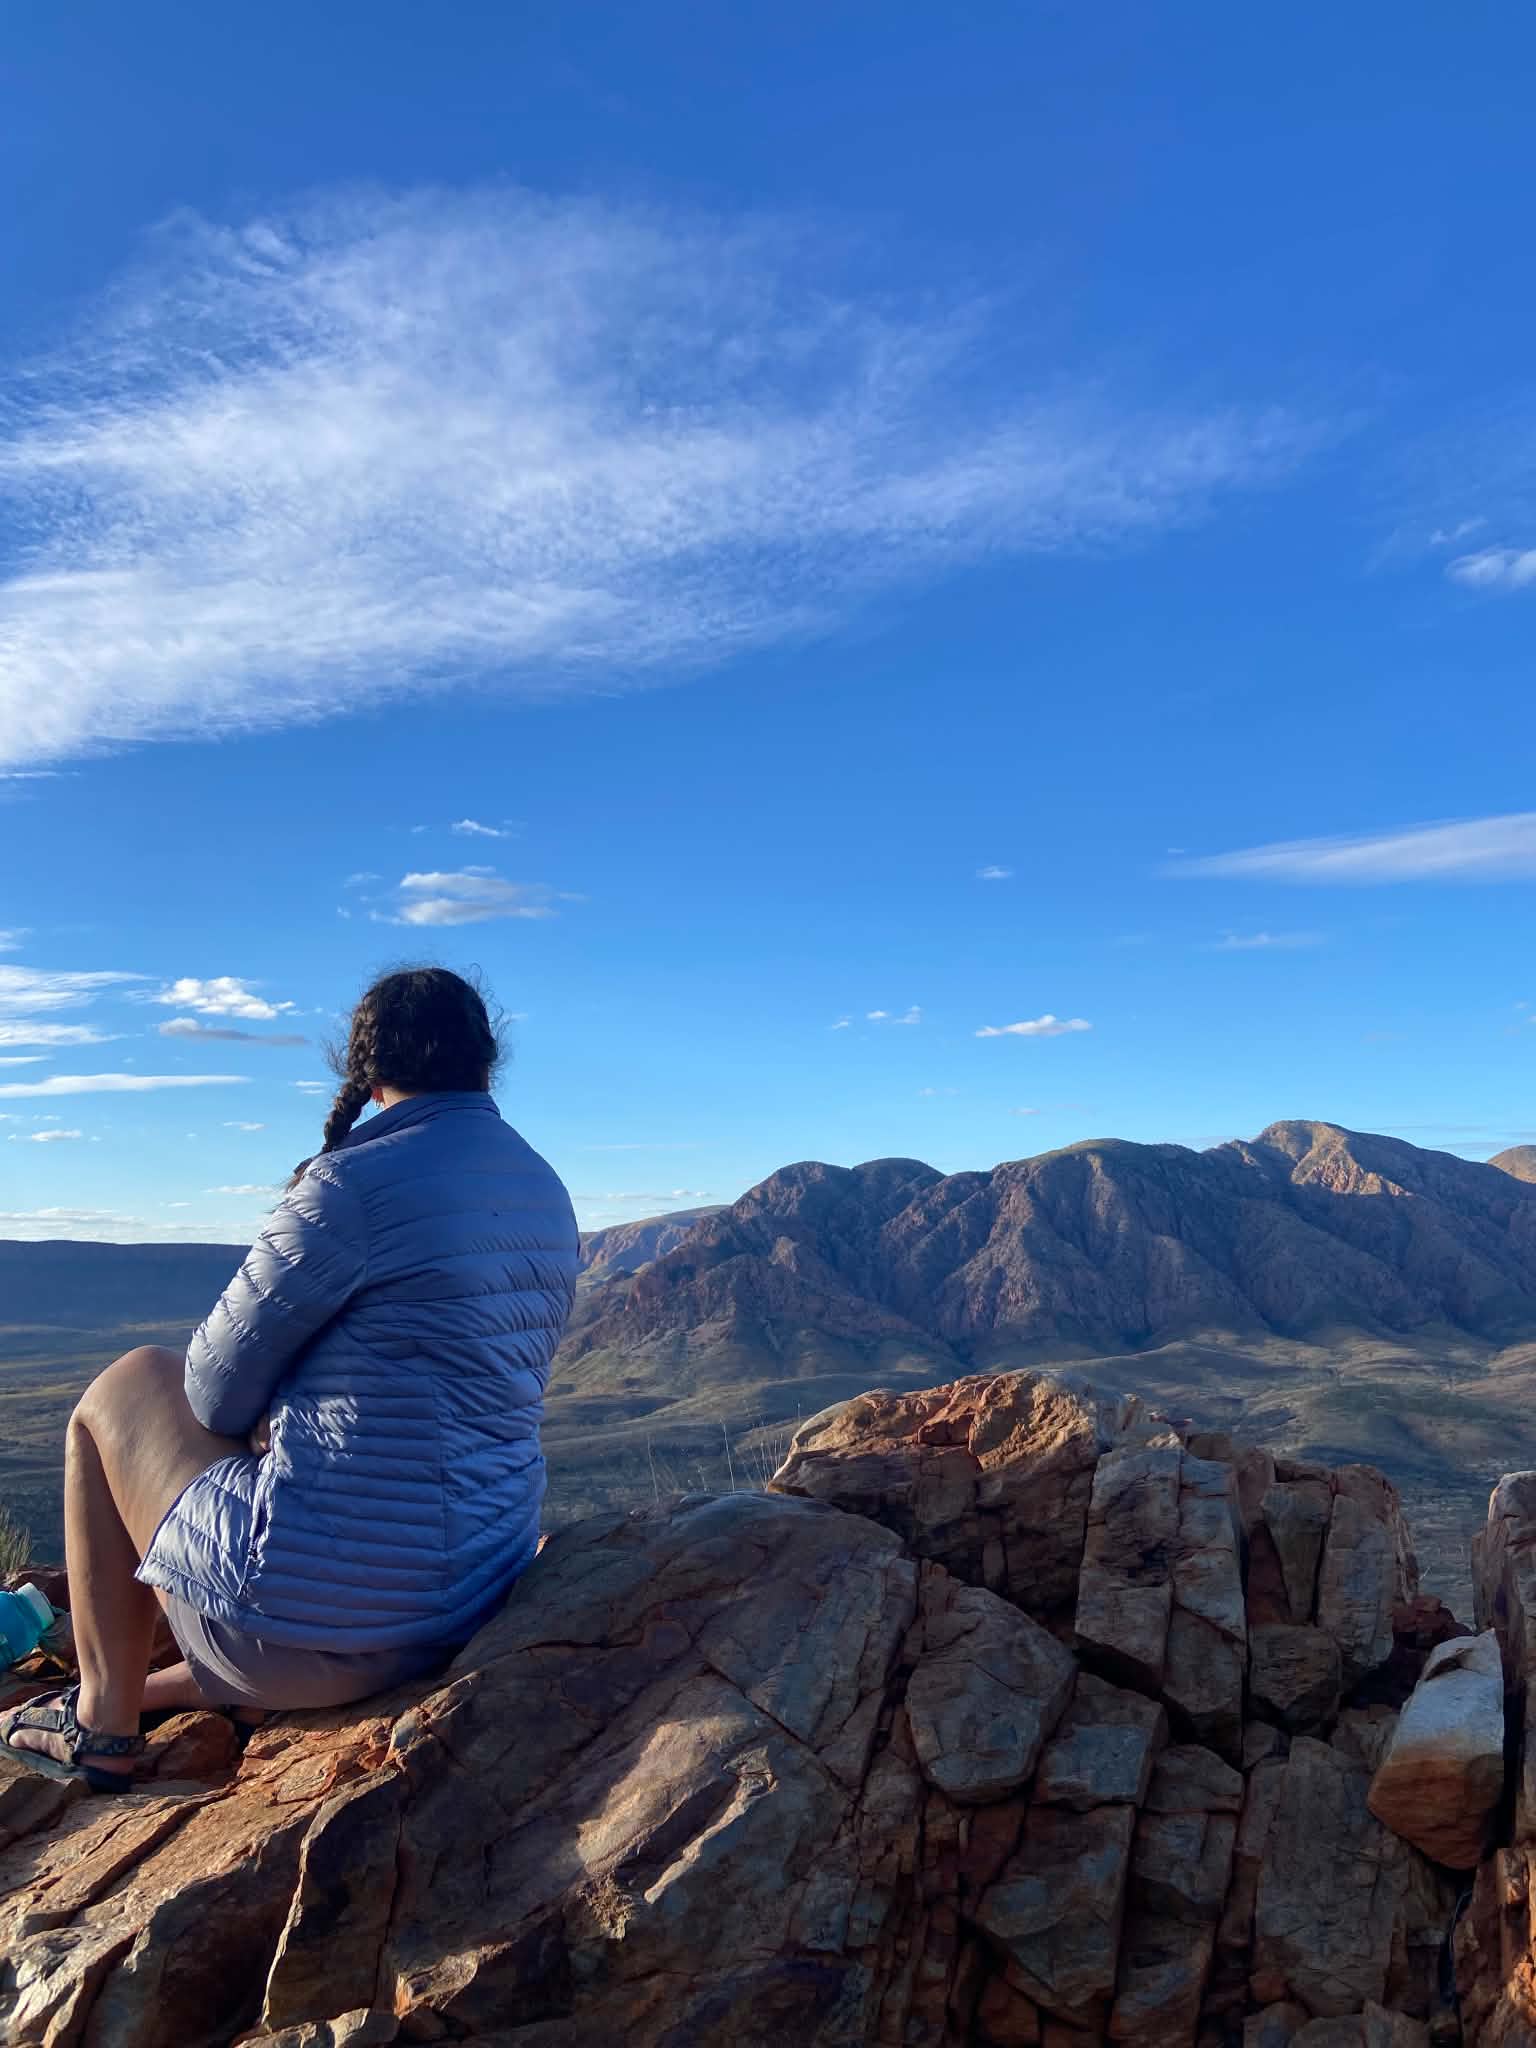
Peaks & Pits:
Peak: Sunset at Hermit’s
Pit: Very dehydrated from trying to preserve water
Day 12: Hermit’s Hideaway to Ormiston Gorge
Distance: 12km (13.8km as per Garmin)
Duration: 4hrs (including breaks)
Highlights: Views of Mt Sonder, Ormiston Creek, Ormiston Gorge
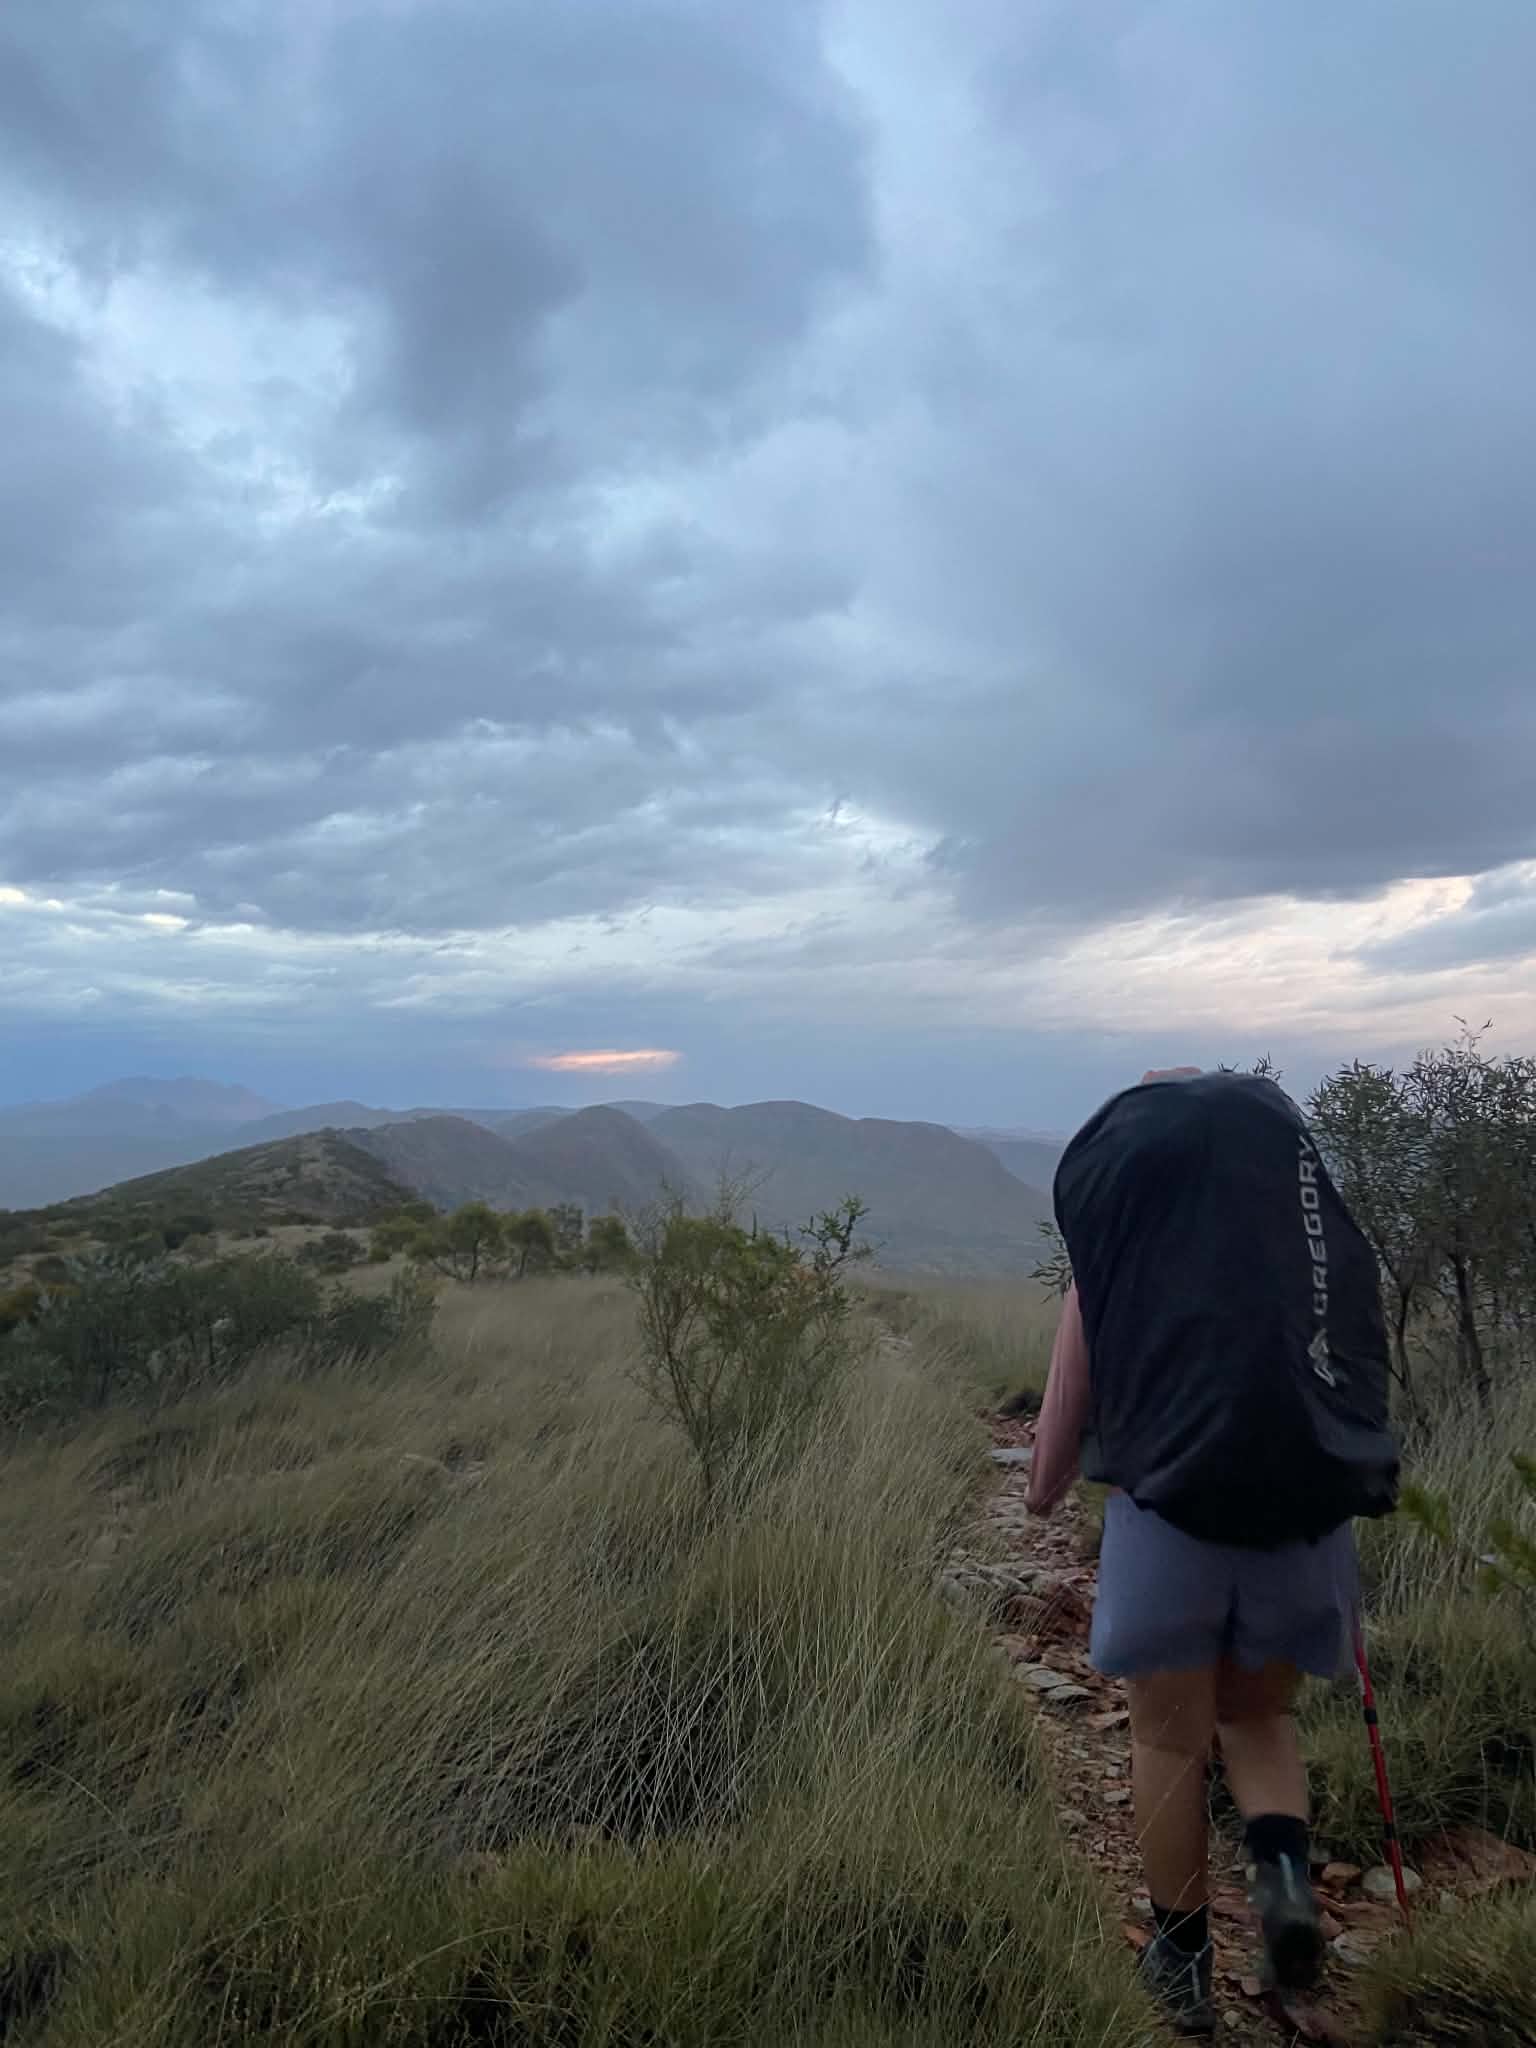
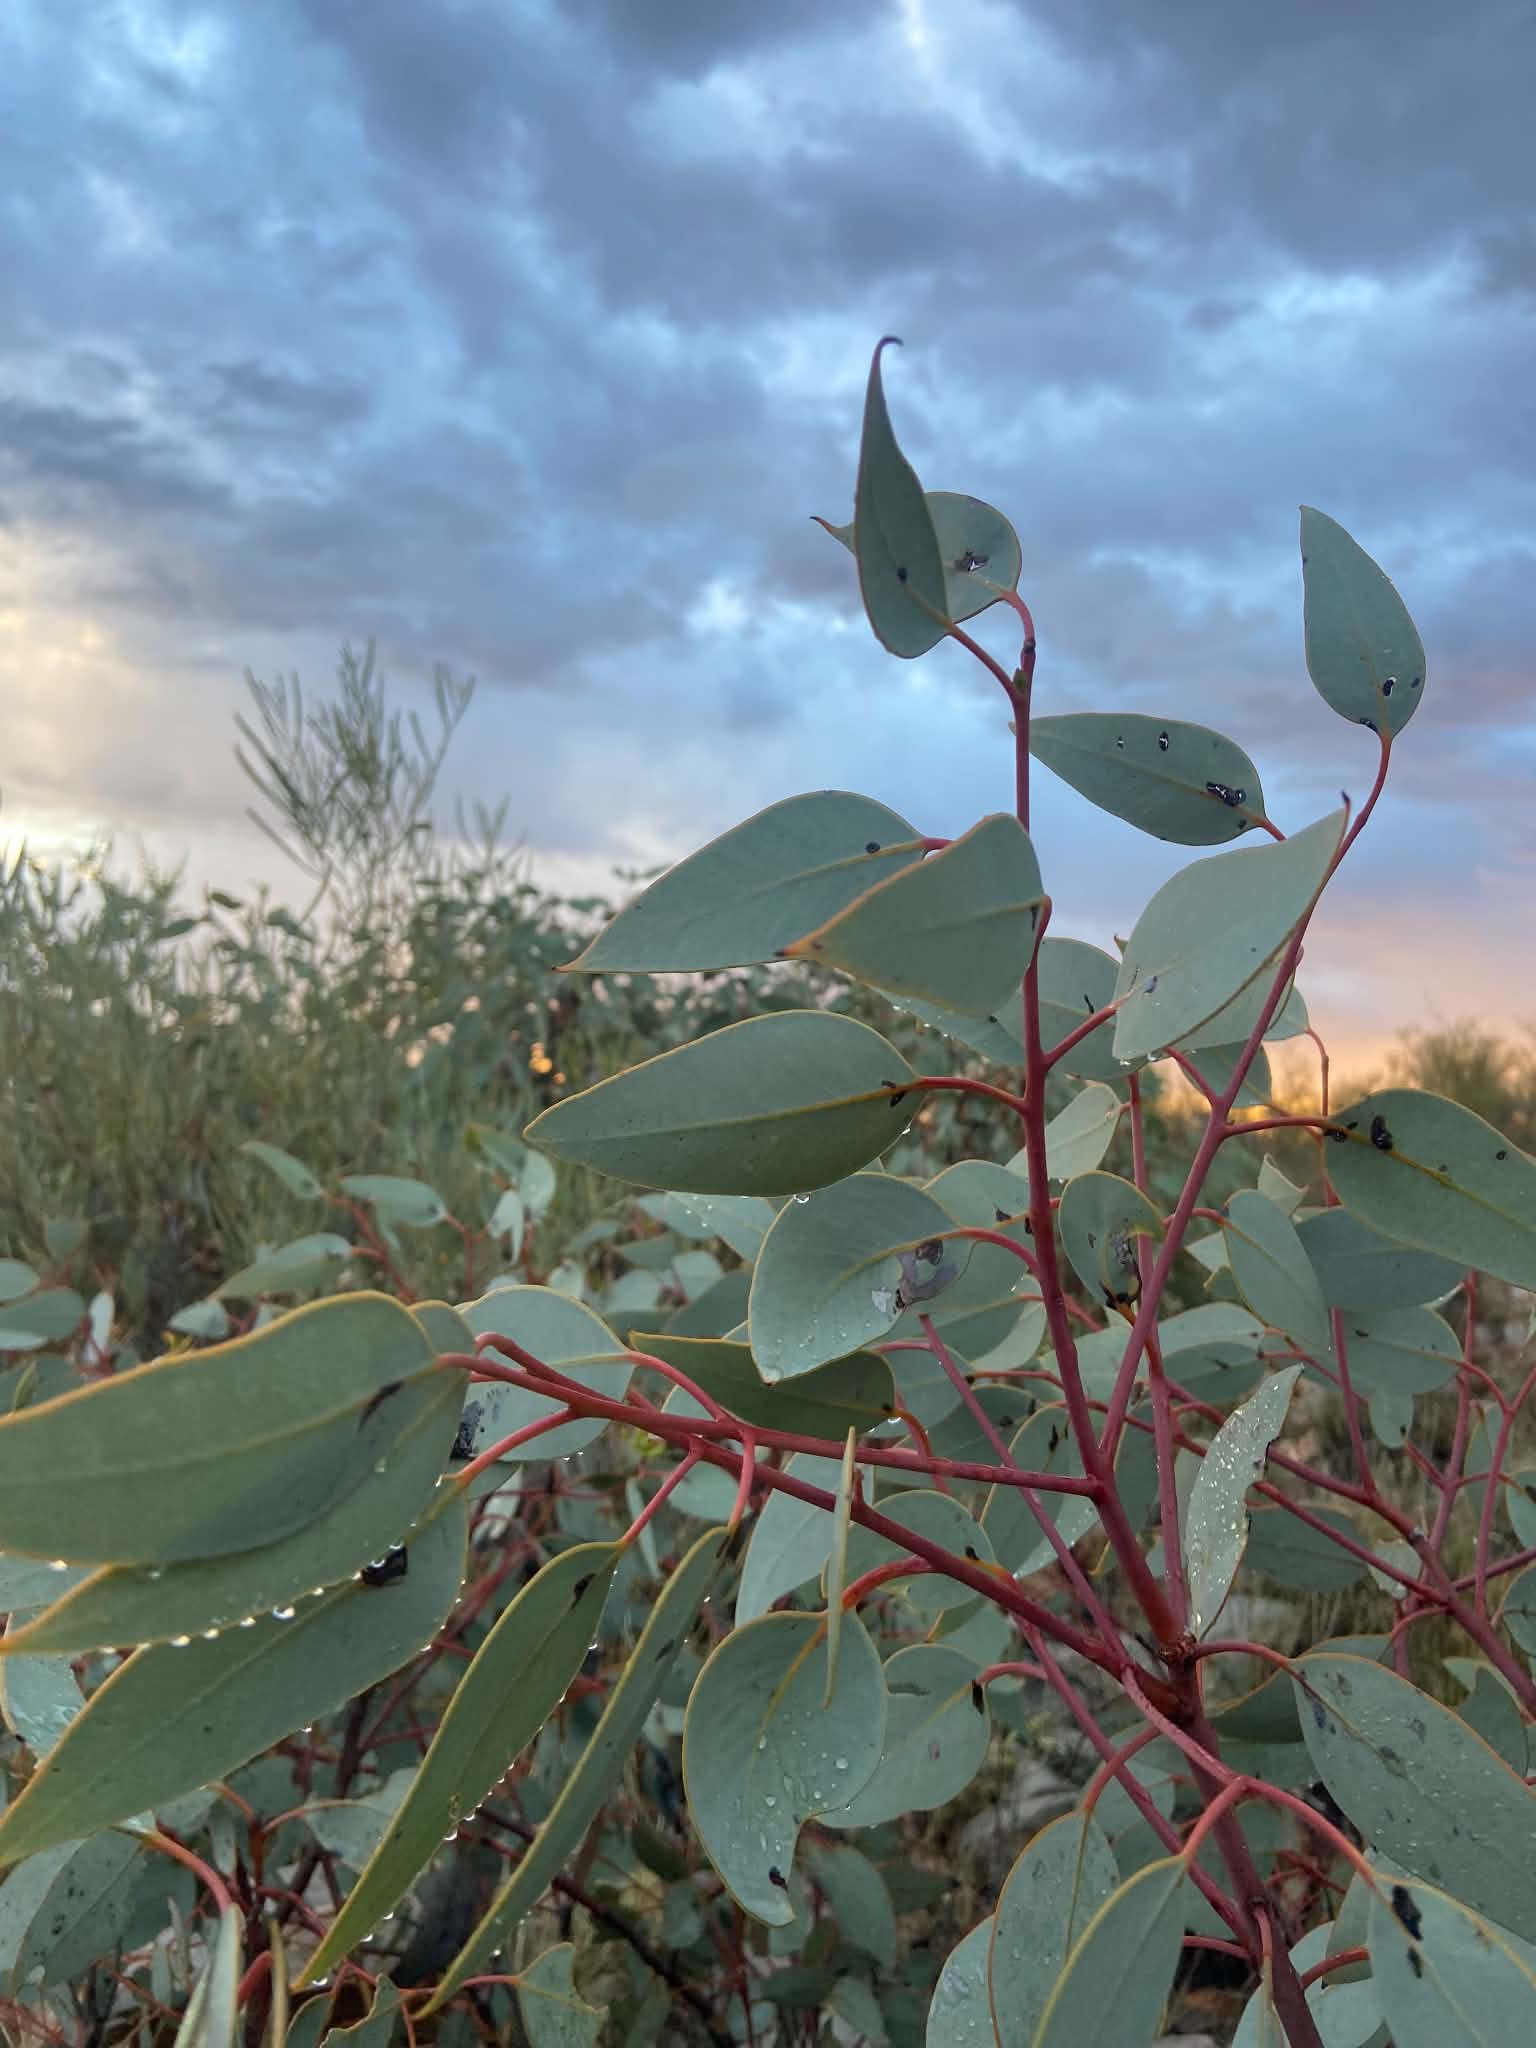
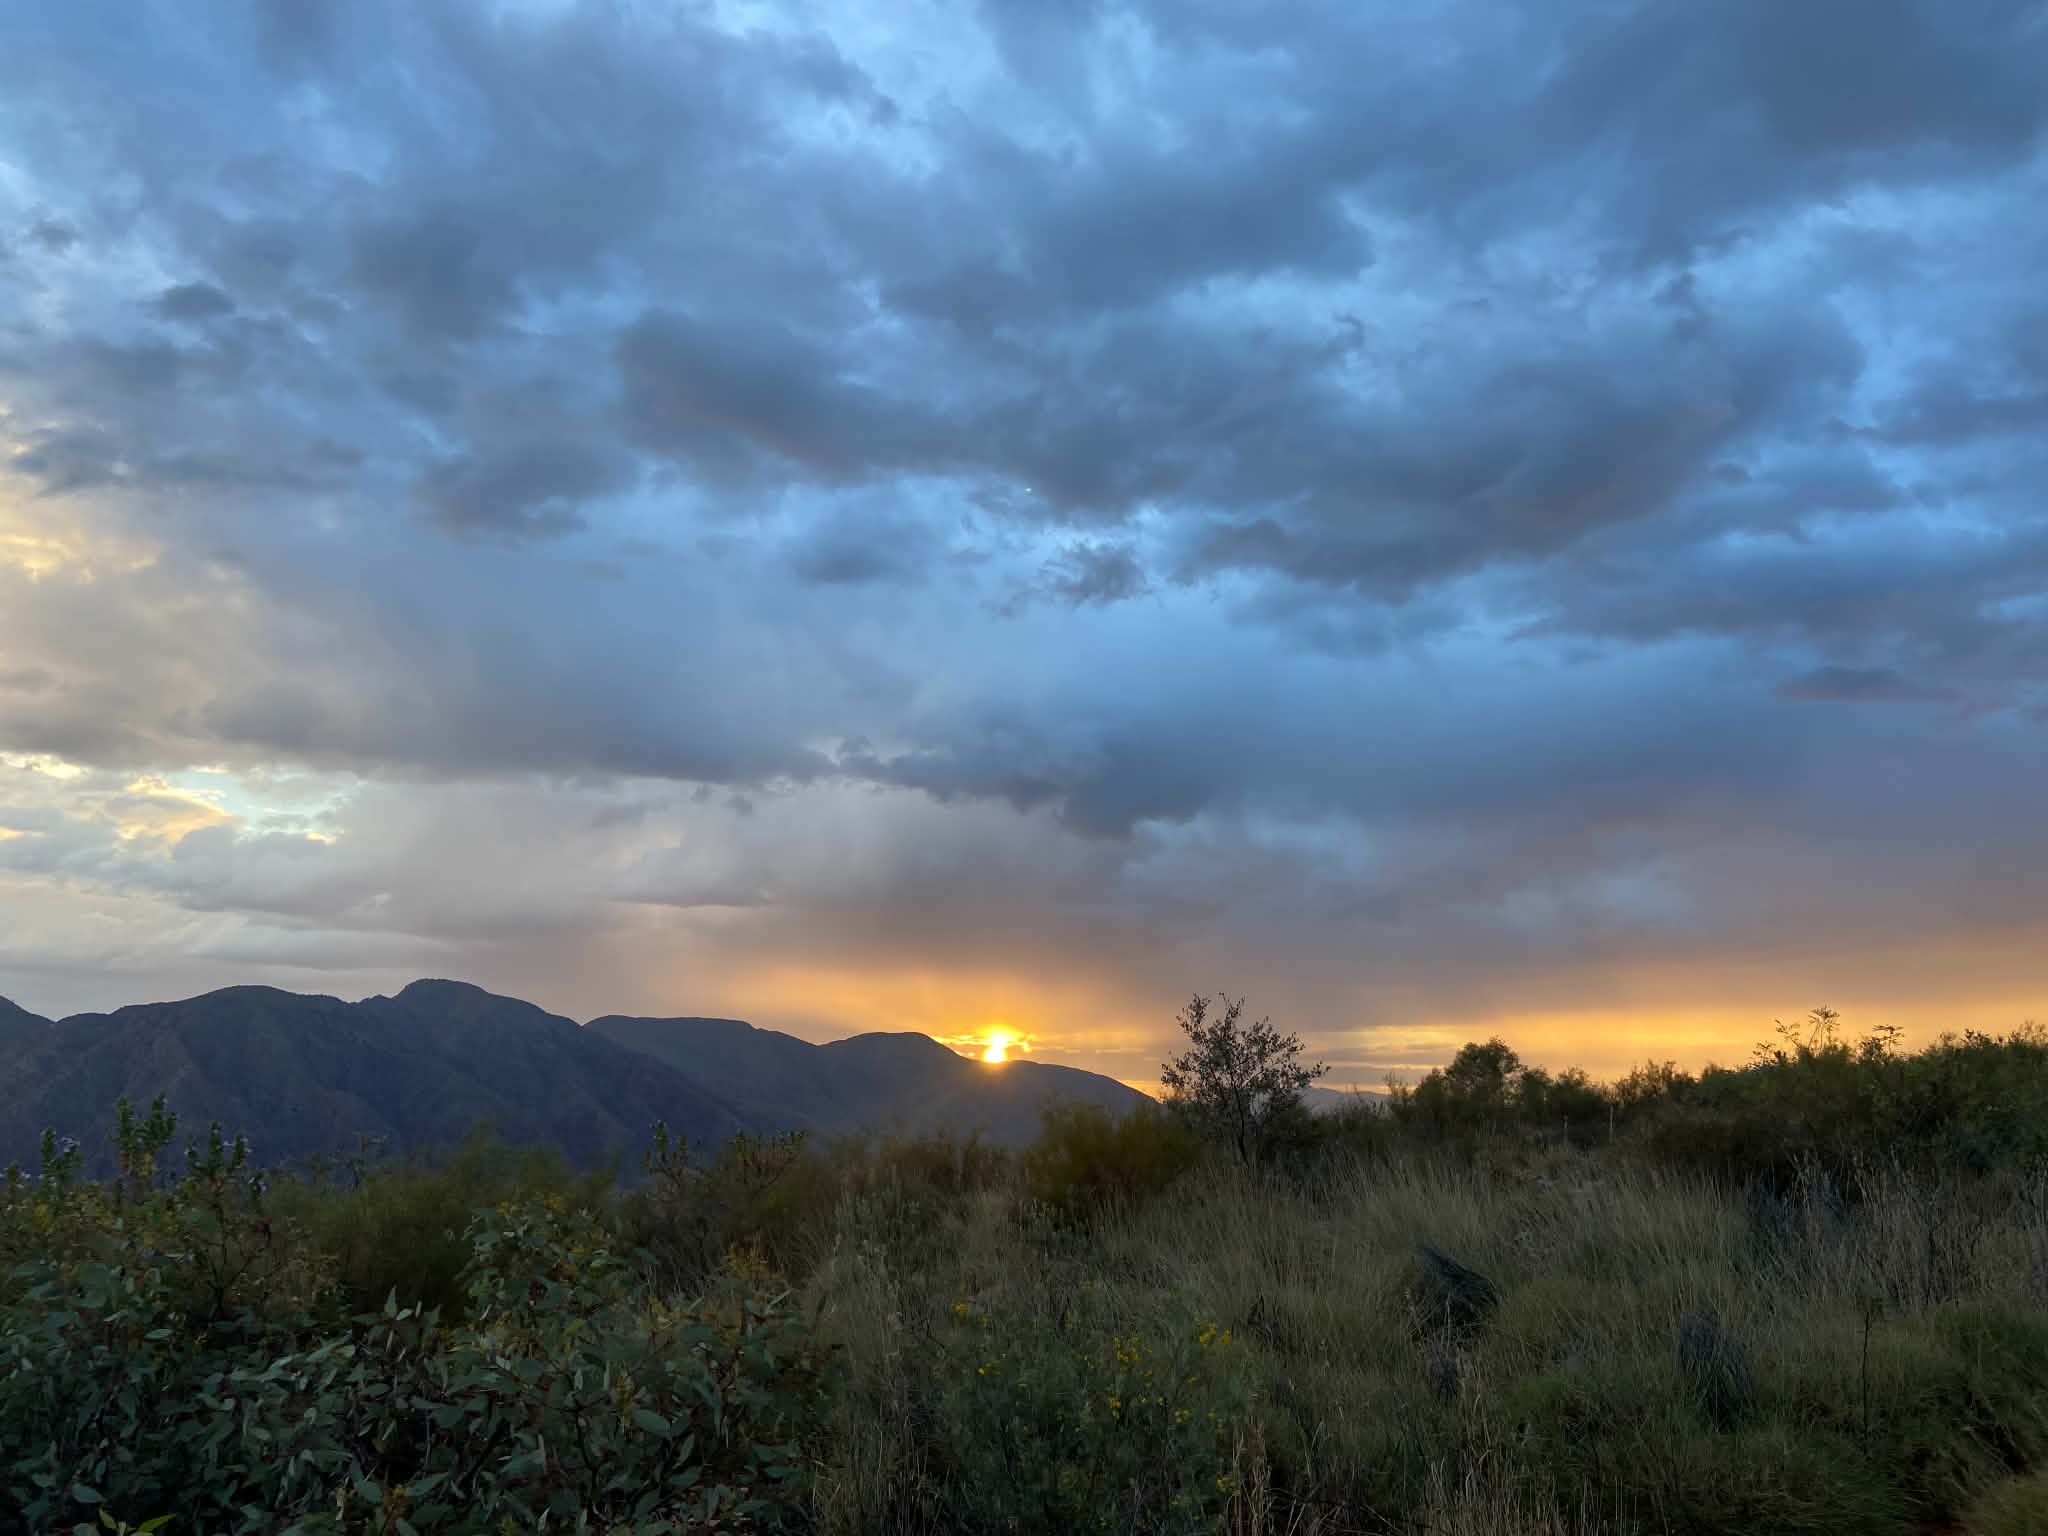
The day started with a bang. As in a big thunderous storm-rolling-in kind of bang. We packed up quickly and started to head downhill as the rain set in. The thunder and lightening were a little scary as we hurried along with our broken tent pole sticking out of the hiking pack. With electrocution in mind and no wet weather gear to be seen (I have since added this to the packing list!), we hurried along the ridgeline before commencing the steep and slippery descent. On the upside, the views were so dramatic as the storm rolled in with Mt Sonder in the foreground. The sun lit the mountain which seemed to hover above the dark storm clouds below.
The steep mountainside was treacherous in the wet. We passed several saddles and eventually arrived at at the base of the Heavitree range from which the path meandered up, over and around knolls for the next few kilometers following the base of the range. This walking was fairly easy and passed through a greater diversity of terrain than what we’d seen in previous days. Of note, the rain revealed the broad array of clay colours in the earth. The thick clay and mud made for slower walking, but a nice change from the constant heat of the past almost two weeks.
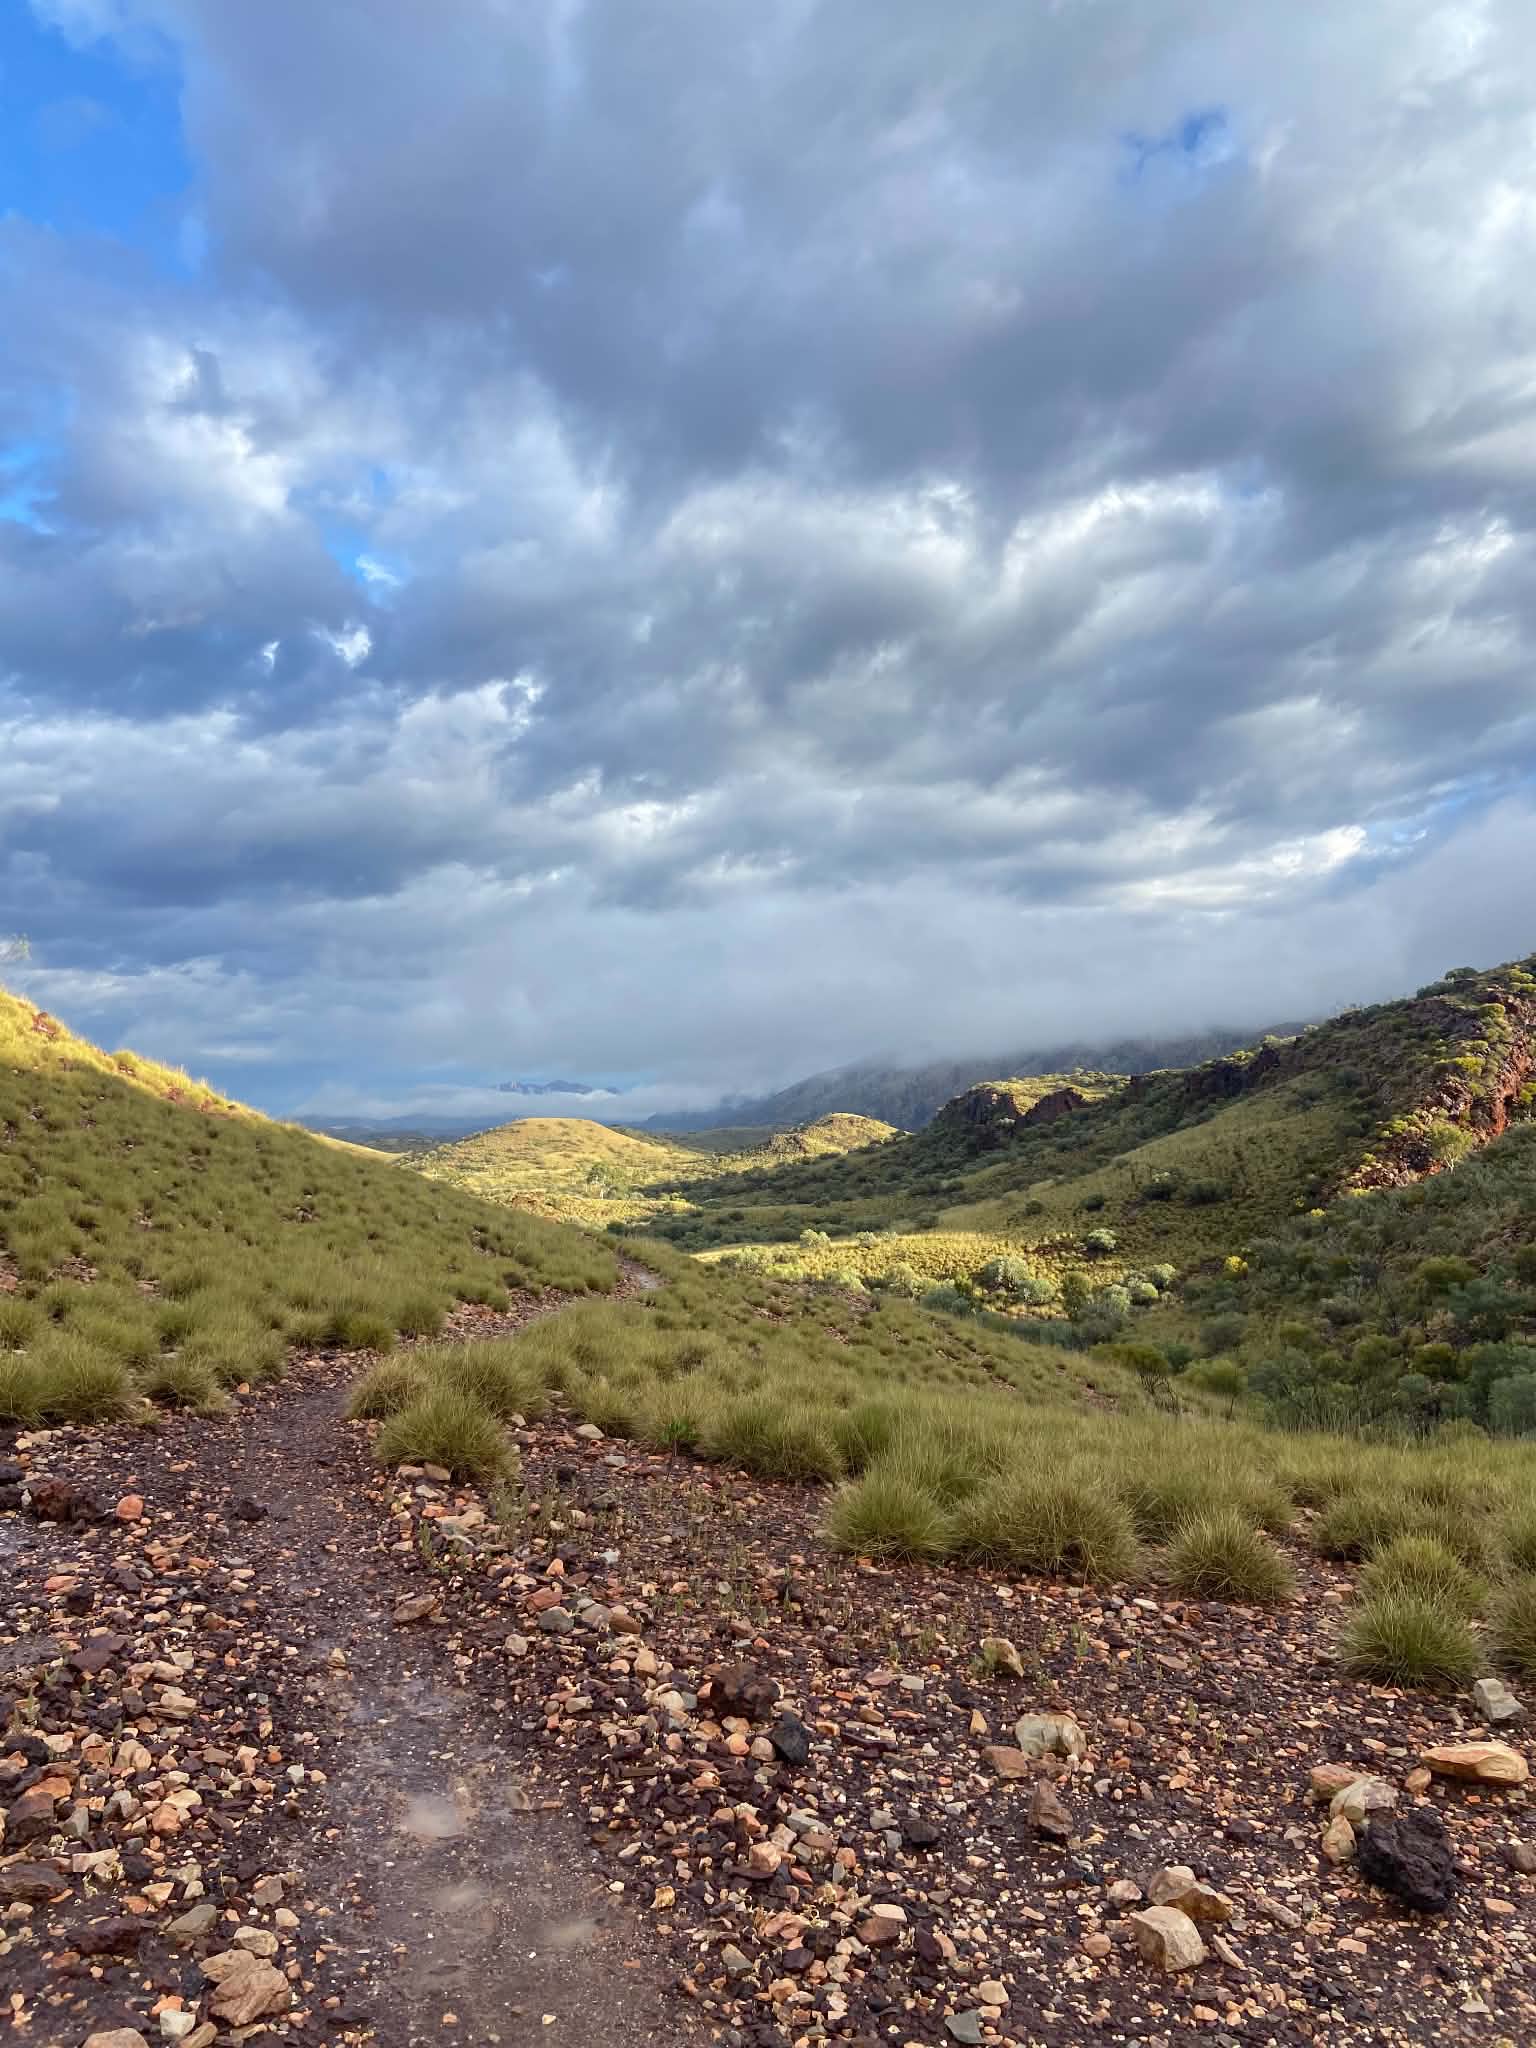
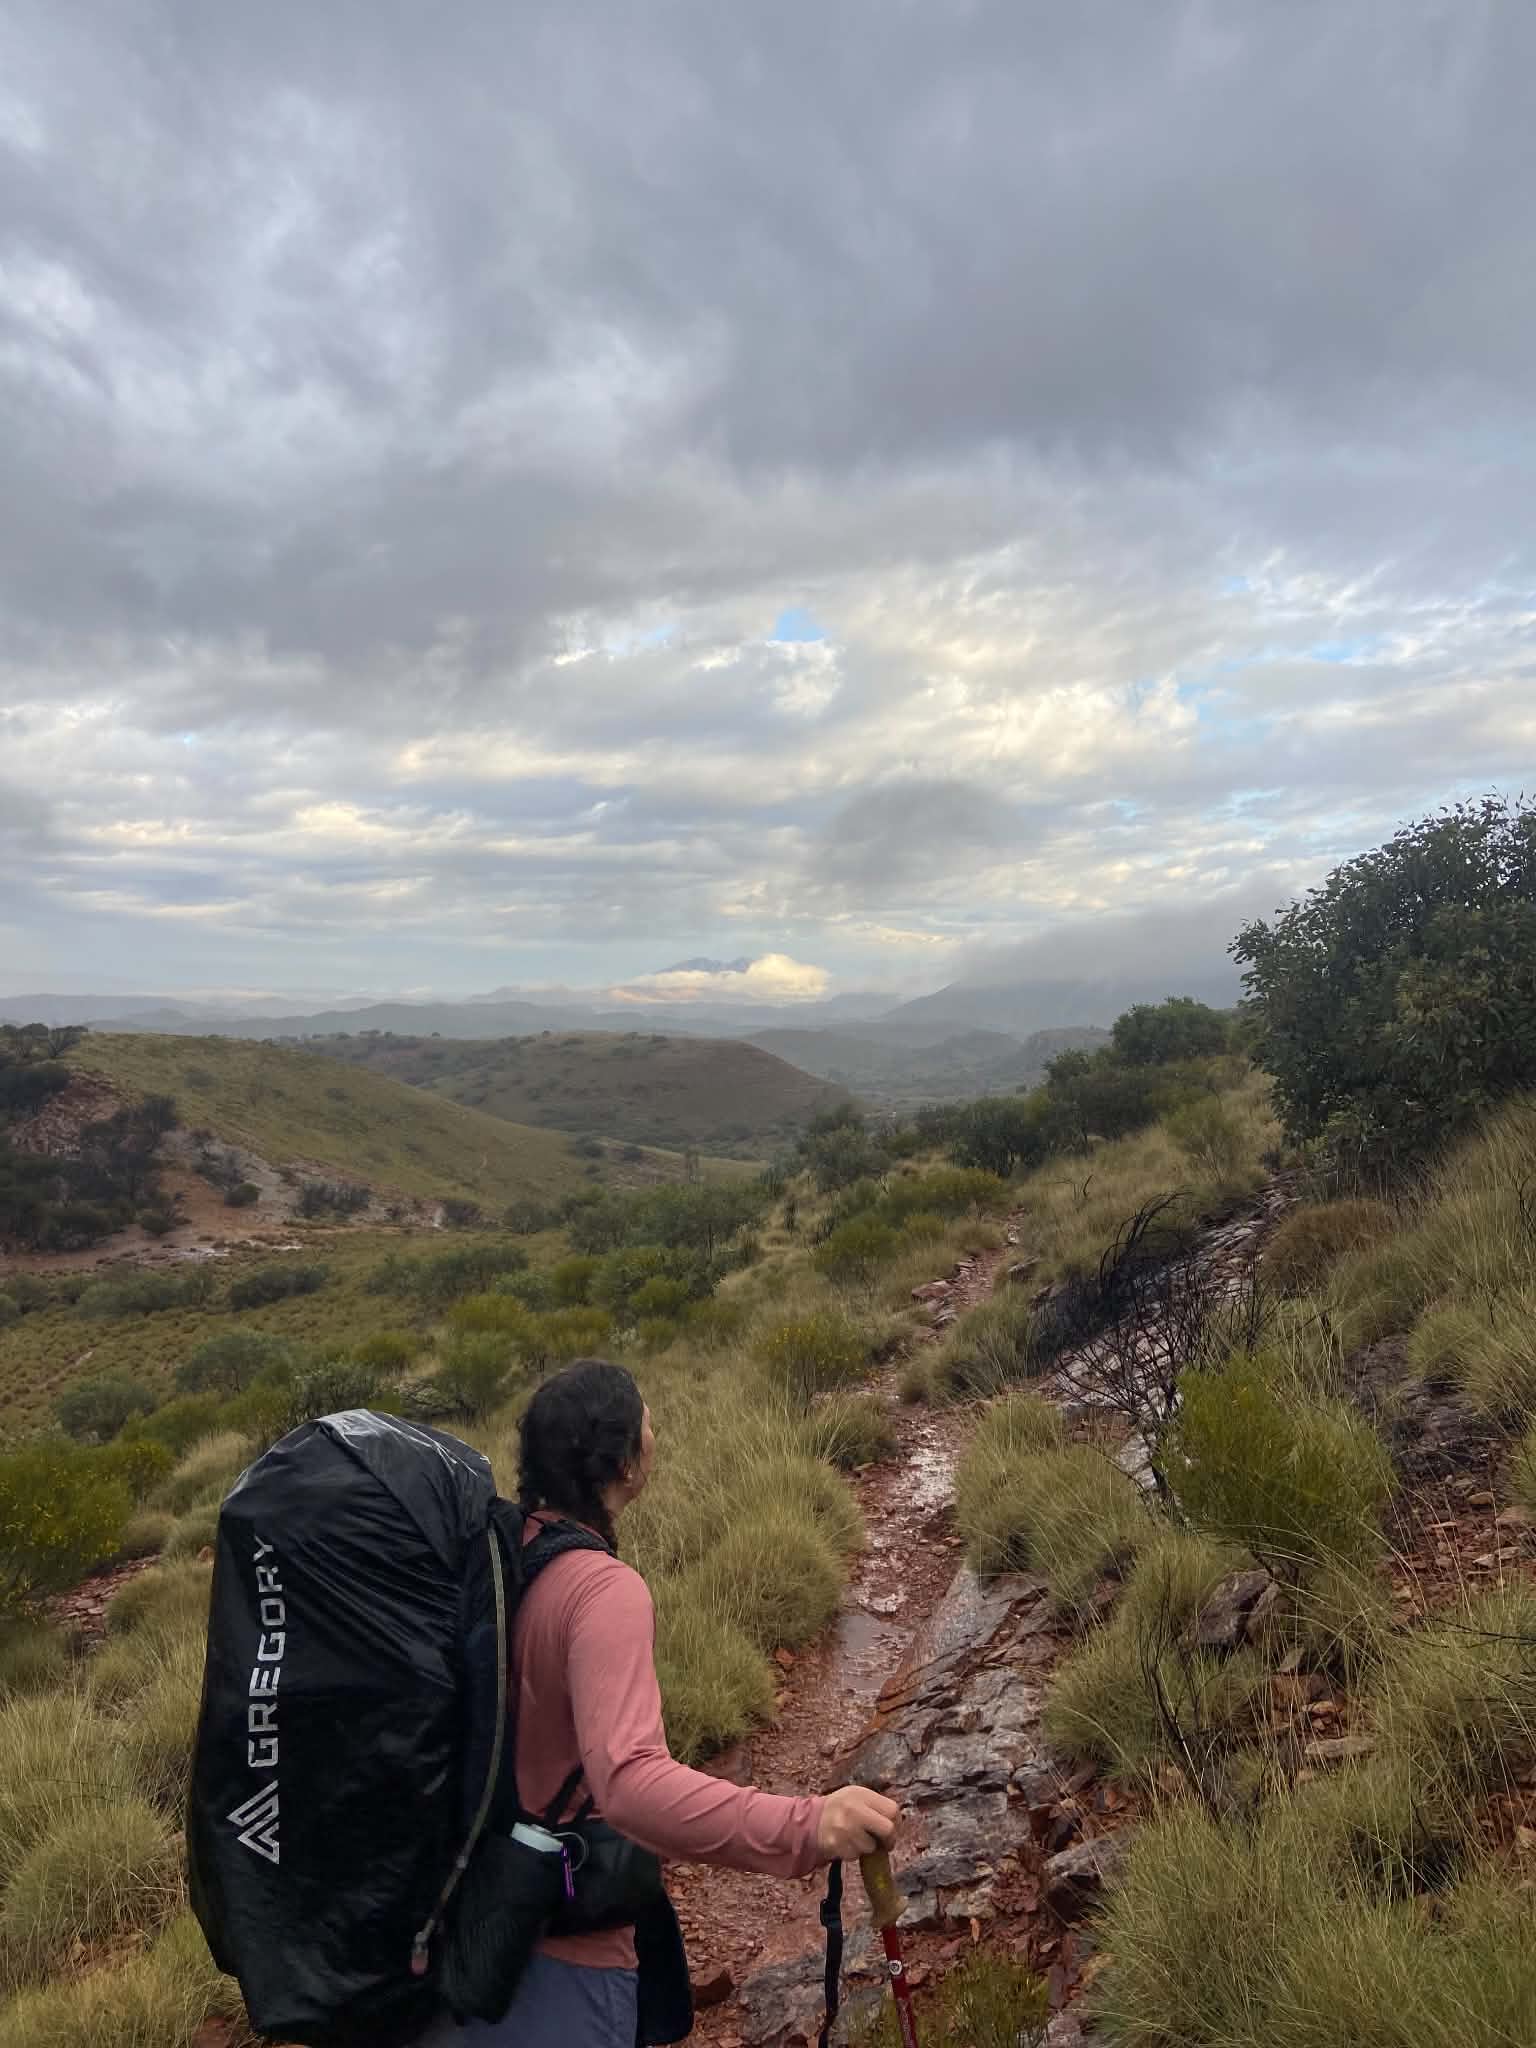
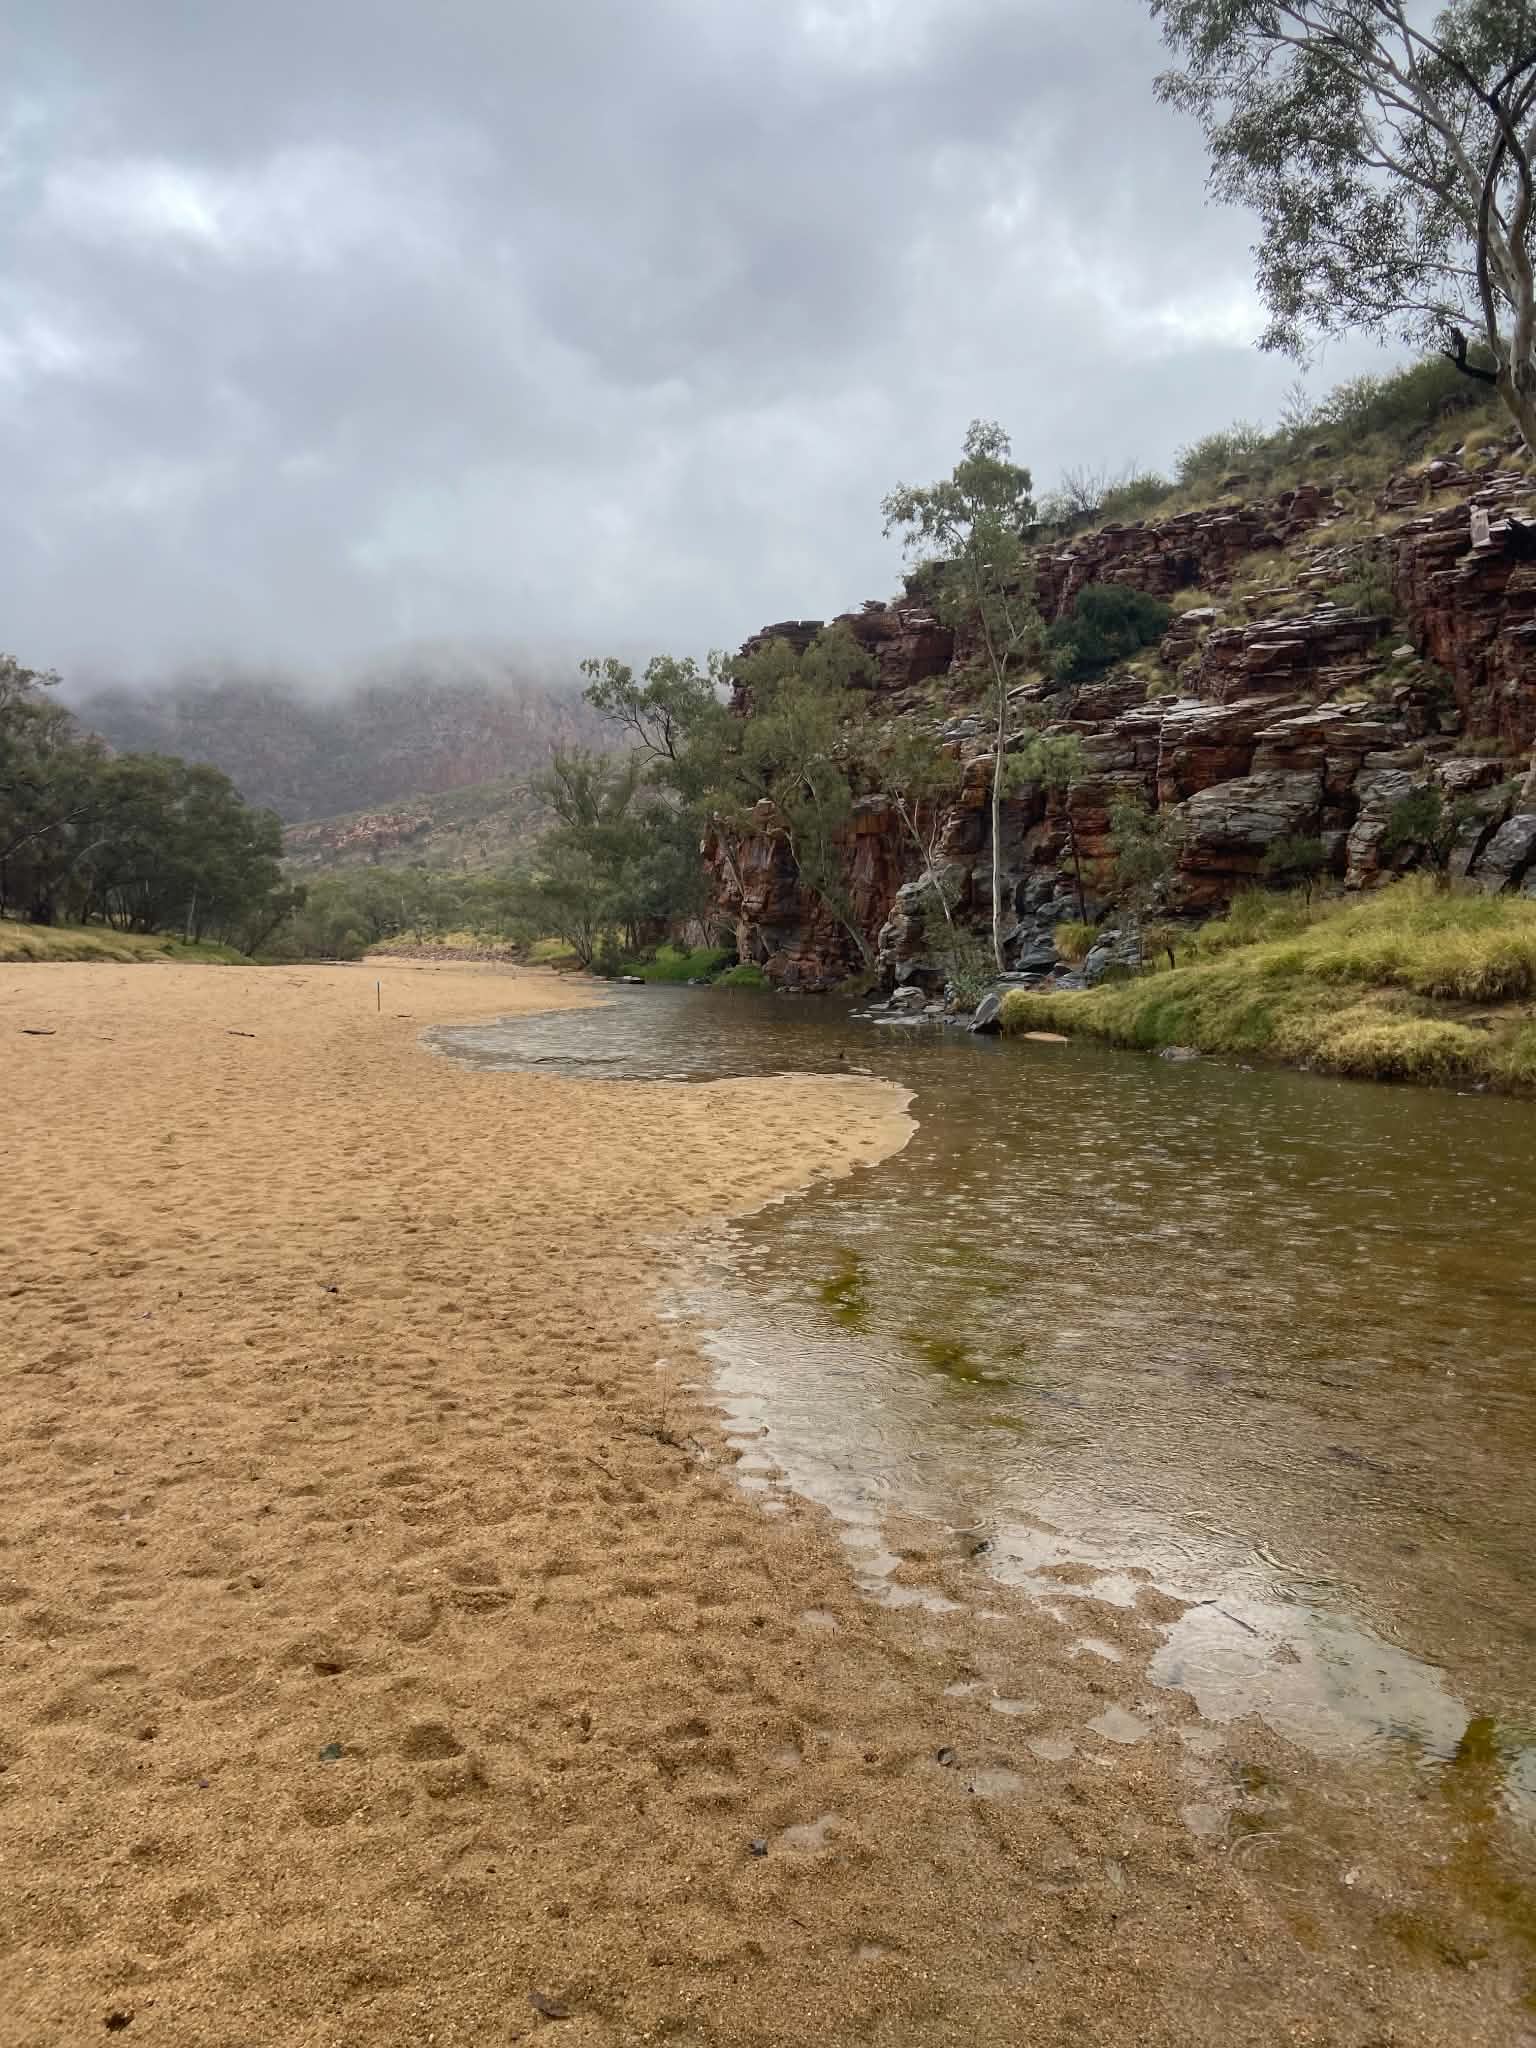
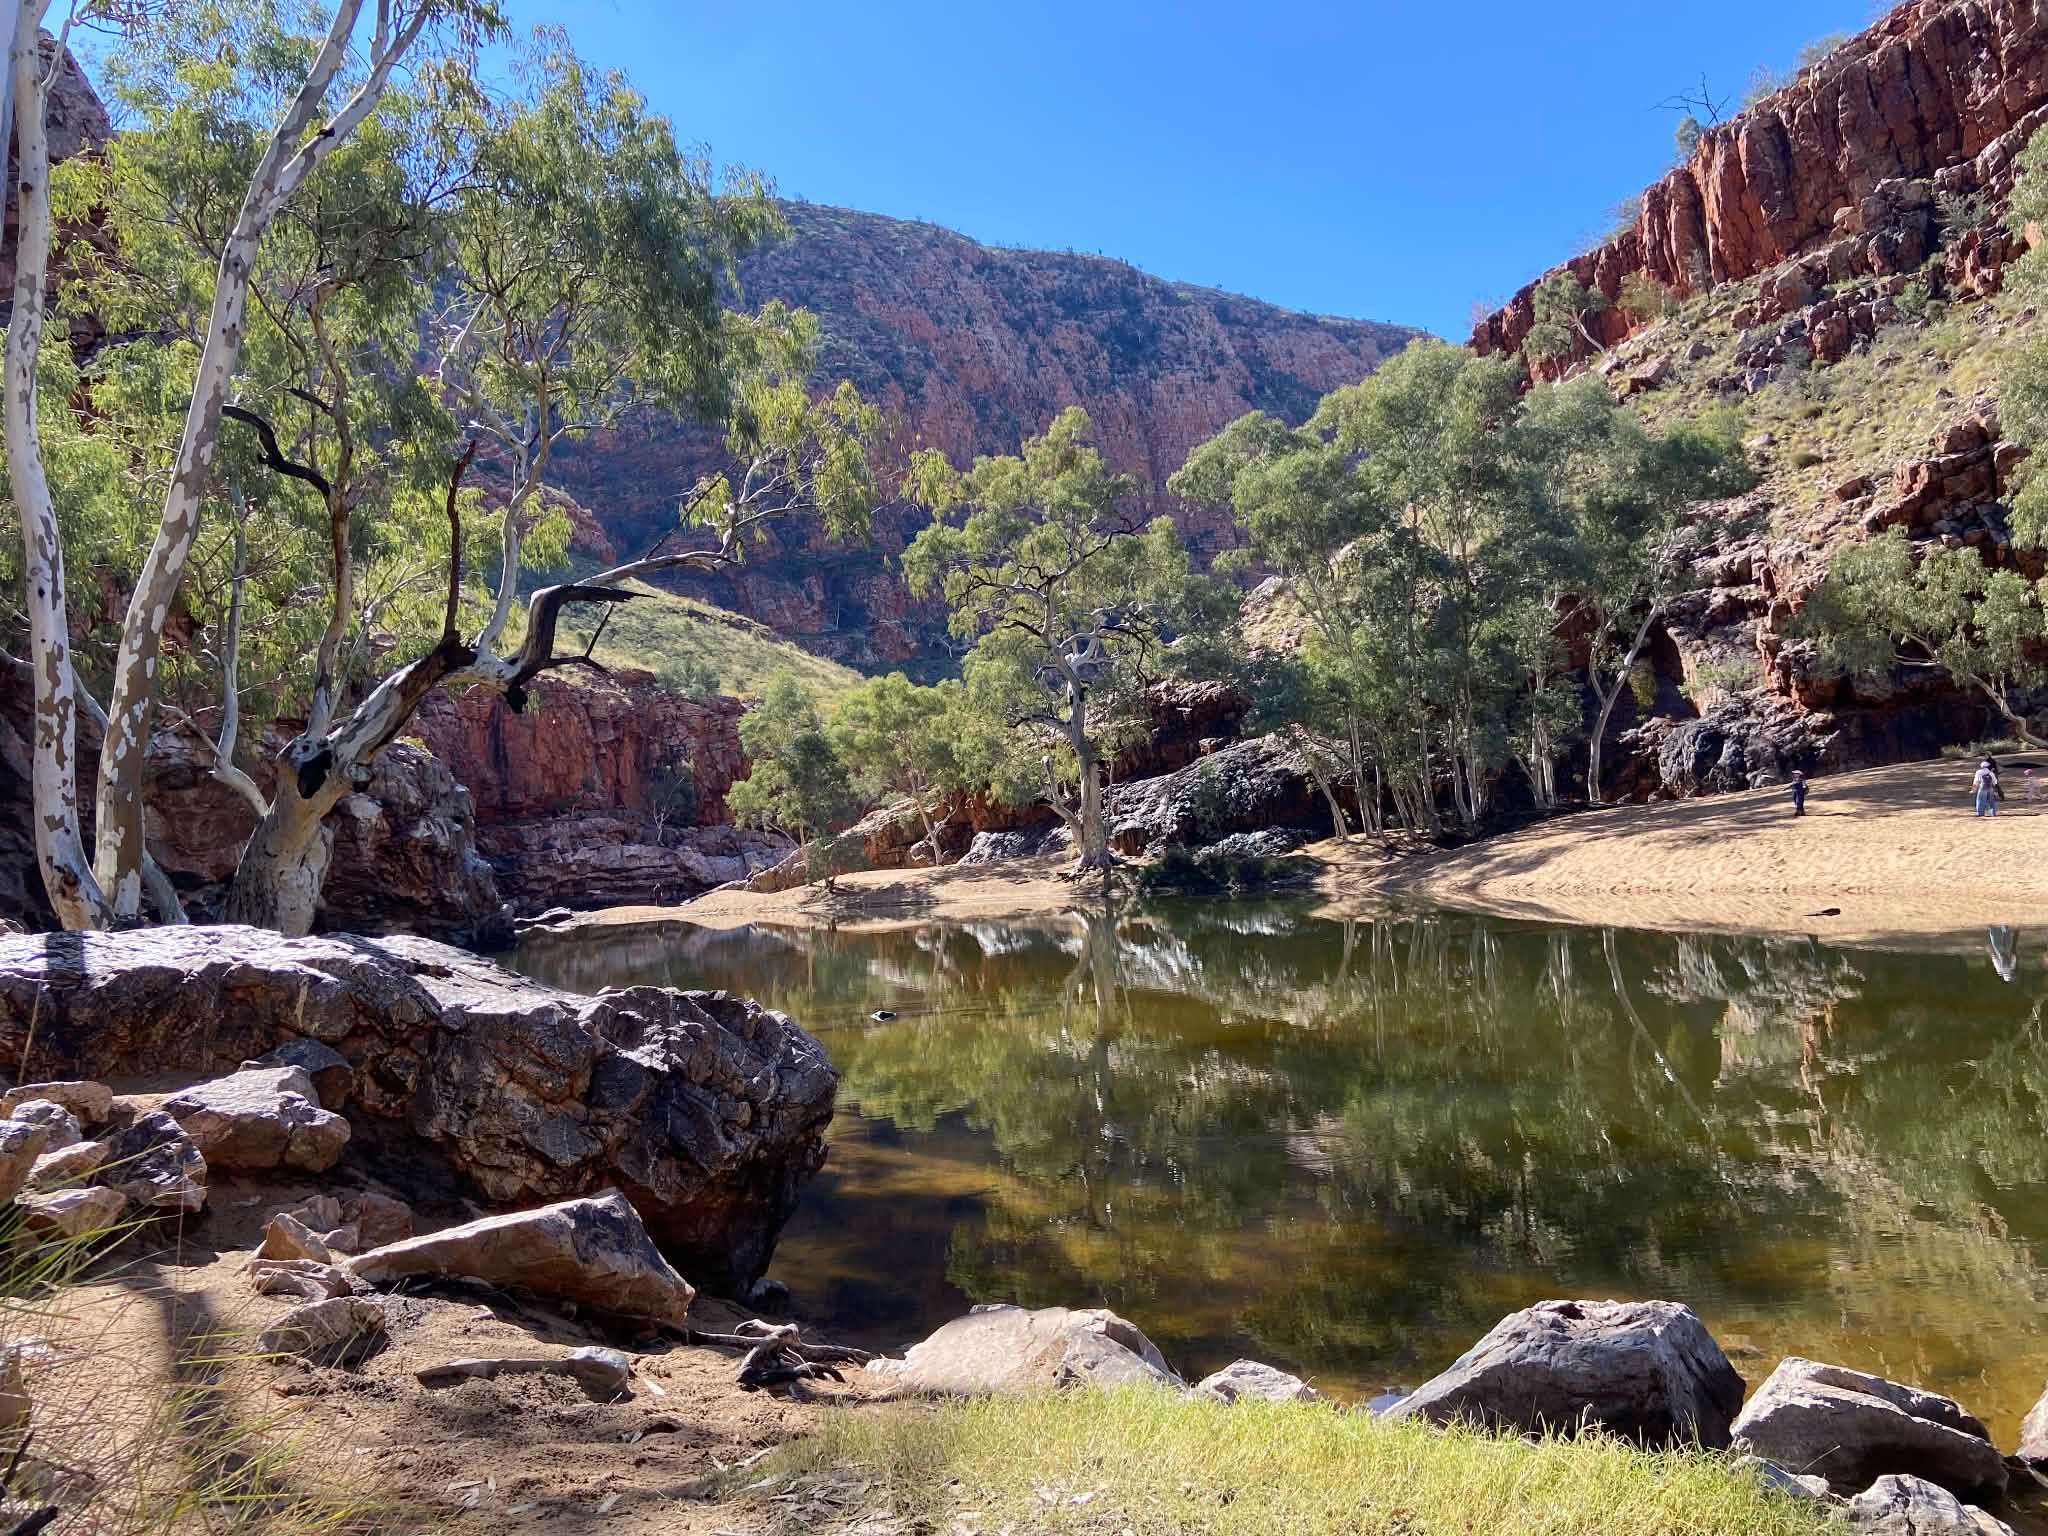
Eventually the trail comes to Ormiston Creek where we walked along the sand before seeing the turn off for the Pound Walk track (an 8.4km sidetrack which is apparently very nice if you have time). From here, it’s not far to Ormiston Gorge where there are hot showers, a cafe, toilets and a camp platform. The campsite is a few hundred meters from the cafe, and about 300m from Ormiston Gorge itself. You can swim at Ormiston Gorge but we gave it a miss after seeing an alarming number of dead fish floating on the surface. Apparently this happens seasonally as the water, and consequently fish, run out of oxygen due to overcrowding.
We made a side trip to check-out Ormiston Gorge, had a delicious panini at the cafe, and collected our food drop from a cupboard behind the cafe (which was literally overflowing with food drops). We also enjoyed a nice hot shower. These showers are far from glamorous and we contracted the most severe case of athlete’s foot from these showers, but washing your hair after 12 days truly offers a new lease on life. We enjoyed our mex beans and mash with our new local Alice Springs friend discussing the highs and lows of working in rural and remote areas and the incredible community spirit of Alice Springs.
Peaks & Pits:
Peak: Hot panini, hot shower, stormy views of Mt Sonder
Pit: Walking in the freezing rain for hours
Day 13: Ormiston Gorge to Hilltop
Distance: 18.8km
Duration: 7hrs (including breaks)
Highlights: Views of Mt Sonder and Mt Zeil, Hilltop Lookout
Day 13 was our catch-up day. We had been behind the main group (the friends we had made along the trail) for a few days since our rest day, and the plan was to try and make good time to catch up and meet at Hilltop camp. Section 10 from Ormiston Gorge to Finke River is gentle walking, with lots of short ups and downs through low scrub. This whole section offers great views of Mt Sonder sitting ominously in the distance. It is again very hot and exposed, but we did this section in the early morning in about 2 hours (8.9km), arriving at Finke River campsite for morning tea. Finke River campsite is fairly large and lots of people had camped on the sandy creek bed. This campsite has a toilet, water tanks, shelter and a camp table. It also had a lot of flies and was the only time I was tempted to use the fly net.
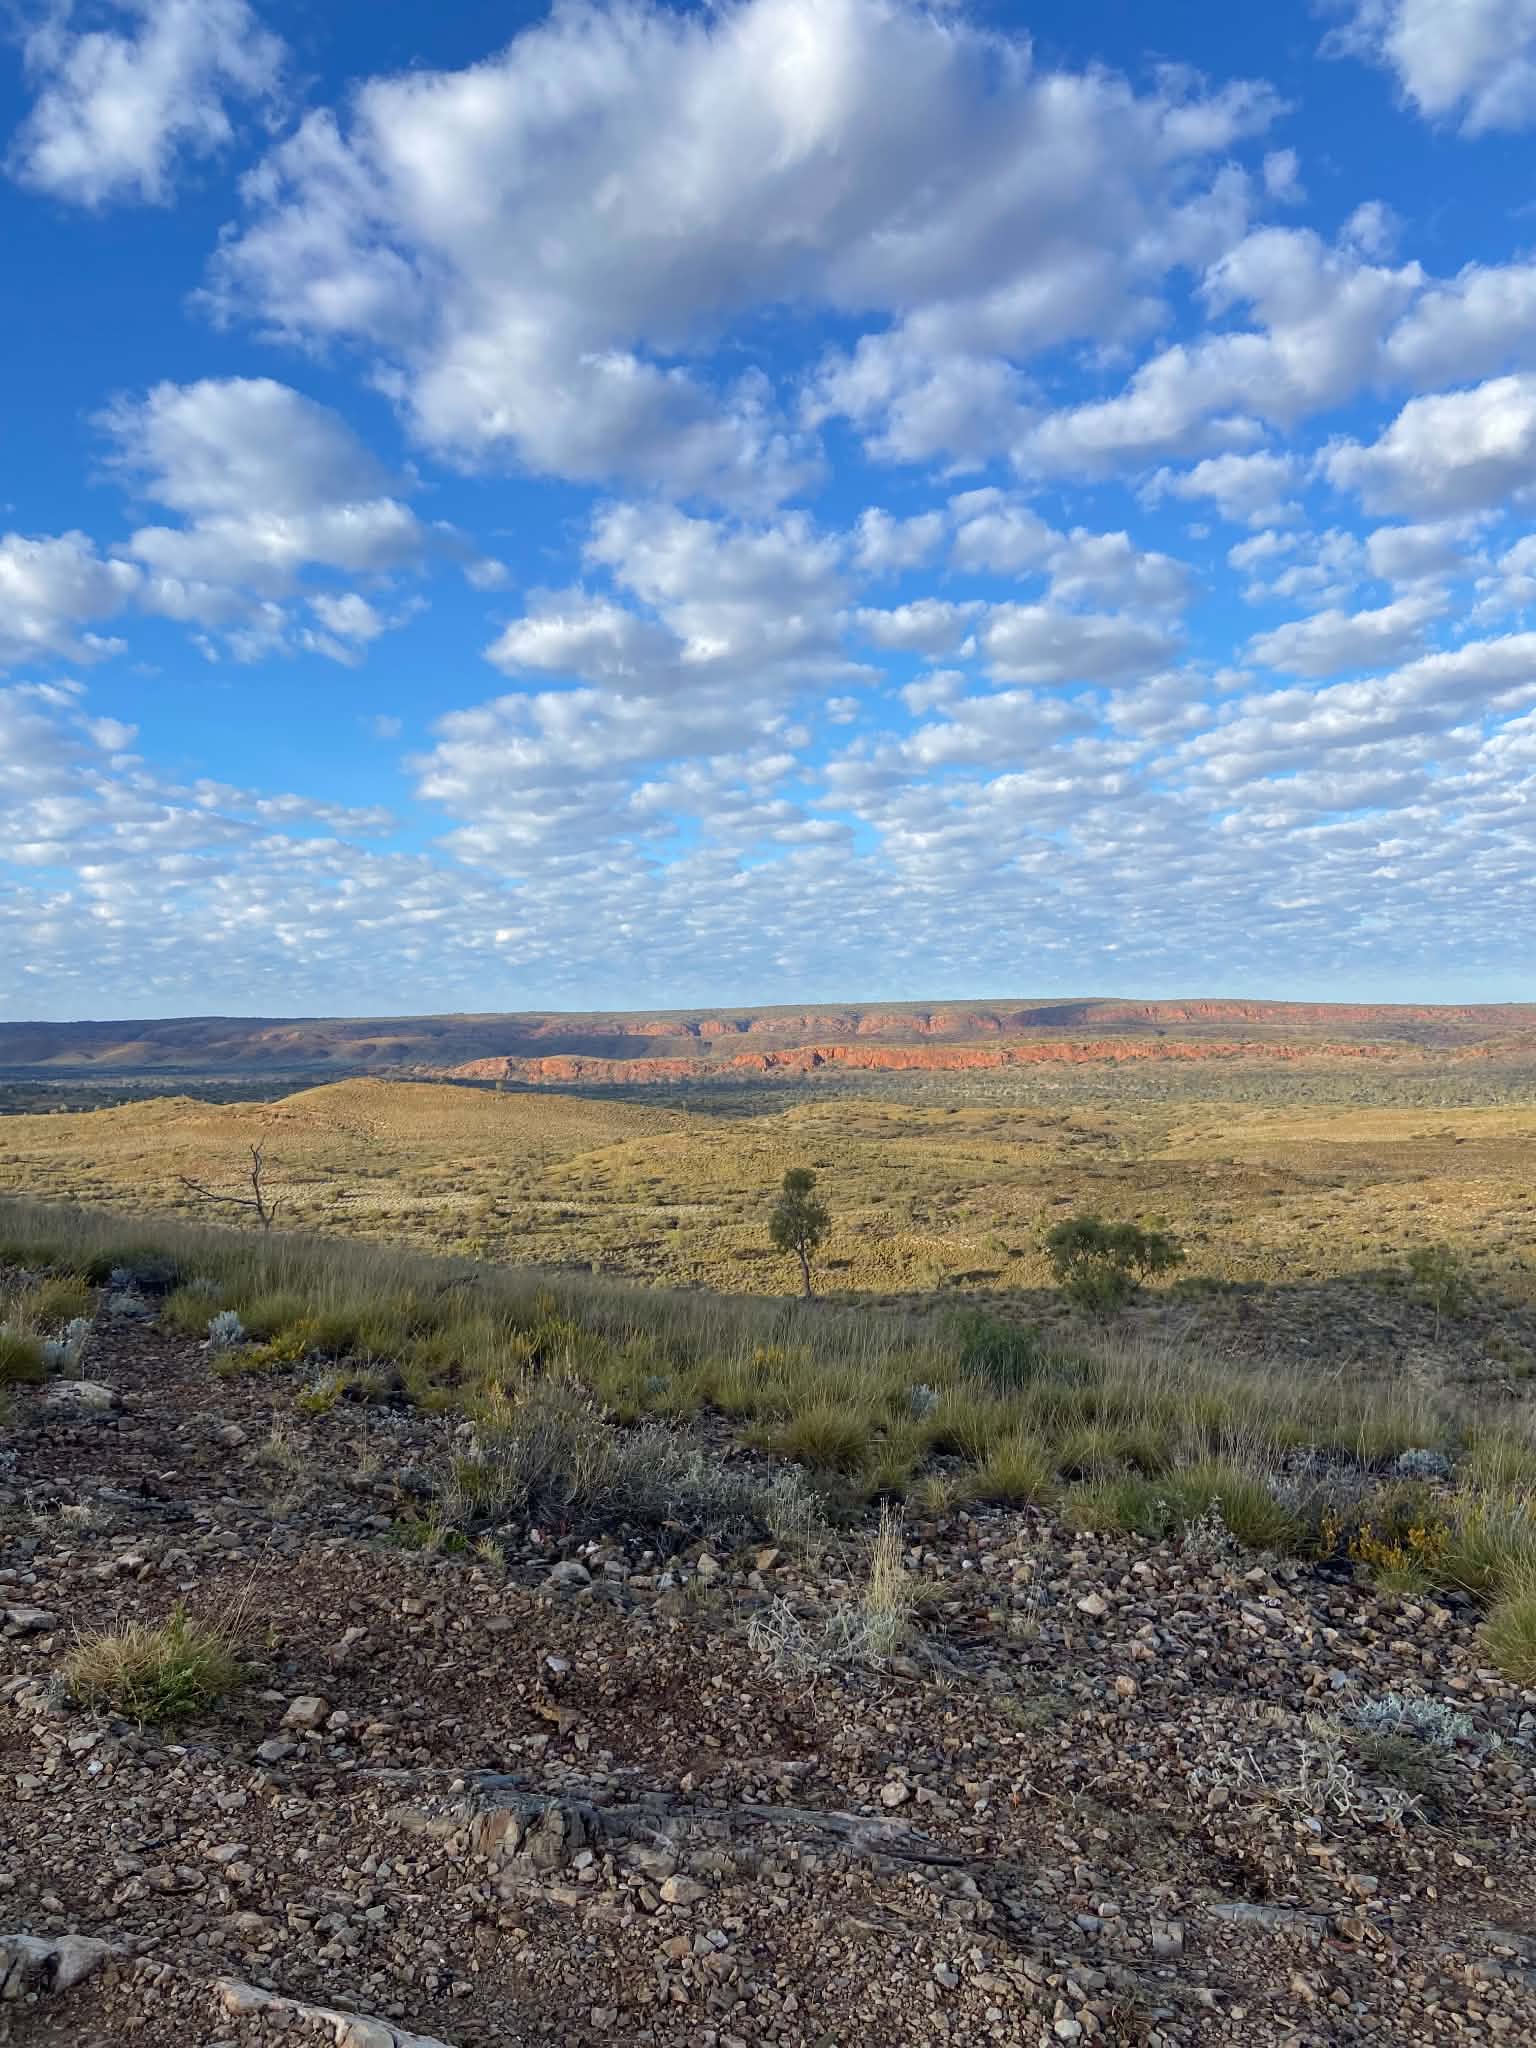
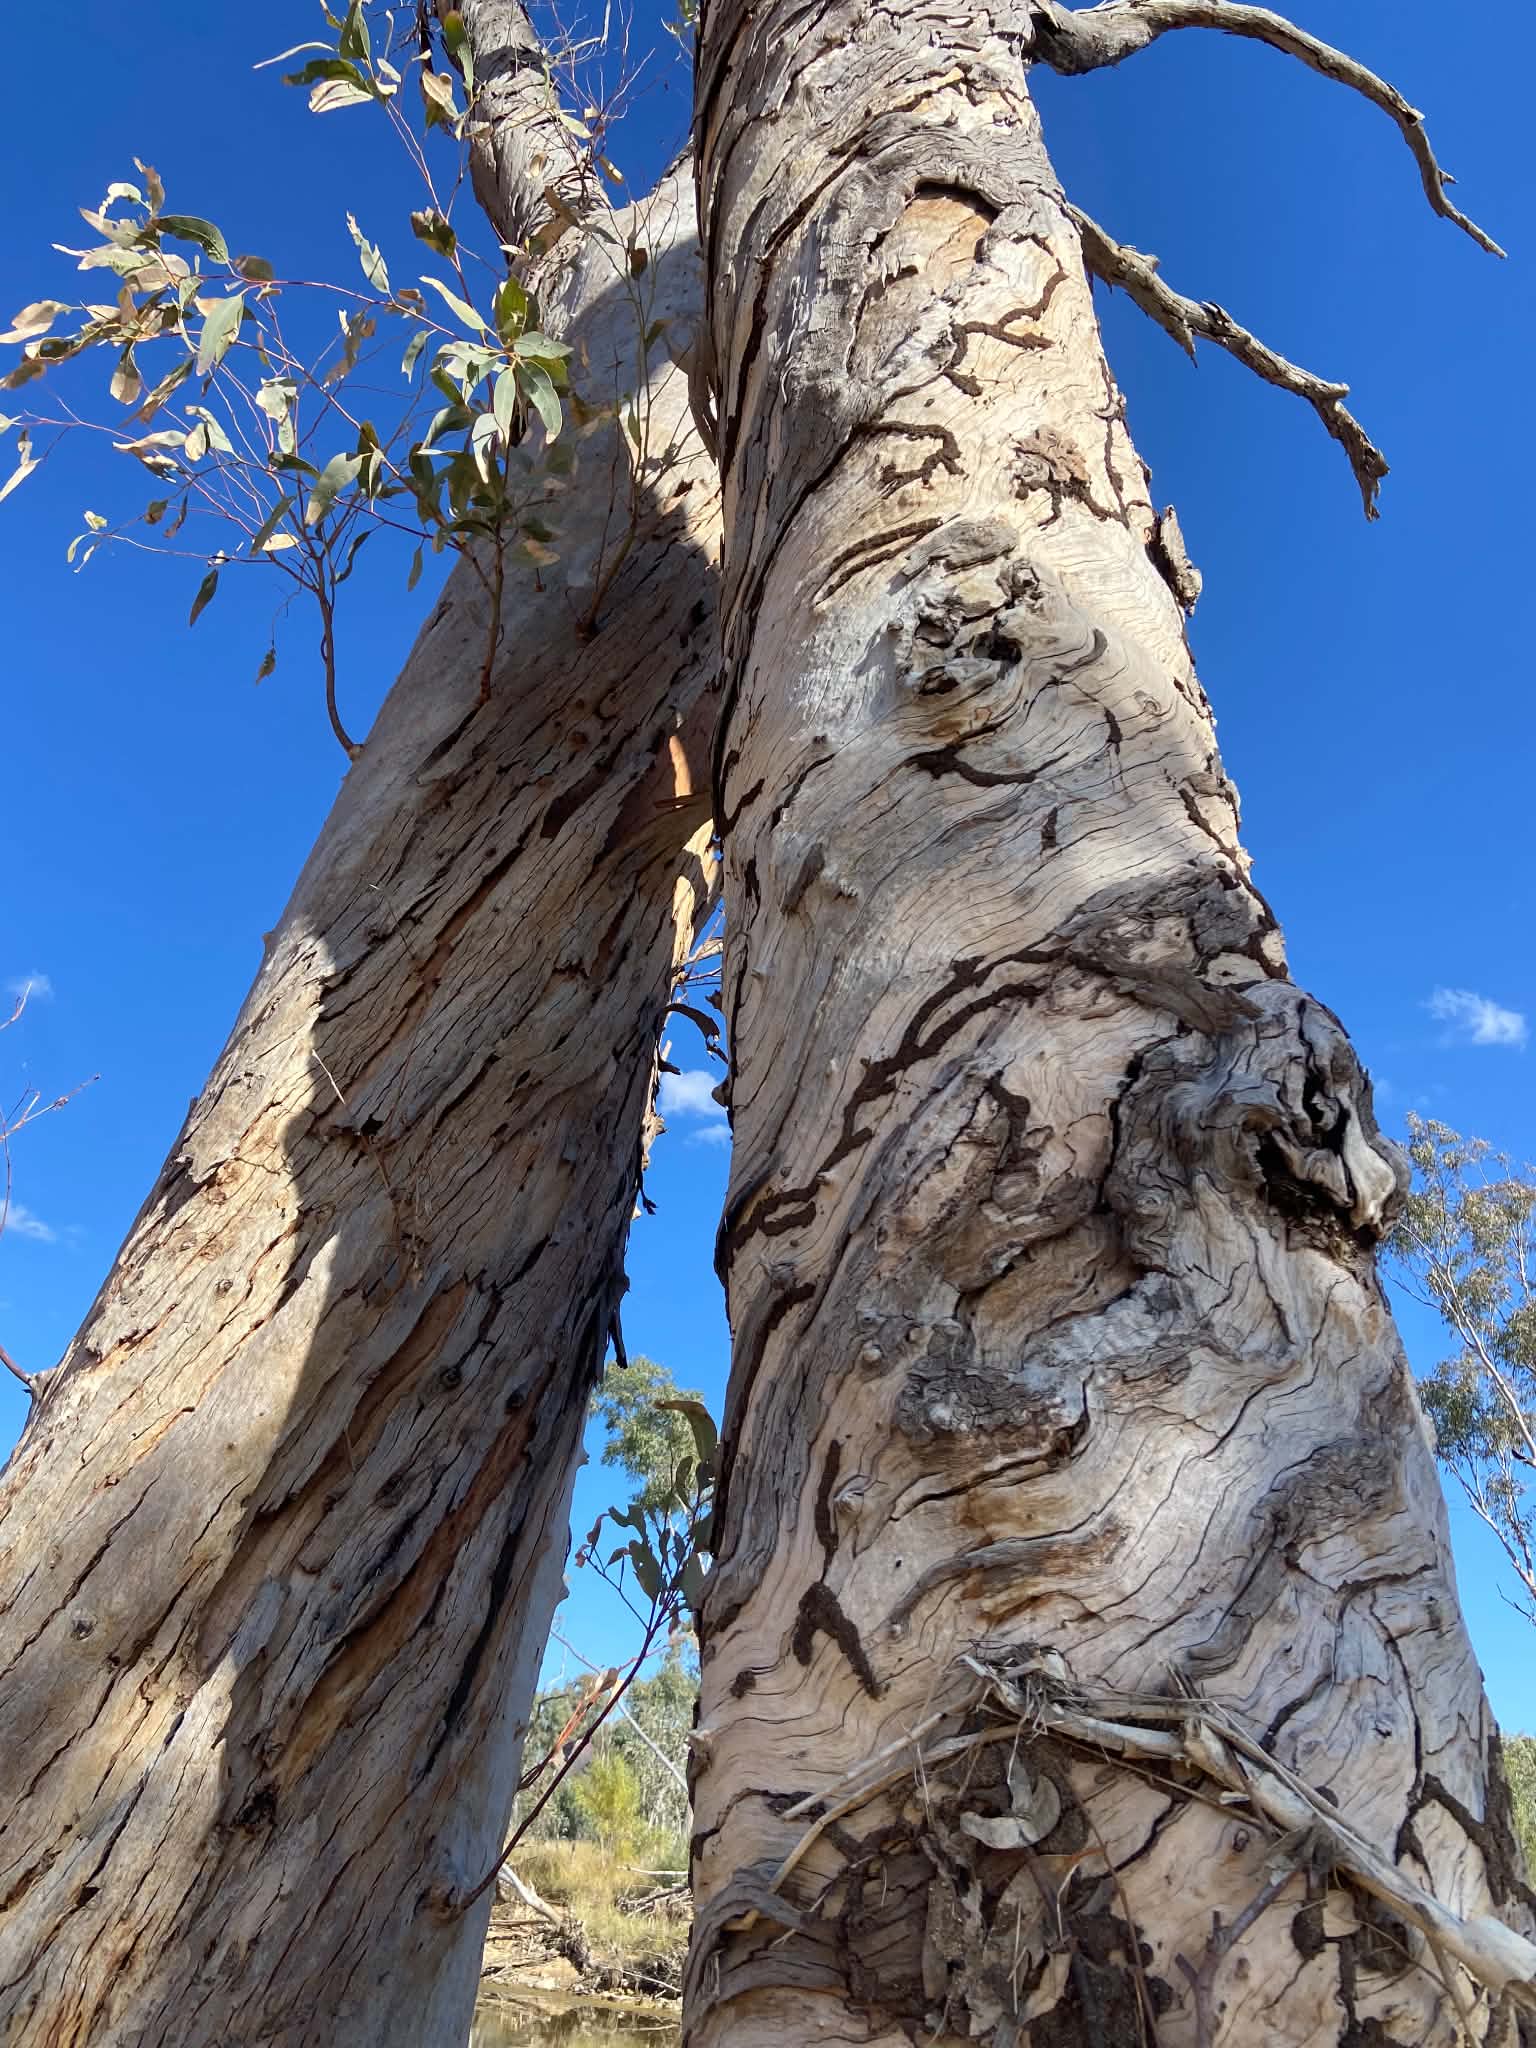
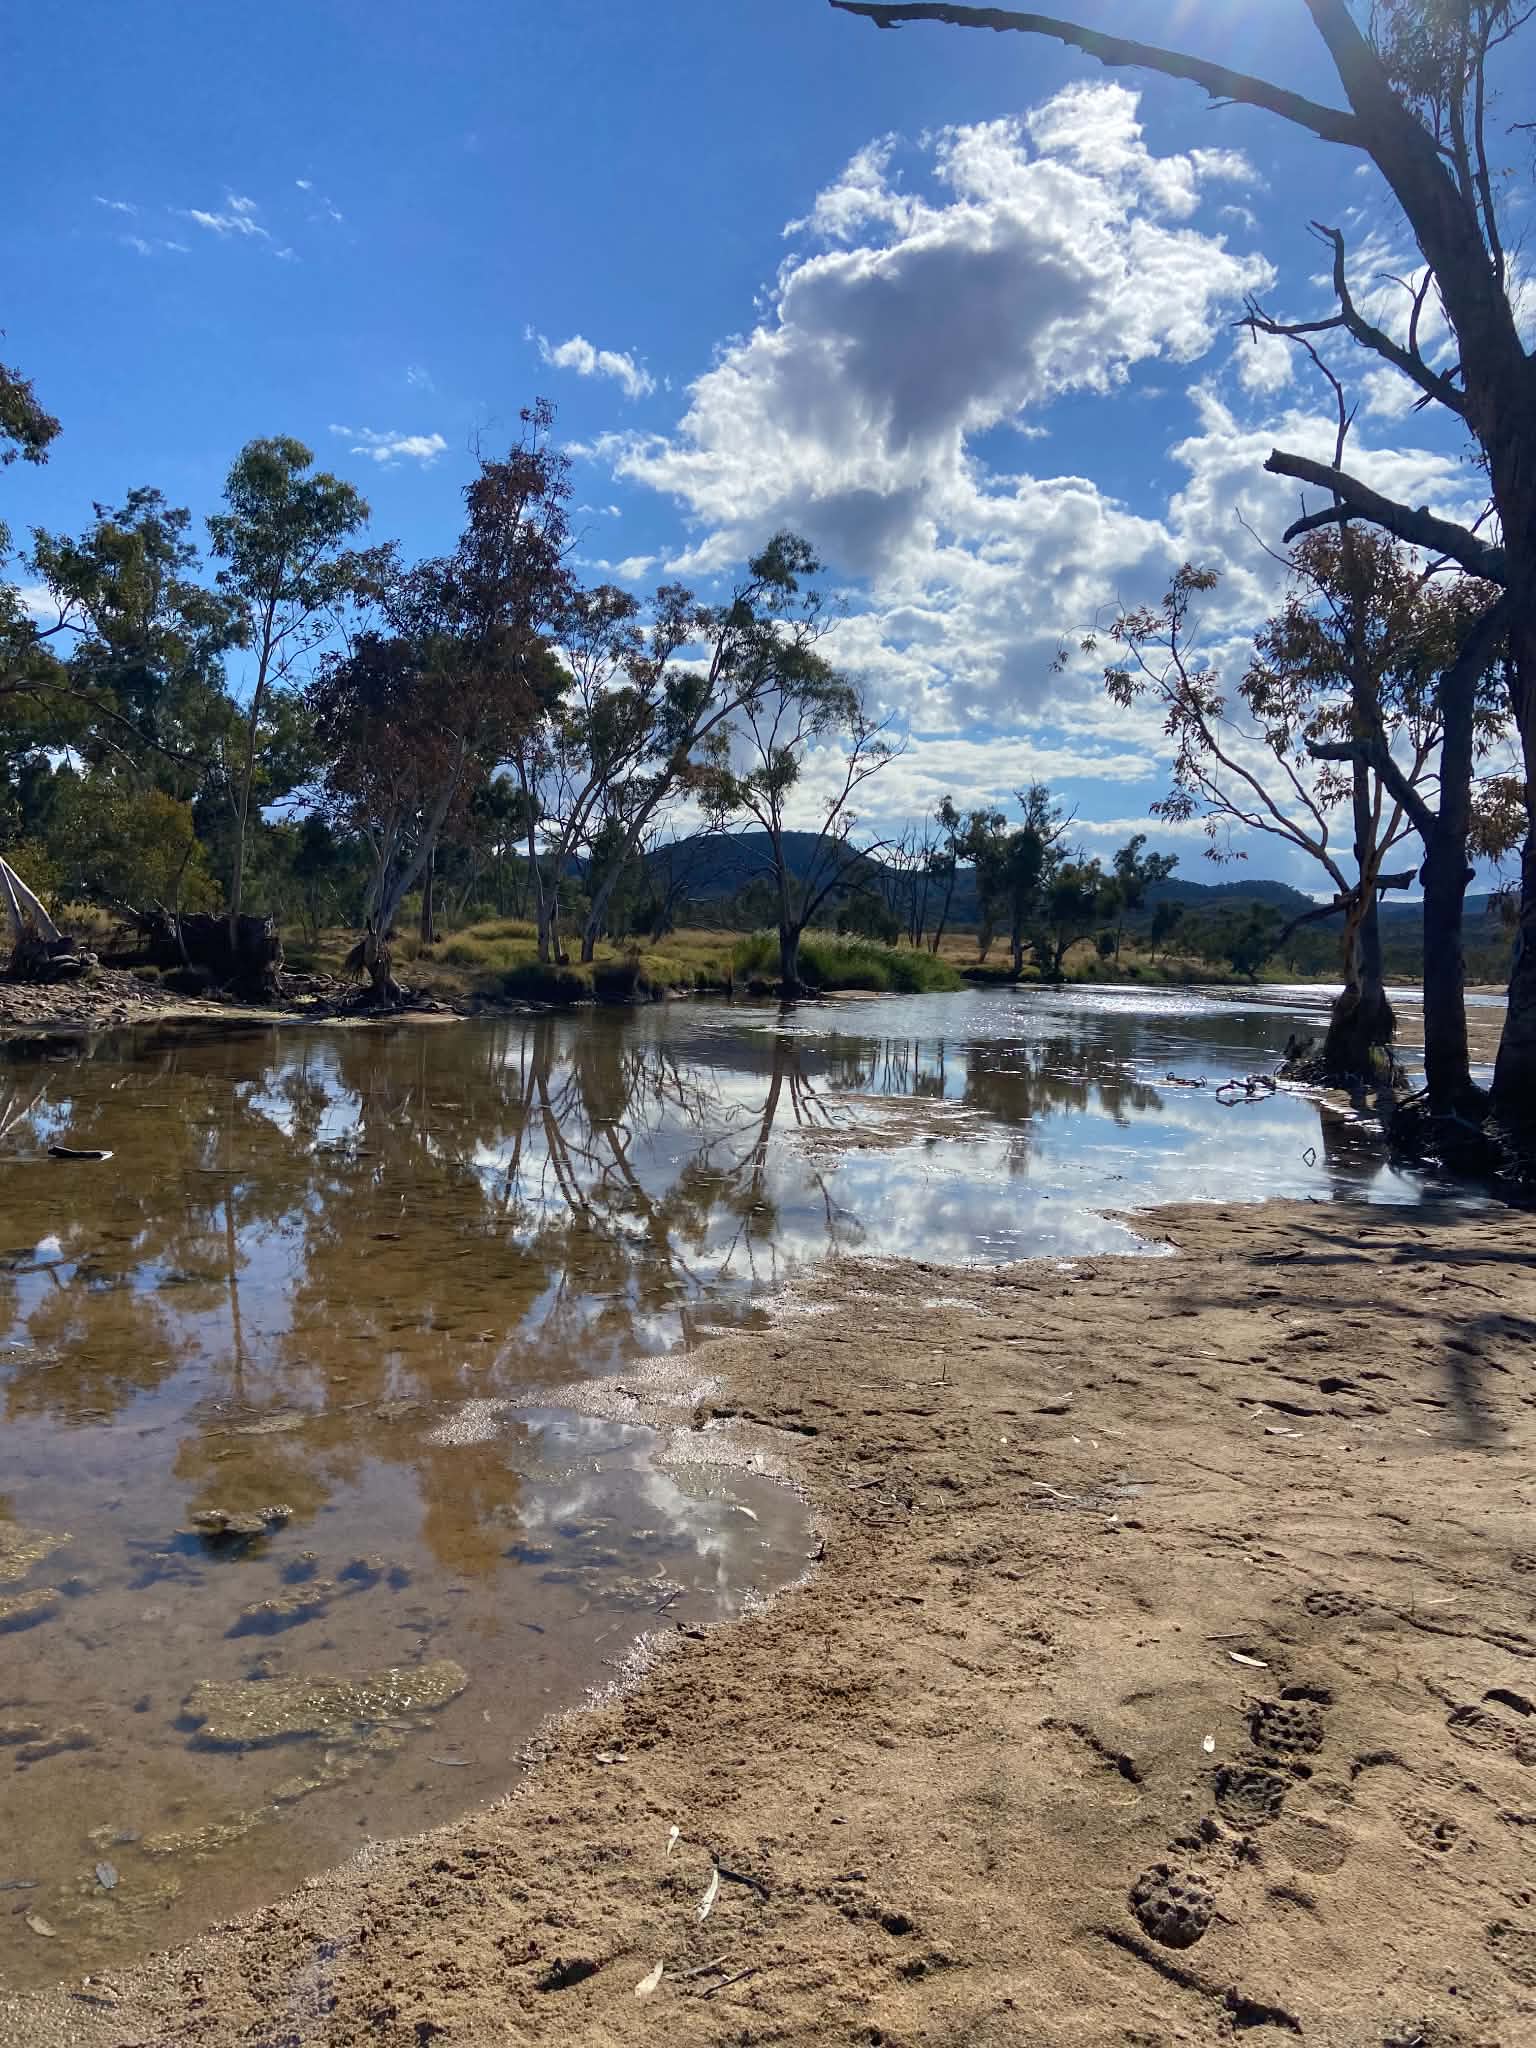
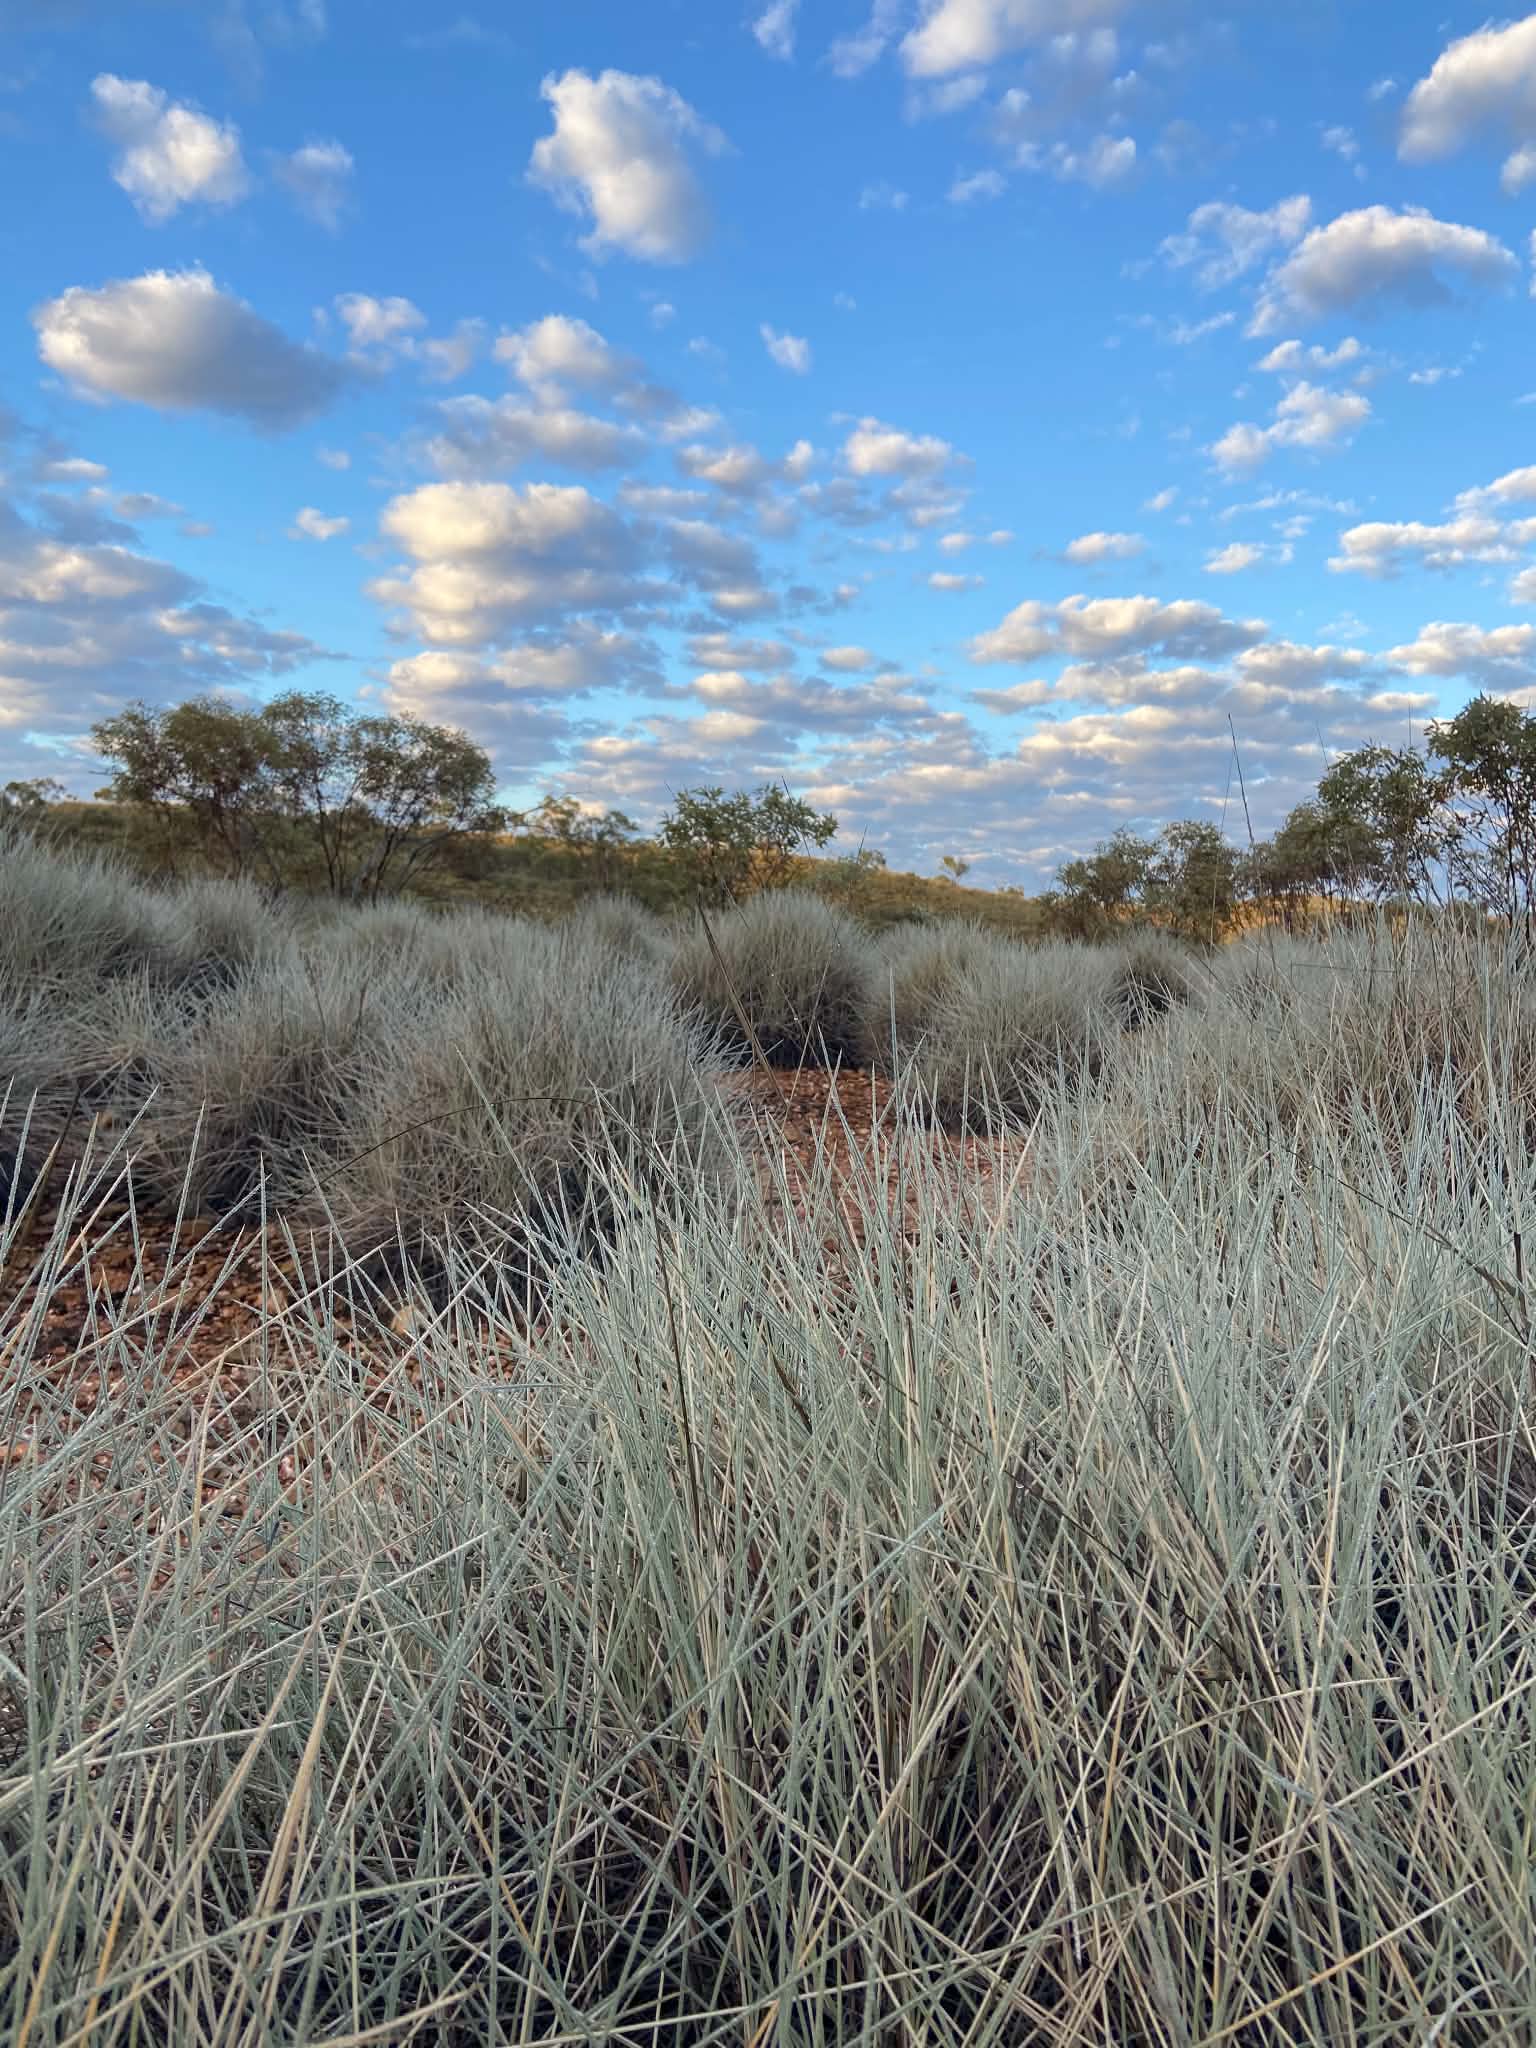
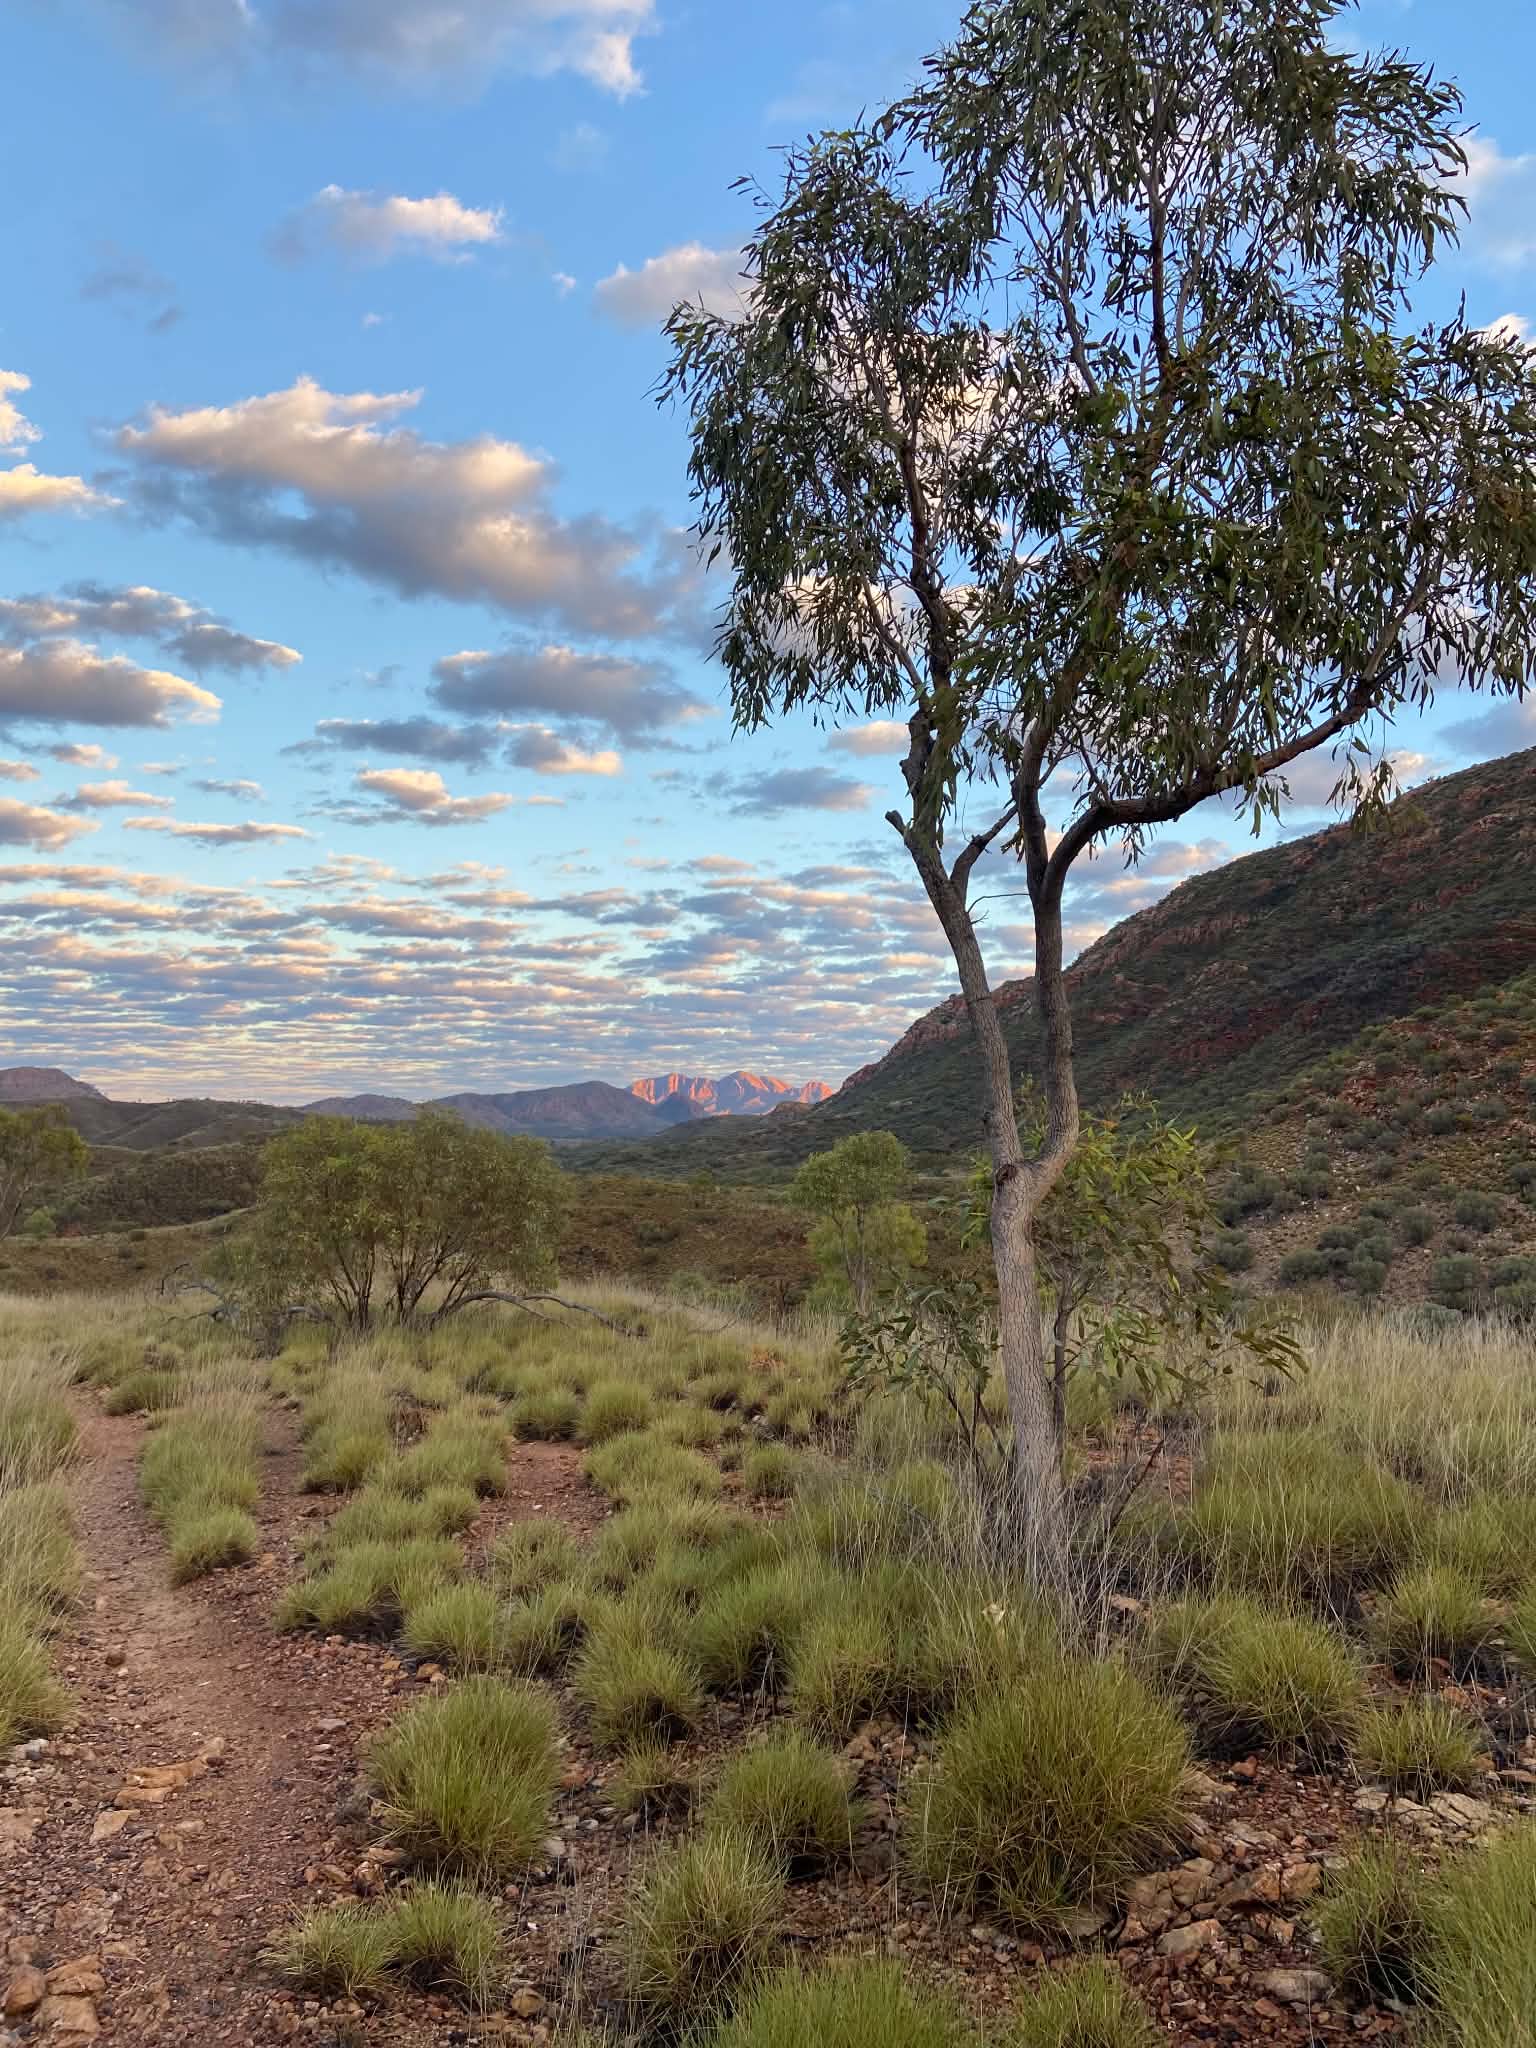
Shortly after leaving Finke River we crossed an ankle-deep creek (in July/August) which was shortly followed by a knee-deep crossing. We enjoyed a swim here before travelling through Mulga forest to the bottom of the range. Here we had another snack for some much needed sugar before attacking the climb. We were again carrying extra water for the high camp, and so the exposed climb was particularly tough. This is a big climb as steep trail zig zags up and around the mountain. We got a fright as we startled a big king brown / Mulga snake just before the summit!
Hilltop Lookout would be one of our top campsites. There are lots of camps along the flat ridge of the mountain, and Mt Sonder standing tall to the West. We were finally reunited with the main group and got to catch up on all the news – the Perth 4 were now the Perth 3 after one went to hospital and had a surgical washout for a blister gone bad, the Victorian 5 had headed home (a few kilometers shy from where they had planned to exit), the Sydney girls were suffering from plantar fasciitis and had also celebrated a birthday. We all made dinner together as we watched the sun set behind Mt Sonder and reflected on our final days of walking ahead.
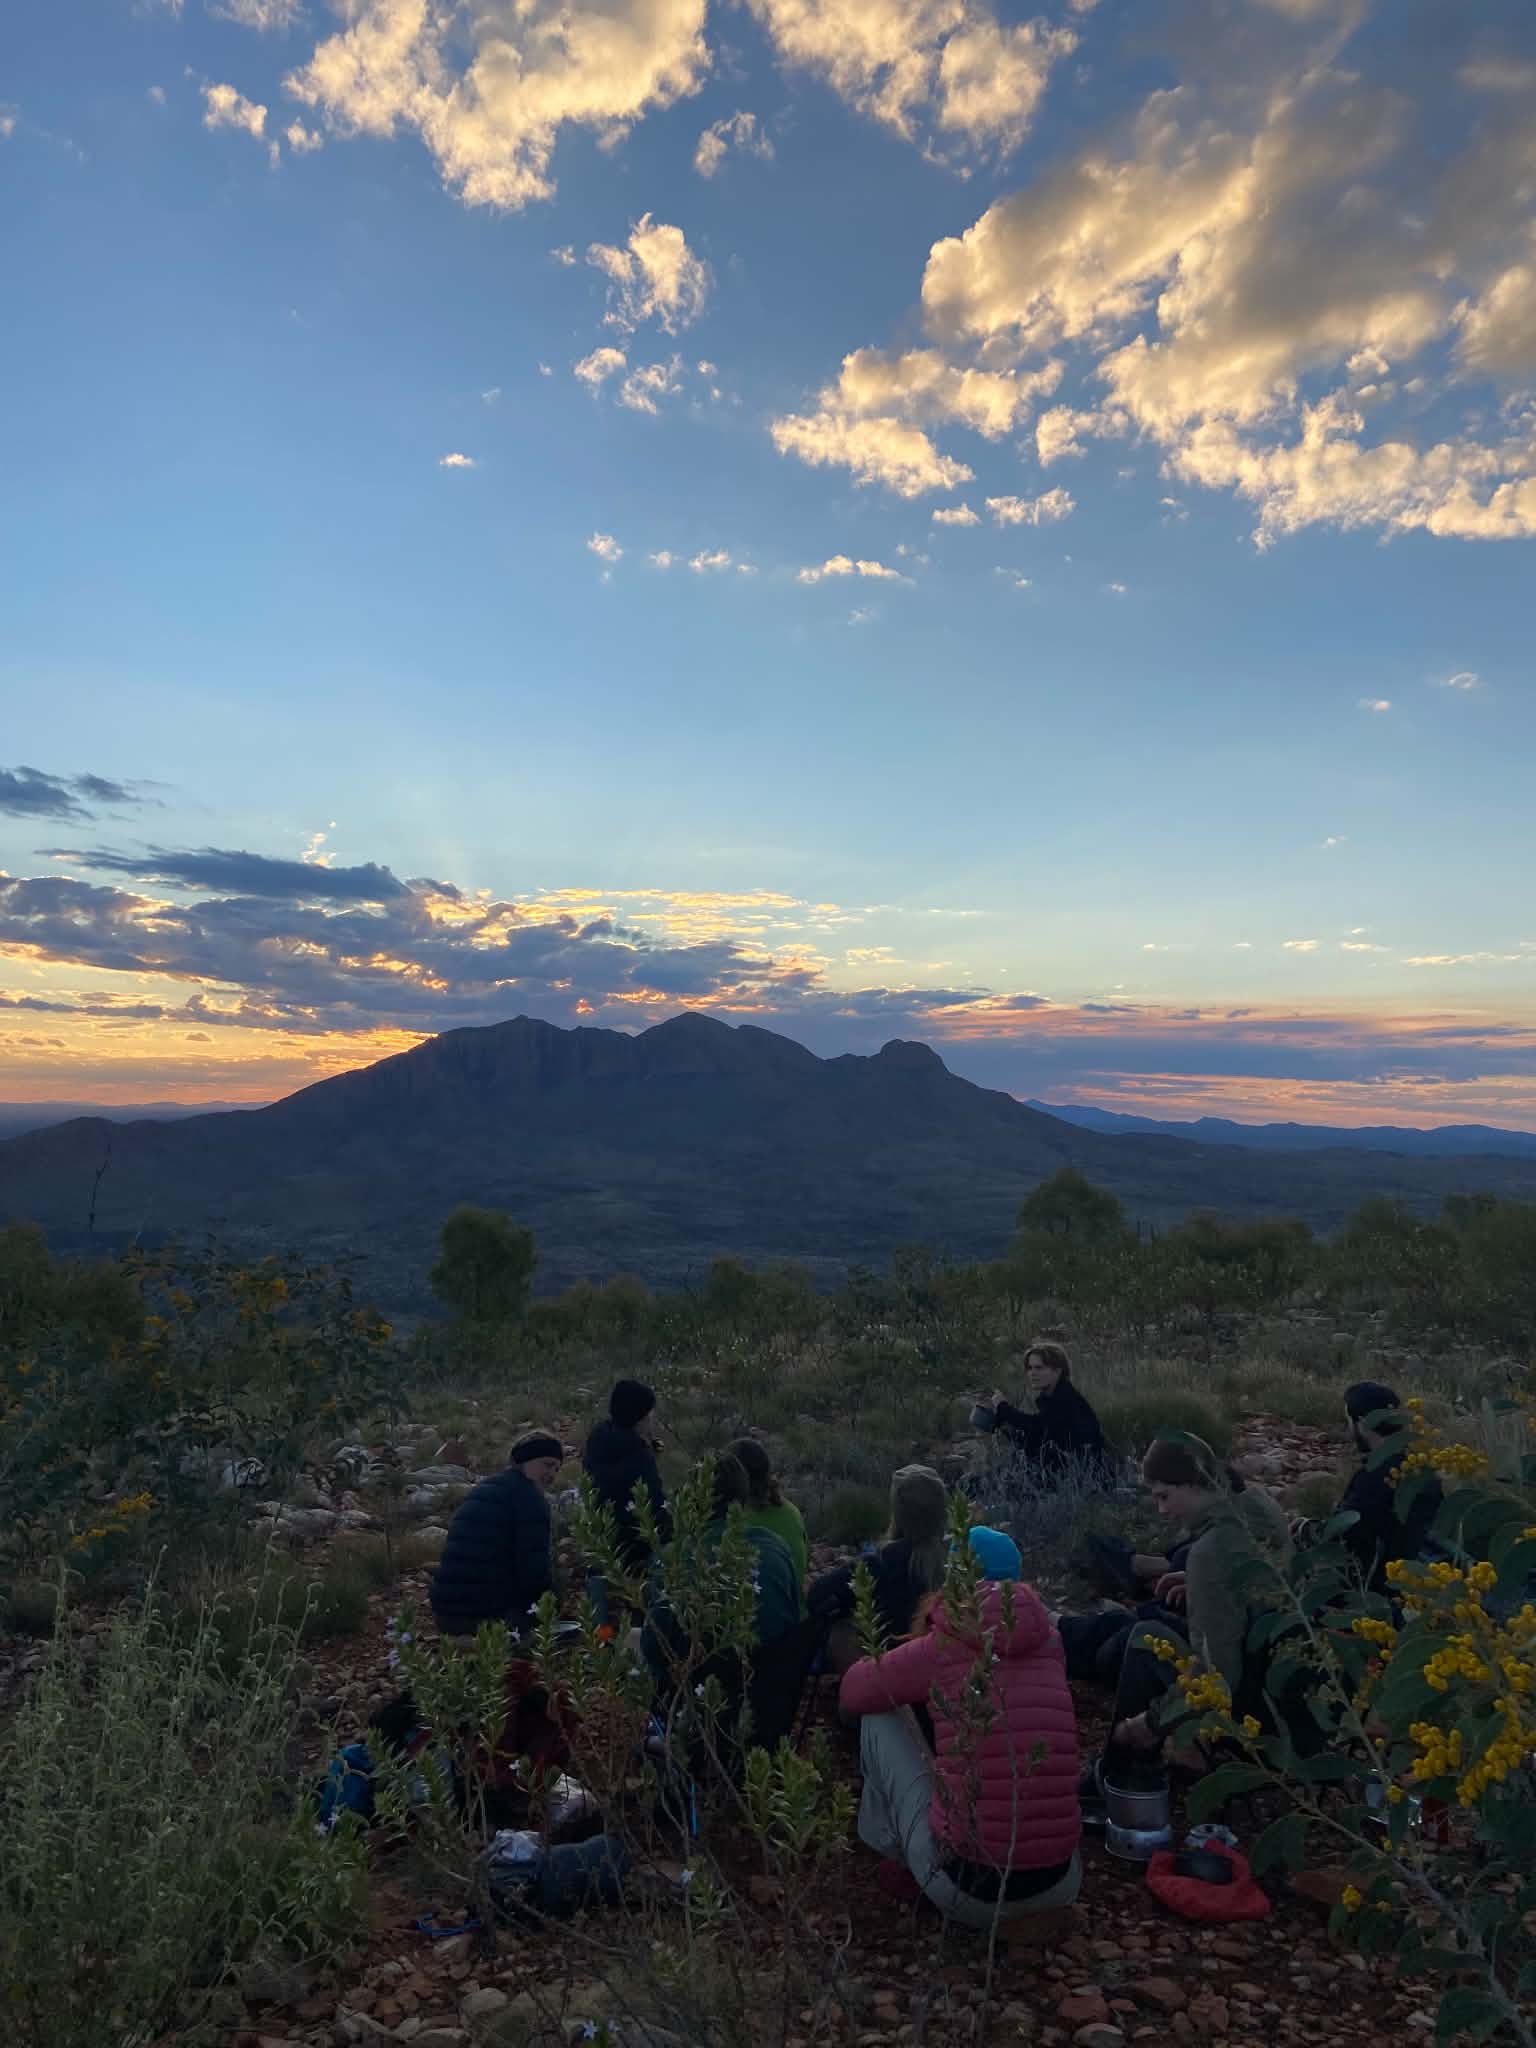
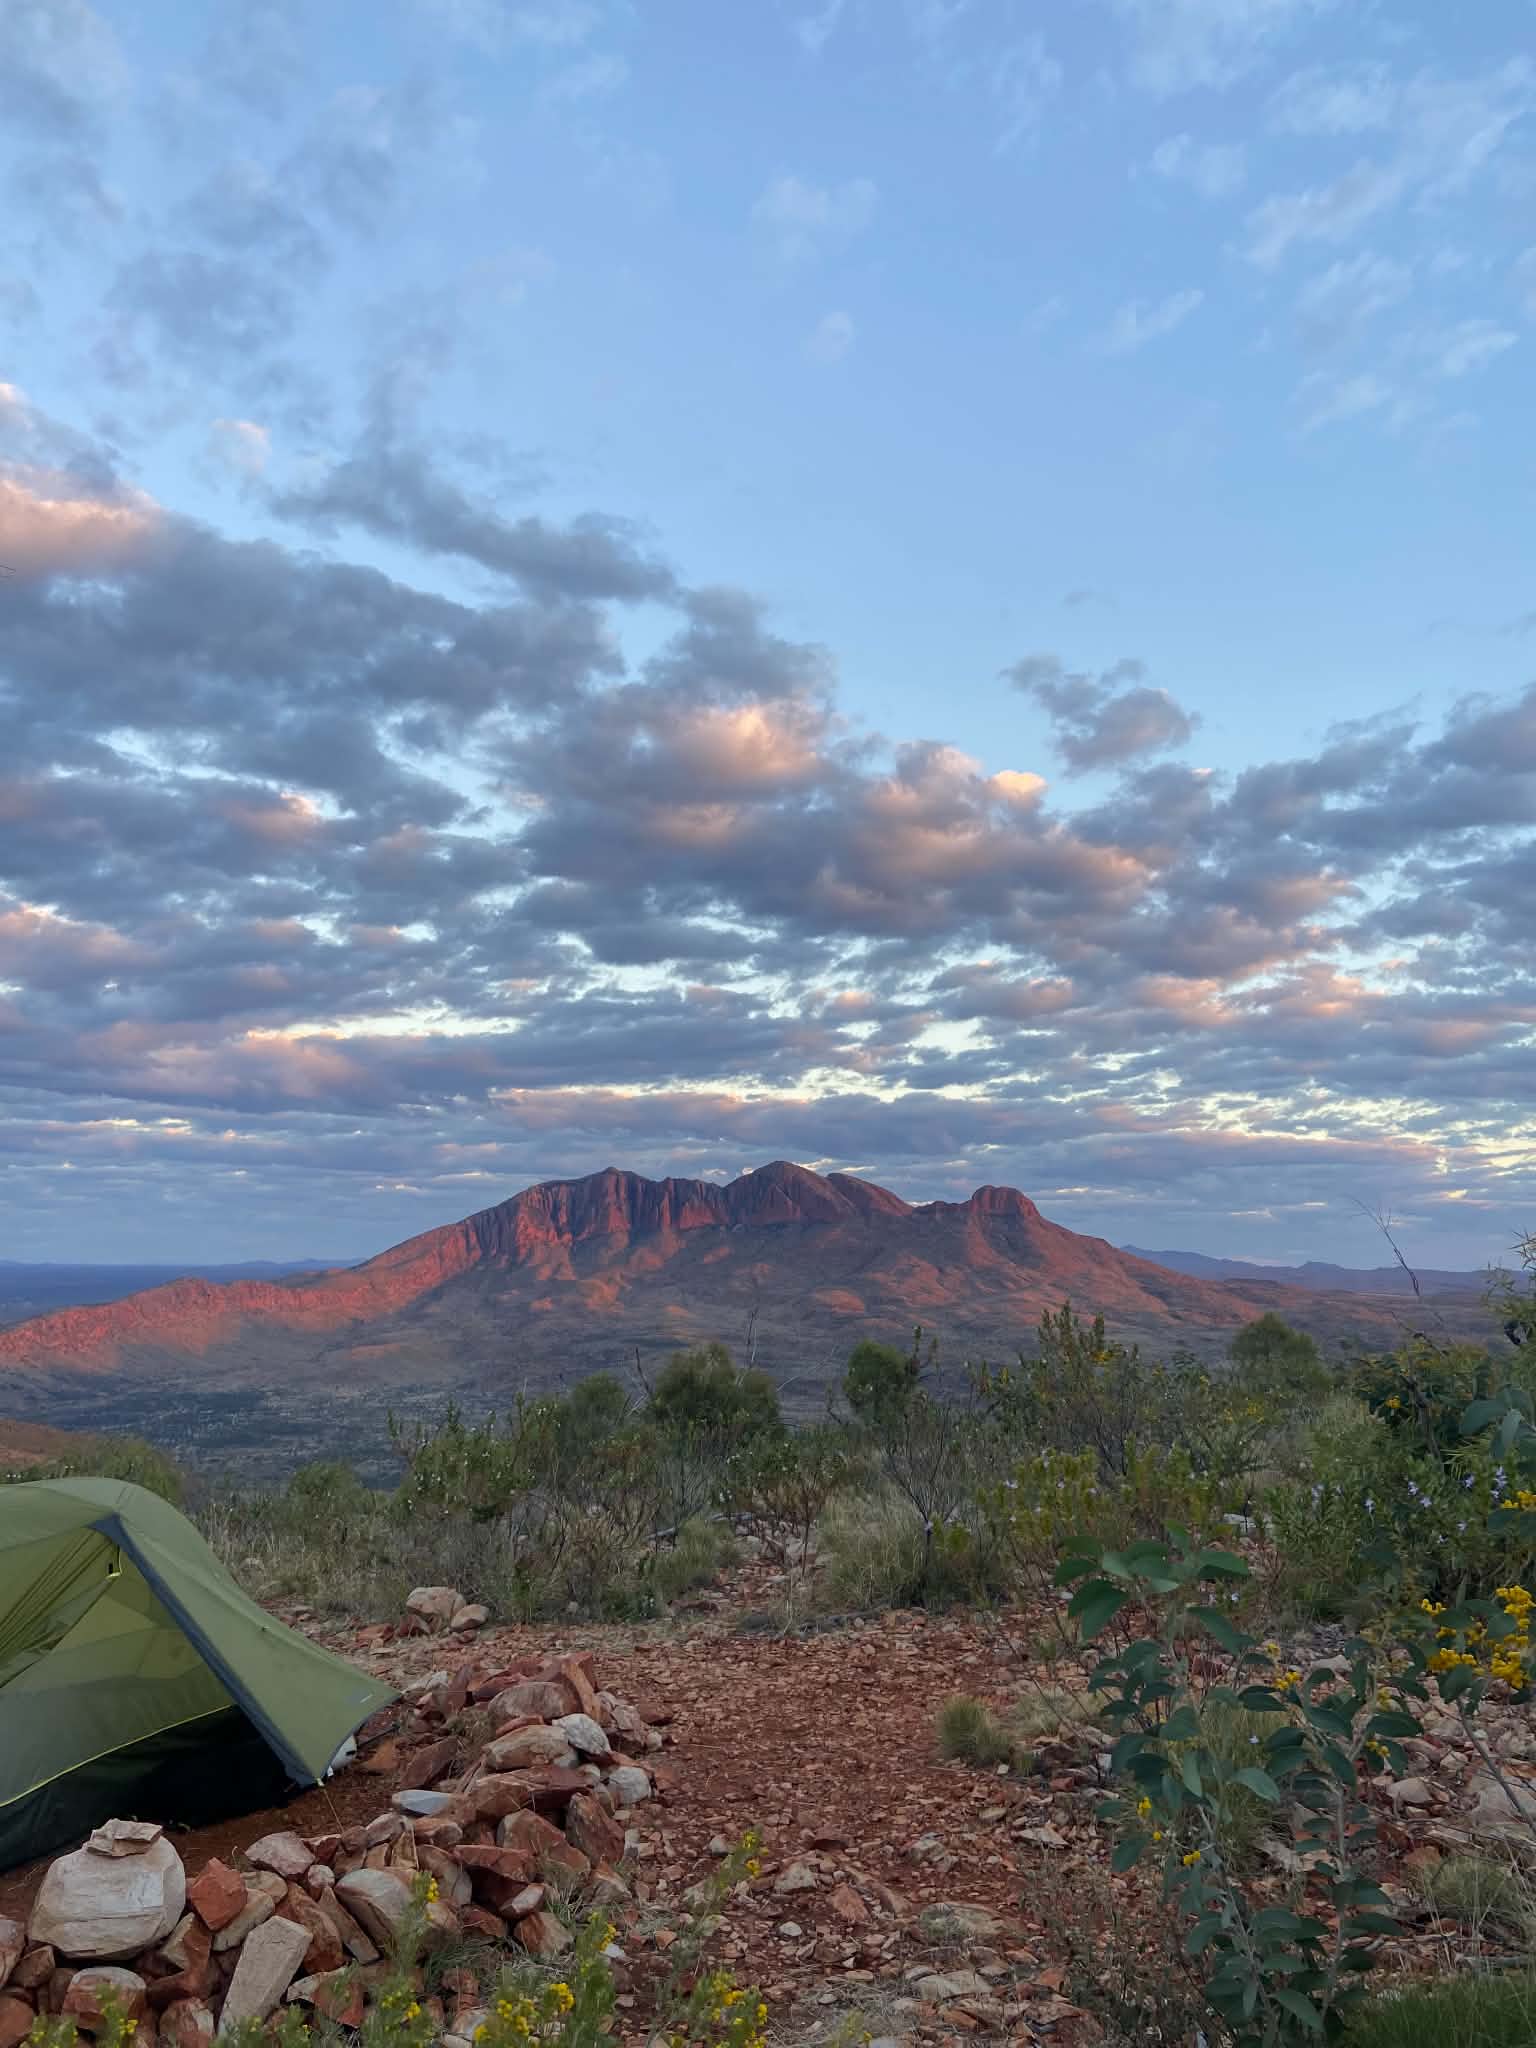
Of note, Hilltop was one of the busiest campsites. We watched in solidarity as a weary group of 4 arrived after the sun had set and all the campsites were gone. They’d done Mt Sonder for sunrise, so they’d had a particularly long day and didn’t take the news of no camps very well as they continued on to find a camp on the mountain descent.
Peaks & Pits:
Peak: Sunset at Hilltop
Pit: Tough climb in the heat
Day 14: Hilltop to Redbank Gorge
Distance: 15.1km (15.9km as per Garmin)
Duration: 5hrs (including breaks)
Highlights: Views of Mt Sonder, Redbank Gorge
Spirits were high on what felt like our unofficial last day of hiking (with packs). We watched an incredible sunrise before starting the descent to the valley below. The descent has some steep sections, but by this point nothing felt hard compared to the past fortnight. At the bottom we followed a creek through a small gorge and soon arrived at Rocky Bar Gap campsite. If you’re travelling the opposite direction, I would strongly encourage you to try and make it up to Hilltop for camp instead of Rocky Bar Gap. The campsite is fine but Hilltop is maybe a million times better if you have the time and energy for the climb. There was quite a queue for the loo at Rocky Bar Gap after no bathrooms at Hilltop and very limited privacy on the mountainside.
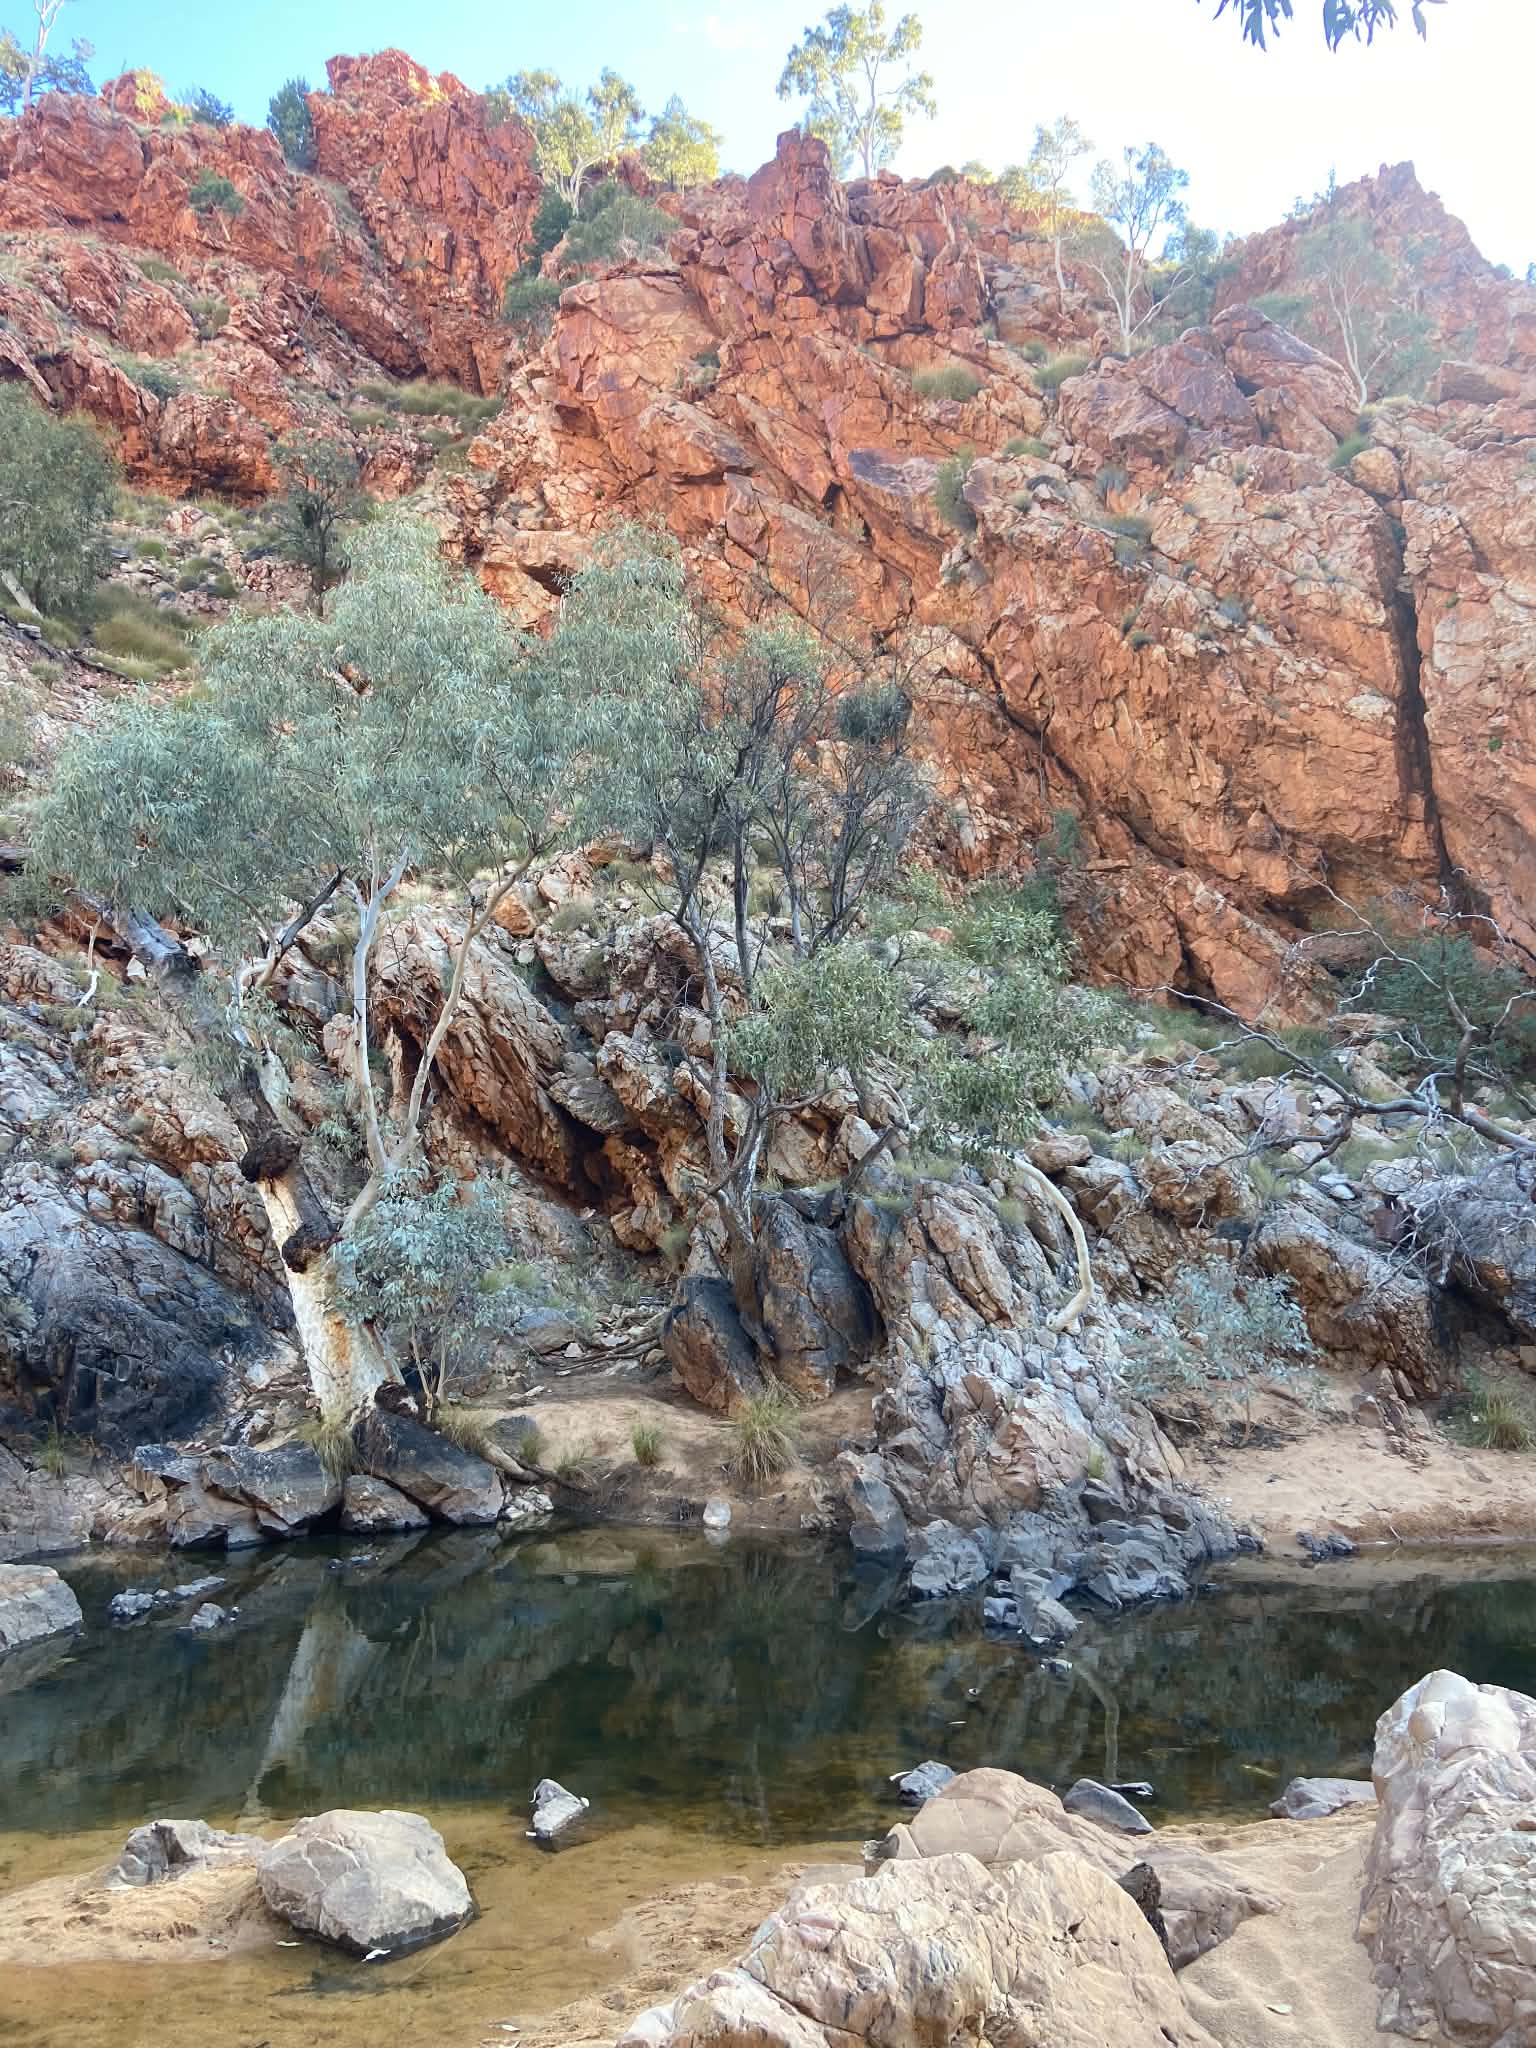
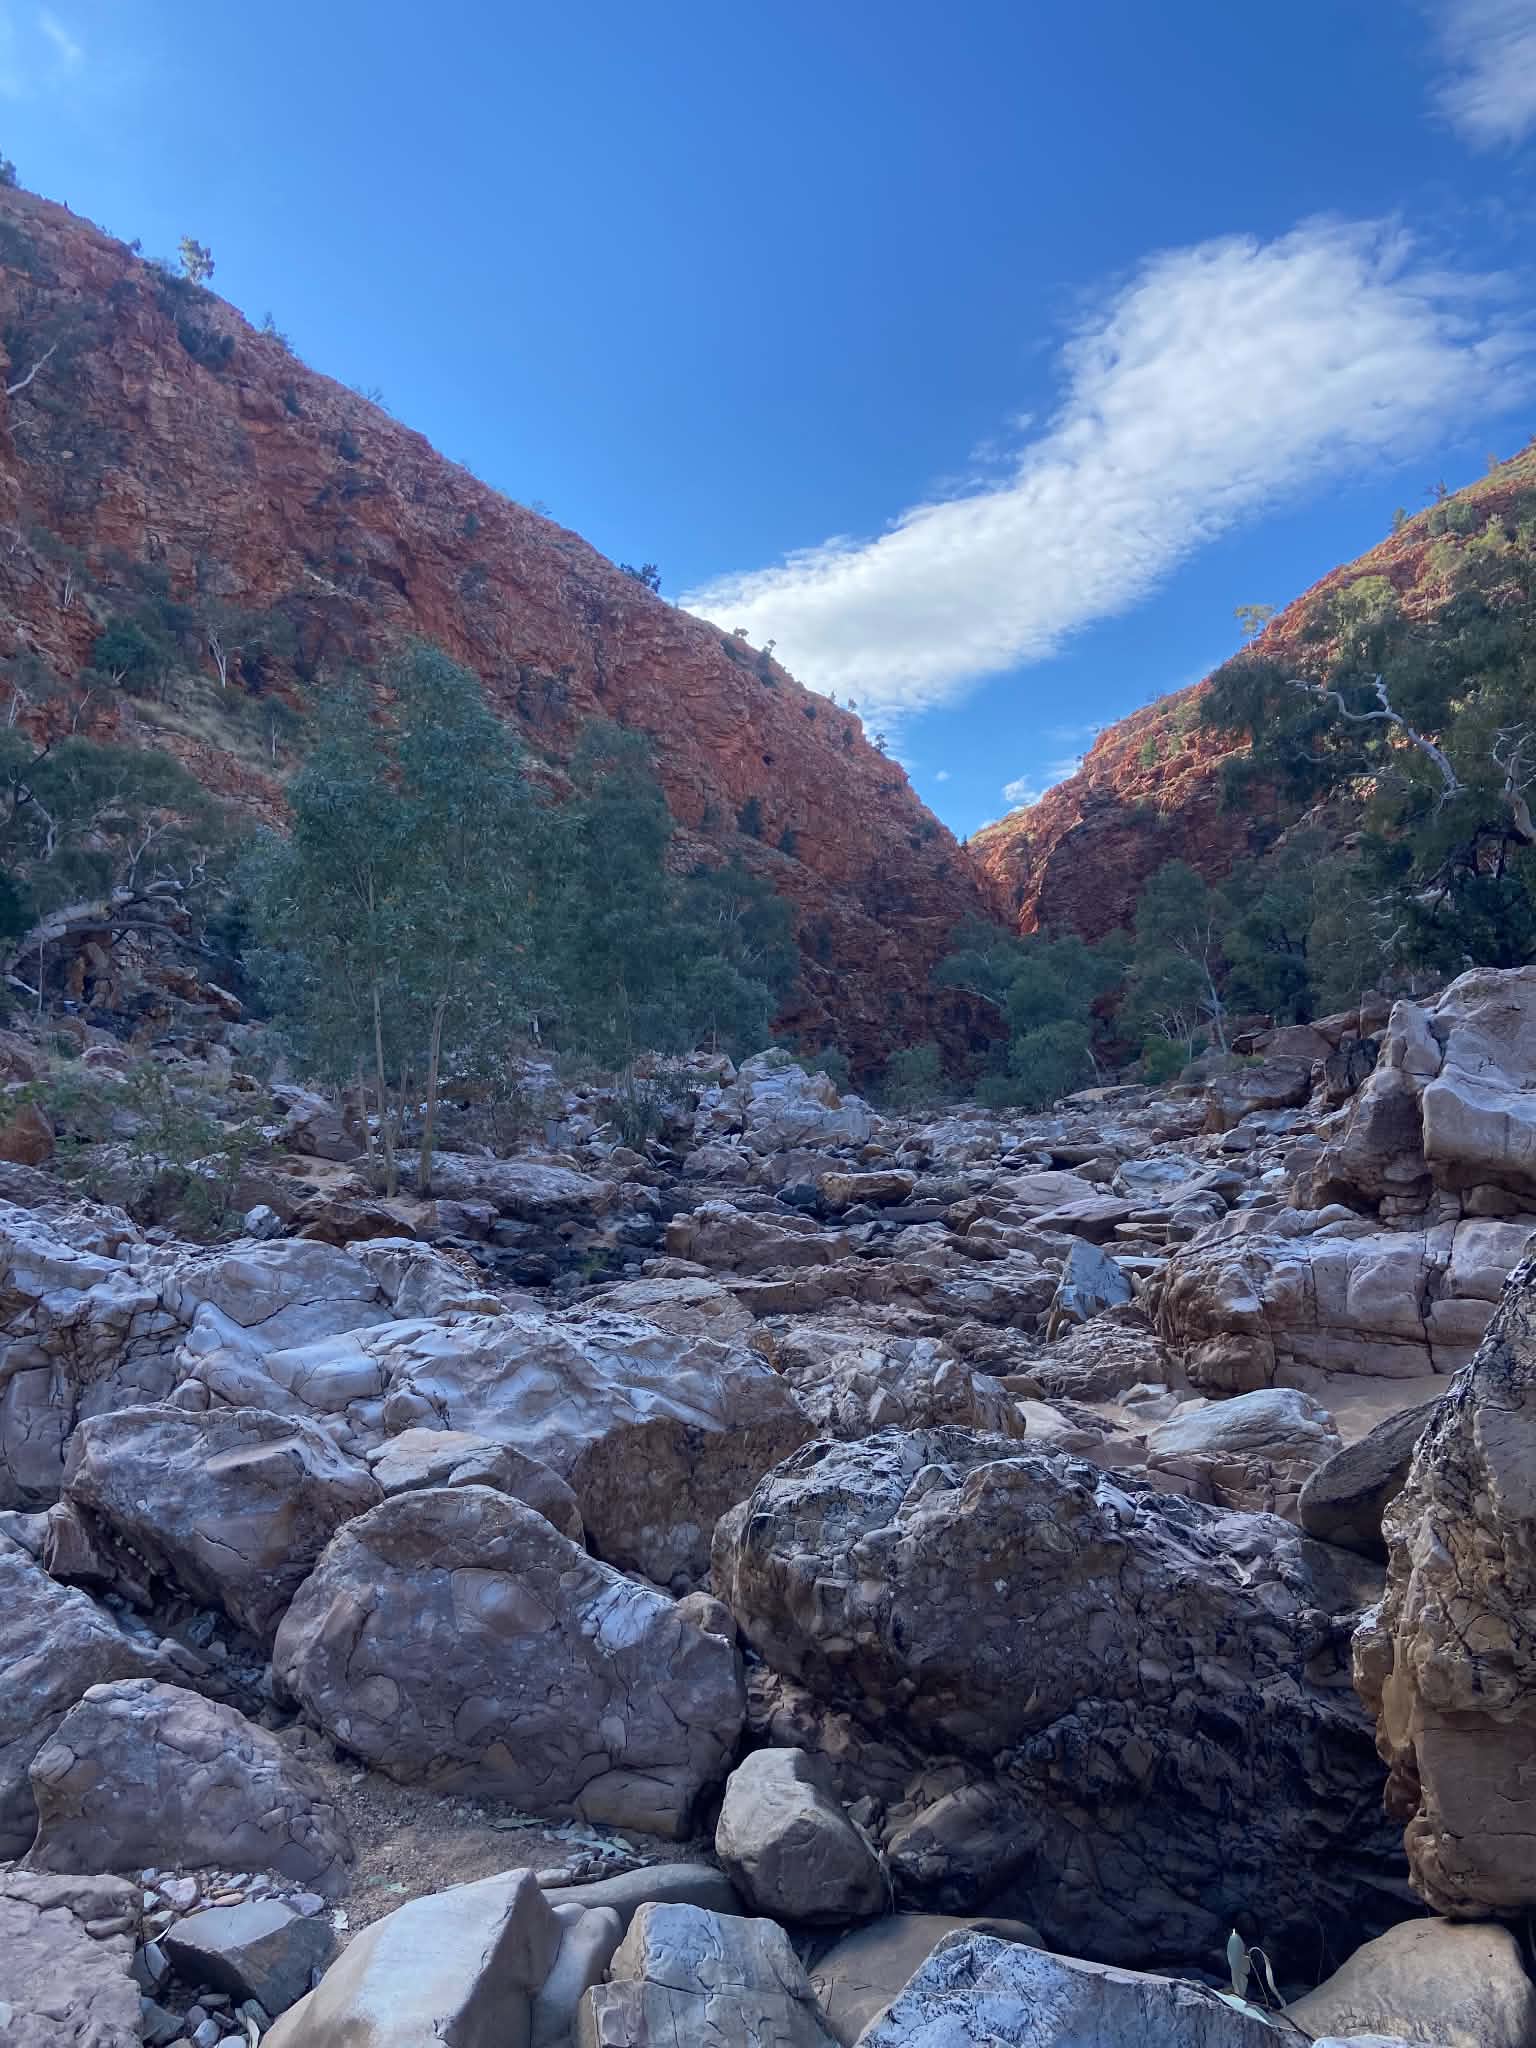
We found this day to be a bit of a slog. It was hot, exposed and steady walking. Most of the day is either Mulga forest or exposed sections with spinifex. On the upside, there are views of Mt Sonder for a lot of the day and it’s exciting to see it get closer and closer. Eventually we came to Redbank Gorge and were fortunate enough to snag a campsite. Again, there were not nearly enough campsites for the number of people and it was worthwhile arriving early. Some people chose to do Mt Sonder for sunset that afternoon, but we opted to do sunrise the following day. We played cards with our hiking buddies and enjoyed our final dinner before an early bed.
Peaks & Pits:
Peak: Arriving at our final camp!
Pit: Painful feet
Day 15: Mt Sonder return
Distance: 15.8km
Duration: 5hrs (including breaks)
Highlights: Mt Sonder
After an epic couple of weeks we’d made it to Mt Sonder. Some people choose to do Mt Sonder for sunset, but we chose to make it our final challenge and opt for a mountain sunrise. Mt Sonder / Rwetyepme is a big climb at 1380 meters, and is about 15.8km out and back. It’s said to take about up to 6 hours return, but we found it only took us about 4.5 hours of walking with a lot of last day spirit (not including a long pause up the top).
We left camp at about 3:30am (which was way too early, but at least we got a great spot at the summit). We packed warm clothes, sleeping bag liners, breakfast and our stove into a bag to have a cuppa at the summit while waiting for sunrise.
Leaving camp in the dark, we followed the track to begin the climb. It’s an amazing sight to see headlamps zig zagging up the mountain like floating lanterns in the night sky. We were lucky to have a very bright moon, so we did not use our headlamps and actually found the headlamps to be more of a trip hazard as they cast misleading shadows. The climb is constant with some very steep sections, but a refreshing break from walking in the heat. The moon and stars were incredible, and we loved walking and listening to the sounds of the desert night.
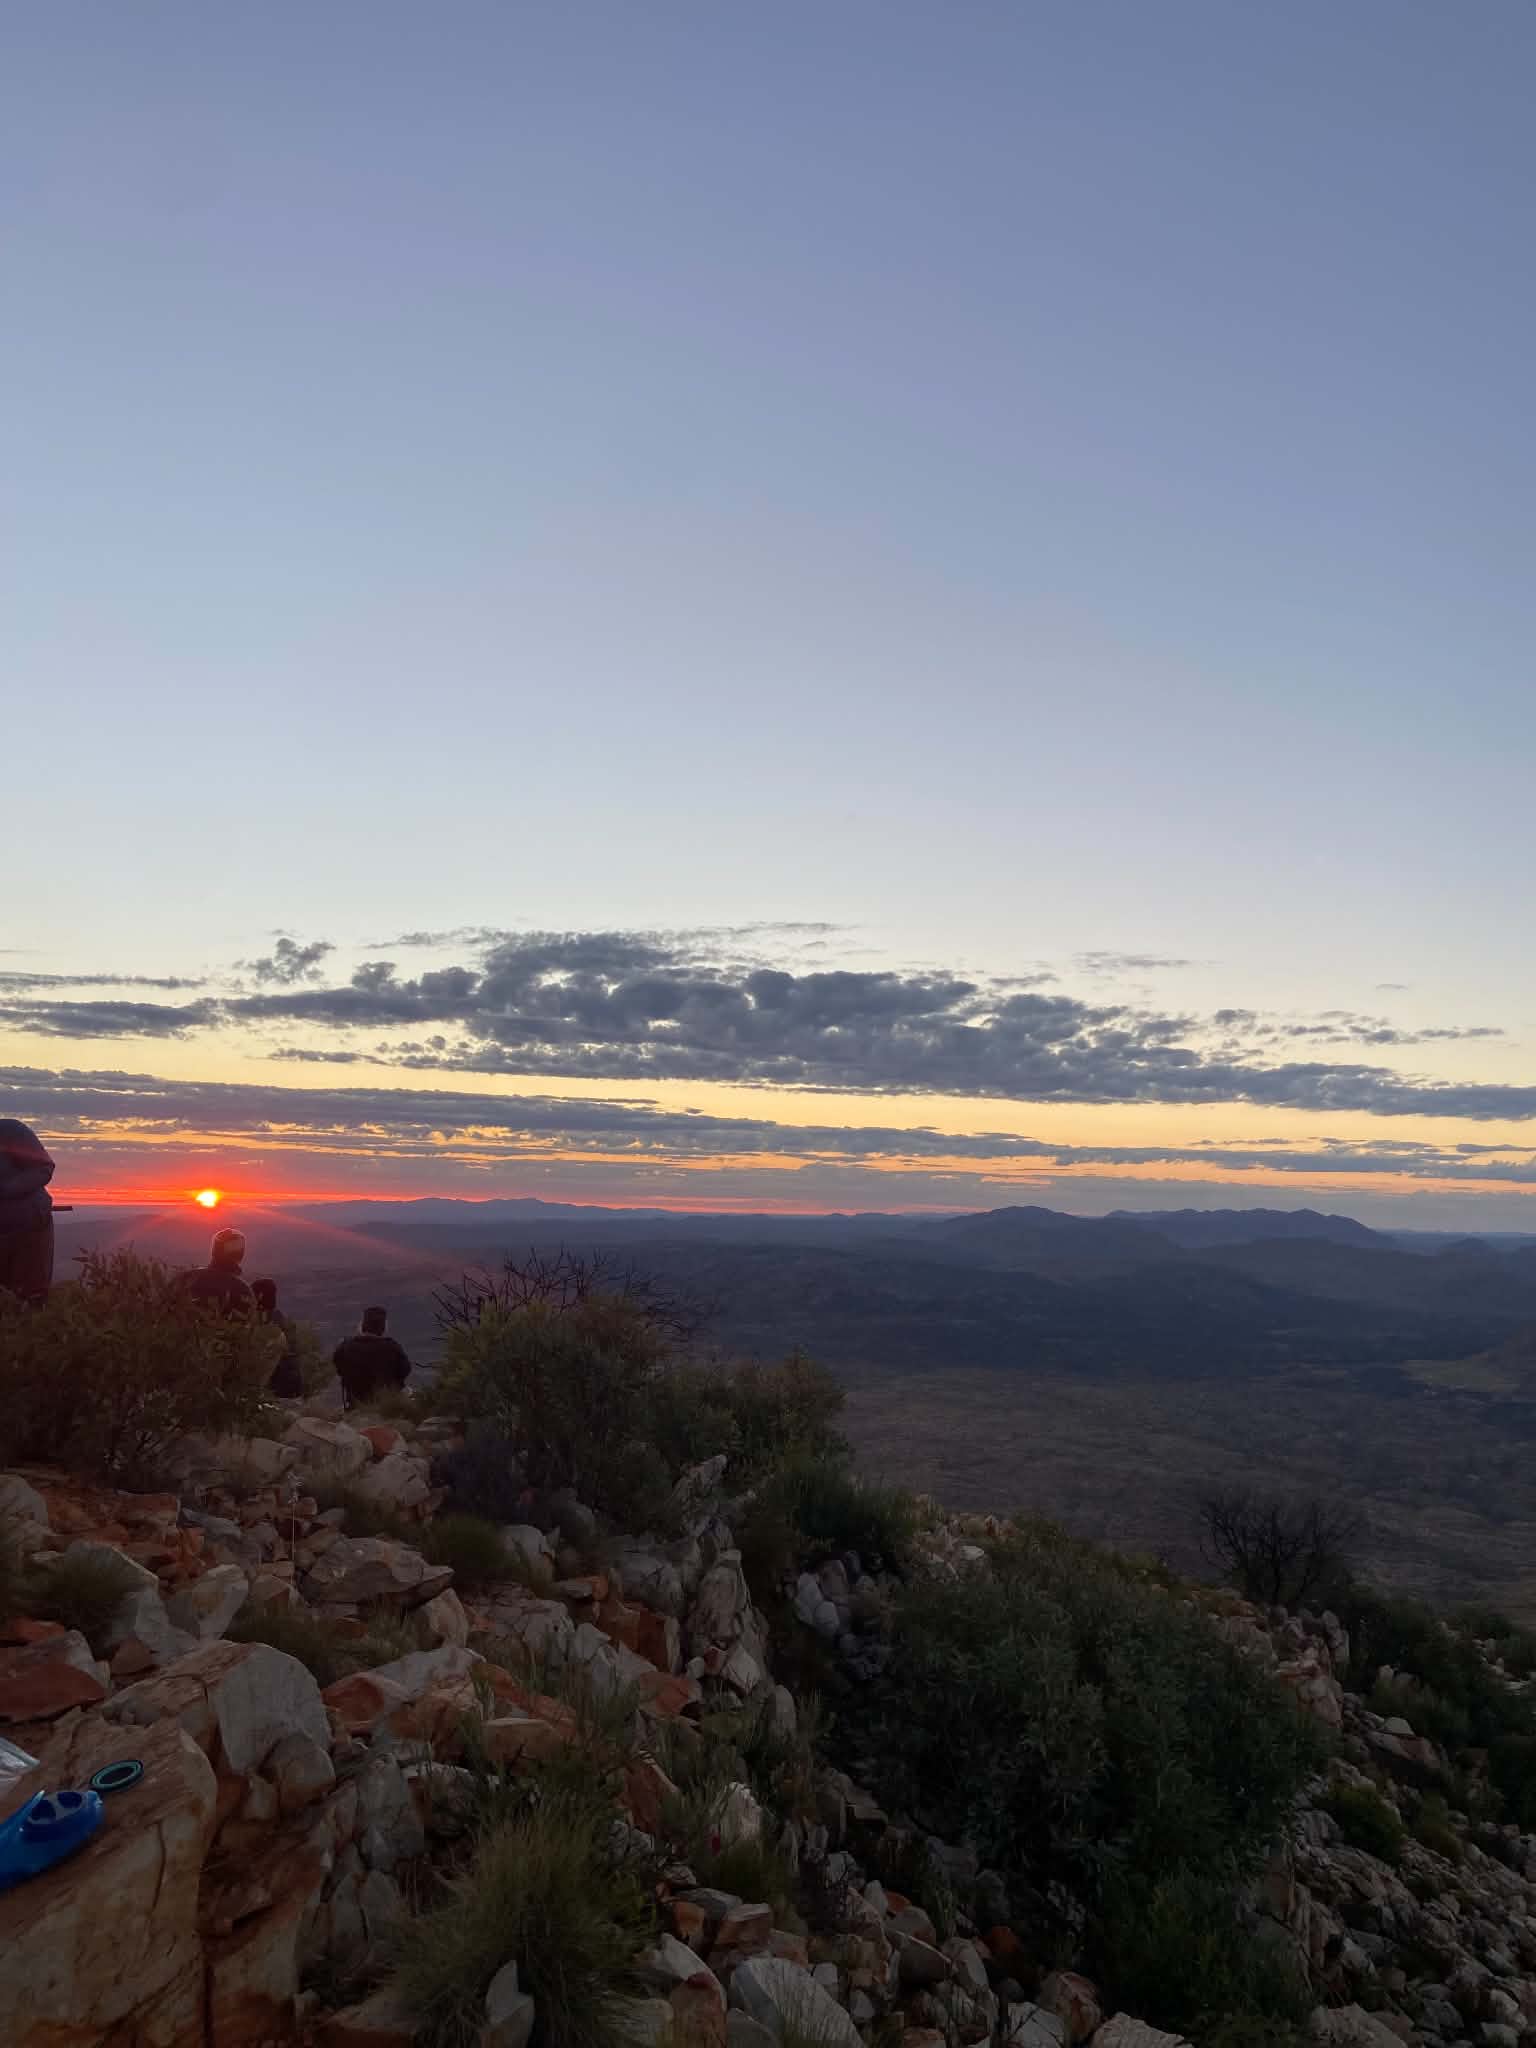
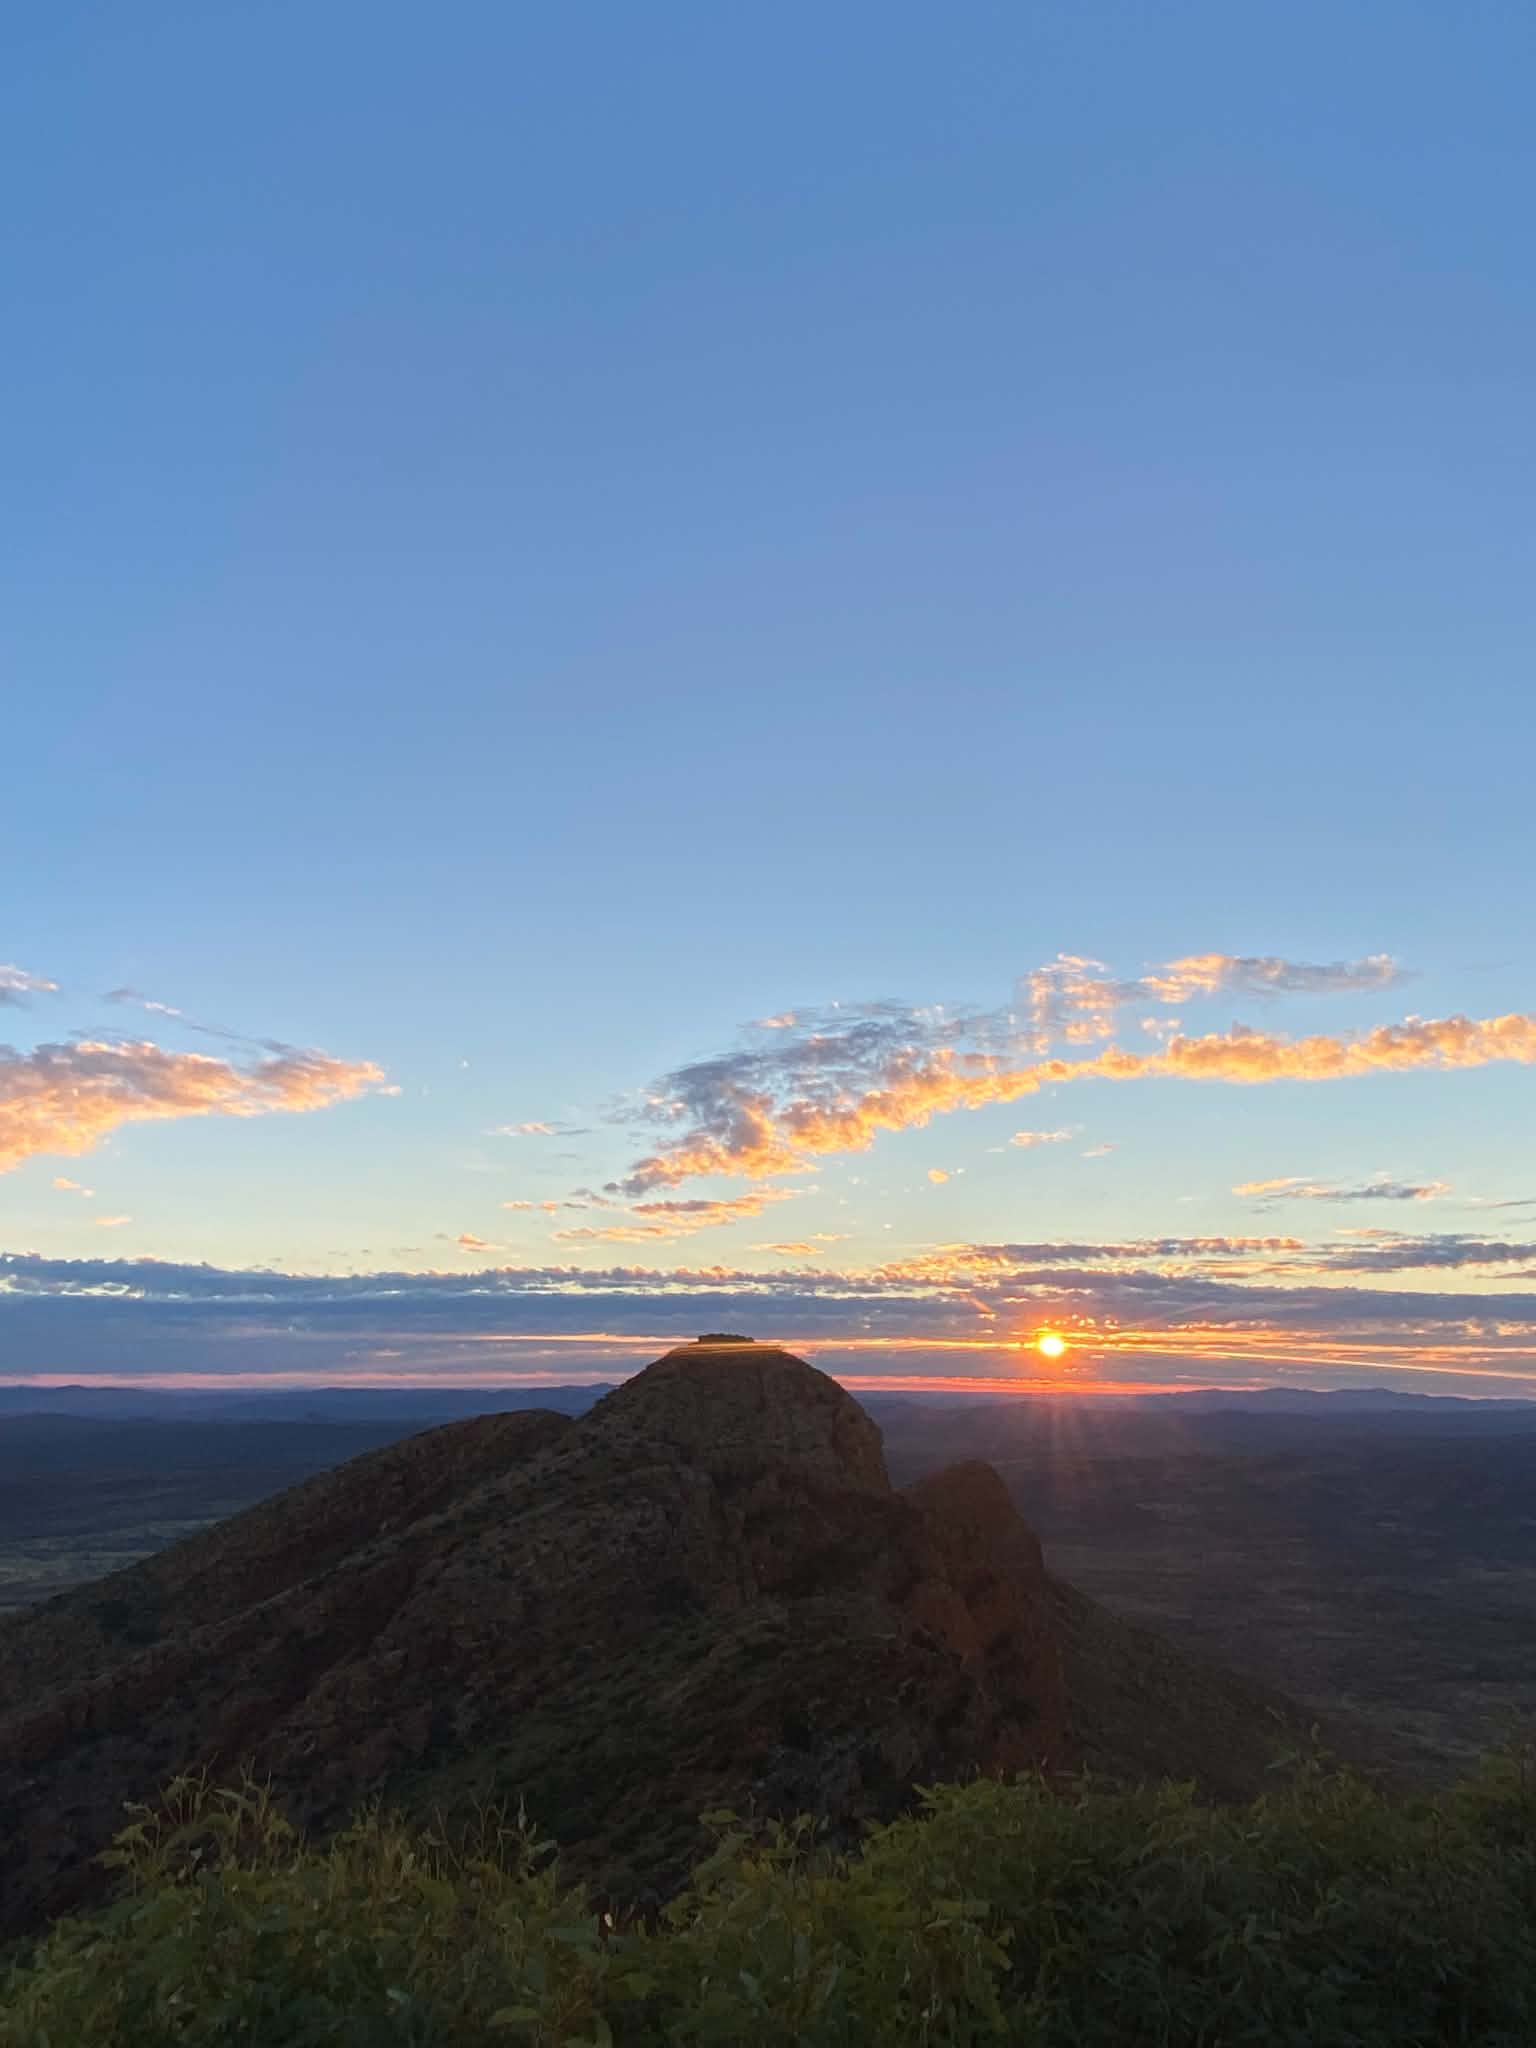
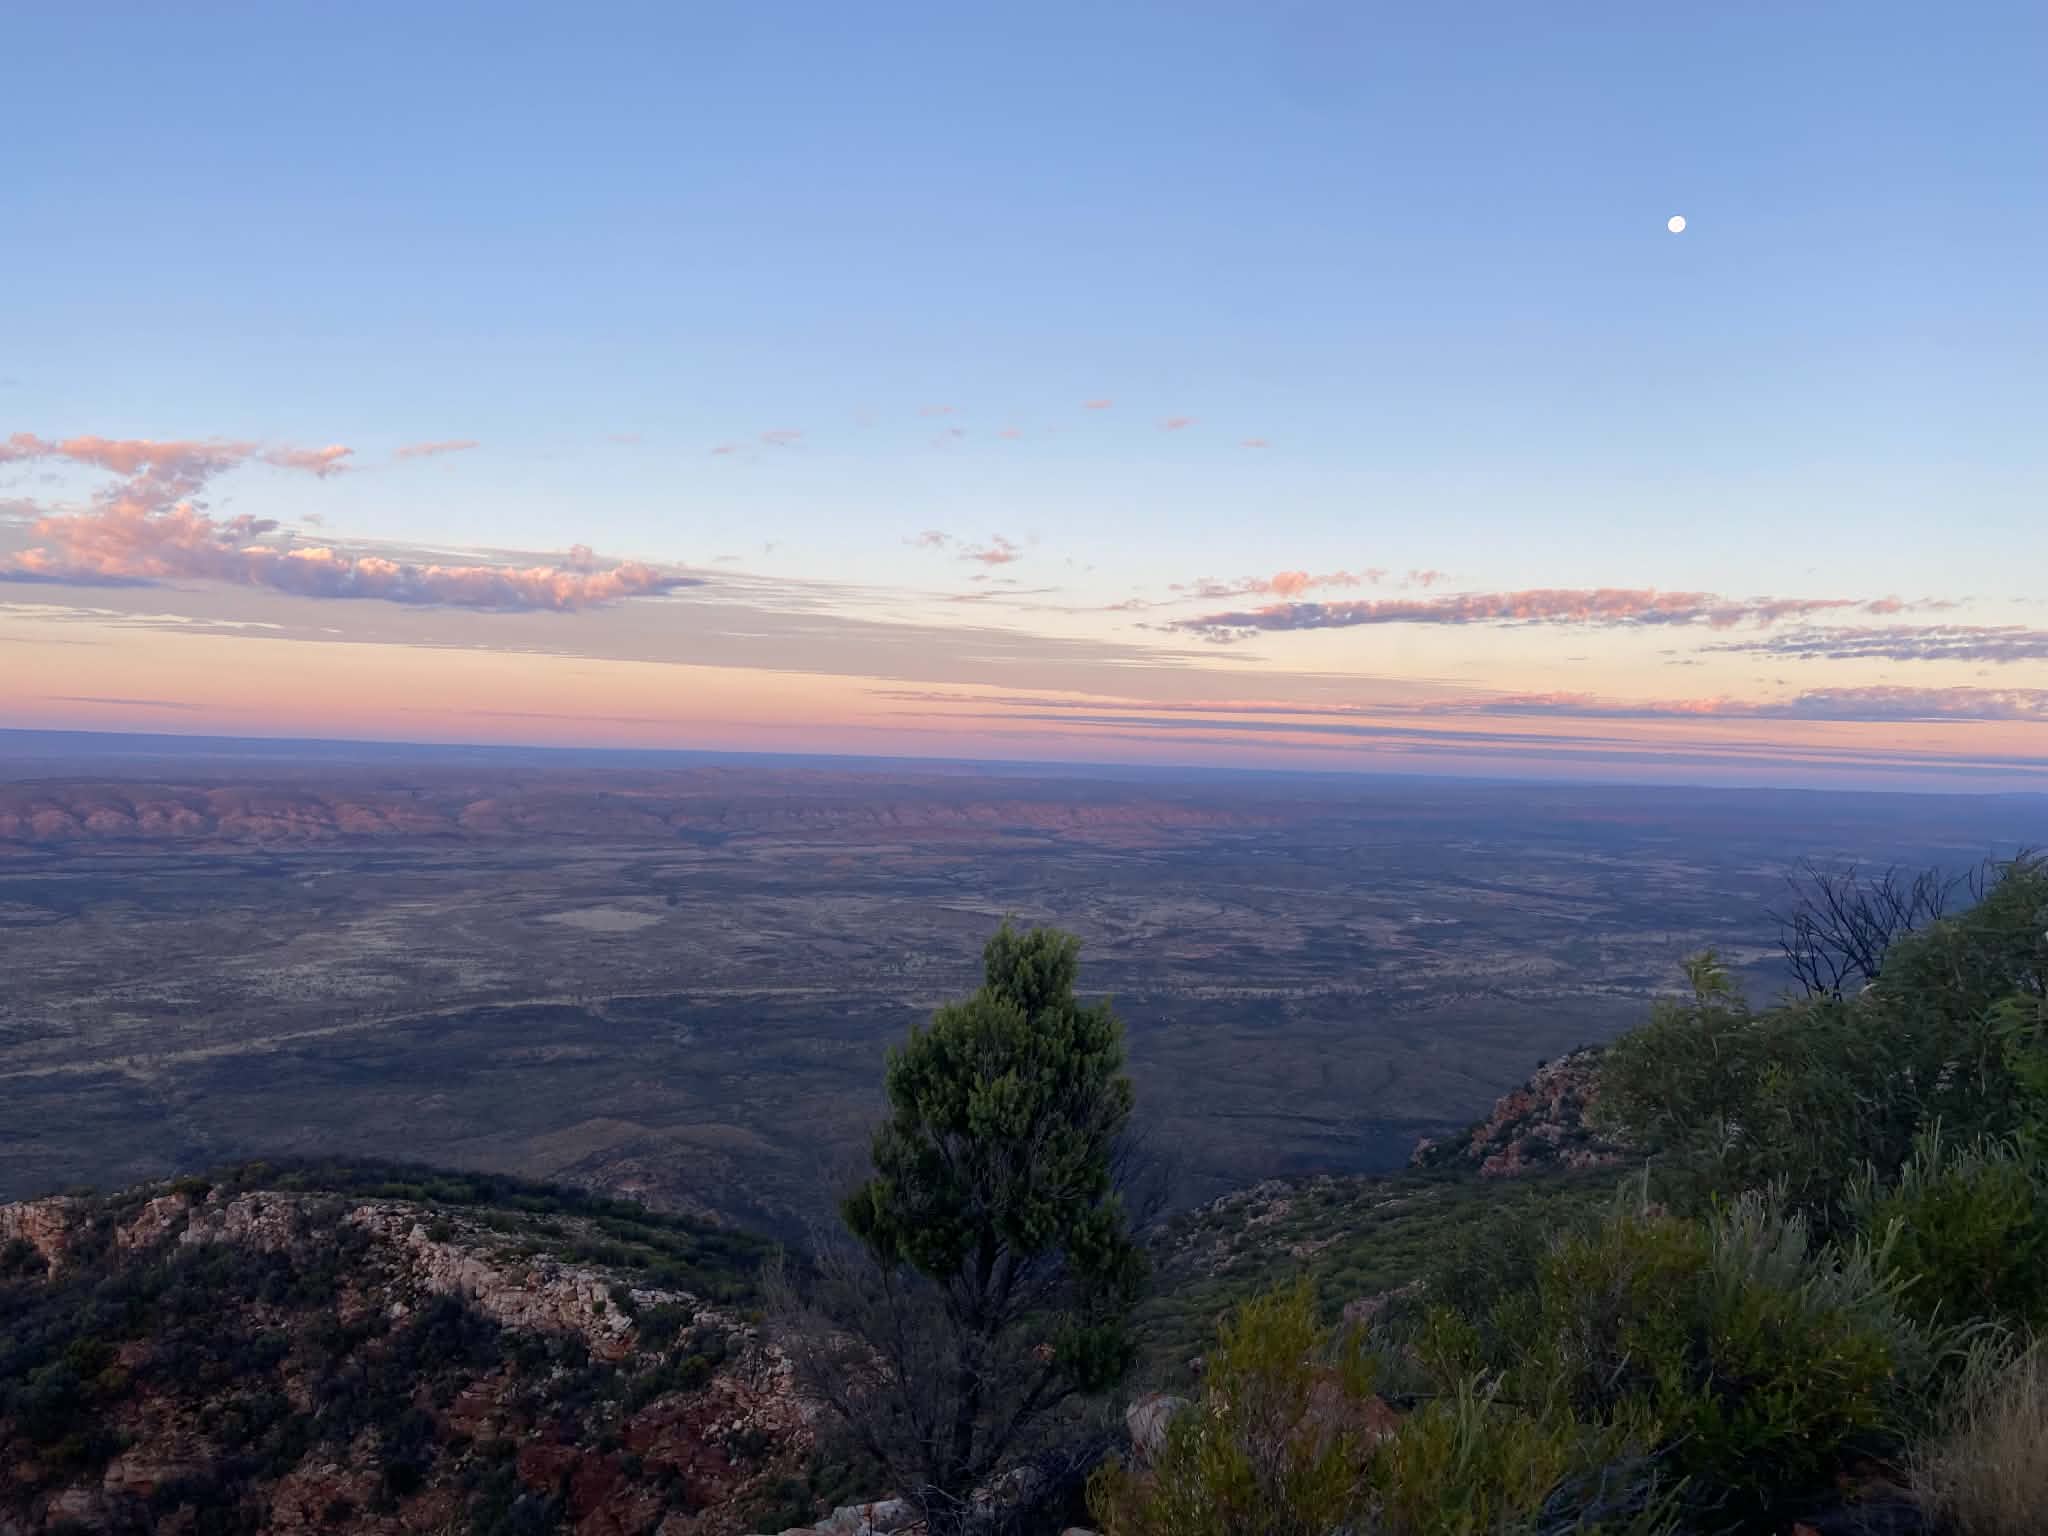
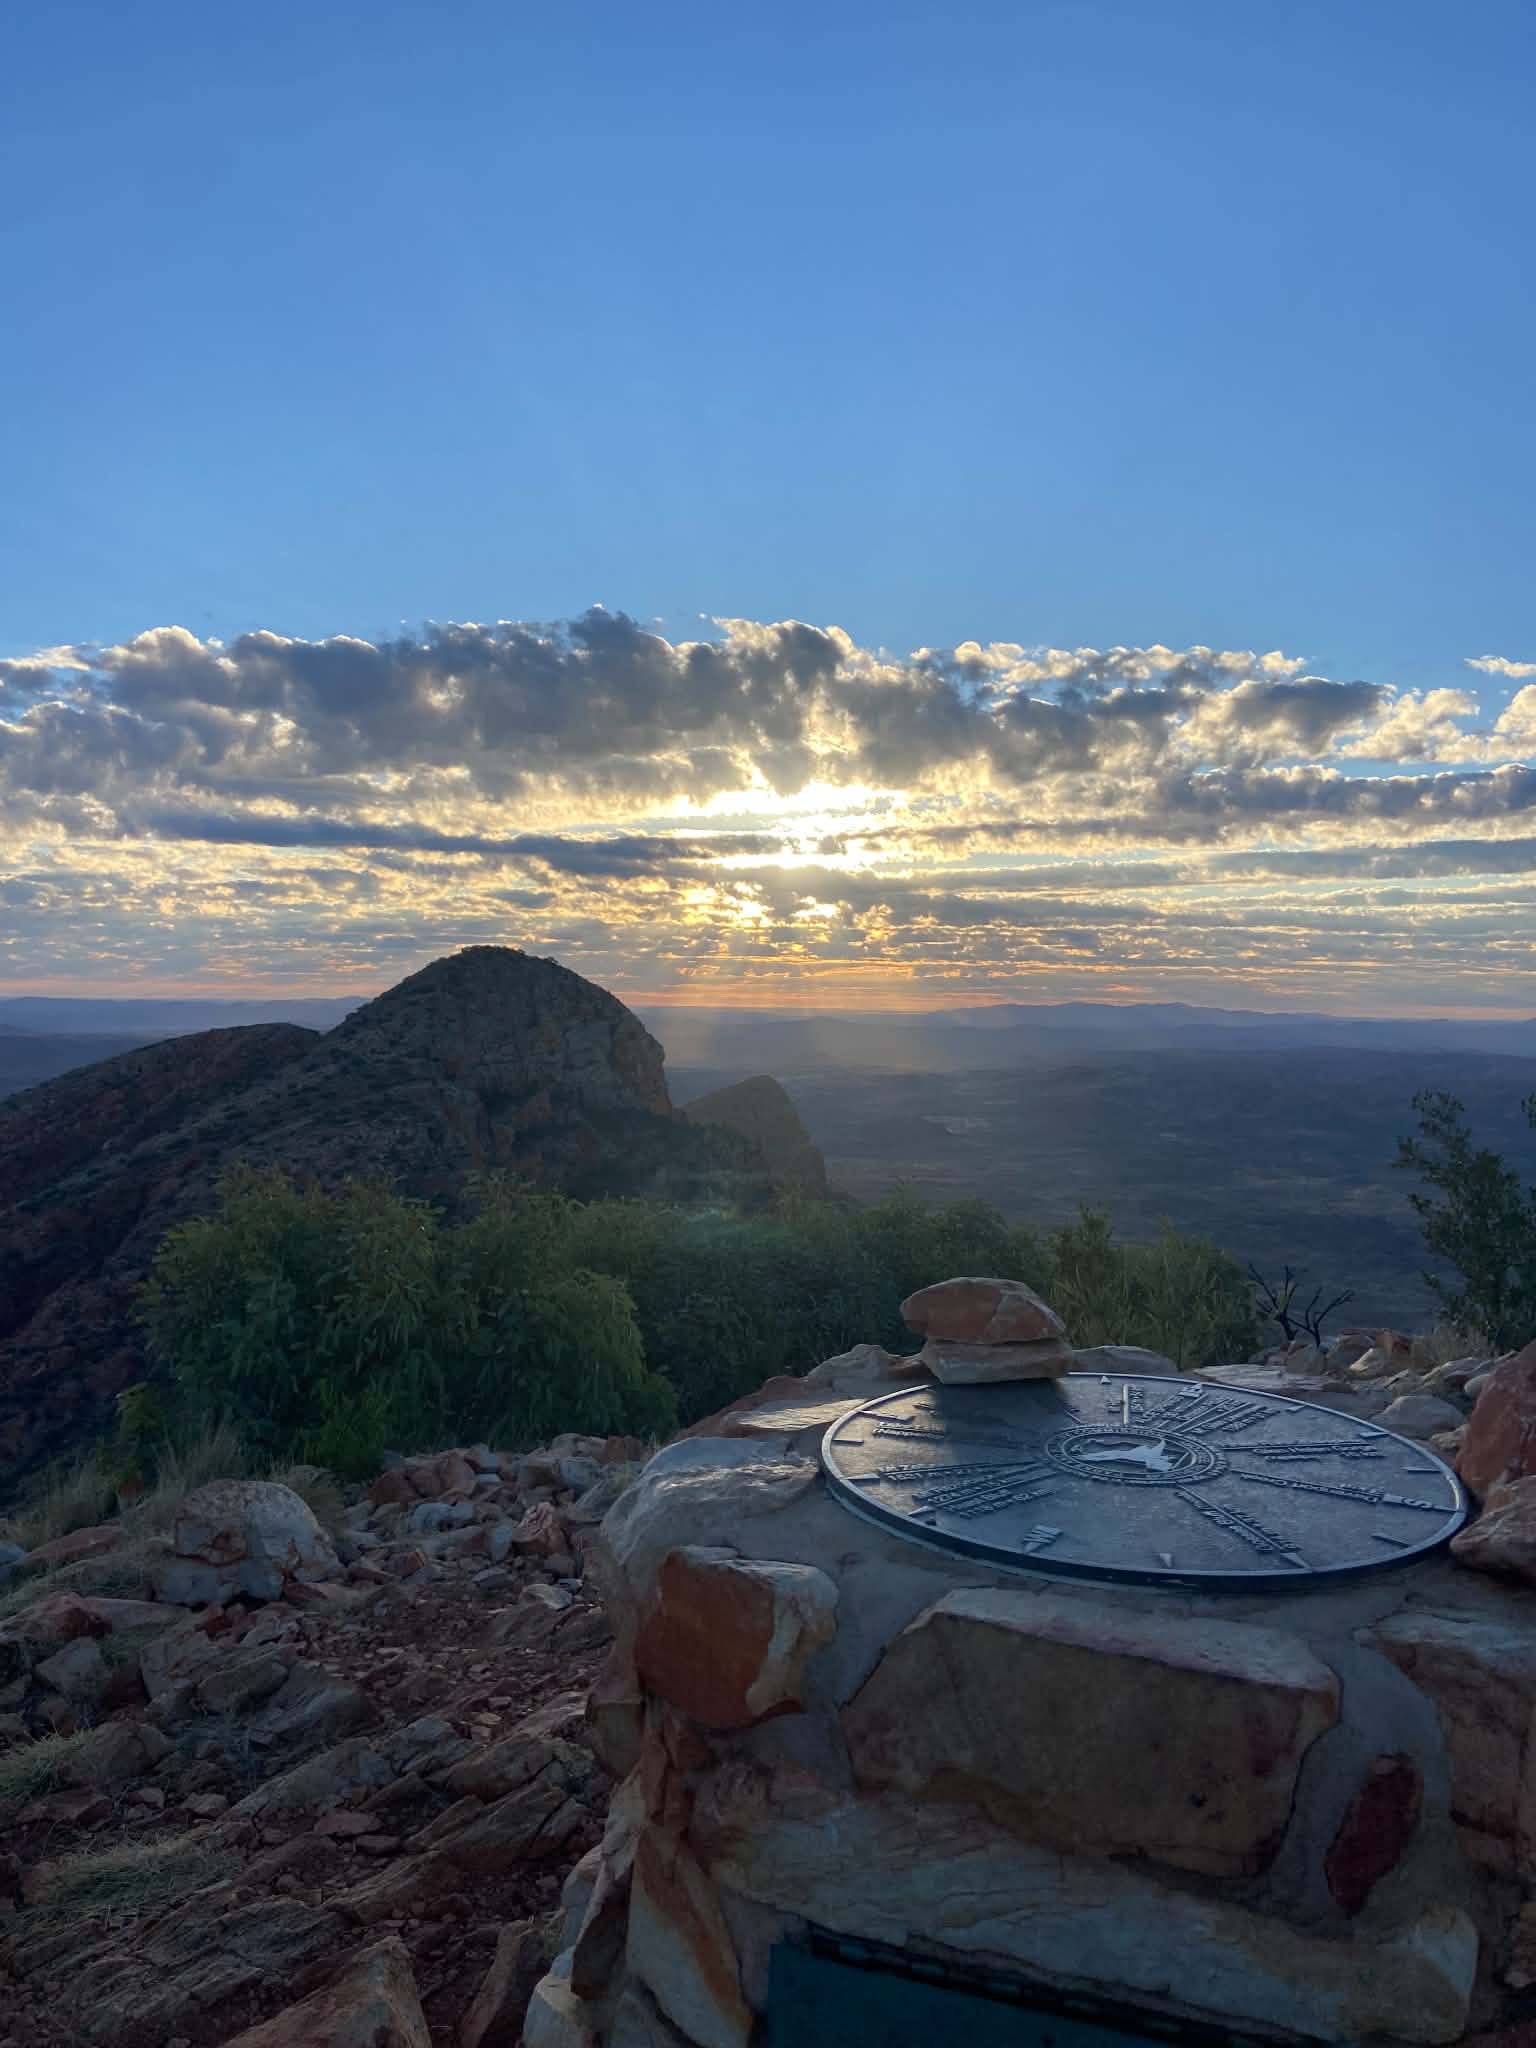
Just as you think your glutes can’t take anymore, a public toilet appears and you know you don’t have much longer to go. Eventually we came to the summit where there is a visitor book, and we found a spot facing east. Here we waited, watching on as the world slowly turned and darkness lifted to light. This was the most incredible sunrise I have ever seen as the sun slowly lit-up the red earth and revealing the magnificent landscape. There was quite a crowd at the summit by sunrise, but it was a lovely experience to share with our fellow walkers.
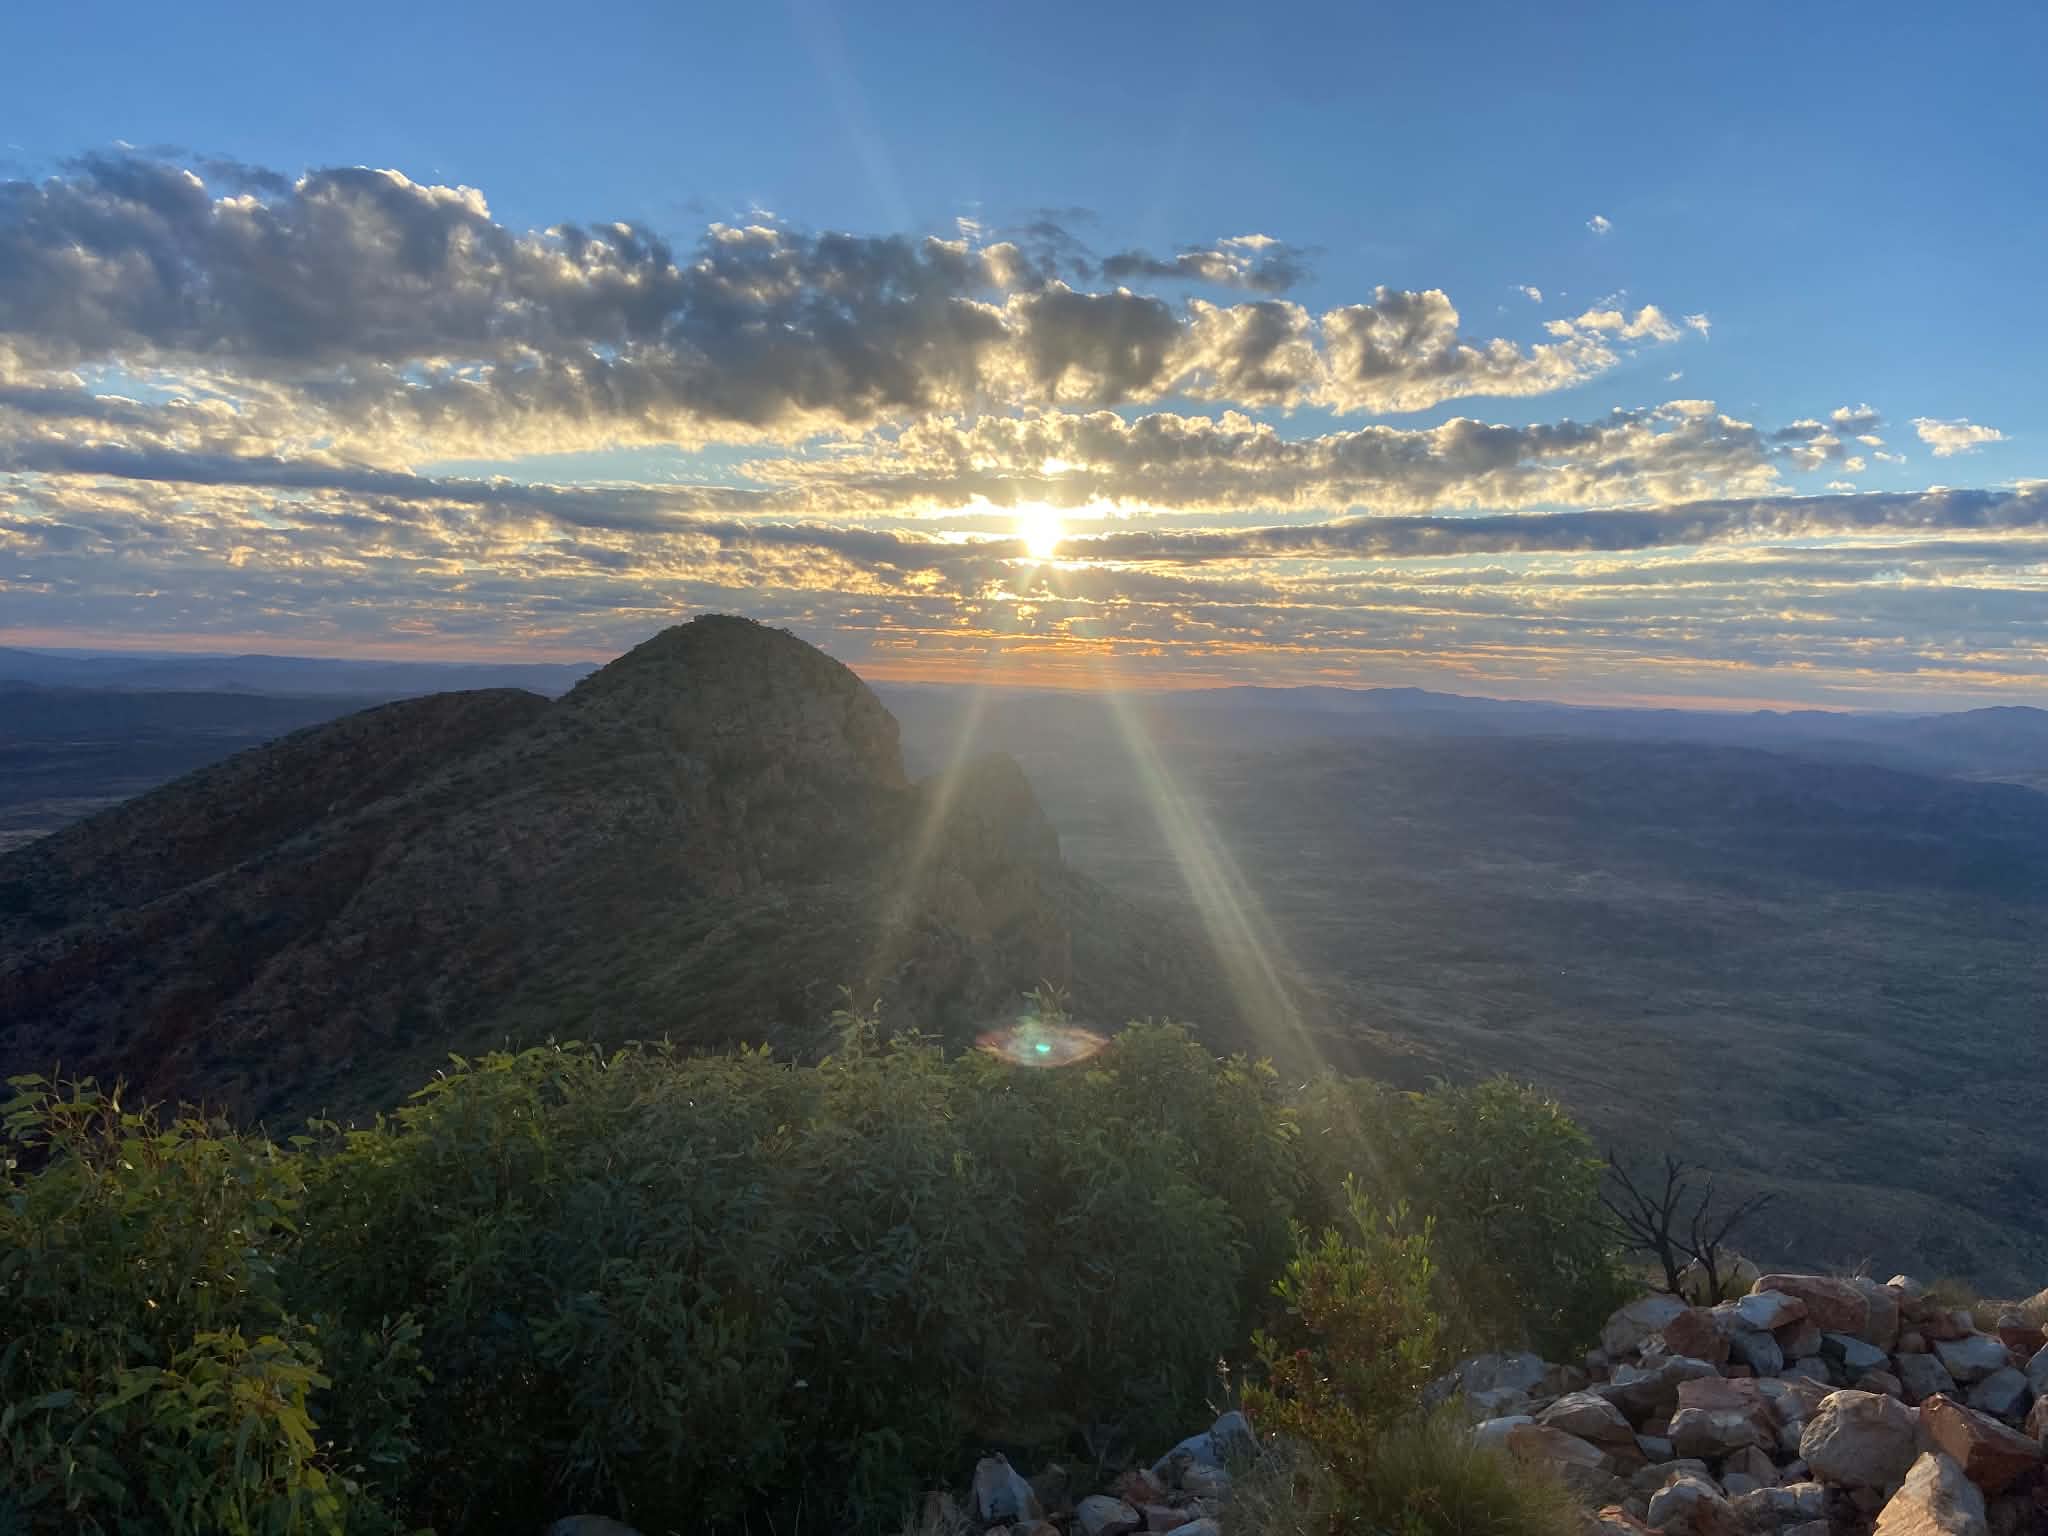
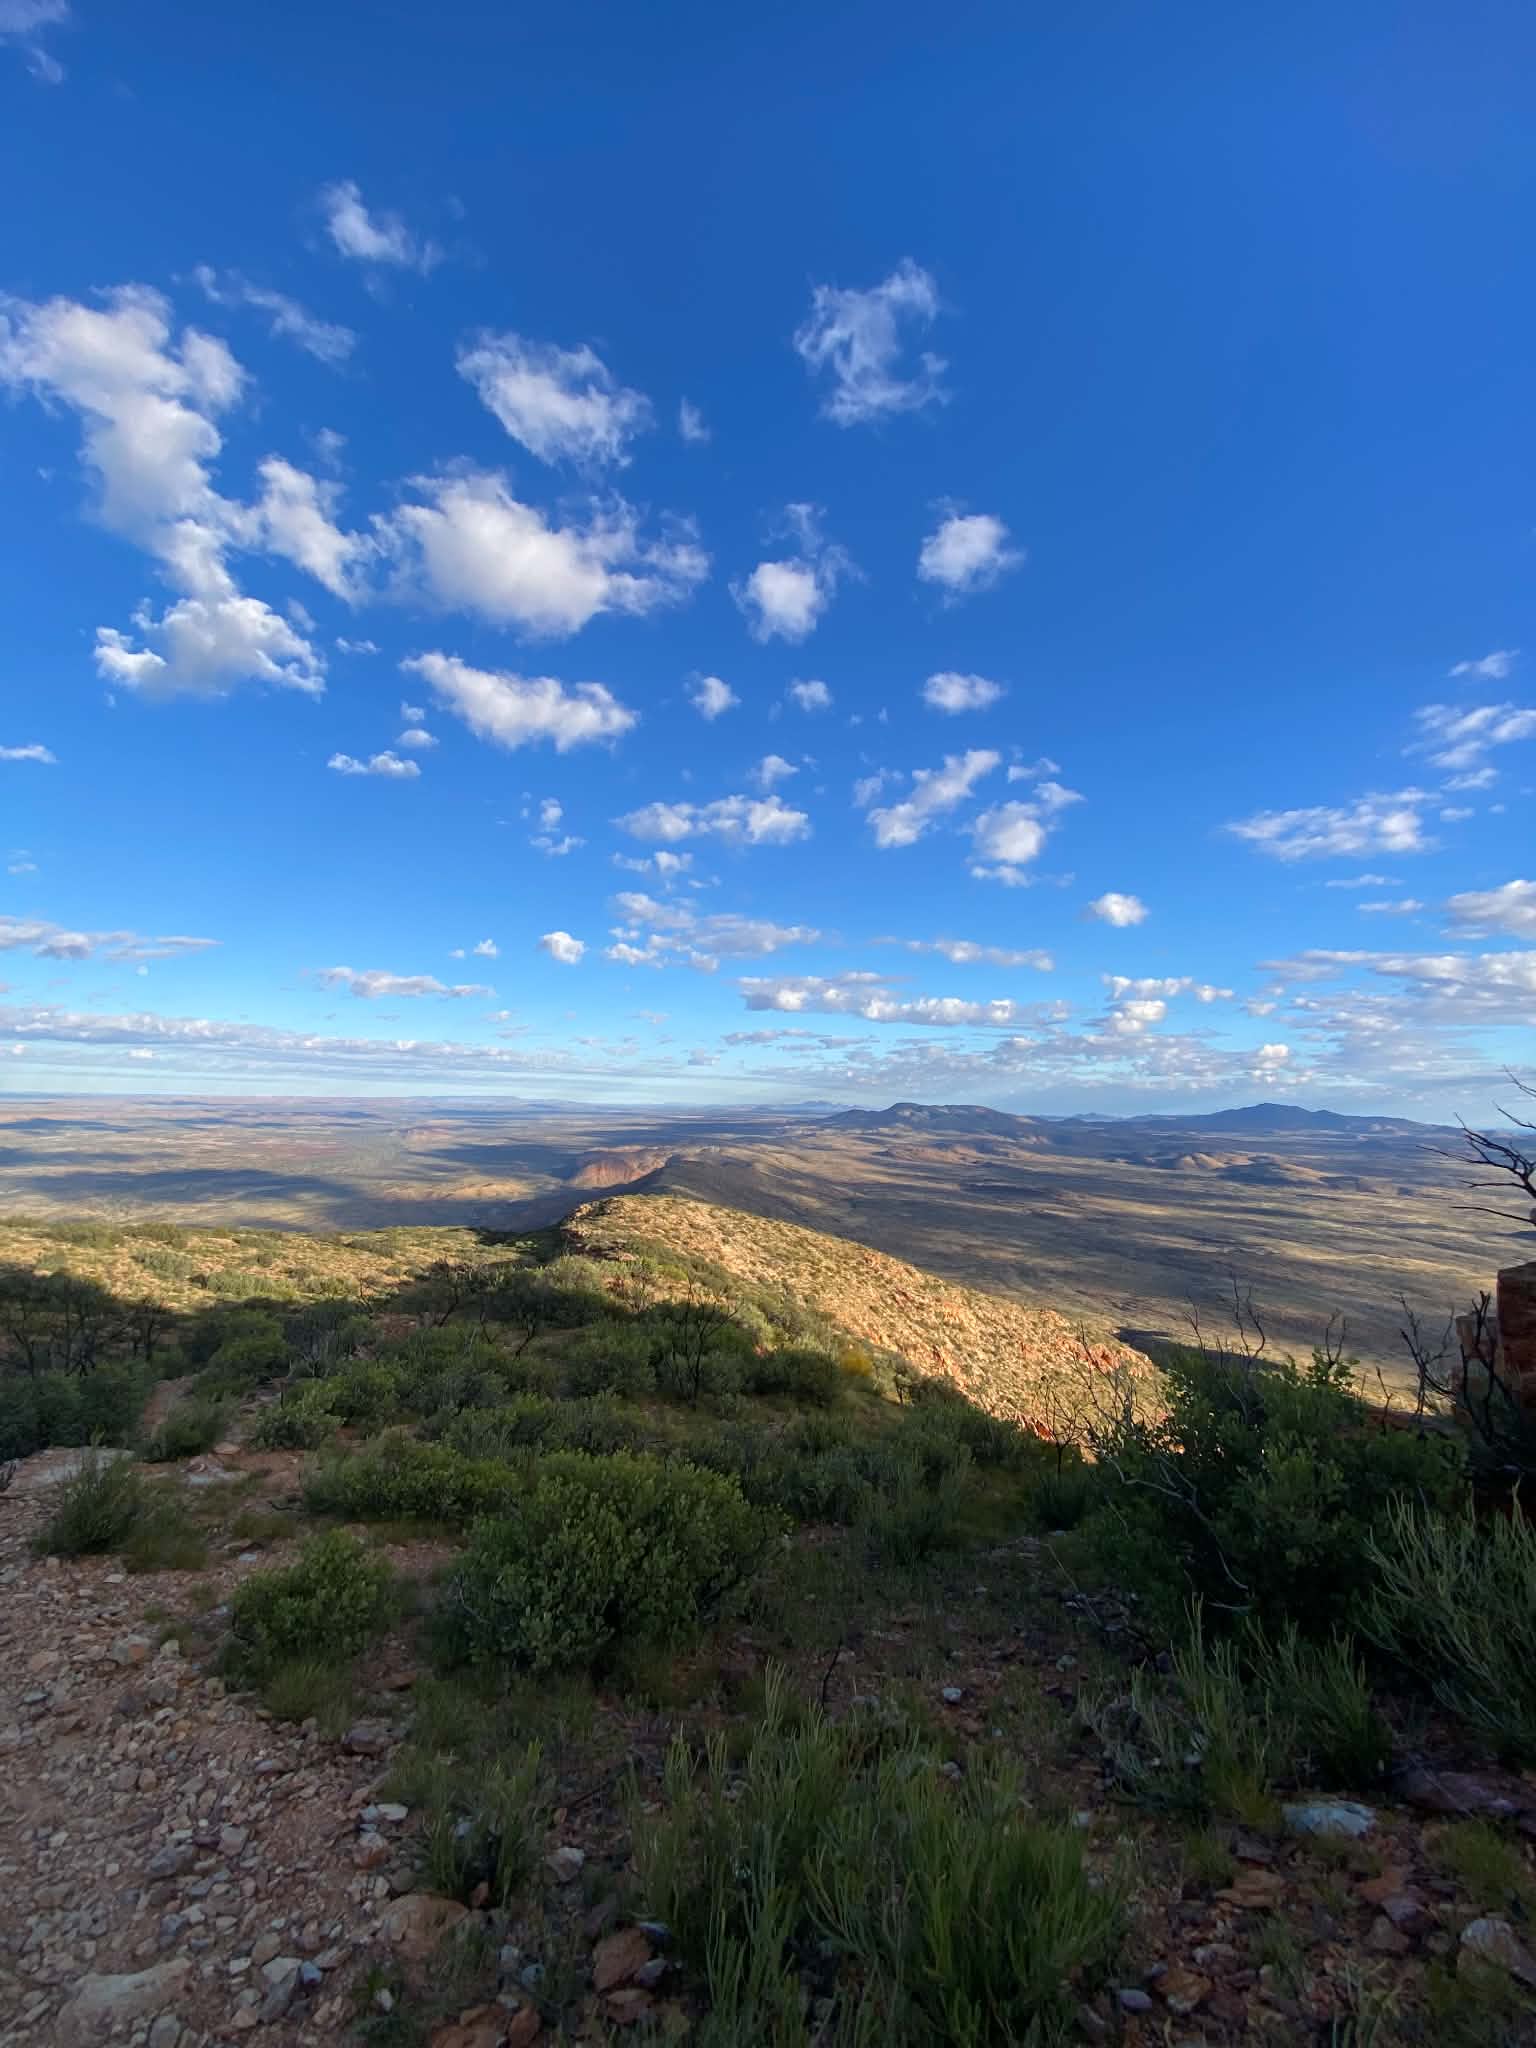
With our 5pm shuttle far away, we were able to spend a long time on the summit before slowly making the descent. Here we saw an incredible wedge-tailed eagle hovering just above the cliff edge only a few meters from us. We had a long wait for the 5pm shuttle which was a bit of drag, but we spent a few hours playing cards with the remaining hikers and had a look at Redbank Gorge.
The shuttle picked us up around 5:15pm at the carpark. We knew we wouldn’t get to Alice until about 8:30pm when many of the restaurants were already closed, so we were very grateful to our shuttle for linking us in to their Starlink so we could order a pizza online. We collected our pizza before checking into our accommodation. Finally, a shower, a bed and a big oily meal!
Peaks & Pits:
Peak: Sunrise at Mt Sonder
Pit: Long wait for the shuttle
Reflections: Peaks & Pits
The Larapinta Trail was part of my 30th birthday celebration – A big walk for a big decade. I felt drawn to the beautiful warm colours of the red centre, and the promise of big skies and endless nature. There’s nothing like looking around and seeing absolutely nothing that’s man-made except for what you carry on your back.
Walking East to West, the drama of the trail built as we progressed, culminating in the sunrise summit of Mt Sonder. There is a healthy sense of smallness as you look up at the jagged ranges, gaze the milky way and watch as the oxidised mountains are set alight in the setting sun. It feels like the quintessential Australian experience.
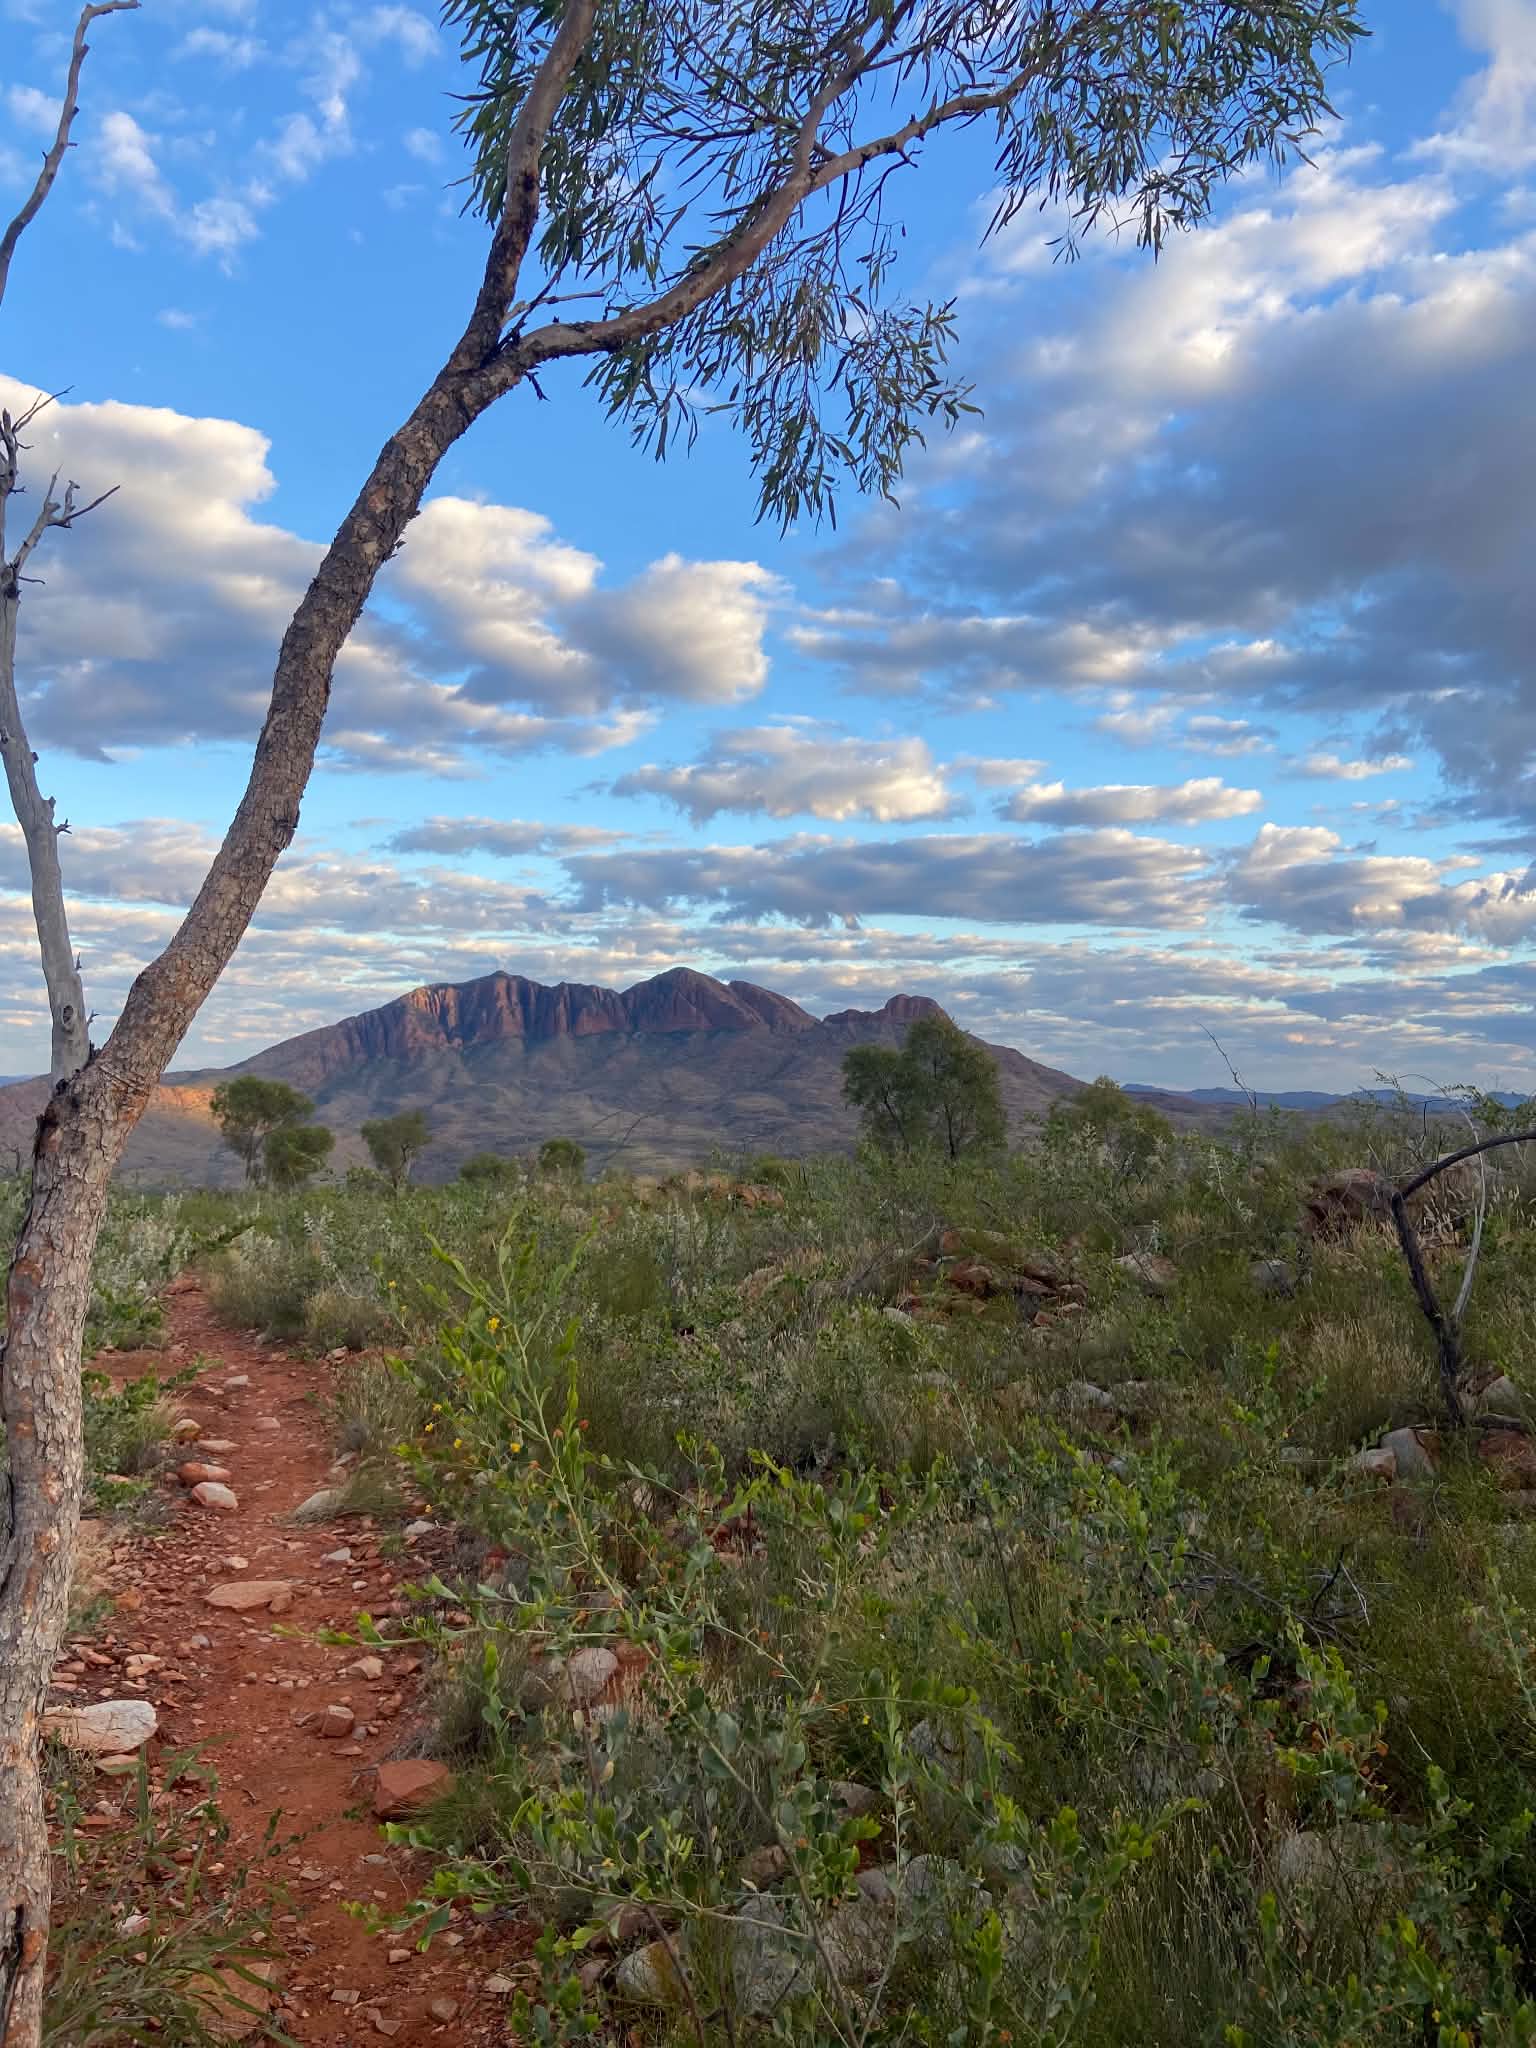
The biggest highlight for me were the sections between Standley Chasm and Ellery Creek North. The gorges in these sections feel like ancient untouched places. The gorges also offer more interesting and variable walking, including sections of scrambling which we loved! The swim at Hugh Gorge is really fun, as is the swim at Birthday Waterhole and Ellery Creek North, and seeing the dingo in Spencer Gorge was extra special!
The least interesting sections were Telegraph Station to Standley Chasm, Ellery Creek North to Serpentine Chalet Dam, and Ormiston Gorge to Redbank Gorge (with the exception of Hilltop Camp). These sections were long, hot and exposed with little variation in walking which could feel repetitive. However, all days bring special perspectives and new sights.
This was our first time camping in high camps, and it was an amazing experience to wake up on top of the mountain. We were pretty luck with weather, but there was still a learning to curve to setting up camp on the ridge and it was great to extend our skills on this walk. On a personal level, this put my fear of heights to the test and each ridgeline got easier. Overall, we loved the campsites along the Larapinta Trail and the swimming spots were particular winners.
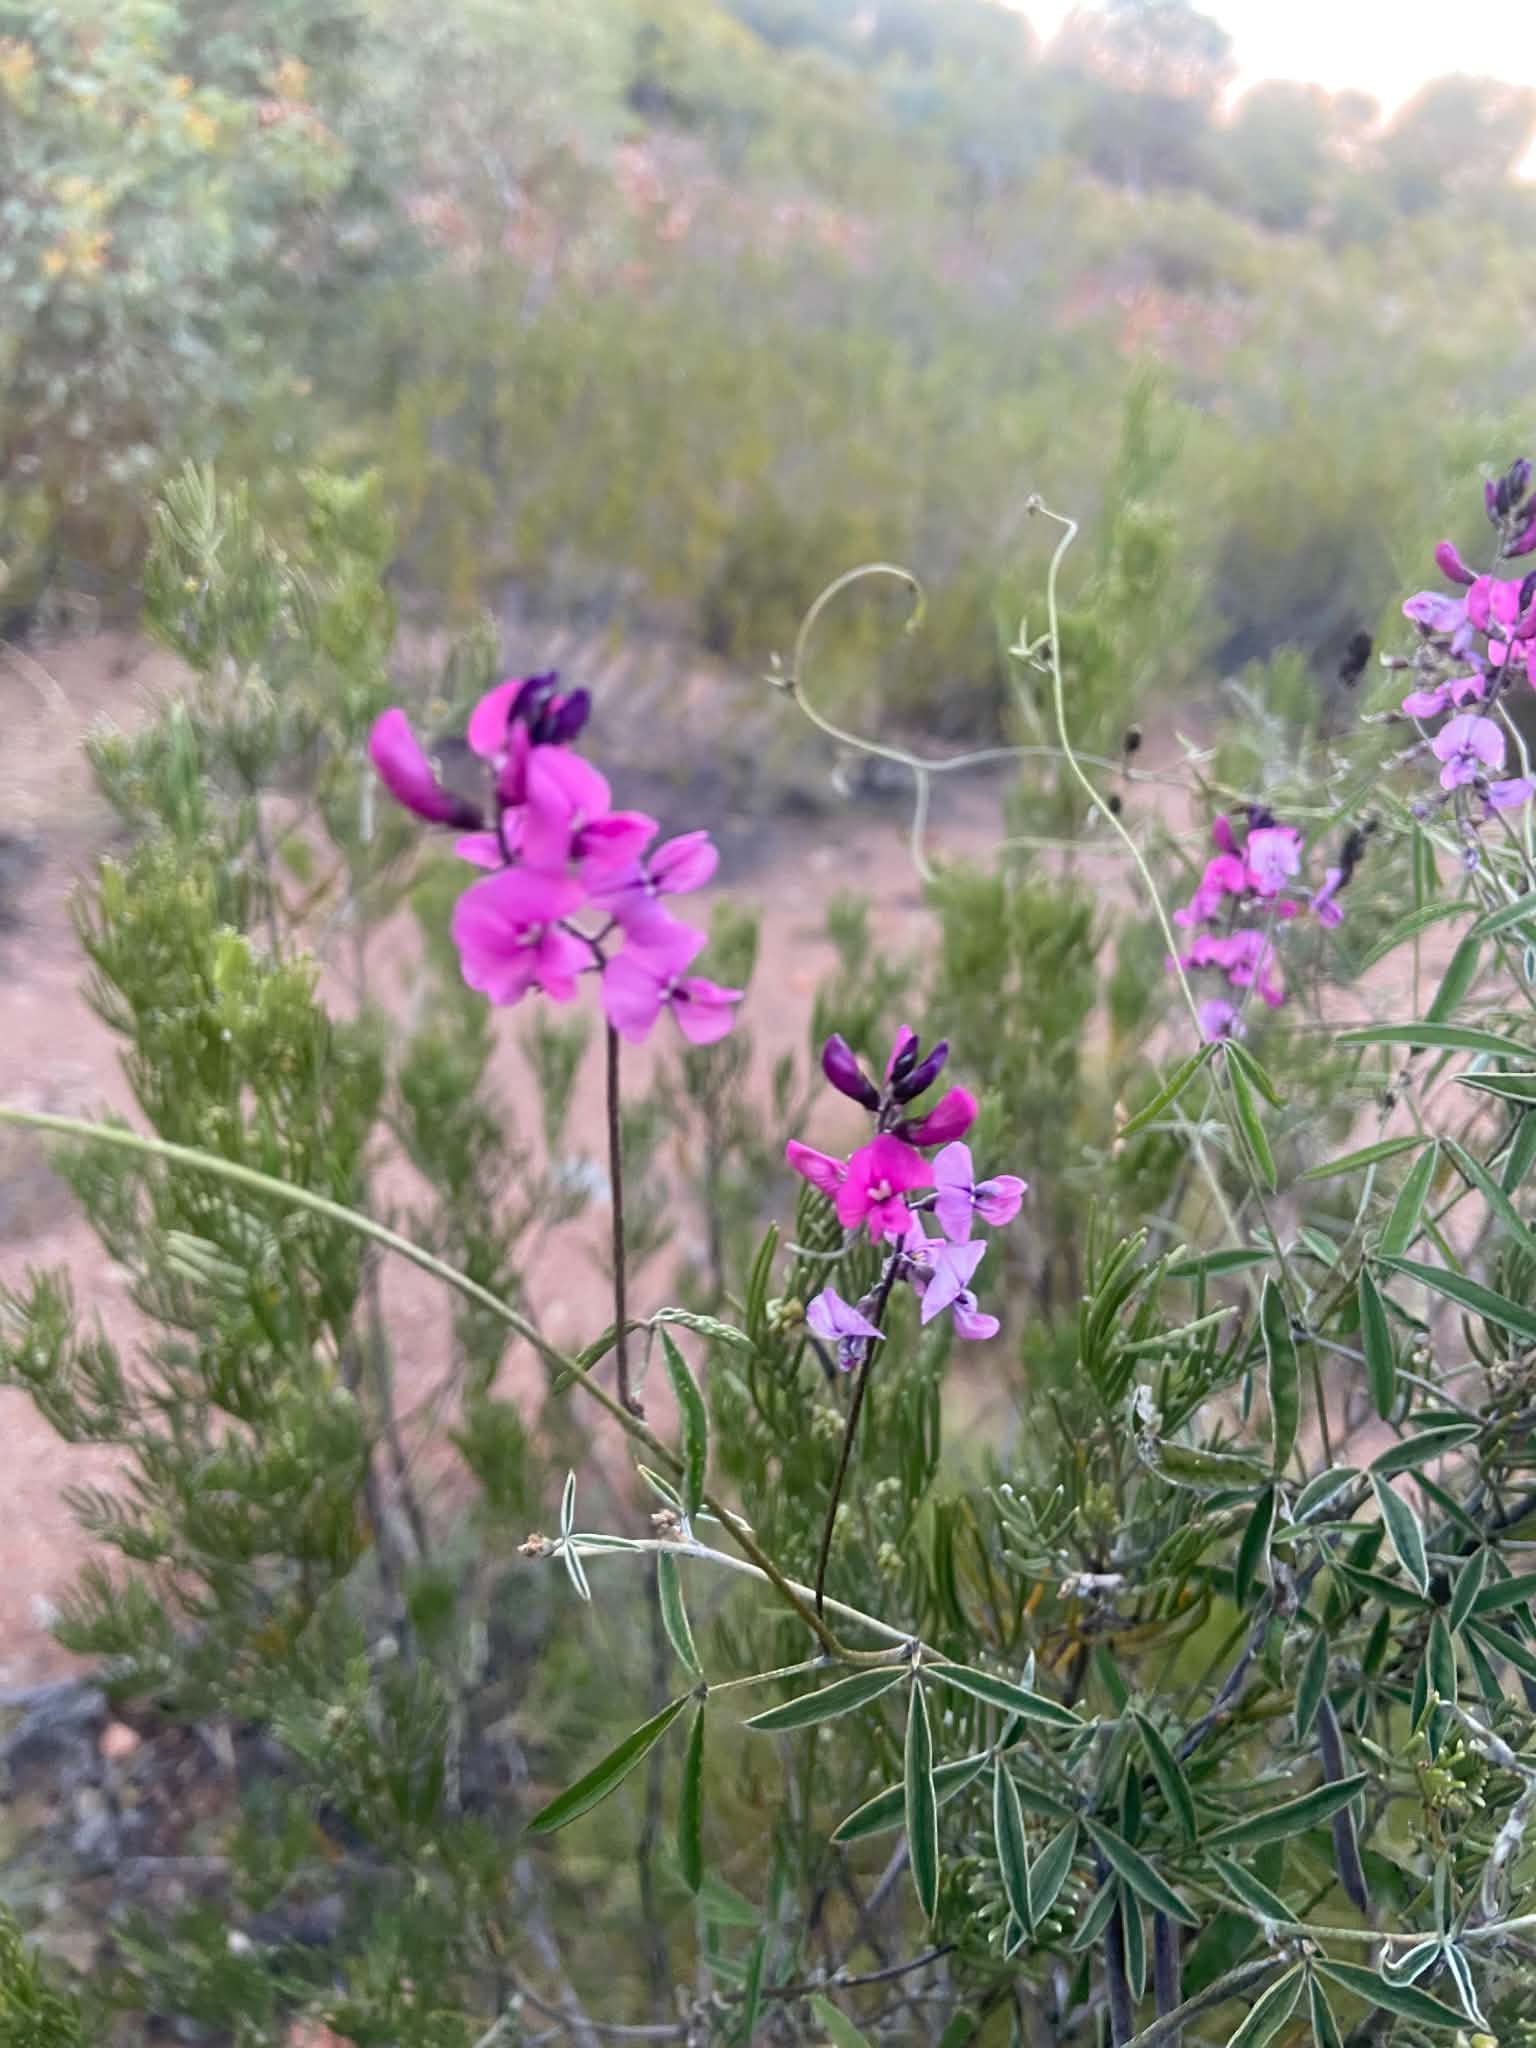
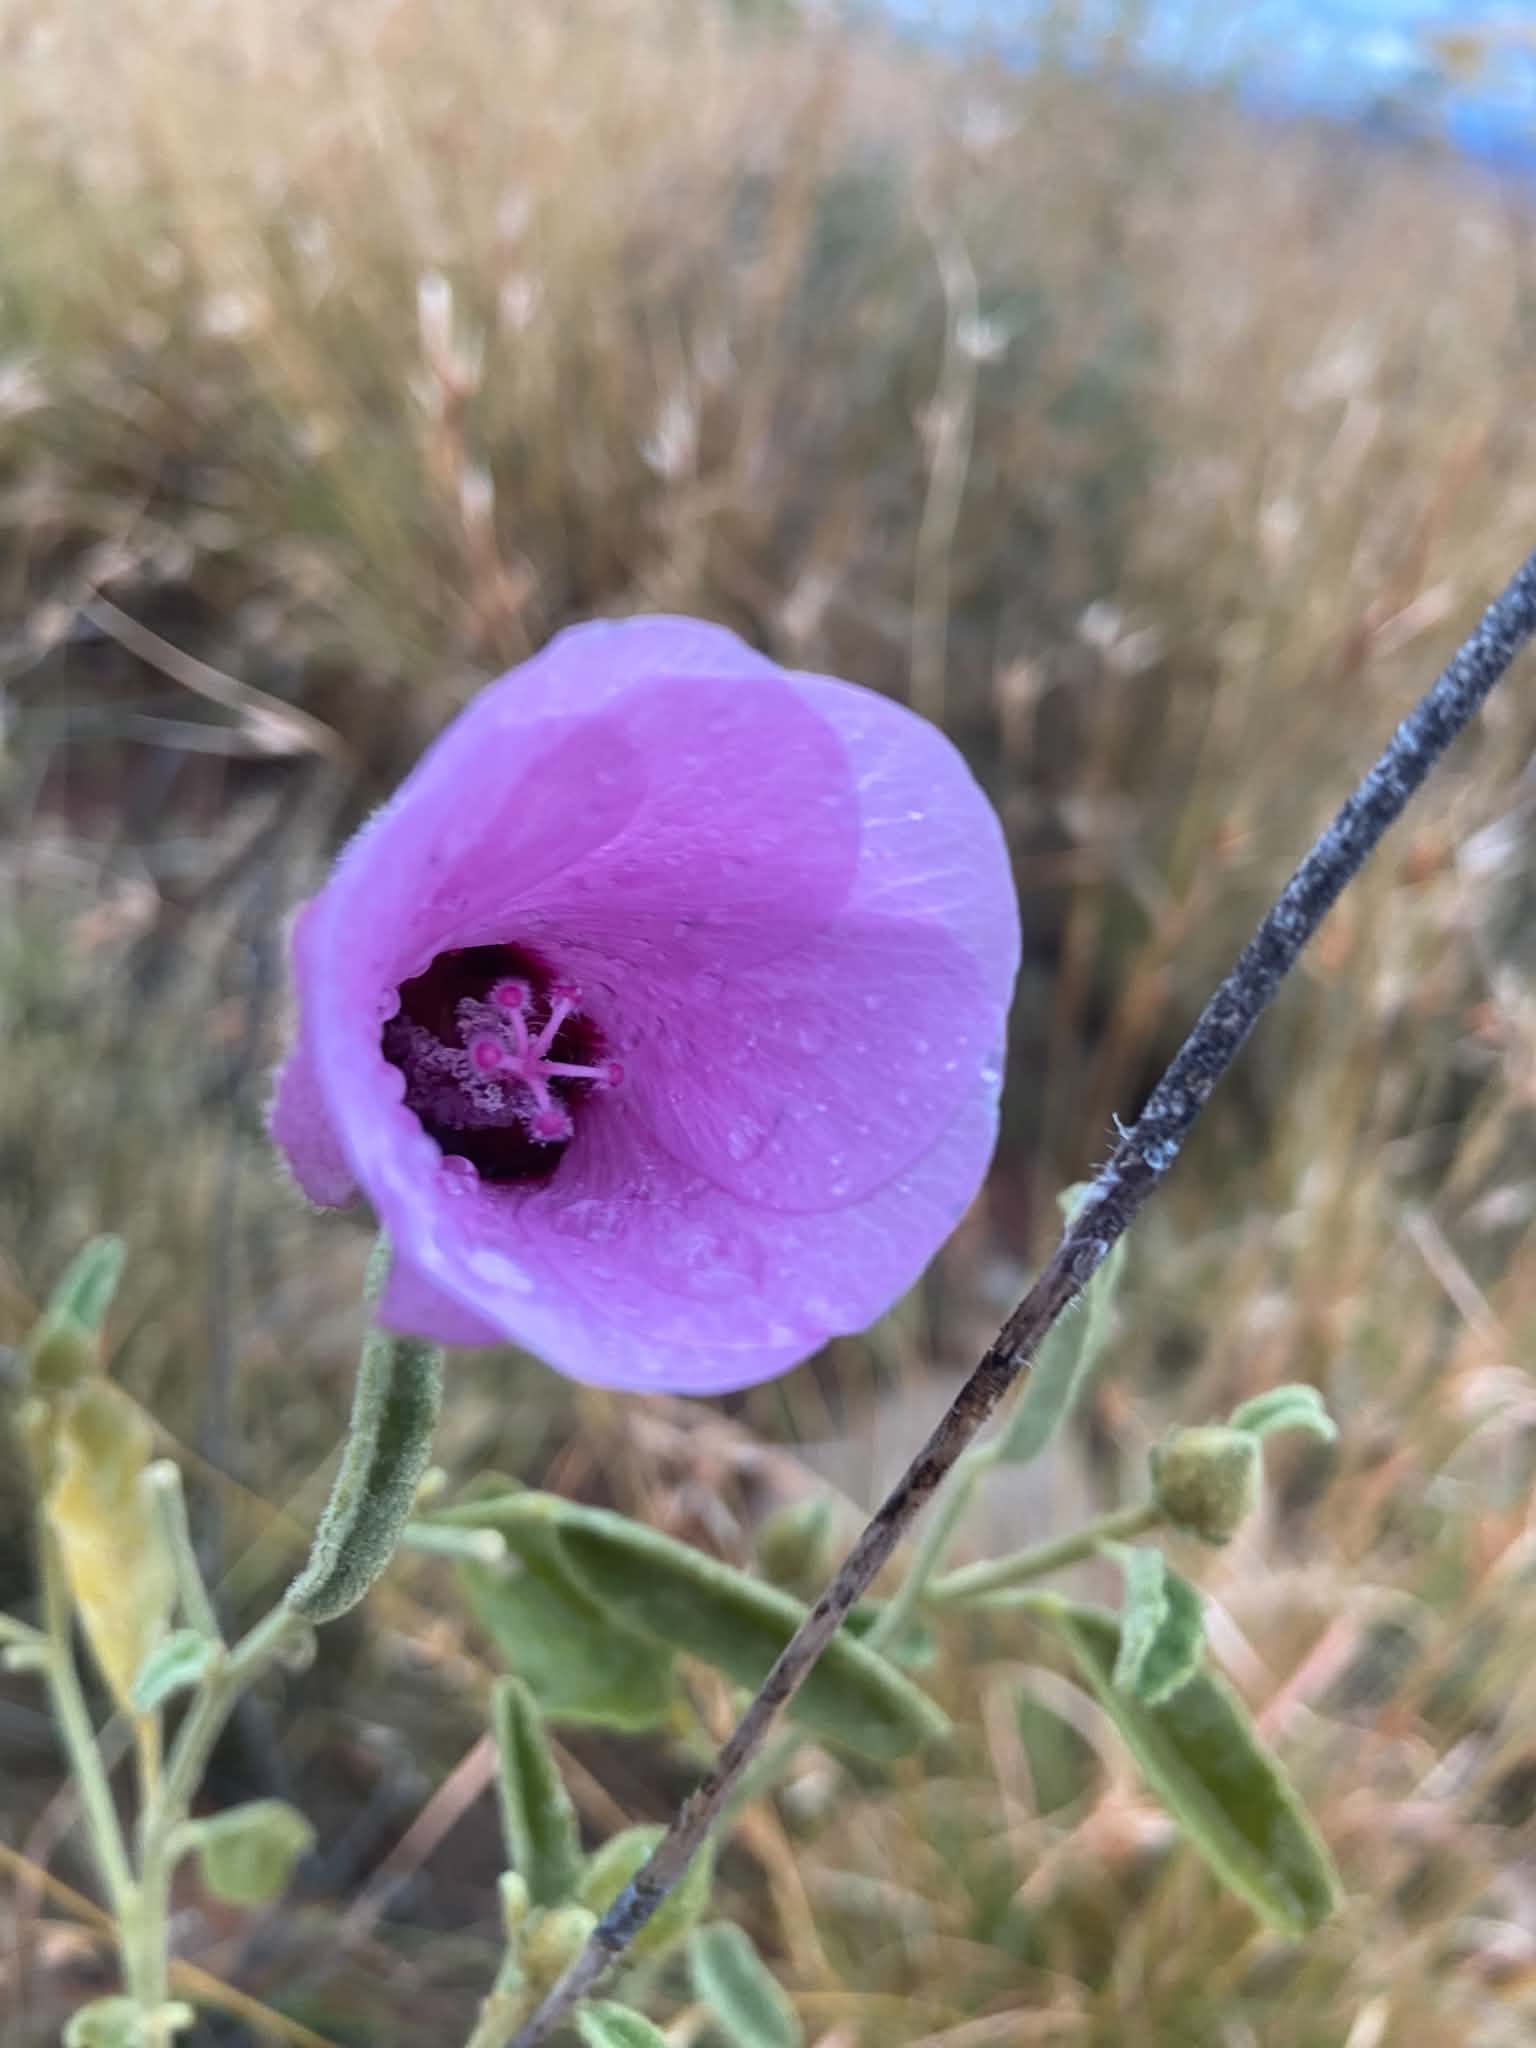
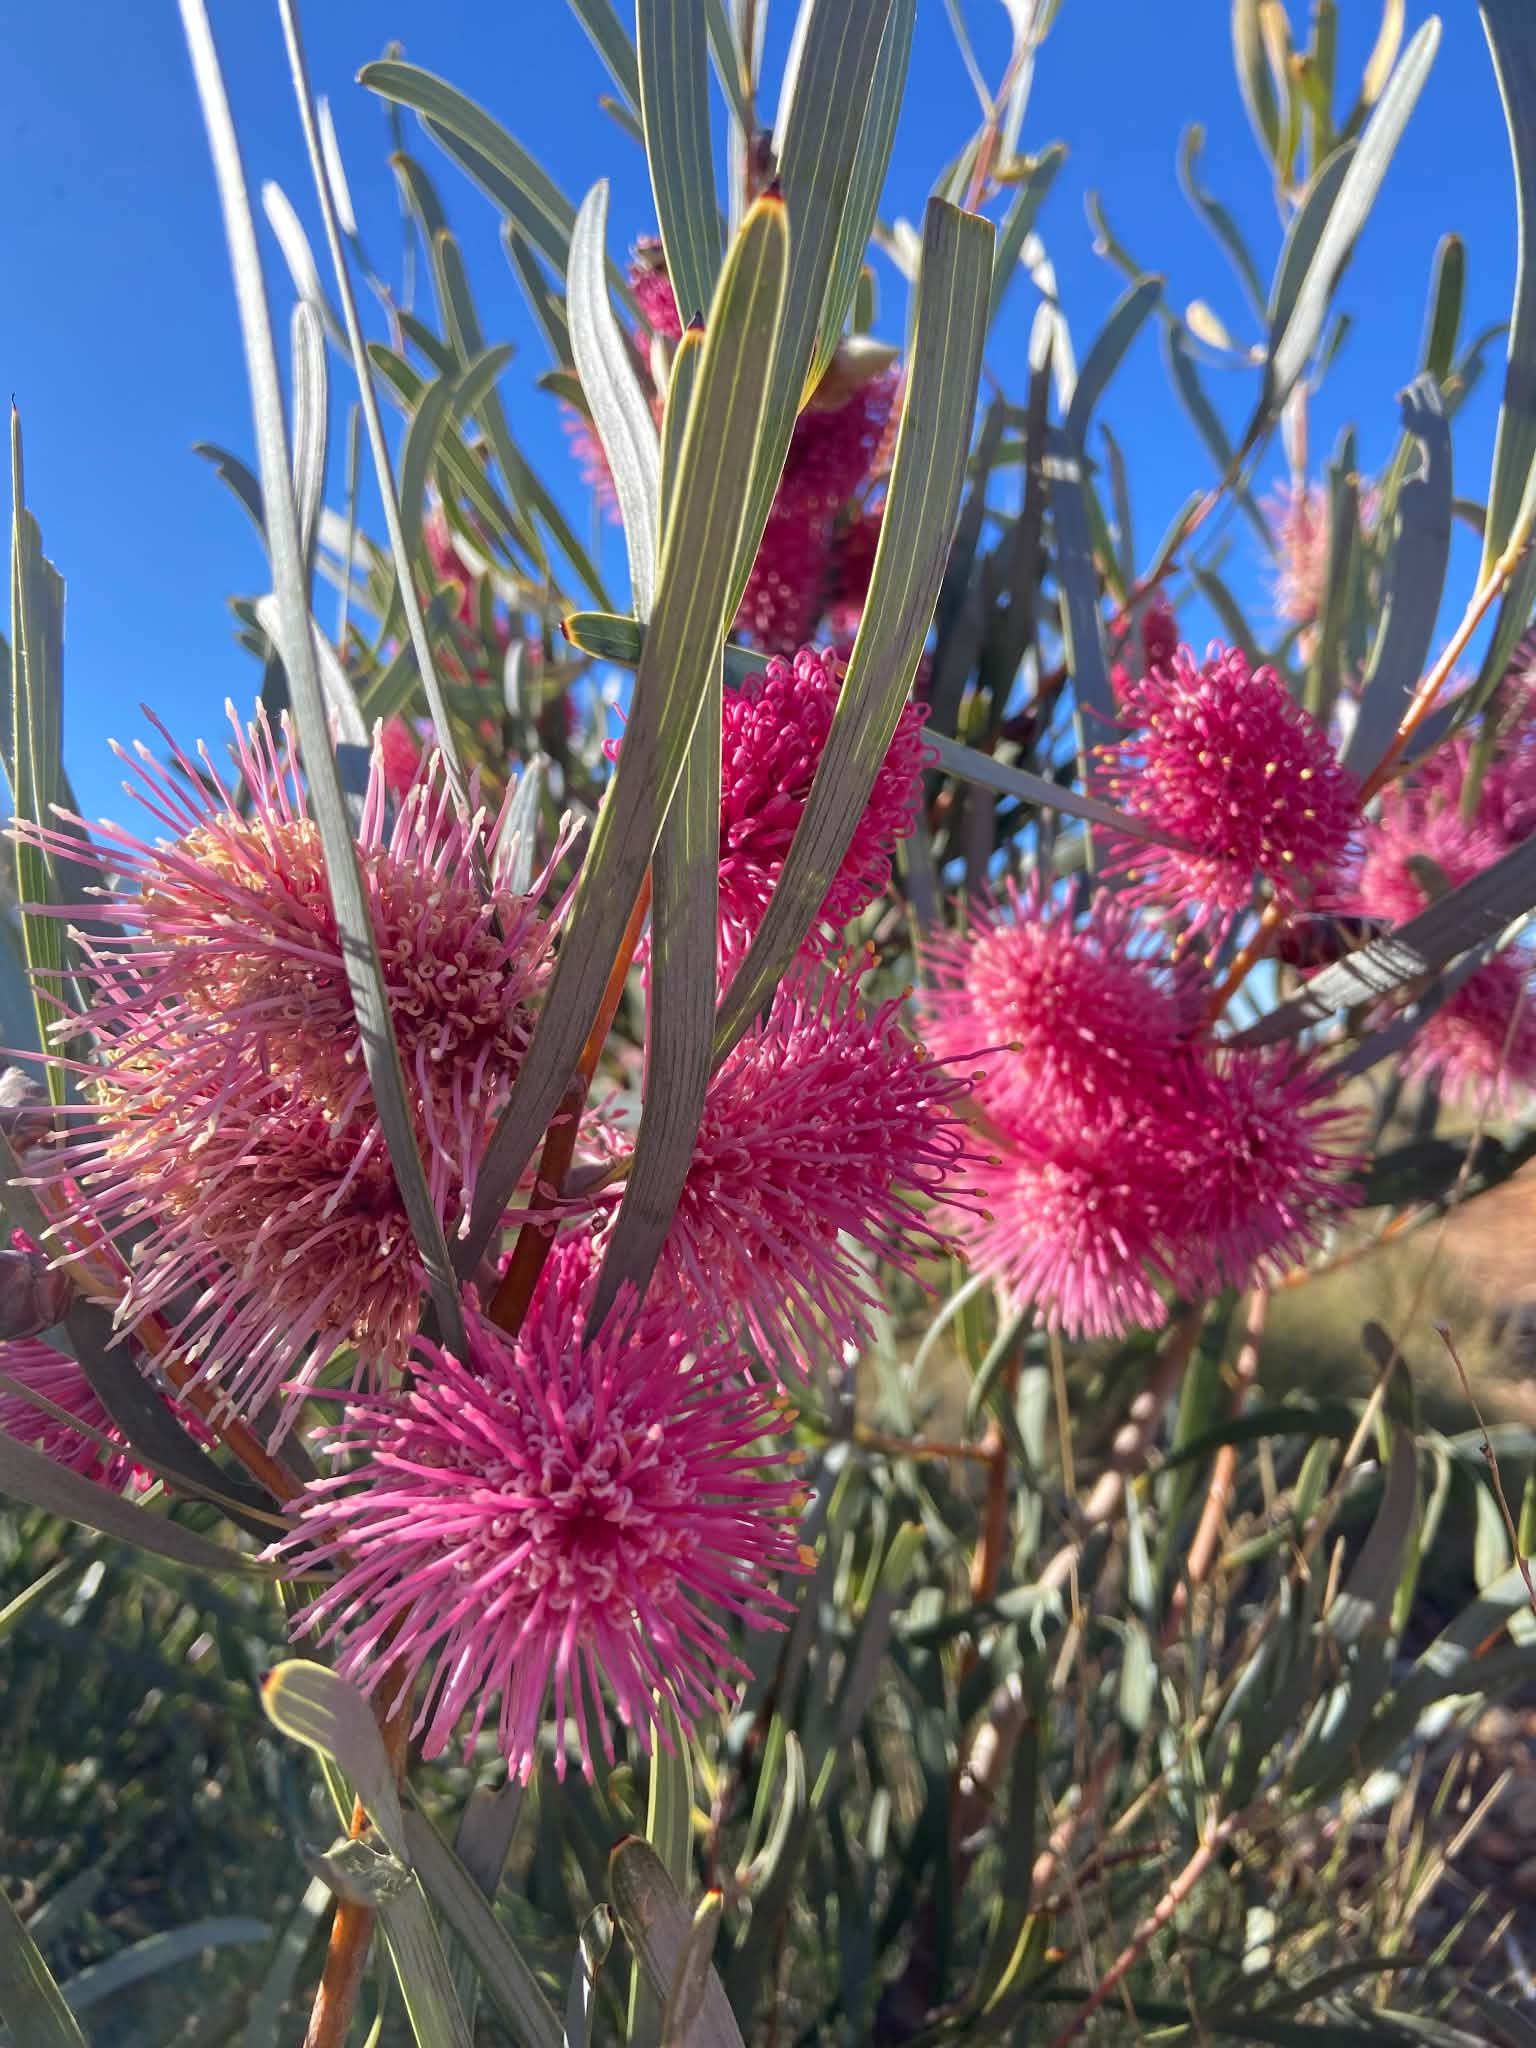
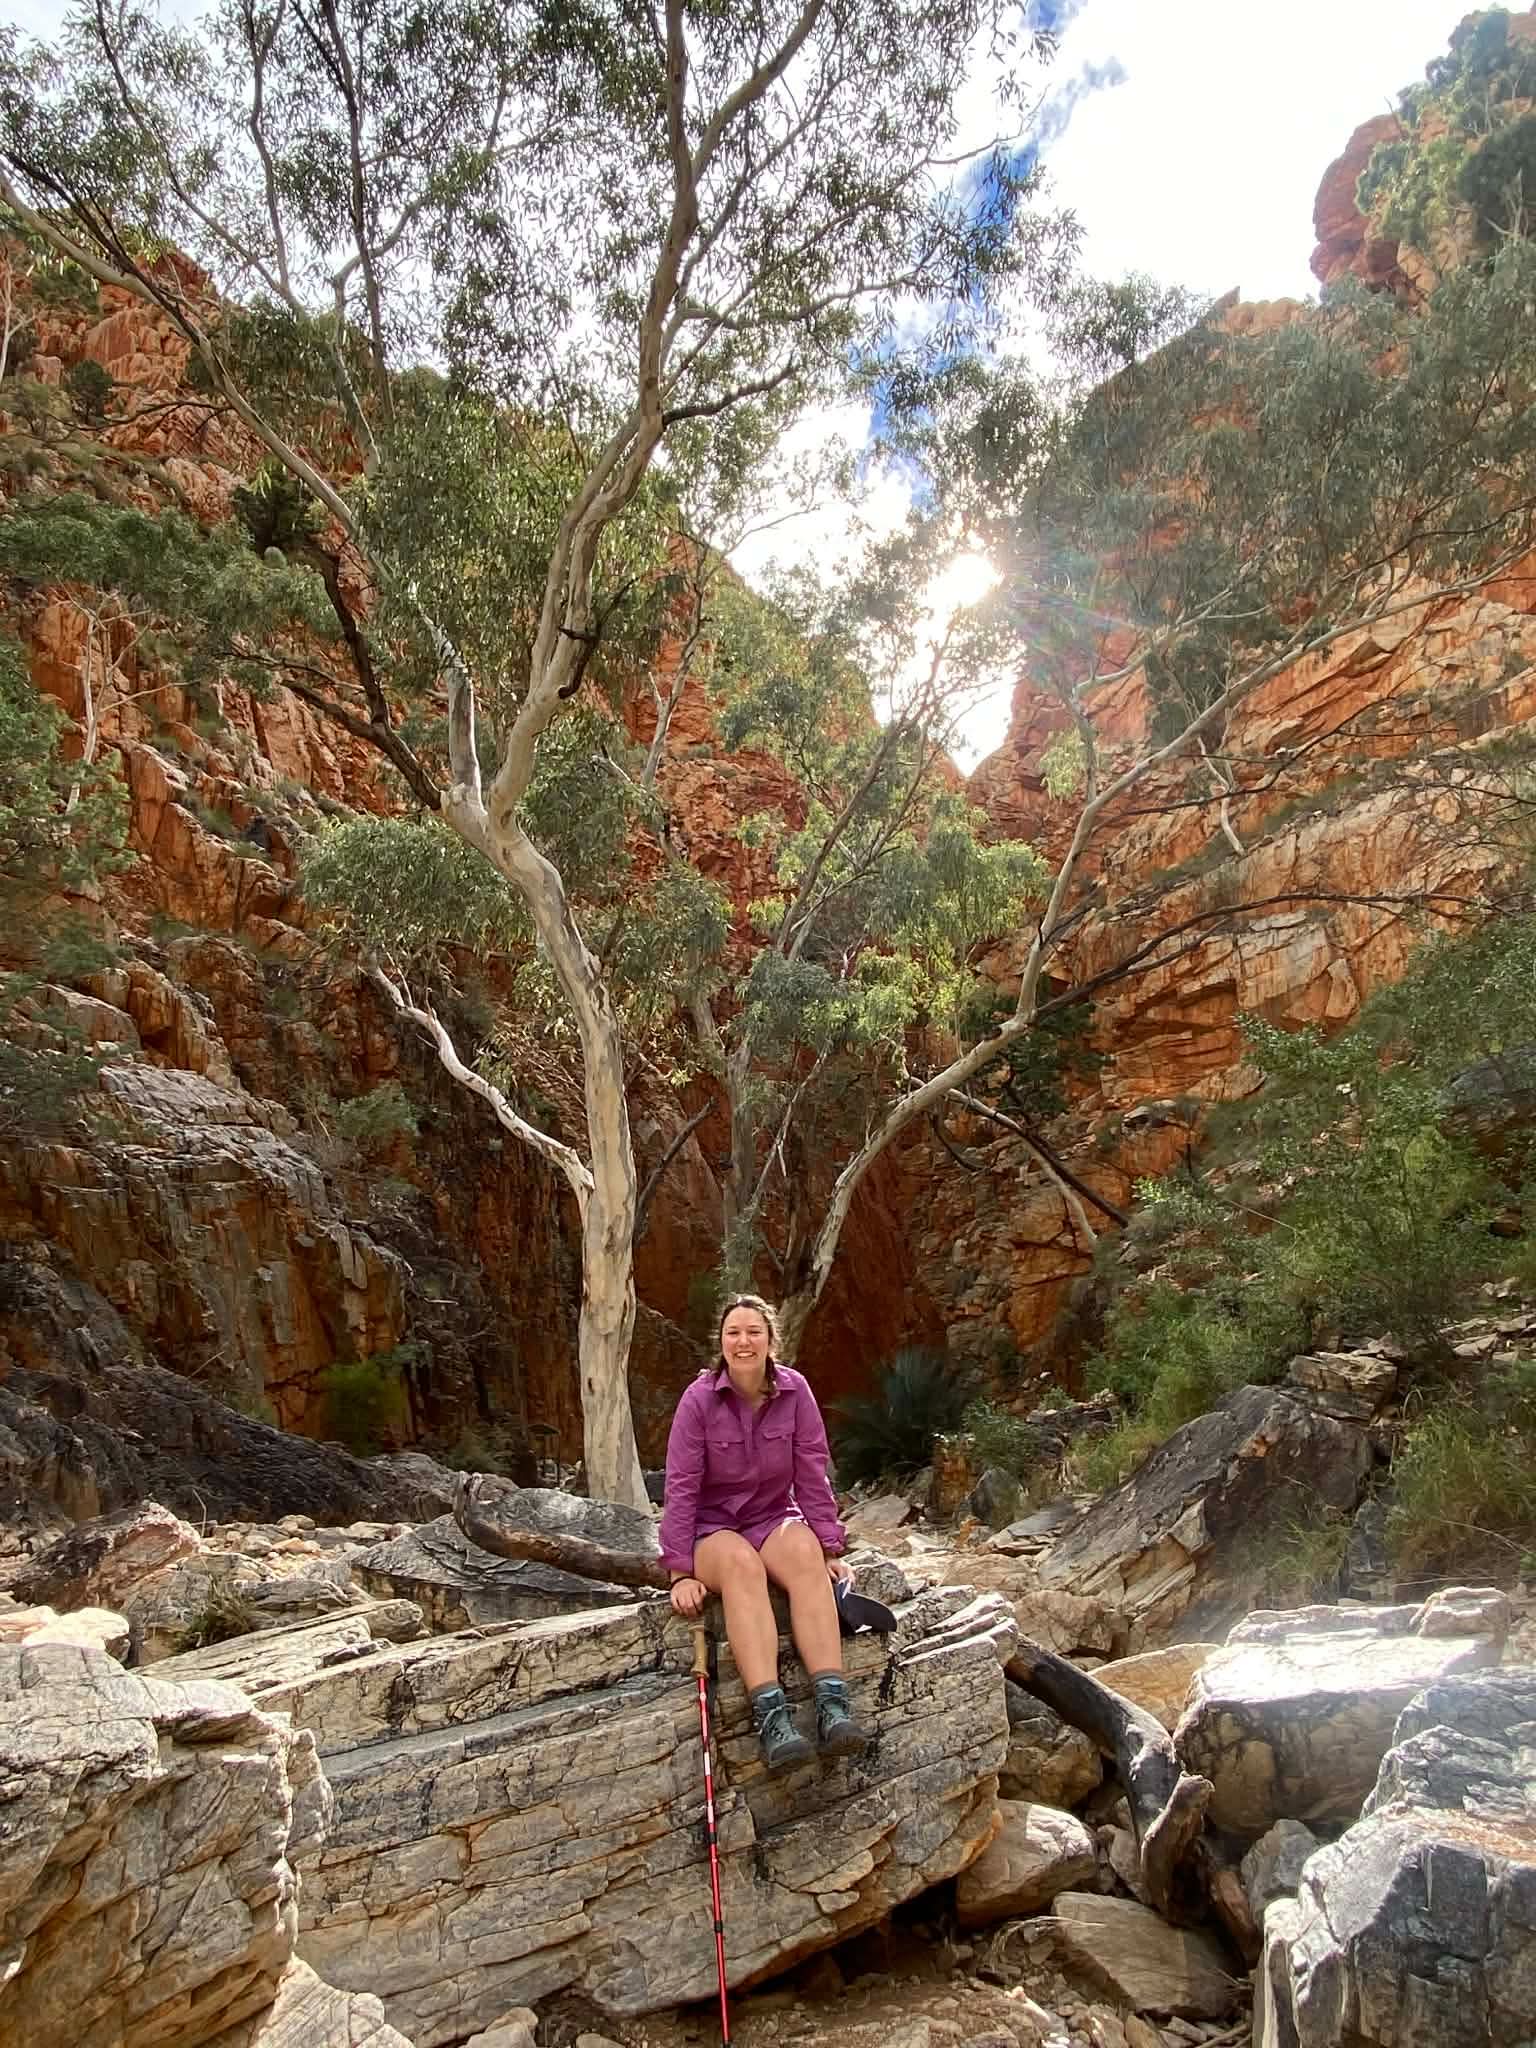
I bought a purple hiking shirt from the op-shop just before this walk, which turned out to be very fitting as purple is apparently the colour of the desert. You can’t escape the spectrum of oranges, reds, pinks and purples of the flora, windflowers and rocks, and the endless blue of the sky. This walk has incredible wildlife such as dingoes, wild brumbies, wallabies and snakes if you’re lucky enough to see them. You are guaranteed to see incredible bird life, and of all our walks, this was by far the best for seeing wonderous birds. We saw Ringneck parrots, zebra finches, spinifex pigeons, mistletoe birds, King-fishers, wedge-tailed eagles, falcons, honey eaters, southern boobooks, black kites and the splendid blue fairy-wren. Do not forget your binoculars!
Larapinta is hands down the busiest and most social walk we’ve done in Australia, and the repeated meetings with friendly characters reminded us of our experience on the Camino Primitivo a few years ago. We were lucky enough to walk with the same people most days, often passing each other on the trail and debriefing over the day at camp. We shared spare snacks, dinner leftovers, medical supplies, professional advice, hiking stories and Jo became the resident doctor. By our last few nights, we were watching the sunset and cooking dinner together, and all celebrated together on our sunrise summit of Mt Sonder. We even had a celebratory night out in Alice after completing the walk, and it was fun to see everyone clean and in their normie gear. In our experience, whether you do this walk in a group or solo, there’s lots of opportunity to connect with others, and other people will look out for you and help if needed.
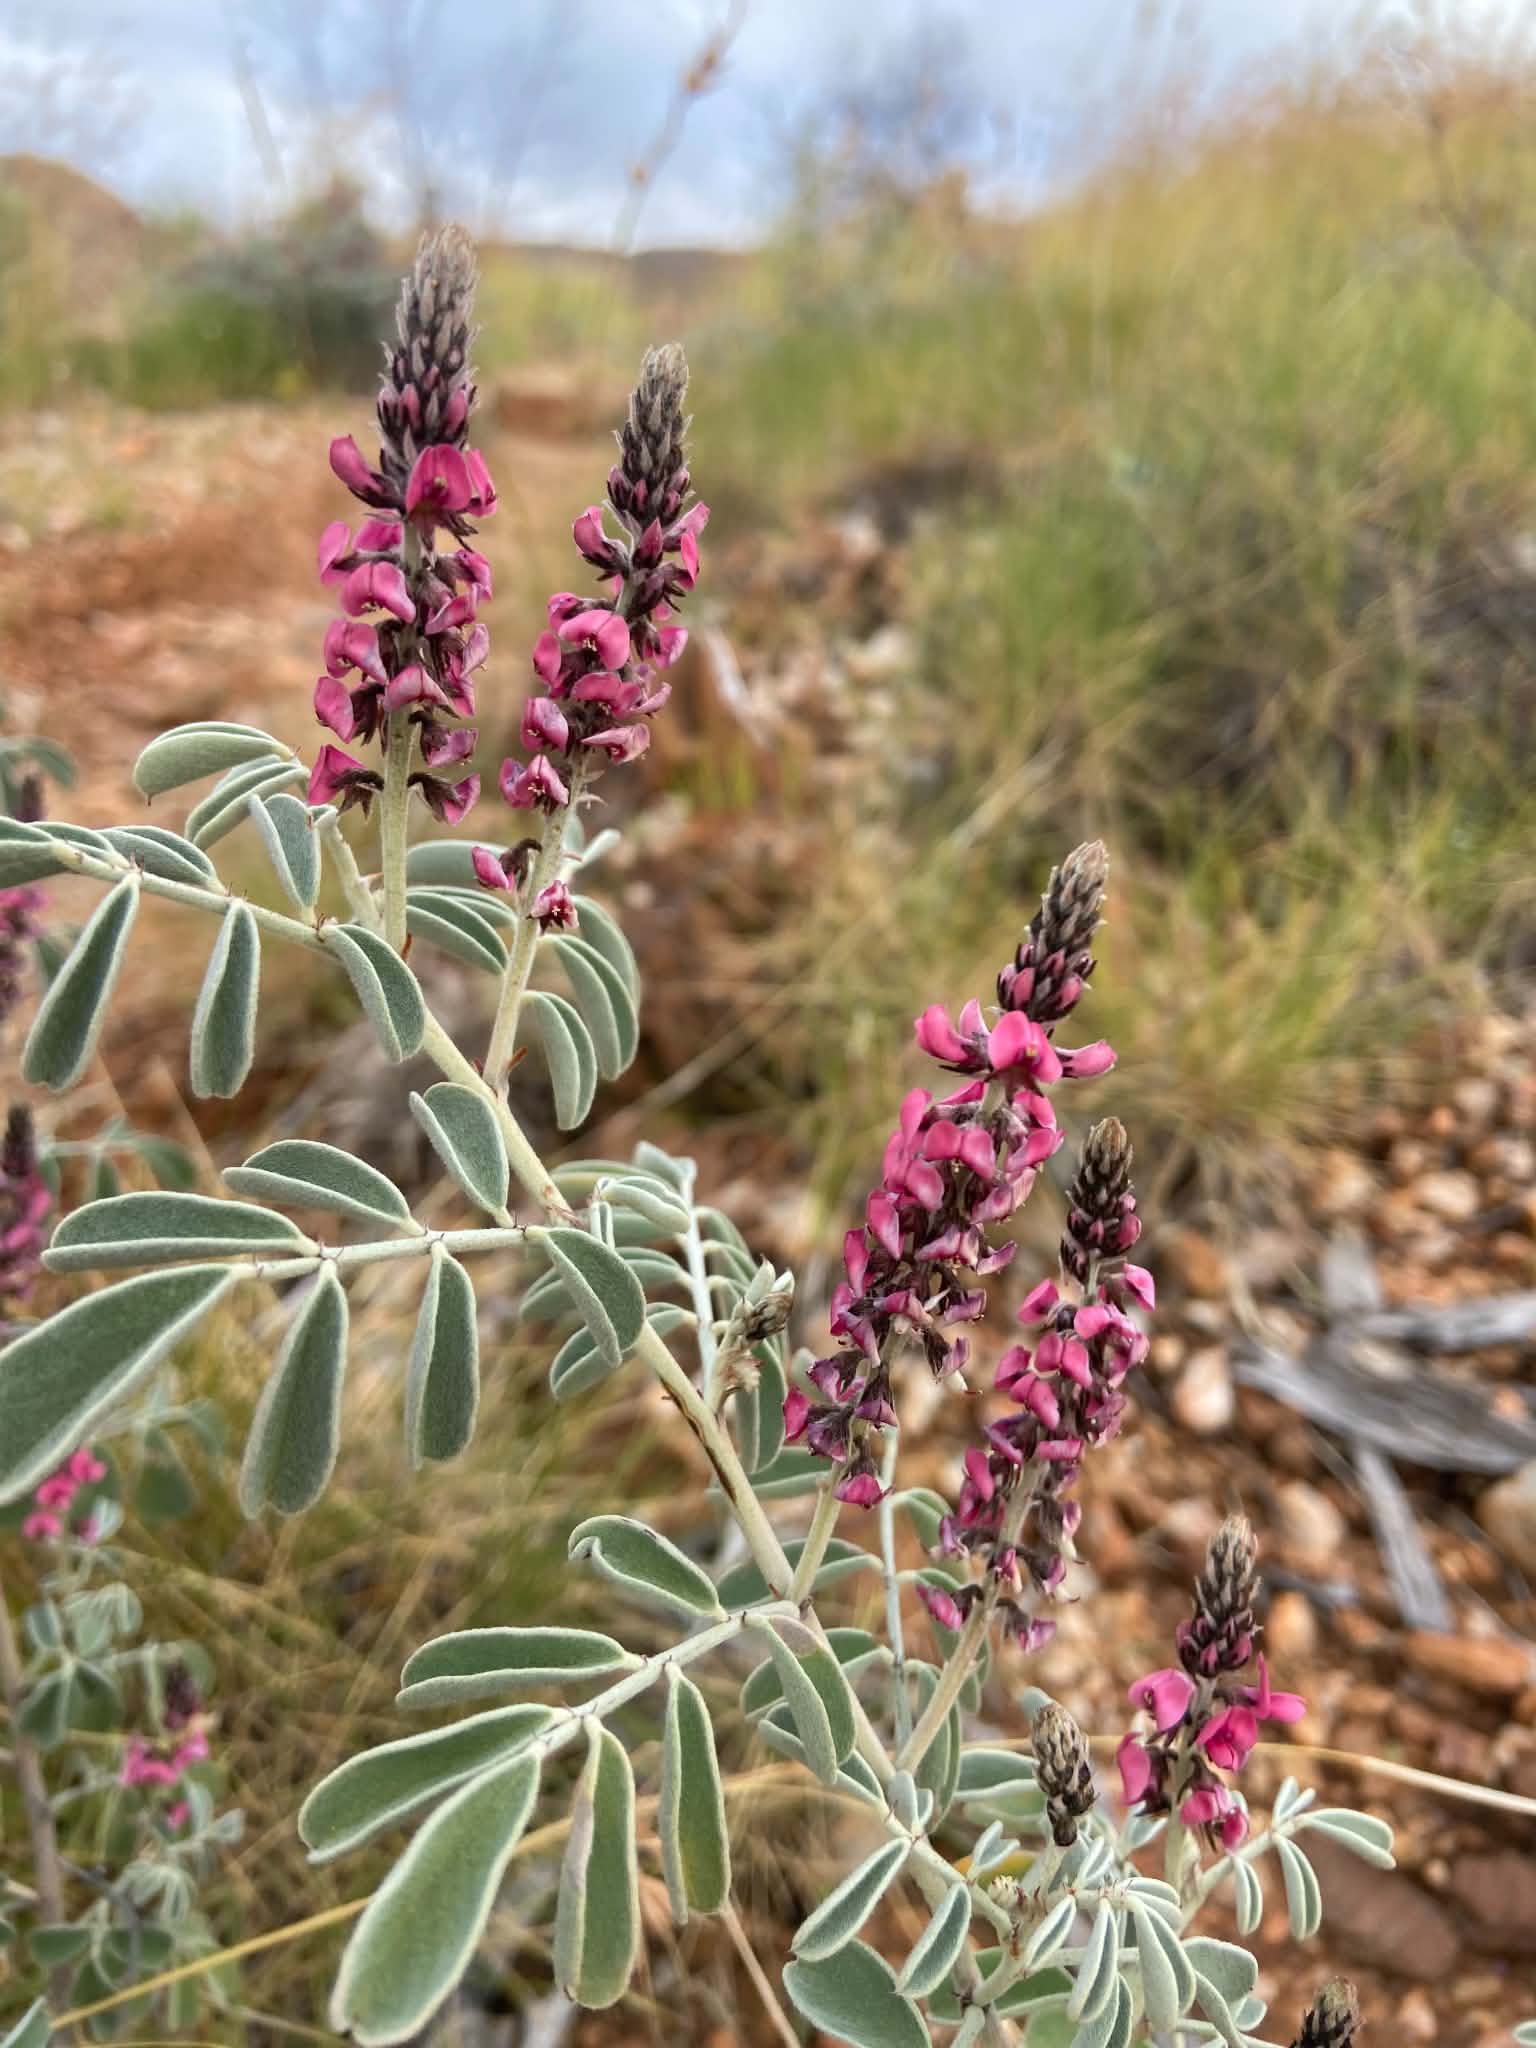
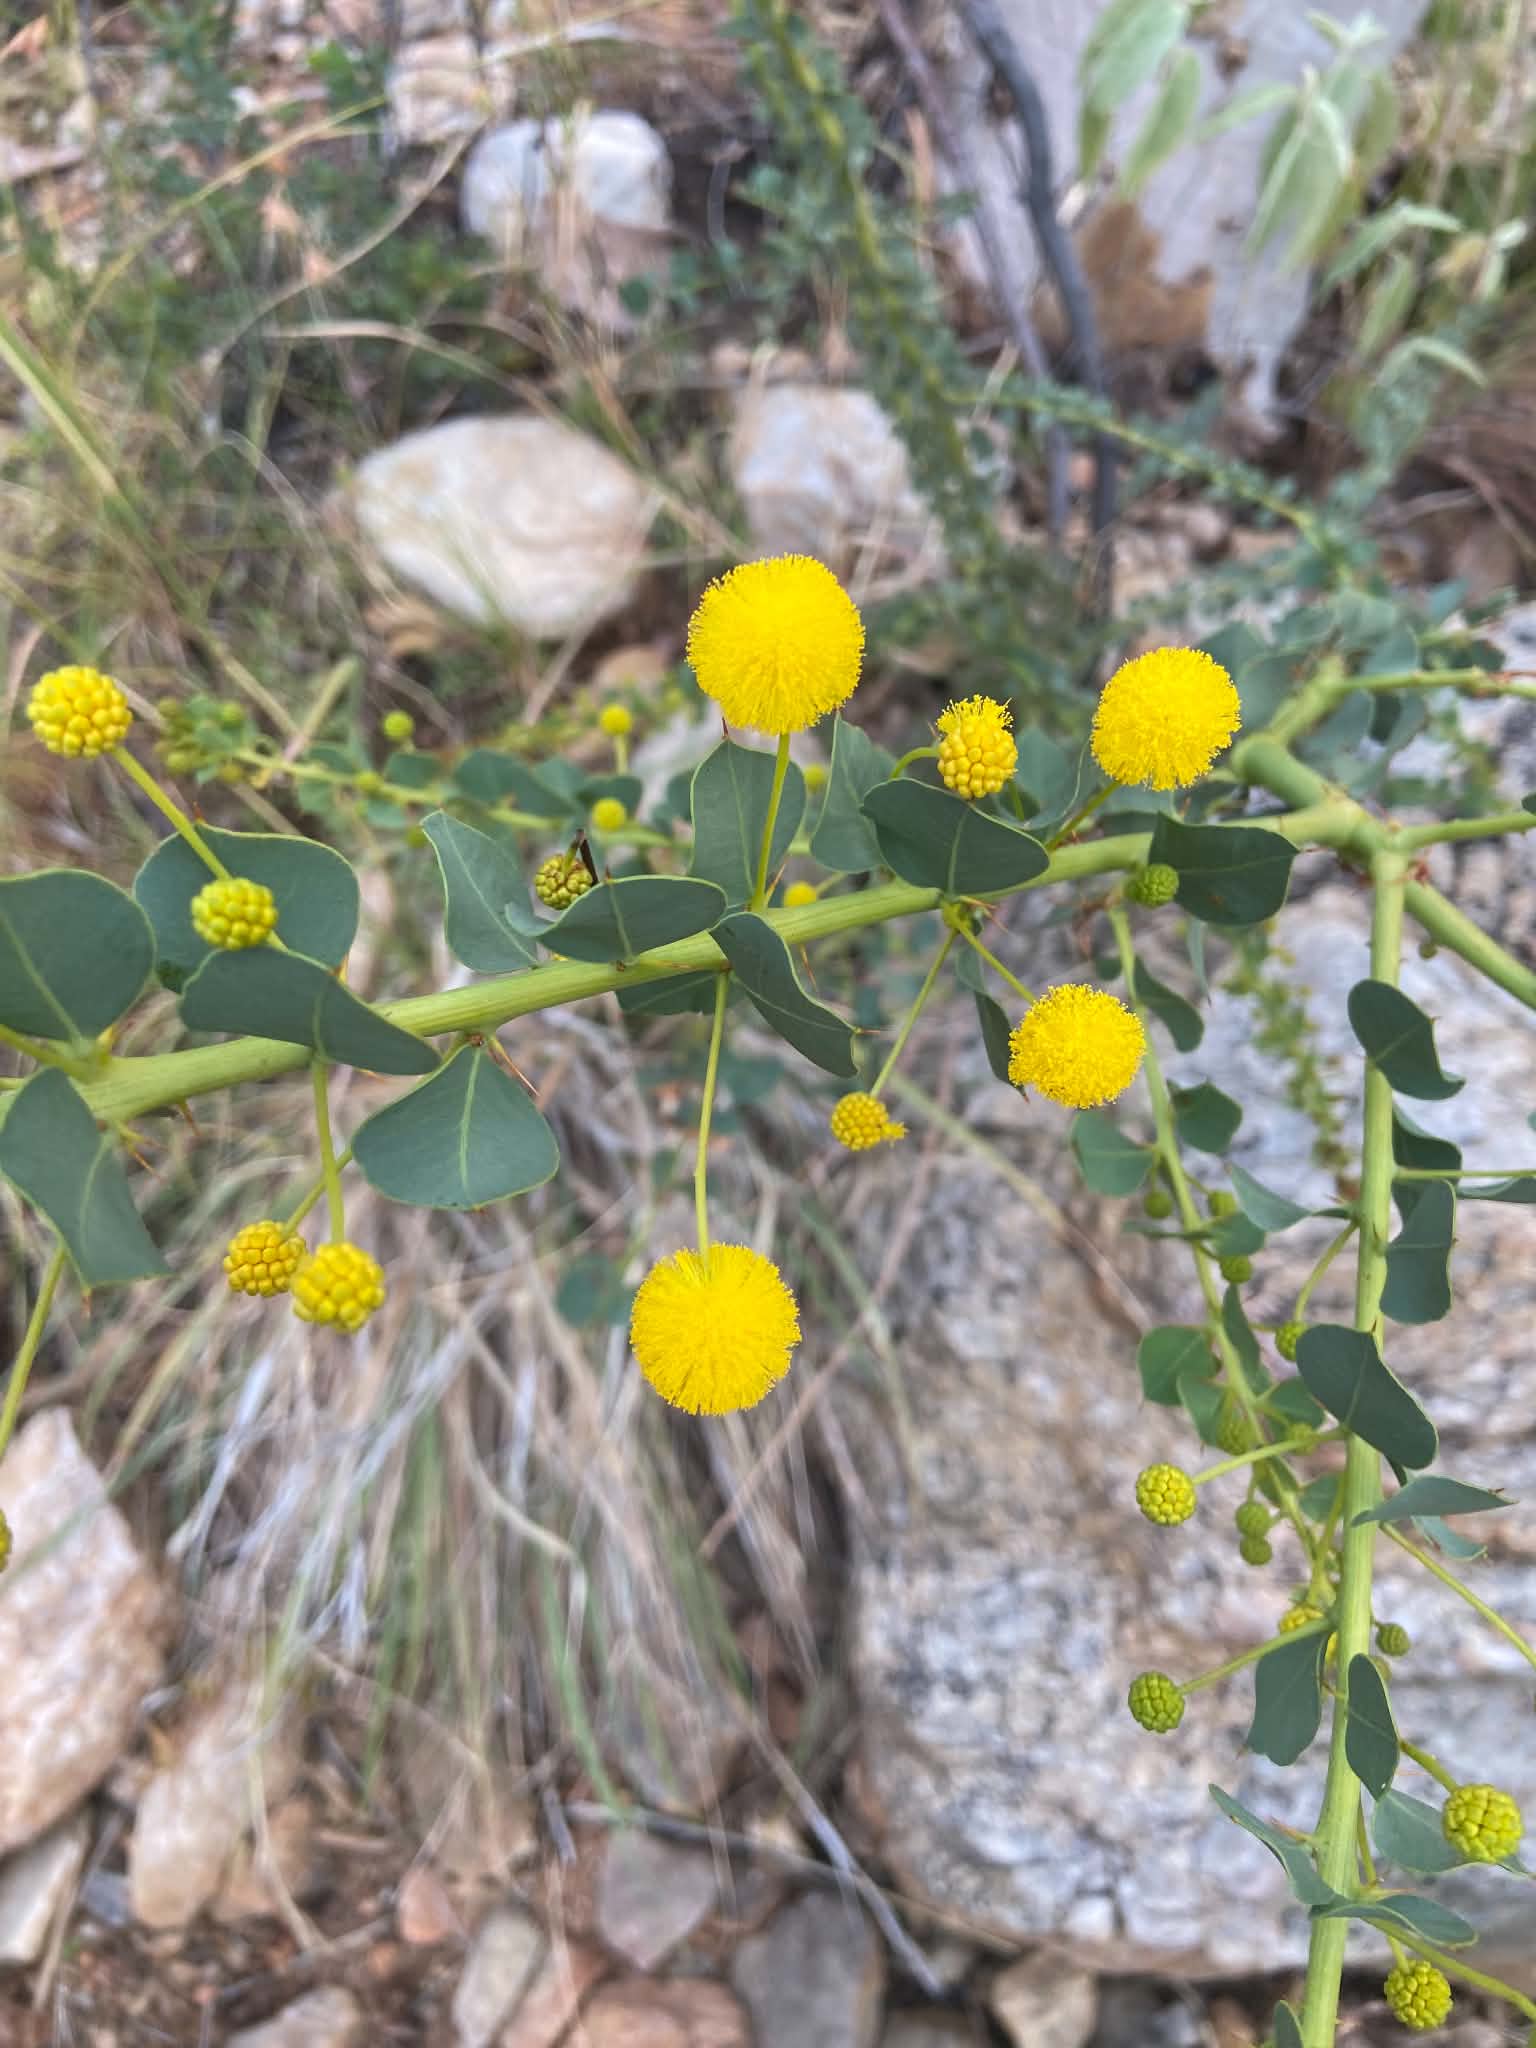
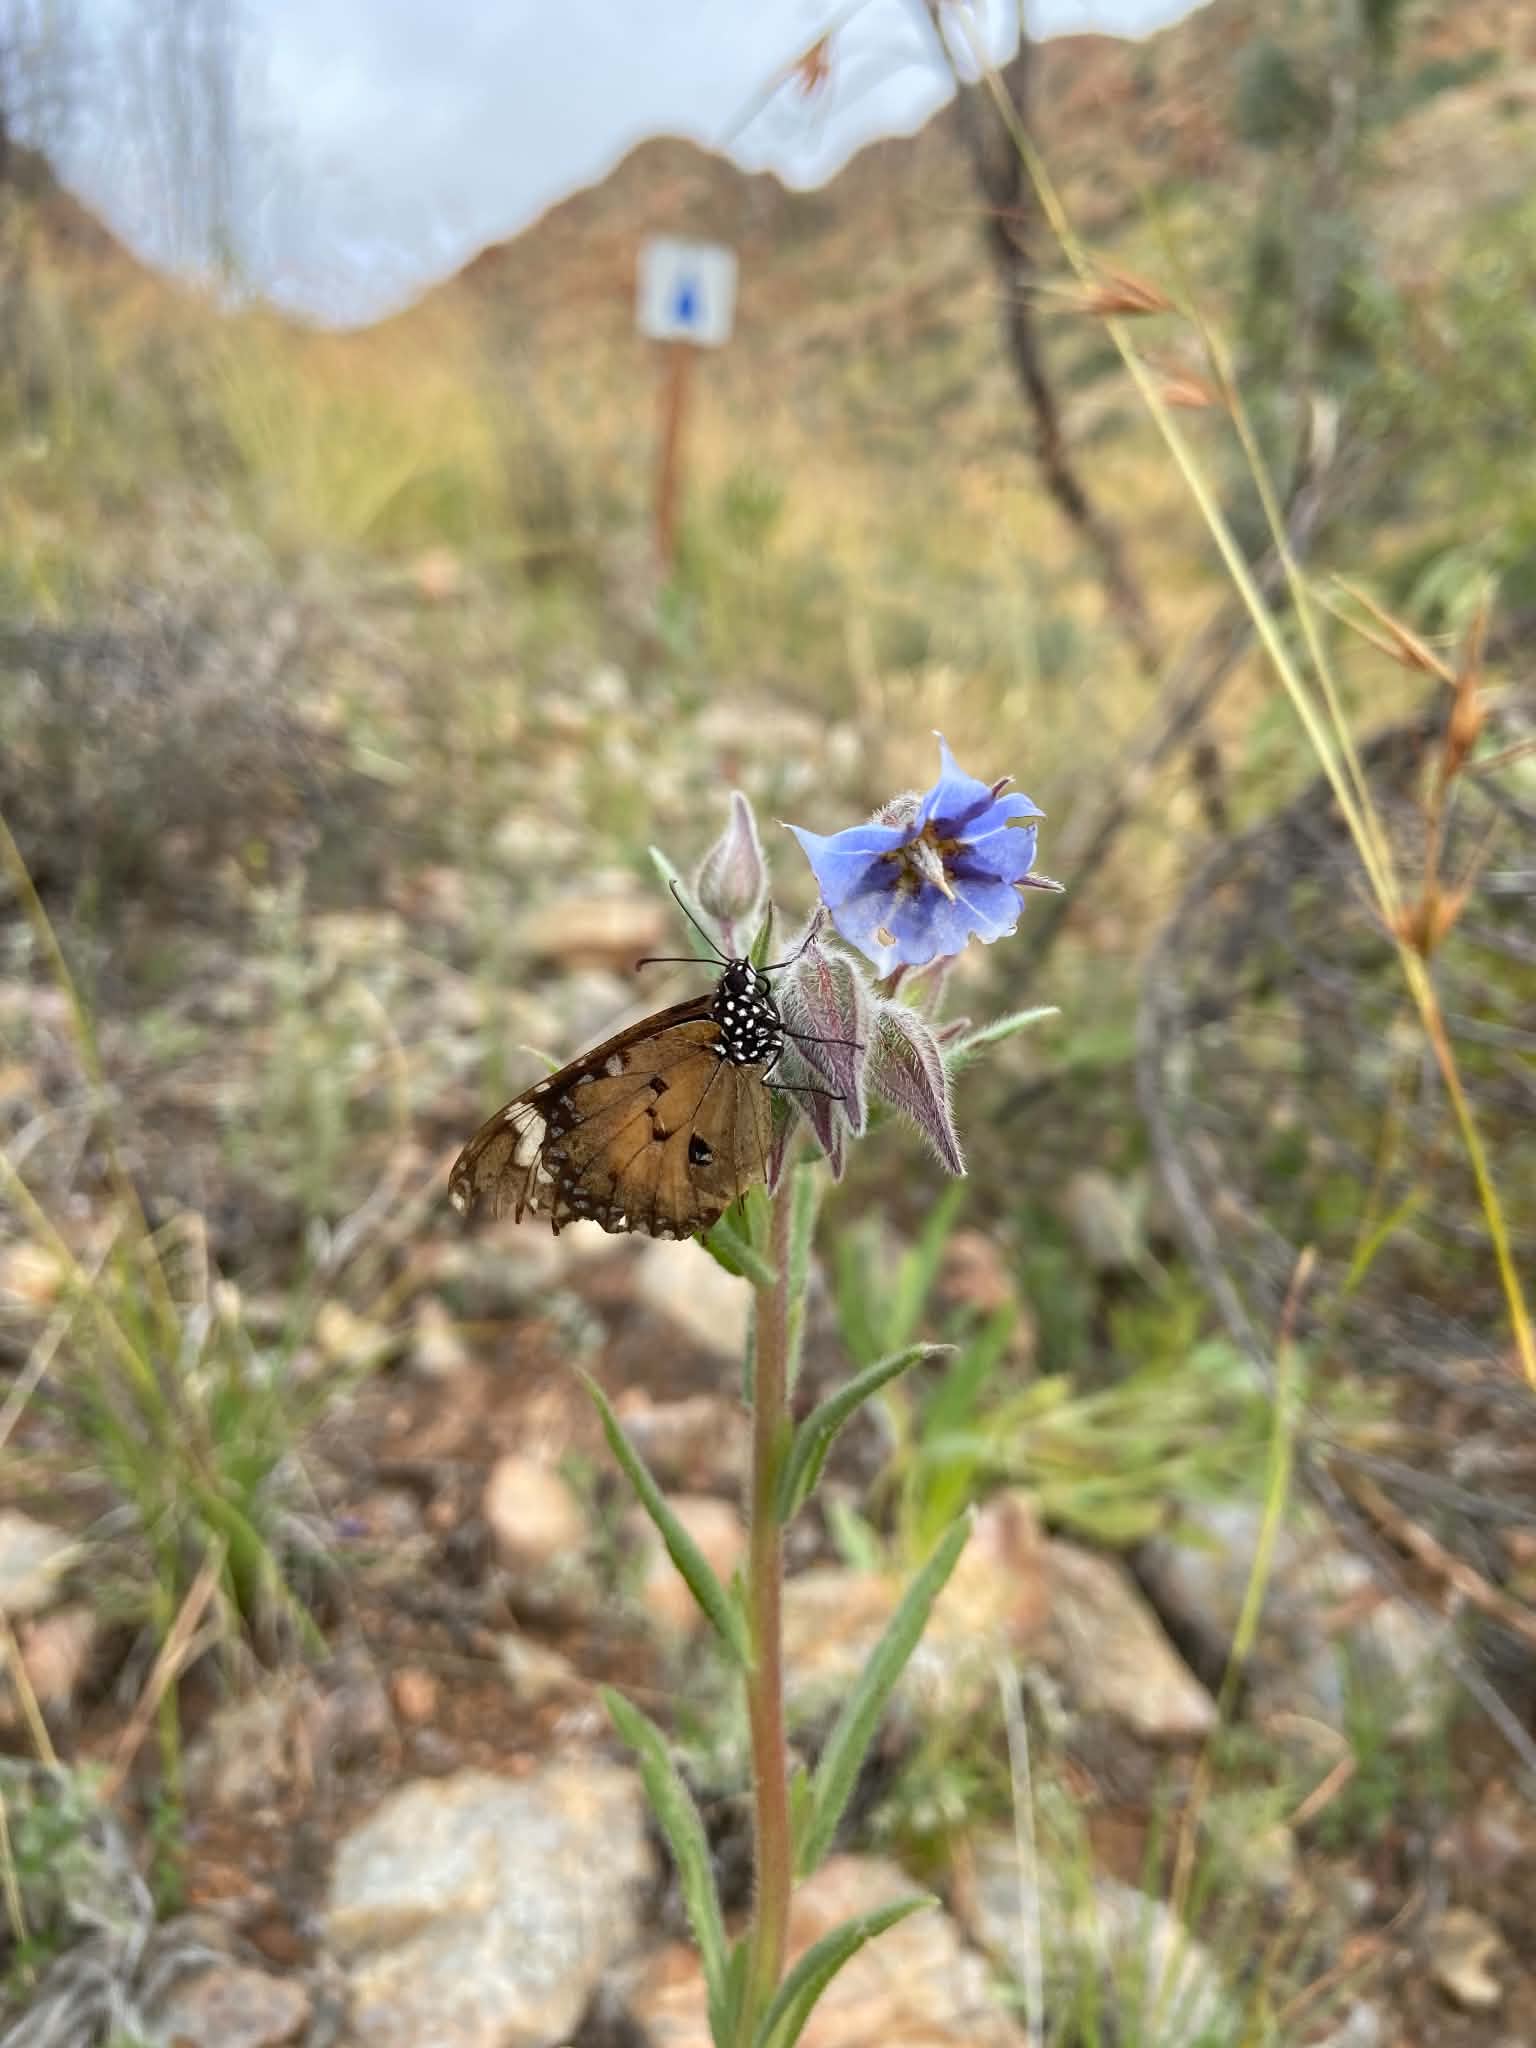
You have to work hard for the stunning views you see on social media, and there are long and sometimes boring sections in between. If you’re considering the Larapinta Trail, I would absolutely recommend this trek, however would suggest you put some careful consideration into how you will manage/cope with the heat/exposure, the high number of kilometers back to back and the rough terrain. In saying that, this walk has lots of exit points and opportunity to make a plan B, C and D, and the food drops mean you can get away with carrying less weight.
The sore feet on this walk really is like nothing else I’ve experienced. Jo did remind me that I also had sore feet on the Camino Primitivo which I had somehow repressed, so possibly this number of kilometers and number of days is just too much for my sensitive feet. However, feet issues was a very common story on this walk, and I suspect that the solid and unforgiving rock is a big contributor. By the last days of the walk, I was struggling to walk more than 10km and was taking regular pain relief. In good news, blisters eventually turned to callouses and my purple toenails remain attached to my feet 2 months later despite the naysayers. Other than the feet, we had no injuries but overall this is a tough walk on the body.
This trail was harder than I’d expected which seemed to be a common theme amongst walkers, and the bus driver told us that up to 50% hikers exit the trail early in peak season due to it being harder than expected or injury. Something like the Carnarvon Great Walk might be a better option if you have limited experience, as it’s much shorter but you still get incredible views and experience walking in gorges and along the ridgeline.
Overall, the Larapinta Trail is guaranteed to be beautiful, dramatic, challenging and a special experience.
Grit Step Ratings
Adventure
Scenery
Wildlife
Grit steps
Would recommend
We’re Glad we Brought:
Walking Poles:
This hike involves a lot of up and down on steep rocks, as well as sections navigating uneven surfaces and loose rocks. I would recommend taking a walking pole, but be prepared that some of the technical scrambling in the gorge is easier without a pole and you may want to put it away at times. There aren’t a lot of trees around so unfortunately it may be difficult to find a suitable stick en route if you need one.
Sleep System:
It was pretty chilly overnight, below zero at times with lots of ice on the tent in the mornings. There are lots of spots along the track where you can sleep in the gorges, which is often on sand and makes for amazingly comfortable sleep! But the gorges and ridge campsites are particularly cold and susceptible to icy winds, so be prepared with a suitable sleeping bag and mat. I was thankful to have my handy insulation mat.
Sun Protection:
There are long sections of this walk that are very exposed. This translated to relentless sun on some days, and we were thankful for cool layers that covered the skin. There is limited water depending on where you sleep (such as high camps), so you need to be particularly mindful of trying to keep cool and protect yourself from dehydration.
A Buff:
I am a buff convert after this trip. My parents bought me one a while ago and this was the first time I took it on a multi-day. It was incredibly versatile and perfect for this walk: ear cover in the cold, headband to keep hair out of my face on the ridgeline, neckerchief to protect from the sun, a cooling system when dipped in water. I was very happy with this gear addition for a walk that is both temperature extremes.
Boots or Trail Runners?:
The jury is out on this one.
We wore boots and I would be nervous about the amount of ankle rolls without the support of our boots.
However, in an informal survey on the track, everyone with trails runners seemed to having less foot issues and fairing better overall.
Good Meals:
We carefully planned our meals so that we would eat our lavish heavy meals on the day we received the food box, and we also appreciated a little treat like a soft drink or juice box. This meant that we didn’t need as many dehydrated meals and could enjoy fresh food for longer.
What we’d do differently:
- Less food in the food drops, or only do 2 food drops (otherwise we ended up carrying extra food that we didn’t need).
- Wear thicker socks and be prepared with bandaids and pain relief.
- Stay at Brinkley Bluff if time allows.
- Keep the rest day in our schedule, but consider switching it out to make two shorter days instead.
- Get the 11am (instead of the 5pm) shuttle from Redbank Gorge to Alice Springs.
If you’ve made it this far, thanks for reading! We’re planning Hinchinbrook for early 2026 so stay tuned.


Leave a comment